
The easiest way to know you’ve cooked chicken safely without making it dry is simple: check the internal temperature. If you’ve ever wondered, “What is the Ideal Chicken Internal Temperature?”, you’re in the right place. Getting this right ensures you avoid illness and serve a delicious meal.
For virtually all chicken dishes, the target is a specific safe temperature. Per USDA guidelines, this temperature is critically important for inactivating harmful bacteria. We’ll cover how to achieve it consistently, starting now.
Quick Answer
The ideal internal temperature for all chicken is 165°F (74°C). This temperature ensures chicken is safe to eat by inactivating harmful pathogens. It’s the minimum temperature recommended by food safety authorities.
Always use a meat thermometer for accuracy.
The Target Temperature: 165°F (74°C)
You’ve probably heard different advice over the years, but the official stance from food safety experts is clear: 165°F (74°C). This is not just a suggestion; it’s a benchmark for safety. Cooking chicken to this temperature effectively kills bacteria like Salmonella and Campylobacter, which can cause serious foodborne illnesses.
Anything lower than 165°F (74°C) risks leaving these harmful microorganisms alive. On the flip side, cooking chicken much higher can lead to dry, tough meat. Finding that precise spot for safety and tenderness is key, and it’s where a reliable thermometer becomes indispensable.
Where to Measure for Accuracy
Knowing where to probe your chicken with a thermometer is just as important as having the thermometer itself. You need to measure in the thickest part of the meat to get the most accurate reading. This is especially vital for larger cuts or whole birds where different parts might cook at different rates.
- Breasts and Thighs: Insert into the thickest muscle, ensuring you don’t touch any bone. Bones conduct heat differently and can give a false reading.
- Whole Chicken: Check both the thickest part of the breast and the thigh. If both read 165°F (74°C), the bird is done.
- Ground Chicken: For patties or mixtures, a thermometer should be inserted into the center of the densest part.
How to Use Your Meat Thermometer Properly
A meat thermometer is your absolute best friend when it comes to cooking chicken perfectly. Relying on visual cues like clear juices or color is simply not accurate enough for guaranteed food safety. Investing in a good thermometer, especially a digital instant-read model, takes the guesswork out of cooking.
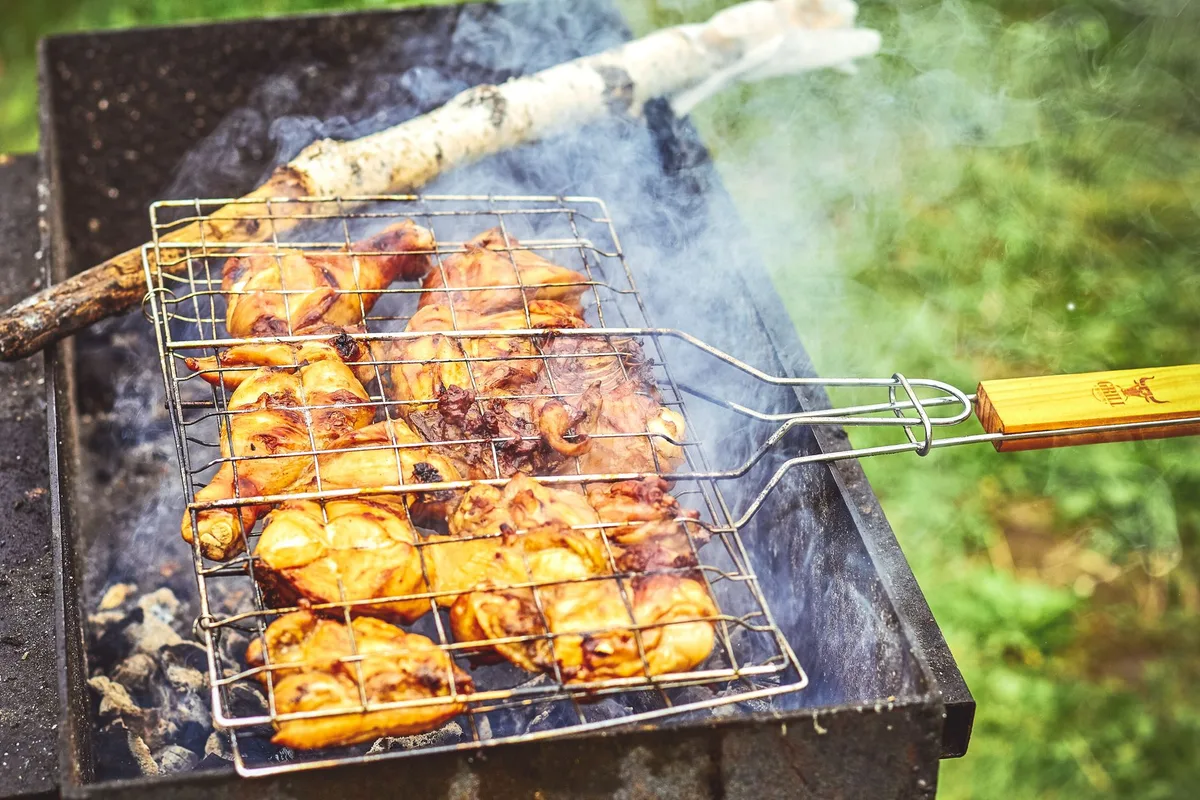
Image source: Pexels / Bulat Khamitov (Pexels License)
These thermometers give you a reading in just a few seconds, allowing you to pull the chicken off the heat at the precise moment it reaches 165°F (74°C). This precision helps prevent both undercooking and overcooking.
Best Thermometer Types for Chicken
There are a few types of meat thermometers, but for chicken, a digital instant-read model is generally preferred for its speed and accuracy in getting a quick check.
- Digital Instant-Read Thermometers: These are fast, usually giving a reading within 2-5 seconds. Most have slim probes perfect for inserting into meat without creating a large hole.
- Oven-Safe Thermometers (Leave-In): These have a probe that stays in the bird during cooking, with a dial or digital display outside the oven. They are good for monitoring temperature continuously but can be slower to register subtle changes.
The Crucial Step: Letting Your Chicken Rest
You’ve hit 165°F (74°C), great! But don’t reach for the carving knife just yet. Letting your chicken rest after cooking is a critical step that significantly impacts its texture and juiciness.
This period allows the internal juices to redistribute throughout the meat.
When chicken cooks, the muscle fibers tighten, squeezing out moisture. If you cut into it immediately, all that liquid will run out onto your cutting board, leaving the meat dry. Resting allows the fibers to relax and reabsorb those juices.
The Science of Carryover Cooking
During the resting period, a phenomenon called “carryover cooking” continues to happen. Even after you remove chicken from the heat source, its internal temperature will continue to rise a few degrees for several minutes. This is because the heat is still actively moving from the hotter outer parts of the meat to the cooler interior.
For smaller pieces of chicken, like breasts or thighs, a rest of about 5-10 minutes is usually sufficient. For larger items, such as a whole roast chicken, you’ll want to let it rest for at least 15-20 minutes to ensure even temperature distribution and juiciness throughout.
Common Mistakes When Cooking Chicken Temperature
Many home cooks inadvertently make mistakes that lead to undercooked or overcooked chicken, even when they think they’re being careful. Understanding these pitfalls can save you from uneaten meals and potential food safety risks.
Signs of Undercooked Chicken
The most dangerous sign is visual: pinkness in the meat, especially near the bone. Uniformly pale, opaque white meat is what you’re aiming for. If you cut into the thickest part and see any hint of pink or redness, it needs more time.


10 thoughts on “What is the Ideal Chicken Internal Temperature?”