Using a meat thermometer is the easiest way to ensure your food is cooked perfectly safe and tastes amazing every time. It takes the guesswork out of cooking, letting you know precisely when meat, poultry, or fish has reached its ideal internal temperature. This simple kitchen tool prevents undercooked, potentially unsafe meals and overcooked, dry disappointments.
Our research confirms that relying on cooking times alone can be unreliable due to variations in appliance performance and meat thickness. Minimum safe internal temperature guidelines, such as those set by the U.S. Department of Agriculture (USDA), are critical for preventing foodborne illnesses.
A meat thermometer is the only tool that provides the definitive measurement.
Quick Answer
To use a meat thermometer step by step, insert the probe into the thickest part of the meat, avoiding bone. Read the temperature displayed. For safety, ensure poultry and ground meats reach 165°F.
Rest meat after cooking.
Why Using a Meat Thermometer is a Game-Changer
A meat thermometer is more than just a kitchen gadget; it’s your guarantee of quality and safety. It’s the single best tool for turning guesswork into precision cooking.
Think about it: you’ve spent time selecting and preparing your ingredients, carefully monitoring cooking times, and then you wonder, “Is it really done yet?” That’s where the thermometer steps in. It gives you factual data, not a hopeful guess.
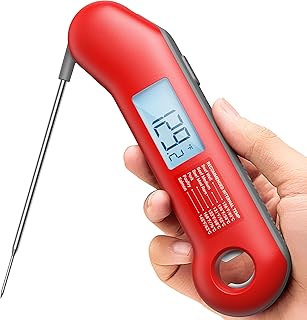
Understanding Your Meat Thermometer: Key Parts and How They Work
Most common meat thermometers, especially digital instant-read models, have a few core components that make them work. Understanding these parts helps you use them correctly and get accurate readings.
The Probe: Your Temperature Sensor
This is the sharp metal rod extending from the thermometer’s handle. Its primary job is to penetrate the food and conduct heat from the center of the meat to the internal sensor. For best results, the probe should be made of stainless steel, which is durable and safe for food contact.
The Display: Reading the Results
This is usually a small LCD screen that shows the temperature reading. Digital thermometers offer a clear, immediate readout, often in both Fahrenheit and Celsius. Some advanced models might have backlights for low-light conditions or hold functions to “freeze” the temperature reading once it’s stable.
The Simple Steps to Perfect Meat Temperature
Using a meat thermometer is straightforward once you know the key techniques. It’s all about proper insertion, reading the display, and knowing your target temperatures.
Prepare Your Meat and Thermometer
Before you start cooking, make sure your meat is ready. If you’re using a digital thermometer, insert the batteries and turn it on. Wipe the probe with a damp cloth or sanitize it, especially if you’ve used it for raw meat before.
Finding the Thickest Part: Crucial for Accuracy
This is the most critical step for an accurate reading. Always insert the probe into the thickest part of the meat. Avoid areas with bone, as bones conduct heat differently and can give you a false low reading.
Also, steer clear of excess fat pockets, which can insulate the probe.
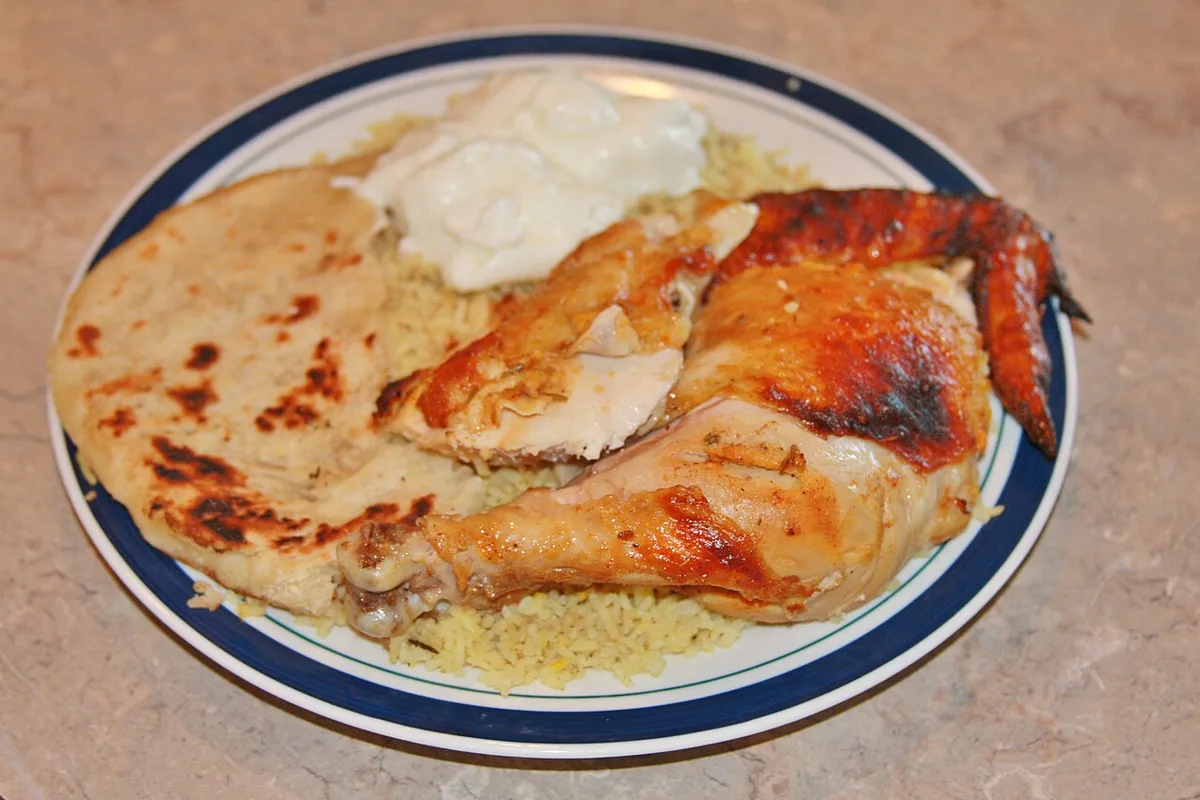
Image source: Wikimedia Commons / andrusians (CC BY)
Inserting the Probe Safely and Effectively
Gently push the probe straight down into the center of the thickest portion of the meat. For roasts or whole poultry, aim for the core of the thigh or breast, ensuring the probe tip reaches the internal center without touching any cooking surfaces like oven racks or grill grates. For steaks or chops, insert it horizontally into the side.
Reading the Temperature: What to Look For
If you have an instant-read thermometer, wait for the temperature on the display to stabilize, which usually takes just a few seconds. Many models will beep or blink when the reading is steady. Note the temperature shown.
Pulling Your Meat at the Right Time
Once your meat reaches the desired internal temperature, remove it from the heat source. Remember that carryover cooking will continue to raise the temperature by a few degrees even after it’s off the heat. For this reason, it’s often recommended to pull meats 5°F to 10°F below your final target temperature.
Essential Target Temperatures for Safety and Flavor
Knowing the correct internal temperatures is key to both food safety and achieving the perfect level of doneness for different types of meat. These guidelines are based on established food safety standards, as of 2026.
Safe Temperatures for Ground Meats and Poultry
The U.S. Department of Agriculture (USDA) recommends specific temperatures to kill harmful bacteria.
- Ground Meats (Beef, Pork, Veal, Lamb): Must reach a minimum internal temperature of 160°F (71°C) and held for at least 3 minutes.
- Poultry (Chicken, Turkey, Duck, Goose, all parts including ground): Must reach a minimum internal temperature of 165°F (74°C).
These temperatures are non-negotiable for ensuring safety.
Temperatures for Steaks, Chops, and Roasts
For whole muscle cuts of beef, pork, lamb, and veal, you have more flexibility for desired doneness, while still maintaining safety.
| Meat Type | Minimum Safe Temperature (USDA) | Recommended for Tenderness/Juiciness |
|---|---|---|
| Beef, Pork, Lamb, Veal (steaks, chops, roasts) | 145°F (63°C) with a 3-minute rest | 130-135°F (54-57°C) for Medium-Rare 135-140°F (57-60°C) for Medium |
These temperatures aim for a balance between safety and optimal texture and flavor.
Common Meat Thermometer Mistakes to Avoid
Even with a thermometer, it’s possible to get inaccurate readings or overcook your food if you bypass a few crucial steps. Avoiding these common errors ensures you get the best results.
Ignoring the Bone: A Frequent Pitfall
A bone conducts heat differently than meat and can provide a misleading temperature reading. If the probe touches bone, it might read hotter or colder than the surrounding meat. Always ensure the probe is in the thickest section of flesh, well away from any bone.
Not Allowing Meat to Rest: The Missing Step
After reaching its target temperature and being removed from the heat, meat needs to rest. This resting period allows the juices to redistribute throughout the meat, resulting in a more tender and flavorful final product. Without resting, juices will run out when you cut into it, leading to dryness.
Expert Tips for Taking Meat Temperatures
Getting the most out of your meat thermometer involves a few pro strategies that go beyond the basic steps. These tips ensure accuracy and longevity for your tool, making your cooking consistently better.
Cleaning and Maintaining Your Thermometer
Proper cleaning prevents cross-contamination and keeps your thermometer accurate. After each use, wash the probe with hot, soapy water. For more thorough sanitization, you can use a food-grade sanitizer or wipe it down with rubbing alcohol.
Always dry the probe thoroughly before storing it. Avoid immersing digital thermometer bases in water, as this can damage the electronics.
Understanding Carryover Cooking
Carryover cooking is the heat that continues to cook food after it’s removed from the heat source. For larger cuts of meat like roasts, this can increase the internal temperature by 5°F to 15°F. Knowing this phenomenon means you can pull the meat a few degrees earlier than your final target temperature.
For example, if you’re aiming for 145°F for a roast, you might remove it from the oven when it reads 135°F.
When to Use a Meat Thermometer: Key Scenarios
While a meat thermometer is useful for nearly all cooked meat, it’s absolutely essential in specific situations to guarantee safety and quality.
Cooking Poultry Safely
Poultry, including chicken and turkey, must reach an internal temperature of 165°F (74°C) to kill harmful bacteria like Salmonella. Using a thermometer is the only sure way to confirm this temperature throughout the meat, especially in whole birds or bone-in pieces. Insert it into the thickest part of the thigh, avoiding the bone, to get an accurate reading.
Grilling and Roasting Large Cuts
For larger items like roasts or whole chickens on a grill or in an oven, a thermometer is invaluable. It helps you monitor the progress without constantly opening the oven door or grill lid, which can disrupt cooking temperatures. Setting an alarm thermometer allows you to step away and prevents overcooking by alerting you when the target temperature is reached.
Ensuring Safety with Ground Meats
Ground meats, such as burgers or meatloaf, are riskier because grinding can distribute bacteria throughout the meat. They must reach 160°F (71°C). A thermometer eliminates doubt about whether the inside has reached this safety threshold.
Frequently Asked Questions
How accurate are common meat thermometers?
Most digital instant-read thermometers, when calibrated properly and used correctly, offer an accuracy of ±1°F to ±2°F. Manufacturer specifications usually detail the expected accuracy range for their specific models. It’s always a good idea to check your thermometer’s accuracy periodically by testing it in ice water (which should read 32°F or 0°C).
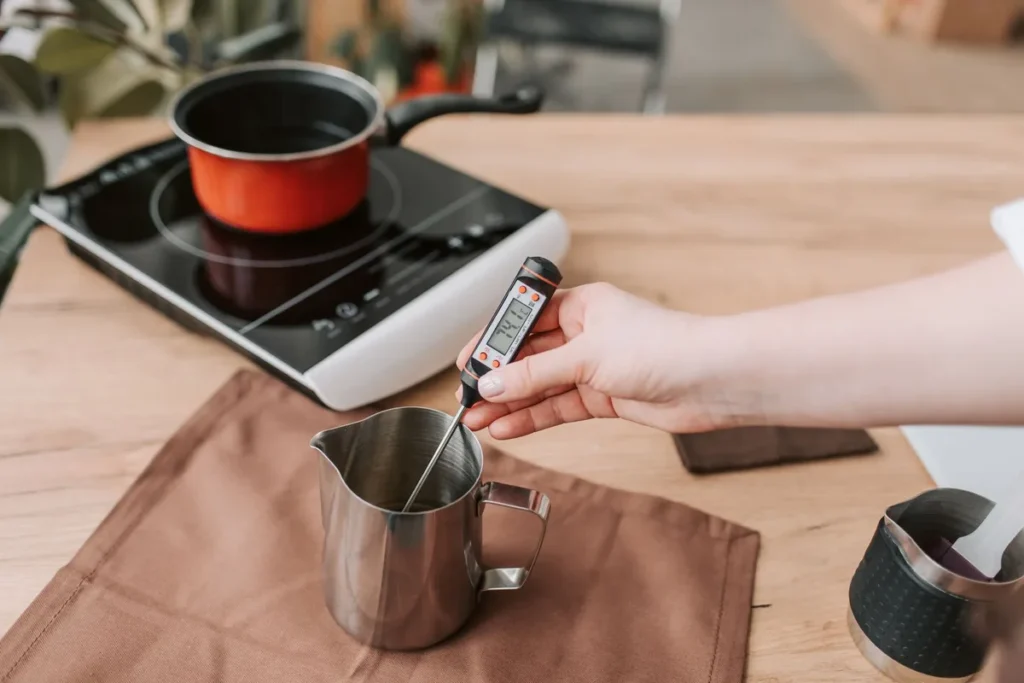
Should I use a meat thermometer for fish?
Yes, a meat thermometer is highly recommended for cooking fish. Fish is safely cooked when its internal temperature reaches 145°F (63°C). At this temperature, the flesh should be opaque and flake easily with a fork.
Checking the temperature ensures it’s cooked through without becoming dry.
How often should I check the temperature?
For thinner cuts like steaks or chops, one or two checks towards the end of cooking are usually sufficient. For larger roasts or whole poultry, start checking 20-30 minutes before your estimated cook time is up, and continue checking every 10-15 minutes as it approaches your target temperature.
Can I use my oven’s built-in thermometer instead?
Oven thermometers can be notoriously inaccurate. They measure the air temperature within the oven cavity, not the internal temperature of the food. For precise cooking, an independent meat thermometer inserted directly into the food is essential.