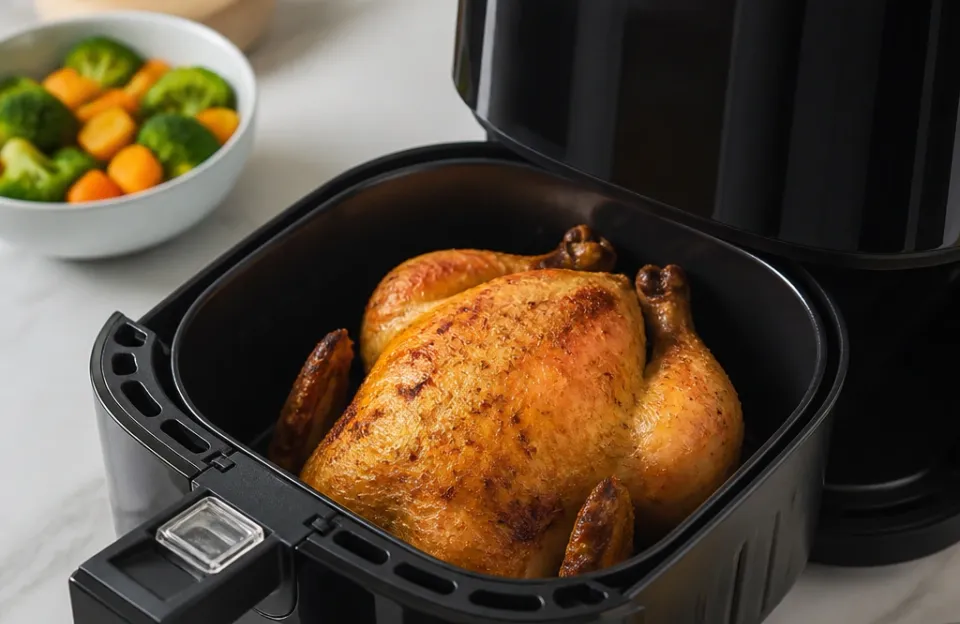
Air fryer steak cooks fast, stays juicy inside, and develops a brown crust without heating up your whole kitchen. You take a thick cut of beef, pat it dry, rub it with oil and salt, and blast it at 400°F for about 10 to 14 minutes depending on the thickness and your preferred doneness. The circulating hot air does the heavy lifting that a cast iron skillet normally handles on the stove.
This guide covers exactly how to cook air fryer steak from start to finish. We will look at which cuts work best, how long each one takes, why resting the meat matters, and what goes wrong when you skip the small details. If you want a solid dinner on the table in under twenty minutes, this method gets you there.
Why Cooking Steak in an Air Fryer Works
An air fryer is a compact convection oven. A fan pushes heated air around the food at high speed. That constant movement strips away the thin layer of moisture sitting on the surface of the meat.
Once the surface dries out, the Maillard reaction kicks in. That is the chemical process that turns proteins and sugars brown and creates savory flavor compounds.
You get a decent sear without standing over a splattering pan. The fat renders steadily because the heat surrounds the meat evenly. Thick steaks benefit the most here.
Thin cuts tend to overcook before the outside has time to brown. A steak needs to be at least one inch thick to give you a window where the outside crisps while the inside stays pink.
Smoke is another factor. Pan searing a steak indoors usually sets off the smoke detector. An air fryer contains the splatter and vents less aggressively than a screaming hot skillet.
You still get some smell, but the kitchen stays much cleaner.
Picking the Right Cut for Your Air Fryer Steak
Not every piece of beef behaves the same way under intense convection heat. Fat content and muscle structure dictate how the steak reacts. Lean cuts dry out fast.
Well marbled cuts baste themselves as the fat melts.
Ribeye is the top choice for most people. It has heavy marbling throughout the muscle. As the air fryer heats the steak, those pockets of fat melt and keep the meat moist.
The cap of fat on the edge also crisps up nicely.
New York strip works well too. It is slightly leaner than a ribeye but still carries enough intramuscular fat to stay tender. The texture is firmer.
You get a clean, beefy bite without quite as much richness.
Filet mignon is very lean. It lacks the fat that protects other cuts from drying out. You can cook it in an air fryer, but the margin for error is tiny.
Pull it out a few degrees earlier than you would a fattier cut.
T bone and porterhouse steaks are tricky. They have two different muscles separated by a bone. The strip side and the tenderloin side cook at different rates.
The bone also blocks airflow right in the middle. You can do it, but you have to watch the temperatures closely on both sides of the bone.
Flank steak and skirt steak are too thin for this method. They cook through in just a few minutes, leaving no time for the outside to brown. Save those for a blazing hot grill or a quick pan sear.
| Cut | Fat Level | Best Doneness | Approximate Time at 400°F (1 inch thick) |
|---|---|---|---|
| Ribeye | High | Medium rare to medium | 10 to 12 minutes |
| New York Strip | Medium | Medium rare to medium | 10 to 13 minutes |
| Filet Mignon | Low | Rare to medium rare | 8 to 11 minutes |
| T Bone | Mixed | Medium rare | 12 to 15 minutes |
Preparing the Meat Before It Hits the Basket
Preparation dictates the final texture. Skipping these steps leads to gray, steamed meat instead of a browned crust.
Take the steak out of the fridge about thirty minutes before cooking. Cold meat drops the temperature inside the basket. The air fryer then spends its energy reheating the chamber instead of browning the surface.
Letting it sit on the counter takes the chill off.
Pat the entire surface dry with paper towels. Moisture is the enemy of browning. If the steak goes in wet, the water has to boil off before any crust forms.
By the time it dries out inside the machine, the interior is already overcooked.
Rub the steak lightly with a high smoke point oil. Avocado oil or refined olive oil work well. Do not use extra virgin olive oil or butter at this stage.
Butter burns at high heat, and extra virgin olive oil smokes heavily. You only need about half a teaspoon per side. The oil conducts heat directly into the meat and helps the seasoning stick.
Season generously with coarse kosher salt and black pepper. Salt draws out moisture initially, which is why you apply it right before cooking or well in advance. If you salt it ten minutes before cooking, the surface will be wet again.
Either salt it immediately before putting it in the basket, or salt it an hour ahead and leave it uncovered in the fridge so the surface dries out completely. Garlic powder or onion powder can go on now if you want them. Leave fresh garlic for later; it burns easily at 400°F.
Cooking Times and Temperatures for Air Fryer Steak
Preheat the air fryer. Run it empty at 400°F for three to five minutes. Dropping a steak into a cold basket delays the searing process.
You want the air moving at full temperature the second the meat goes in.
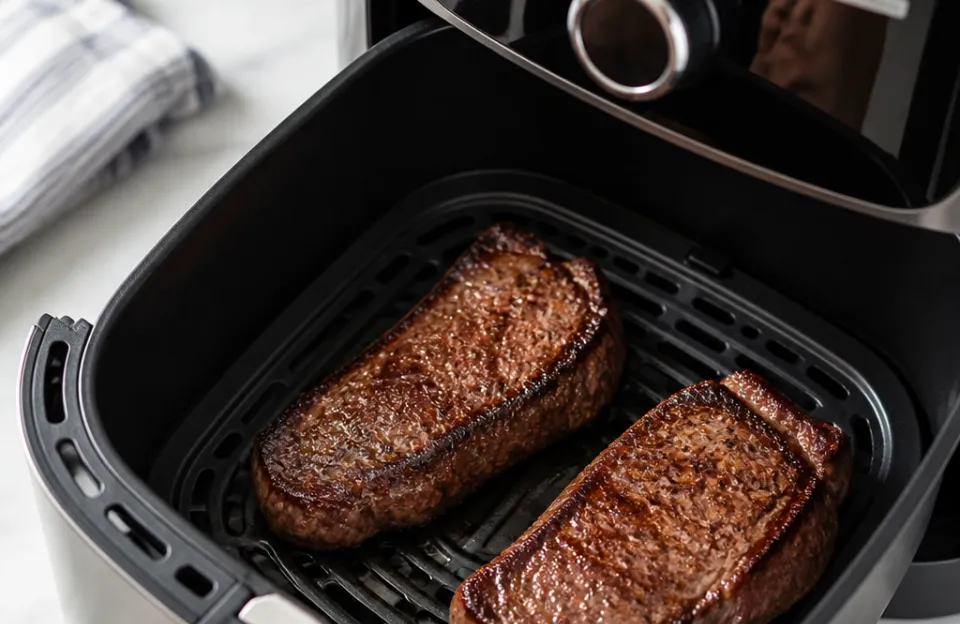
Place the steak flat in the basket. Do not overlap pieces. If you are cooking two steaks, make sure there is space between them.
Crowding blocks the airflow and causes uneven cooking.
Cooking times vary based on the specific model and wattage of your machine. Use these ranges as a starting point for a one inch thick steak at 400°F:
- Rare: 8 to 10 minutes total. Flip halfway through.
- Medium rare: 10 to 12 minutes total. Flip halfway through.
- Medium: 12 to 14 minutes total. Flip halfway through.
- Medium well: 14 to 16 minutes total. Flip halfway through.
Flip the steak using tongs. Do not pierce it with a fork. Piercing releases juices.
Flipping ensures both sides get direct exposure to the heating element. Most air fryers have the element at the top, so the top side always cooks slightly faster.
The only reliable way to know when your steak is done is to measure the internal temperature. Guessing by time alone fails because steaks vary in shape, starting temperature, and exact thickness. Use a fast reading probe to check the center of the thickest part.
If you want to monitor the progress without opening the basket repeatedly, a wireless Bluetooth thermometer lets you track the rising heat from outside the machine.
Pull the steak out when it hits these temperatures:
- Rare: 120°F to 125°F
- Medium rare: 130°F to 135°F
- Medium: 140°F to 145°F
- Medium well: 150°F to 155°F
The USDA recommends cooking whole cuts of beef to a minimum of 145°F followed by a three minute rest for safety. Many people prefer medium rare at 130°F for better texture and flavor. That is a personal choice regarding risk.
You can review official guidance on safe cooking temperatures through the USDA food safety resources.
Resting the Steak So It Stays Juicy
Resting is mandatory. When the steak cooks, the heat forces the muscle fibers to contract. This squeezes the juices toward the center of the meat.
If you slice it immediately, all that liquid rushes out onto the cutting board. The meat ends up dry.
Move the cooked steak to a warm plate or a wooden cutting board. Tent it loosely with aluminum foil. Do not wrap it tightly.
A tight wrap traps steam, which softens the crust you just worked hard to build.
Let it rest for five to ten minutes. During this time, the muscle fibers relax. The juices redistribute evenly throughout the cut.
The internal temperature will also rise by about five degrees due to carryover cooking. This is why you pull the steak out slightly below your target temperature.
If you like adding butter or a finishing sauce, place it on top during the rest. A slice of compound butter melting slowly over the hot meat adds richness without burning. You could even serve it alongside something sweet and sticky, similar to how people pair rich meats with a honey garlic glaze for contrast.
Getting a Better Crust Without a Skillet
The biggest complaint about air fryer steak is the crust. It rarely matches the deep, dark sear of a carbon steel pan heated to 600°F. The air fryer maxes out around 400°F to 450°F.
You can push the results closer to a pan sear with a few adjustments.
Dry brining is the most effective method. Salt the steak heavily and place it uncovered on a wire rack in the refrigerator for 12 to 24 hours. The salt penetrates the meat, seasoning it deeply.
More importantly, the cold, dry air of the fridge pulls moisture out of the surface. A completely dry surface browns significantly faster.
Adding a tiny amount of baking powder to your dry rub also changes the chemistry. Baking powder raises the pH level on the surface of the meat. A higher pH accelerates the Maillard reaction.
Use about half a teaspoon mixed into your salt and pepper rub. Do not use baking soda, which tastes metallic and soapy in these quantities. If you want to see how alkaline salts change browning on other proteins, the science behind using baking soda for crispy skin applies similarly here.
You can also preheat the basket itself. Some people leave a small cast iron trivet or a piece of foil in the bottom of the basket during preheating, then place the steak directly on that hot surface. This gives the bottom a head start on searing while the air cooks the top.
Just be careful handling hot metal inside a plastic appliance.
Seasoning Variations Beyond Salt and Pepper
Salt and pepper are the baseline. From there, you can build different flavor profiles depending on what you are serving.
A simple dry rub with smoked paprika, garlic powder, and a pinch of brown sugar adds color and sweetness. The sugar caramelizes quickly, so watch for burning near the end of the cook time.
Marinating works, but it introduces moisture. If you soak your steak in a wet marinade, you must pat it extremely dry before it goes into the air fryer. Otherwise, it will steam.
A better approach is to marinate, wipe it down thoroughly, and then apply a light dusting of cornstarch or flour. Coating the meat in a thin starch layer absorbs residual moisture and creates a micro crust. It is the same principle used when coating poultry in a light flour dredge to guarantee crunch.
Finishing salts matter too. Flakey sea salt like Maldon adds a textural crunch that dissolves differently than fine table salt. Sprinkle it on after slicing, right before serving.
If you want a sauce, make it separately. Chimichurri, peppercorn cream sauce, or a blue cheese crumble all pair perfectly with air fried beef. Making the sauce on the side prevents the air fryer basket from becoming a greasy mess.
You can dip each bite into a flavorful side sauce rather than trying to cook the liquid inside the machine.
Troubleshooting Common Problems
Even with a straightforward method, things go sideways occasionally. Here is what usually happens and how to fix it.
The outside is burnt but the inside is raw.
Your steak was too thick for the temperature, or you did not let it come to room temperature first. A two inch thick steak blasted at 400°F will char the outside before the heat reaches the center. For very thick cuts, lower the temperature to 375°F and add a few minutes to the cook time.
Alternatively, reverse sear it by cooking low and slow first, then turning the heat up at the end.
The steak came out tough and chewy.
You likely overcooked it, or you sliced it with the grain. Always slice against the grain. Cutting across the muscle fibers shortens them, making each piece easier to chew.
This is especially true for cuts with a pronounced grain direction. Overcooking also tightens the proteins until they feel like rubber. Rely on your thermometer, not the clock.
A fast digital probe removes the guesswork entirely.
The air fryer started smoking heavily.
Fat drips off the steak and lands on the heating element or the bottom of the basket. When that fat hits extreme heat, it smokes. To prevent this, put a small amount of water or a slice of bread in the bottom drawer beneath the basket.
The dripping fat hits the water or the bread instead of bare hot metal, stopping the smoke before it starts.
The crust is pale and unappetizing.
The meat went in wet. You skipped the paper towel step, or the air fryer was not fully preheated. Next time, dry the surface aggressively and wait for the preheat cycle to finish completely.
Managing Leftovers and Meal Prep
Air fryer steak reheats poorly in a microwave. Microwaves excite water molecules rapidly, which turns leftover steak gray and rubbery.
If you plan to eat it later, store the unsliced steak in an airtight container in the fridge for up to three days. To reheat, put it back in the air fryer at a low temperature, around 250°F, just until it warms through. This gently brings the temperature up without cooking it further.
Slicing cold leftover steak thin makes excellent additions to salads, sandwiches, or wraps. Cold steak retains its texture much better than reheated steak. If you batch cook proteins for the week, applying this method to your weekly planning saves significant time, much like organizing a structured prep routine for other proteins.
Be mindful of portion sizes if you are tracking intake. Beef is calorie dense, especially fattier cuts like ribeye. Knowing roughly what goes into your meal helps balance the rest of your day, just as you might calculate the totals for other rich appetizers when planning a menu.
Frequently Asked Questions
Can I cook a frozen steak in the air fryer?
Yes, you can, though the results are inferior to cooking a thawed steak. The outside will cook much faster than the frozen center. If you must do it, lower the temperature to 360°F and increase the cooking time by about 50 percent.
Check the internal temperature frequently. You will not get a good crust on a frozen steak because the melting ice keeps the surface wet for too long.
Do I need to flip the steak while it cooks?
Flipping is recommended. The heating element in most air fryers sits at the top. If you leave the steak stationary, the top side receives more direct radiant heat than the bottom.
Flipping it once halfway through the cooking time evens out the browning and ensures both sides develop a crust.
What size air fryer do I need for a steak?
You need enough floor space for the steak to lay completely flat without touching the walls of the basket. A standard 10 to 12 ounce ribeye or strip fits comfortably in a 3 quart basket. If you want to cook two steaks at once, you will need at least a 5 or 6 quart model.
Crowding the basket restricts airflow and ruins the sear.
Is air fryer steak healthier than pan fried steak?
The nutritional difference is minimal. Both methods cook the meat without requiring heavy breading or deep frying. An air fryer allows excess fat to drip away from the meat into the bottom drawer, whereas a skillet leaves the steak sitting in its rendered fat unless you drain it.
The calorie savings from that dripping fat are slight. The main advantage is convenience and less indoor smoke, rather than a drastic health shift.
How do I stop my air fryer from smoking when cooking fatty steaks?
Fat rendering off a ribeye hits the hot base of the machine and smokes instantly. Pour about two tablespoons of water into the bottom drawer before you start cooking. The fat drips into the water instead of onto hot metal.
The water keeps the temperature of the grease below its smoke point. You can also place a small piece of bread under the basket to absorb the drips.
Can I use butter to baste the steak inside the air fryer?
Do not put butter in the basket during the high heat cooking phase. Butter has a low smoke point around 300°F to 350°F. At 400°F, it burns, turns bitter, and creates acrid smoke.
Use a high smoke point oil like avocado oil for the actual cooking. Add butter only after you remove the steak, letting it melt over the resting meat.
Before You Start Cooking
Air fryer steak solves the problem of wanting a good piece of beef without the mess of pan frying. The method relies on dry surfaces, high heat, and precise temperature monitoring. Pick a thick, well marbled cut, pat it completely dry, and trust your thermometer over the timer.
Once you dial in the timing for your specific machine, you will have a reliable dinner ready in under fifteen minutes. Keep your tools sharp, your probe calibrated, and your prep simple.