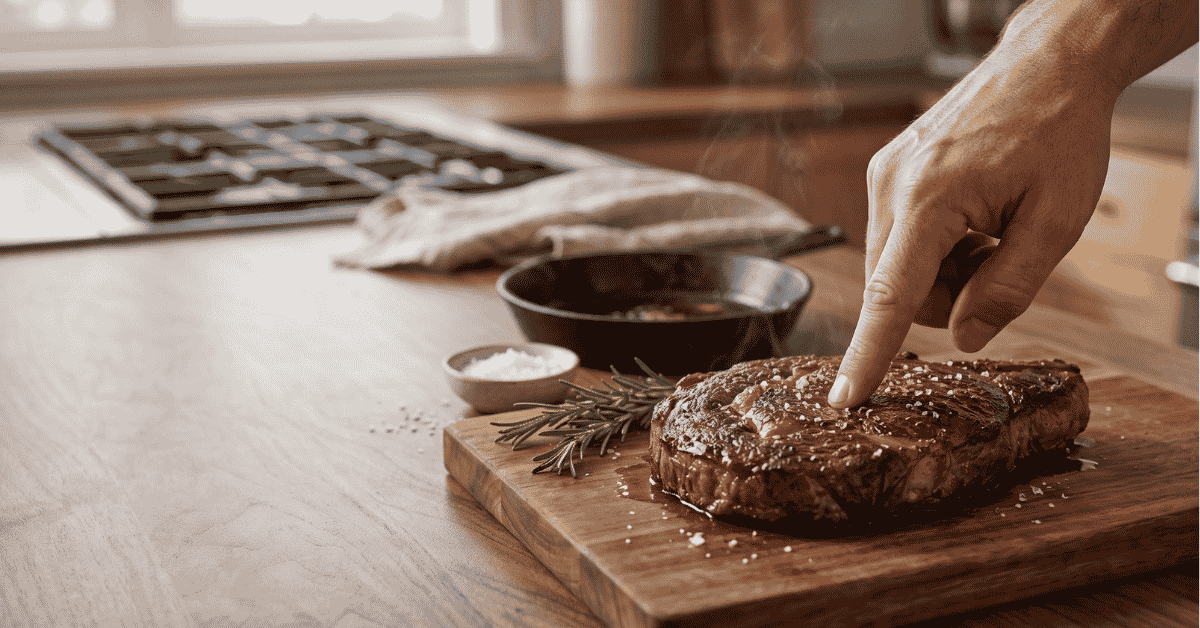
You’ve just pulled a thick ribeye off the grill or taken a roast out of the oven, and the pressure is on. Everyone is hungry, the sides are getting cold, and you suddenly realize the batteries in your digital thermometer are dead, or you simply can’t find it in the kitchen drawer. You don’t want to serve a raw center, but you also don’t want to turn a high-quality cut of meat into leather by overcooking it.
Quick Answer: To check meat temperature without a thermometer, the most reliable method is the “finger test,” where you compare the firmness of the meat to the fleshy area of your palm below the thumb. You can also use the “metal skewer test” by inserting a tester into the center for several seconds and feeling the tip against your lip or wrist to gauge heat. For poultry, look for clear juices and loose leg joints as visual indicators of doneness.
Why Hand and Visual Cues Matter
Professional chefs often cook through dinner rushes without ever reaching for a digital probe. This isn’t magic; it comes down to a deep familiarity with how proteins change as they heat up. When meat cooks, the proteins denature and the muscle fibers tighten, which causes the texture to shift from soft and squishy to firm and springy.
Understanding these physical shifts allows you to gauge safety and texture on the fly. While the USDA recommends specific internal temperatures, like 145°F for beef and 165°F for poultry, for food safety, those numbers correspond to specific physical states. By learning the “feel” of these states, you can avoid common kitchen disasters even when your tools fail you.
The Science of Muscle Firmness
Raw meat has a high water content and relaxed fibers. As heat is applied, the connective tissues and proteins begin to contract. This process pushes out moisture and creates resistance.
A rare steak feels very similar to a raw sponge, while a well-done steak feels more like a piece of solid rubber.
The Role of Color and Juices
Color is a secondary indicator but still provides clues. In red meats, myoglobin, the protein that stores oxygen in muscles, changes from red to pink and eventually to brown as it is exposed to heat. In poultry, the myoglobin levels are lower, so the focus shifts to the clarity of the juices.
Cloudiness or pink tints in the juice usually mean the meat hasn’t reached the temperature needed to set the proteins and kill bacteria.
The Comparison Method: The Finger Test
The finger test is the most popular way to check a steak’s doneness without equipment. This method relies on the “thenar eminence,” which is the fleshy muscle at the base of your thumb. By touching different fingers to your thumb, the firmness of that muscle changes to mimic various stages of cooked meat.
- Rare: Open your hand and keep it completely relaxed. Poke the fleshy base of your thumb with the index finger of your other hand. It should feel soft and have a lot of give. This is what a rare steak (roughly 125°F to 130°F) feels like.
- Medium-Rare: Gently touch the tip of your index finger to the tip of your thumb. Don’t press hard. Poke the base of the thumb again. It will feel slightly firmer but still bouncy. This mimics a medium-rare steak (130°F to 135°F).
- Medium: Touch your middle finger to your thumb. The thumb muscle will tighten further. This tension is very similar to a medium steak (140°F to 145°F) that has a warm pink center.
- Medium-Well: Move your ring finger to your thumb. The base of the thumb will now feel quite firm with very little “squish.” This represents medium-well (150°F to 155°F).
- Well-Done: Touch your pinky finger to your thumb. The muscle will be very tight and hard. This is the feel of well-done meat (160°F and above).
Limitation of the Finger Test
This method works best for individual portions like steaks, pork chops, or burgers. It is not helpful for large roasts, briskets, or whole turkeys because the exterior of a large roast will feel firm long before the center is cooked. Also, remember that different people have different hand sizes and muscle density, so it takes some practice to “calibrate” your own hand to your preferred steak doneness.
The Metal Skewer or Cake Tester Method
If you are cooking a larger piece of meat, like a whole chicken or a roast, the finger test won’t help you see what’s happening in the deep center. This is where the metal skewer method comes in. You can use a thin metal grilling skewer, a clean wire coat hanger, or even a professional metal cake tester.
- The Process: Insert the skewer at an angle into the thickest part of the meat. Leave it there for about five to ten seconds.
- The Check: Quickly pull the skewer out and touch the tip to a heat-sensitive part of your body, such as the inside of your wrist or just below your bottom lip.
- The Results:
- Cold: The meat is still raw or barely warm in the middle.
- Warm (like body temp): The meat is rare.
- Hot (but comfortable): The meat is medium.
- Stinging Hot: The meat is well-done.
This is a favorite technique among French-trained chefs because it is far less invasive than cutting the meat open. A tiny pinhole won’t let valuable juices escape, whereas a knife cut can cause the meat to dry out quickly.
Checking Poultry Without a Thermometer
Chicken and turkey carry a higher risk of foodborne illness, so checking them without a thermometer requires extra caution. According to USDA safety guidelines, poultry should reach 165°F. While you can’t see “165” with your eyes, you can look for three specific signs.
The Juice Test
The most common way to check chicken is to pierce the thickest part of the thigh with a knife or fork. Watch the liquid that bubbles up. If the juices are clear and yellowish, the chicken is likely done.
If the juices have any pink or red tint, or if they look cloudy, the meat needs more time.
The Joint Test
In whole birds, the joints soften as the connective tissue breaks down. Take a pair of tongs and gently wiggle the drumstick. If the leg moves freely or even feels like it’s about to pop out of the socket, the bird is usually fully cooked.
If the leg is stiff and resists movement, the internal temperature is still too low.
The Shrinkage Factor
As meat nears its finish, it begins to shrink slightly. For chicken breasts or small cuts, look at the edges of the meat. When it starts to pull away from the bone or looks “tighter” than when it started, it’s a sign that the proteins have set.
Edge Cases and Variations
Not all meats behave the same way under heat. Your approach should change based on what you are cooking.
- Fish: Fish is much more delicate than beef or pork. You can use the “flake test.” Gently press down on the fish with a fork or your finger. If the segments of the fillet separate easily along the natural lines (flaking), it is done. If the fish is translucent in the center and resists flaking, it’s still raw.
- Ground Meats: Burgers and meatloaves are harder to judge by feel because the grinding process breaks the muscle fibers. The finger test is less accurate here. It’s better to rely on the “nick and peek” method, making a small incision in the center to check for color.
- Thin Cuts: For very thin meats like flank steak or bacon, the texture changes so rapidly that timing is your best friend. A thin steak only needs a few minutes per side to hit medium-rare.
Common Mistakes or Misconceptions
Using these manual methods requires avoiding some common pitfalls that can lead to raw food or burnt dinners.
- Ignoring Carry-over Cooking: Many people forget that meat continues to cook after you remove it from the heat. A steak’s internal temp can rise by 5°F, and a large roast can rise by 10°F or more while resting. If it feels “perfect” on the grill, it might be overdone by the time it hits the plate.
- Cutting Too Early: Slicing into the middle of a steak to see the color is tempting, but it’s a mistake. This lets all the trapped steam and juices escape instantly. If you must cut, make the smallest “nick” possible and don’t press down on the meat.
- Testing Bone-in Meat Incorrectly: Bones conduct heat differently than muscle. If you use the skewer test and hit a bone, the skewer will feel much hotter than the meat surrounding it. Always aim for the thickest part of the muscle, away from any bone.
Quick-Reference: Firmness vs. Doneness
| Feel (Finger Test) | Texture Comparison | Approx. Doneness |
|---|---|---|
| Soft / Squishy | Raw dough or a soft sponge | Rare |
| Bouncy / Spongy | A ripe tomato | Medium-Rare |
| Firm / Springy | A cooked marshmallow | Medium |
| Tight / Tough | A tennis ball | Medium-Well |
| Hard / Rigid | A rubber eraser | Well-Done |
Frequently Asked Questions
Is it safe to eat chicken if the juices are clear but the meat is slightly pink?
Yes, some chicken, especially younger birds or meat near the bone, can retain a pinkish hue even after reaching a safe internal temperature. This is often caused by the hemoglobin in the bones leaching into the meat. If the juices are clear and the texture is “stringy” rather than “rubbery,” it is usually safe, though a thermometer is the only way to be 100% certain.
Why does my steak feel firm but look raw when I cut it?
This usually happens if you cook the meat at a temperature that is too high. The outside sears and tightens up (giving you a false sense of firmness), but the heat hasn’t had time to penetrate the center. This is “blue” or “Pittsburgh style.” To fix this, use lower heat or move the meat to a cooler part of the grill.
Can I use a wooden toothpick instead of a metal skewer?
A wooden toothpick is significantly less effective because wood is an insulator, not a conductor. It won’t pick up the heat of the meat’s center well enough for you to feel on your lip or wrist. Metal is necessary for the “heat transfer” method to work.
Does the finger test work for pork?
The finger test works decently for pork chops, as they have a similar muscle structure to beef steaks. However, because modern pork is often lean, it can go from “medium” to “dry” very quickly. It is best to look for the pork to feel springy with clear juices.
Worth Remembering
Mastering these tactile and visual cues turns you into a more intuitive cook. While a thermometer is a great tool for precision, your senses are the best backup you have. Practice the finger test every time you do have a thermometer handy; by checking the feel and then verifying it with a digital reading, you’ll train your brain to recognize doneness by touch.
Before you start your next meal, remember that resting the meat is just as vital as the cooking process itself. Give your meat at least five to ten minutes of rest before slicing. This allows the fibers to relax and reabsorb those juices you worked so hard to keep inside.


4 thoughts on “How to Check Meat Temperature Without a Thermometer”