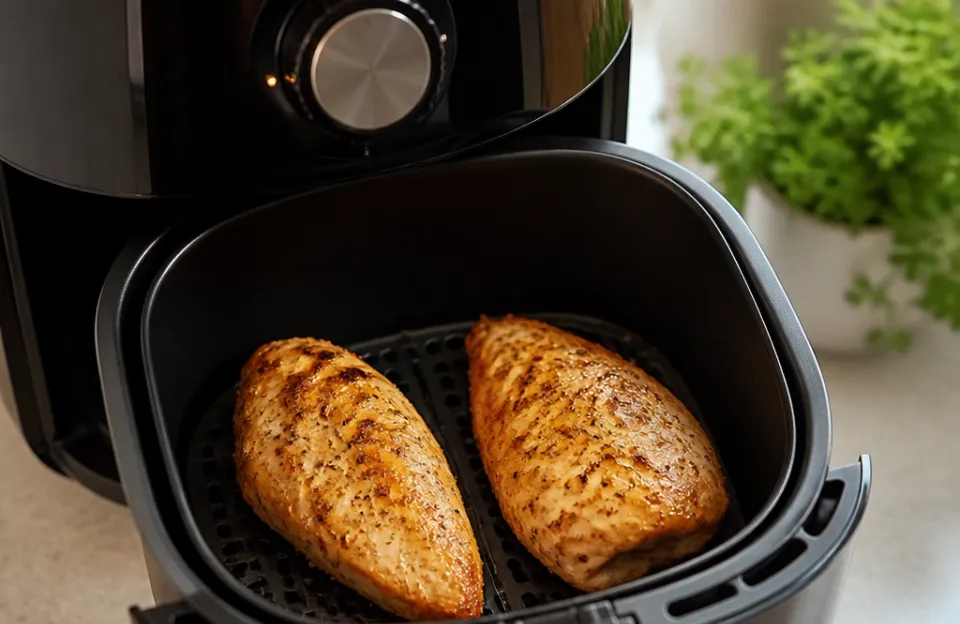
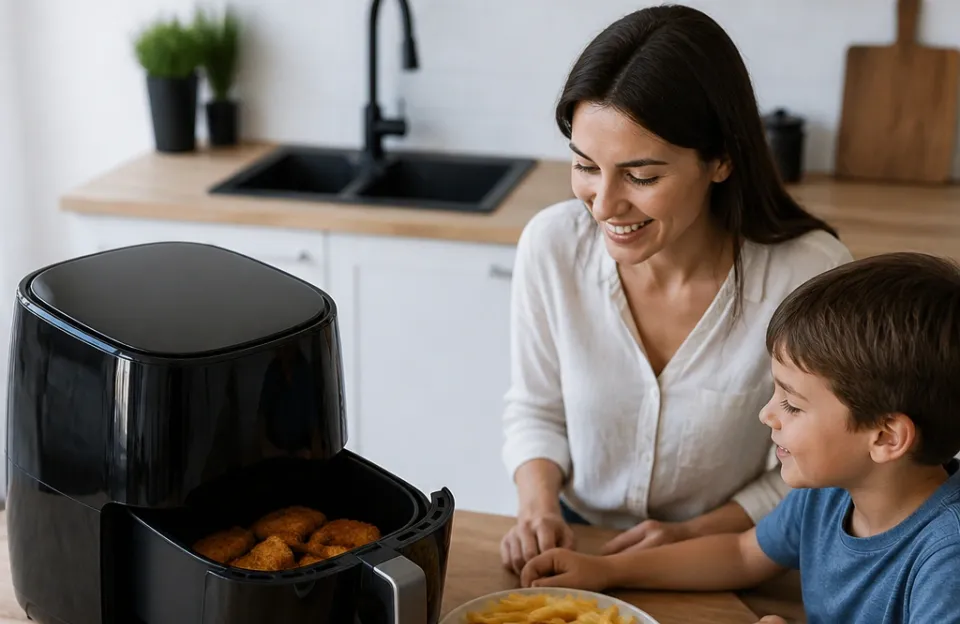
Air fryer chicken nuggets cook in 10 to 12 minutes at 400°F and deliver a crispy exterior without deep frying. You get results that rival fast food texture while using significantly less oil and cutting active cooking time by more than half compared to a conventional oven. The key is proper spacing and a light coating of oil or cooking spray to ensure even browning rather than dry spots.
This guide covers everything from choosing between frozen and homemade options to mastering temperature control for consistent results. We will look at why certain coatings work better than others, how to verify doneness safely, and the specific adjustments needed when your batch size changes. Whether you are reheating leftovers or making a fresh batch from scratch, these methods produce reliable texture every time.
Why Air Frying Changes Nugget Texture
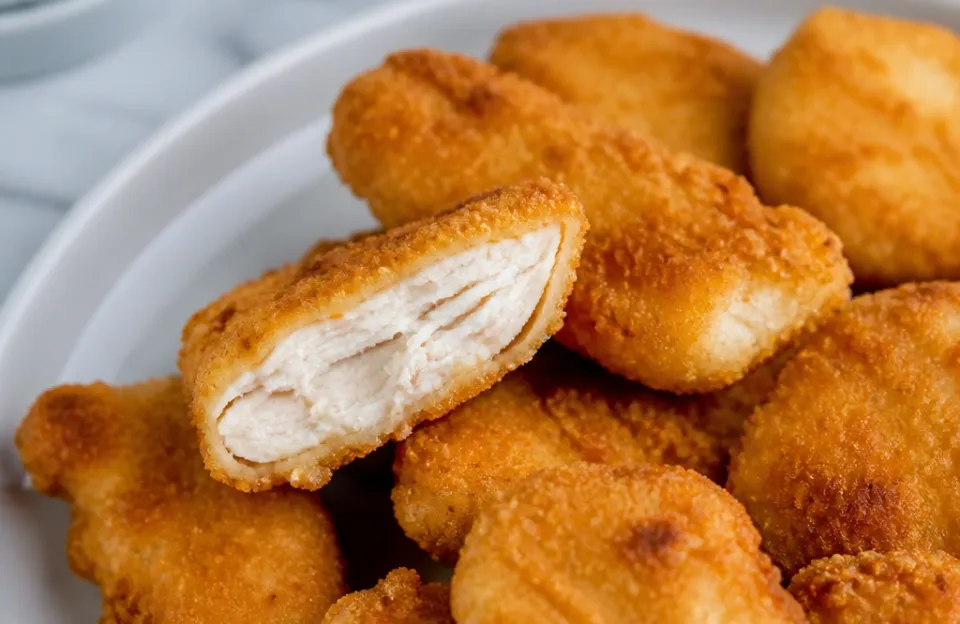
The air fryer cooks chicken nuggets through rapid convection rather than radiant heat alone. A fan circulates superheated air around the food at high speed, which removes surface moisture much faster than a standard oven can manage. This quick dehydration is what creates the signature crunch on breaded items without requiring submersion in hot oil.
Traditional baking often leaves nuggets with a pale or slightly soggy coating because the air inside a large oven cavity moves too slowly to evaporate surface moisture before the interior overcooks. Deep frying achieves crispness through direct oil contact but adds substantial fat content. Air frying occupies a middle ground where the Maillard reaction occurs efficiently on the breading while the chicken inside stays moist due to shorter overall exposure to heat.
The Role of Surface Moisture Control
Crispness depends entirely on how quickly water leaves the breading layer. If the surface stays wet for too long during cooking, the starch gelatinizes into a gummy texture instead of fracturing into flakes. This is why patting raw chicken dry before breading matters just as much as the cooking temperature itself.
Frozen nuggets present a different challenge since ice crystals on the surface must sublimate before browning begins. Preheating the appliance helps overcome this thermal lag. Placing cold or frozen pieces into a cold basket extends the steaming phase and compromises texture.
Giving the unit three to five minutes to reach target temperature before adding food eliminates this problem.
Fat Content and Heat Transfer
Even though air frying uses minimal oil, some fat remains necessary for optimal heat transfer and flavor development. A completely dry coating tends to scorch in isolated spots while remaining pale elsewhere. Lightly spraying or tossing nuggets with one to two teaspoons of neutral oil creates a thin conductive film that promotes uniform color.
This small amount of fat also carries seasoning and helps spices adhere to the crust. Without it, powdered seasonings may fall off during the cooking process or taste raw and dusty. The oil does not make the nuggets greasy when applied correctly.
It simply bridges the gap between dry breading and circulating hot air.
Frozen Versus Homemade Preparation Differences
Most home cooks fall into one of two camps when preparing air fryer chicken nuggets: heating pre-made frozen products or creating custom versions from raw poultry. Each path requires distinct handling because the starting moisture content, thickness, and coating composition vary widely. Understanding these differences prevents undercooked centers or burnt exteriors.
| Attribute | Frozen Store-Bought | Homemade Raw |
|---|---|---|
| Cook Time | 10–12 minutes | 12–15 minutes |
| Temperature | 400°F (200°C) | 375°F–400°F |
| Preheat Needed | Recommended | Essential |
| Oil Required | Optional (usually pre-fried) | Yes (1–2 tsp per lb) |
| Internal Temp Target | 165°F (74°C) | 165°F (74°C) |
| Flip Frequency | Once at halfway | Once or twice |
| Batch Size Limit | Single layer only | Single layer only |
Handling Frozen Products Correctly
Commercial frozen nuggets are typically par-fried before freezing, meaning they already contain oil within the breading structure. Adding extra spray is optional and depends on personal preference for richness. The primary goal here is reheating and crisping rather than cooking raw protein.
Arrange frozen pieces in a single layer with visible space between each one. Stacking causes steam pockets that prevent browning. Cook at 400°F and shake the basket or flip individual pieces after five to six minutes.
Total time rarely exceeds twelve minutes for standard-sized portions. Thicker "pub-style" or dino-shaped varieties may need an additional two to three minutes. Always verify internal temperature reaches 165°F as recommended by USDA food safety guidelines regardless of package instructions.
Making Homemade Versions from Scratch
Raw chicken breast or tenderloins require lower initial heat or closer monitoring to avoid burning the coating before the meat cooks through. Cutting uniform one-inch cubes ensures predictable timing. Marinating briefly in buttermilk or pickle juice adds moisture insurance and helps flour adhere.
Dredge pieces in seasoned flour, dip in egg wash, then coat with panko or breadcrumbs. Panko produces superior crunch in an air fryer because its larger flakes create more surface area for dehydration. Spray the coated pieces lightly with oil before placing them in the preheated basket.
Cook at 375°F to 400°F depending on coating thickness, flipping halfway through. If you enjoy experimenting with other poultry preparations, our garlic parmesan wing recipe demonstrates similar breading principles applied to a different cut.
Temperature Management and Doneness Verification
Guessing doneness by color or time alone risks serving unsafe poultry or drying out perfectly good meat. Visual cues like golden brown breading can appear well before the center reaches safe temperatures, especially with thicker homemade pieces. Reliable verification requires measuring internal temperature directly.
Digital instant-read thermometers provide accurate readings in seconds without guesswork. Insert the probe into the thickest part of the largest nugget in the batch. The reading must hit 165°F minimum.
Remove pieces immediately once this threshold is reached to prevent carryover cooking from toughening the texture. For consistent accuracy across batches, we recommend checking calibration regularly with a reliable tool like a fast-response digital thermometer.
Adjusting for Appliance Variance
Not all air fryers run at identical true temperatures despite matching dial settings. Basket-style models with smaller cavities often cook faster than oven-style units with larger volumes. Wattage differences also affect recovery time after opening the basket to flip food.
Treat published cook times as starting points rather than absolutes. Check progress two minutes before the suggested finish time during your first attempt with any new brand or model. Note whether your unit runs hot or cool and adjust future sessions accordingly.
Keeping a simple log of actual versus expected times builds intuition faster than relying solely on generic charts.
Avoiding Dryness While Ensuring Safety
Chicken breast lacks the intramuscular fat that protects thighs or wings from drying out. Overcooking by even thirty seconds can push texture from juicy to chalky. Brining raw pieces for fifteen to thirty minutes in saltwater solution adds a buffer against moisture loss.
Resting cooked nuggets for two to three minutes allows juices to redistribute before biting. Cutting into them immediately releases steam and liquid onto the plate rather than keeping it inside the meat. This brief pause makes a noticeable difference in perceived juiciness without compromising safety.
Coating Options That Actually Get Crispy
The choice of breading material determines final texture more than almost any other variable. Fine breadcrumbs tend to compact and create a dense shell that can feel hard rather than crisp. Coarse alternatives with irregular shapes trap air and fracture pleasantly when bitten.
Panko breadcrumbs remain the gold standard for air frying because their flaky structure maximizes surface area. Crushed cornflakes or rice cereal offer similar benefits with added sweetness. Almond flour works for low-carb diets but browns faster and requires lower temperatures to prevent burning.
Regular all-purpose flour alone creates a thin skin suitable for tempura-style bites but lacks substantial crunch unless double-dredged.
Seasoning Integration Strategies
Adding salt and spices directly to the flour or crumb mixture distributes flavor throughout the coating rather than concentrating it on the surface where it can burn or fall off. Paprika, garlic powder, onion powder, and black pepper form a solid baseline blend. Cayenne or chili powder adds warmth without overwhelming heat.
Wet marinades contribute flavor too but introduce moisture that fights crispness. If using a wet brine or buttermilk soak, allow excess liquid to drain thoroughly before dredging. Patting marinated pieces dry with paper towels restores the surface condition needed for proper adhesion.
Those interested in balancing indulgence with nutrition might explore our health-conscious wing preparation tips for complementary seasoning ideas that reduce sodium without sacrificing taste.
Adhesion Troubleshooting
Breading sliding off during cooking usually traces back to insufficient binding agent or overcrowding. Egg wash provides the strongest glue for most applications. Mustard or yogurt can substitute for eggs if allergies exist, though adhesion strength varies.
Pressing crumbs firmly onto the chicken after dipping improves mechanical bonding.
Letting breaded pieces rest for five to ten minutes before cooking allows the coating to hydrate slightly and set. Skipping this step increases the chance of shedding during the initial high-heat phase. If problems persist, check whether the chicken surface was adequately dried before applying the first layer of flour.
Batch Sizing and Airflow Considerations
Overcrowding is the single most common reason air fryer chicken nuggets fail. Blocking airflow creates uneven cooking zones where some pieces burn while others steam. Respecting capacity limits matters more than trying to save time by cramming everything in at once.
Most basket-style units handle one pound of nuggets comfortably in a single layer. Oven-style models with multiple racks can accommodate more but still require spacing on each tray. When feeding a crowd, plan to cook in sequential batches rather than risking a ruined load.
Keep finished pieces warm in a low oven (200°F) on a wire rack while subsequent rounds cook.
Rotation and Flipping Technique
Even with perfect spacing, the side facing the heating element receives more direct energy than the bottom. Flipping or shaking at the halfway mark equalizes exposure. Use tongs for precise placement or shake vigorously for loose pieces.
Some recipes suggest flipping twice for extra insurance. This helps when pieces vary in size or when the coating is particularly delicate. Gentle handling prevents breading damage.
If using parchment liners, note that they restrict bottom airflow and may require longer cook times or higher temperatures to compensate.
Reheating Leftovers Without Sogginess
Stored nuggets lose crispness as refrigerated moisture migrates into the coating. Microwaving accelerates this degradation. Reheating in the air fryer at 350°F for three to four minutes restores texture effectively.
Spread leftovers in a single layer and avoid stacking. No additional oil is needed since the original coating retains enough fat. Check frequently to prevent over-drying.
This method works equally well for frozen reheats, though timing extends to six to eight minutes. Pairing reheated nuggets with a fresh honey garlic glaze can revive flavor profiles that fade during storage.
Common Texture Problems and Fixes
Even experienced cooks encounter issues when variables shift. Identifying the root cause saves future batches from repeating the same mistakes. Most problems trace back to moisture management, temperature calibration, or coating selection.
- Soggy or soft coating: Caused by overcrowding, insufficient preheating, or wet chicken surfaces. Fix by reducing batch size, extending preheat time, and patting protein dry before breading.
- Burnt exterior with raw interior: Heat too high or pieces too thick. Lower temperature by 25°F, cut smaller cubes, or use a two-stage cook (lower temp first, then blast at end).
- Breading falling off: Insufficient binder or skipping the rest period. Ensure egg wash coverage, press crumbs firmly, and let coated pieces sit 5, 10 minutes before cooking.
- Dry or tough meat: Overcooking or lean cuts without brine. Use a thermometer, remove at 165°F exactly, and consider brief brining for breast meat.
- Uneven browning: Inconsistent piece size or failure to flip. Cut uniformly, rotate basket or flip pieces at halfway, and check hot spots in your specific unit.
Understanding these failure modes turns frustration into learning. Each correction builds deeper familiarity with how your equipment interacts with different ingredients.
Frequently Asked Questions
Can I cook frozen and fresh nuggets together in the same batch?
Mixing frozen and raw homemade nuggets in one session leads to inconsistent results because their cook times and moisture levels differ significantly. Frozen pieces release steam that can soften fresh breading, while raw chicken needs longer exposure to reach safe temperatures. Cook them separately to maintain quality control over both textures and food safety.
Do I need to use oil spray if my frozen nuggets say "no oil added"?
Many commercial frozen nuggets are par-fried during manufacturing and contain enough embedded fat to crisp without additional spray. Adding oil is optional and purely a matter of preference for richer color or mouthfeel. If you skip it, expect slightly lighter browning but still acceptable texture.
Test both ways once to decide which outcome you prefer.
How do I keep cooked nuggets warm without losing crispness?
Place finished batches on a wire rack set over a baking sheet in a 200°F oven while cooking subsequent rounds. The rack allows air circulation underneath, preventing steam buildup that causes sogginess. Avoid covering with foil or stacking pieces directly on a plate.
This holding method preserves texture for up to twenty minutes without further cooking.
Is it safe to cook chicken nuggets from frozen without thawing first?
Yes, cooking frozen chicken nuggets directly without thawing is safe and actually recommended for most commercially prepared products to maintain coating integrity. The USDA confirms that frozen poultry can be cooked safely as long as the internal temperature reaches 165°F verified with a food thermometer. Expect cook times to increase roughly fifty percent compared to thawed equivalents.
Why do my homemade nuggets taste bland compared to restaurant versions?
Restaurant nuggets often rely on seasoned flour, salted brines, and MSG or yeast extracts for umami depth that home cooks frequently omit. Season every layer of the breading process rather than just the final coating. Incorporate salt, garlic powder, and paprika into both the flour dredge and the crumb mixture.
A brief buttermilk or pickle juice marinade also penetrates the meat with tang and salinity that surface seasoning cannot achieve alone.
Getting Consistent Results Every Time
Mastering air fryer chicken nuggets comes down to respecting physics more than following rigid timers. Moisture removal drives crispness. Uniform sizing drives even cooking.
Temperature verification drives safety. Once these fundamentals become habit, adaptation to different brands, cuts, or appliances happens naturally.
Keep notes on what works in your specific setup. Small adjustments to time, temperature, or technique compound over repeated sessions into reliable intuition. The goal is not perfection on the first try but steady improvement toward results that match your personal standards for texture and flavor.
For those looking to expand beyond nuggets while staying within similar preparation methods, our meal prep wing guide offers scalable strategies applicable to batch cooking various breaded proteins. Building a repertoire of related techniques reduces decision fatigue and makes weeknight dinners smoother overall.