Air fryer chicken wings garlic parmesan is a method for cooking whole or split wings using rapid hot air circulation, then tossing them in a coating of melted butter, minced garlic, and grated Parmesan cheese. The result is skin that crisps up without deep frying, paired with a rich, savory finish. Total time from raw to plated usually lands between 25 and 30 minutes.
This covers the mechanics behind getting the skin crisp, how to build the garlic Parmesan coating so it sticks, the exact temperature targets you need to hit, and the spots where things typically go wrong. If you've made dry wings or ended up with clumpy cheese before, the fixes are here.
Why Hot Air Circulation Crisps Chicken Skin
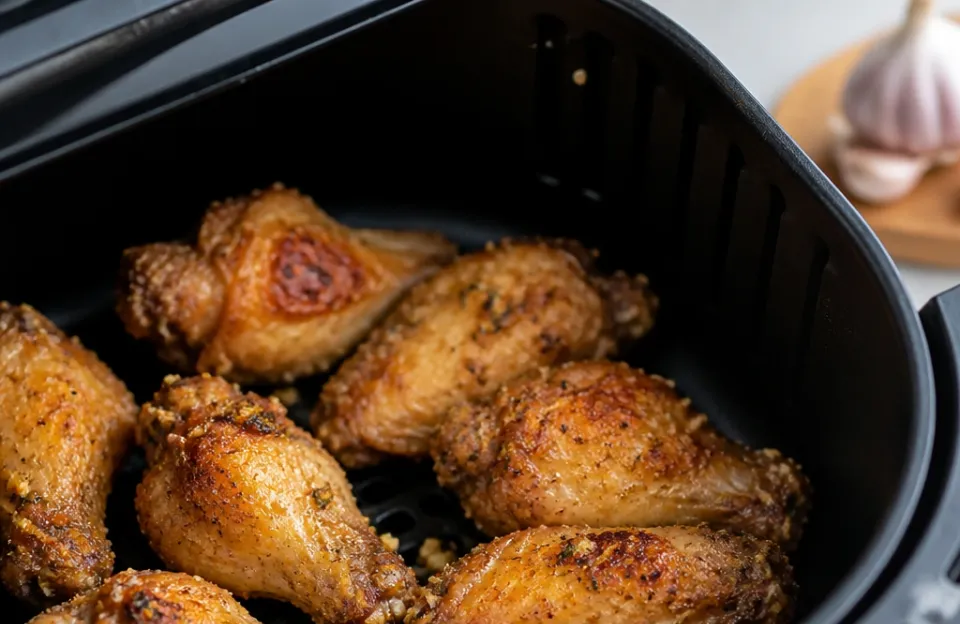
An air fryer cooks by pushing superheated air around the food at high speed. That constant airflow pulls surface moisture off the chicken skin much faster than a standard oven. Once the surface dries out, the fat under the skin starts to render.
Rendered fat frying the dried skin is what creates the crunch. You don't need submersion in oil to get there.
Garlic and Parmesan add flavor, but they also change how you handle the end of the cook. Both ingredients burn easily. Parmesan scorches and turns bitter past 350°F if left exposed too long.
Raw garlic does the same. That's why the coating goes on after the wings leave the basket. Tossing cooked wings in a warm butter mixture melts the cheese just enough to coat the skin without exposing it to direct heating elements.
The USDA requires all poultry to reach an internal temperature of 165°F for safety. Wings have thin meat surrounding dense bones, so they heat through fast. Hitting 165°F gets you safe meat, but pushing the internal temperature closer to 175°F breaks down more connective tissue near the joints.
This makes the meat pull away from the bone easier while keeping the exterior crunchy. A reliable digital probe takes the guesswork out of this step.
Prepping the Wings for Maximum Crunch
Raw chicken wings straight from the package carry a lot of surface water. Water is the enemy of crisp skin. As long as moisture sits on the outside, the air fryer spends its energy steaming the wing instead of browning it.
Pat every wing completely dry with paper towels. Press hard. Get into the folds between the drumette and the flat if you're using whole wings.
Most people stop too early here. The skin should feel tacky and dry to the touch before any seasoning goes on.
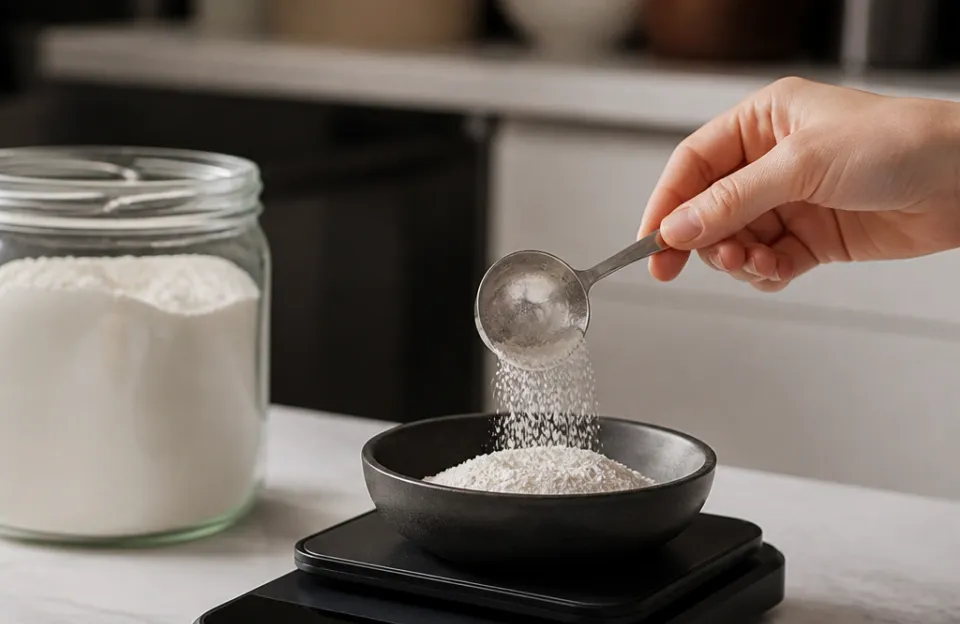
Once they're dry, toss the wings in a light coating of baking powder and salt. Use about one teaspoon of baking powder per pound of wings. Baking powder is alkaline.
It raises the pH of the skin, which speeds up the Maillard reaction. That's the chemical process responsible for browning and flavor development. Make sure you use baking powder, not baking soda.
Baking soda will leave a metallic, soapy taste.
Let the seasoned wings sit uncovered in the fridge for at least an hour if you have the time. The cold, dry air of the refrigerator pulls even more moisture out of the skin. You can leave them overnight for better results.
If you're in a rush, drying them thoroughly and adding the baking powder right before cooking still works.
Cooking Times and Temperatures
Heat your machine to 400°F before putting the wings inside. A preheated chamber starts rendering fat immediately. Dropping raw wings into a cold basket delays the crisping process and can lead to rubbery skin.
Arrange the wings in a single layer. Leave space between each piece. If they overlap, the trapped steam softens the skin on the touching sides.
Cook them in batches if your basket is small. Crowding is the most common reason homemade versions fail to match restaurant quality.
Cook the first side for 12 minutes. Open the basket and flip every wing. Cook for another 10 to 12 minutes.
Total cook time runs 22 to 25 minutes depending on the size of the pieces and your specific model. Drumettes take slightly longer than flats because they're thicker.
Check the internal temperature by inserting the probe into the thickest part of a drumette, avoiding the bone. Bone conducts heat differently than meat and gives false high readings. Using a fast reading thermometer lets you check quickly without dropping the basket temperature too much.
You want to see at least 165°F. For fall-off-the-bone texture, aim for 175°F.
| Wing Size | First Side (400°F) | Second Side (400°F) | Target Internal Temp |
|---|---|---|---|
| Small Flats | 10 minutes | 8 to 10 minutes | 165°F to 170°F |
| Large Drumettes | 12 to 14 minutes | 12 minutes | 170°F to 175°F |
| Whole Wings | 14 minutes | 12 to 14 minutes | 175°F |
If you want to monitor the ambient heat inside the basket during the cook, an oven-safe dial gauge placed in the back corner helps verify your machine is actually holding 400°F. Many countertop models run 15 to 25 degrees cooler than their display claims.
Building the Garlic Parmesan Coating
The sauce is a dry toss, not a wet marinade. You're making a flavored butter that acts as glue for the cheese and garlic.
Melt four tablespoons of unsalted butter in a small saucepan over low heat. Add three to four cloves of finely minced garlic. Cook the garlic in the butter for exactly one to two minutes.
Stir constantly. You want the garlic fragrant and pale gold. If it turns dark brown, it will taste acrid.
Take the pan off the heat immediately if it starts smoking.
Remove the pan from the burner. Stir in half a cup of finely grated Parmesan cheese. Use the powdery kind from a shaker container or microplane fresh cheese very finely.
Shredded Parmesan from a bag won't melt into the butter smoothly. It clumps together and falls off the wings. Add a tablespoon of chopped fresh parsley and a pinch of black pepper.
Salt is usually unnecessary since Parmesan is already heavily salted.
When the wings hit 165°F or your target temperature, pull them from the basket. Transfer them directly into a large, clean mixing bowl. Pour the warm garlic butter mixture over the top.
Toss aggressively with tongs. The residual heat from the wings melts the cheese fully, binding it to the rendered fat on the skin.
Serve them right away. As the butter cools, it solidifies. Waiting more than five or ten minutes causes the coating to stiffen and lose its glossy look.
Using Wireless Probes for Batch Cooking
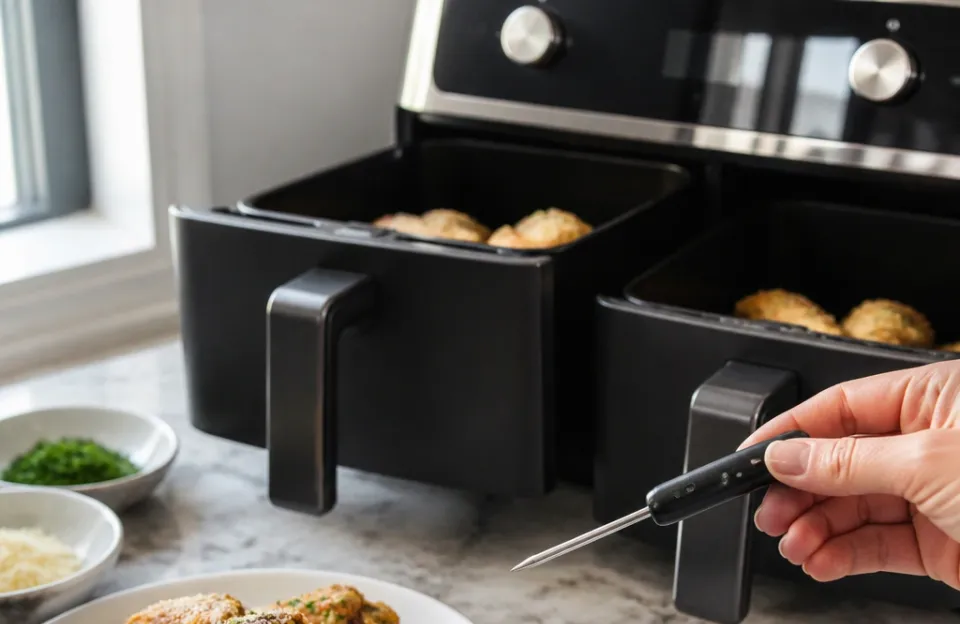
Making air fryer chicken wings garlic parmesan for a crowd means running multiple batches. Opening the basket repeatedly to check temperatures drops the internal heat, extending the cook time and messing up your schedule.
Leaving a wireless probe inside the largest drumette of each batch solves this. You set an alarm on your phone or receiver for 170°F and walk away. When the alarm sounds, that batch is done.
There's no guessing, no opening the drawer prematurely, and no undercooked meat. Models that transmit via Bluetooth let you prep the garlic butter at the stove while tracking the remote temperature readings from across the room.
For larger setups or dual-basket machines where you're cooking flats in one drawer and drumettes in another, a system with multiple transmitters tracks both cuts independently. This prevents the thinner flats from drying out while waiting for the thicker drumettes to finish.
Keep the probe tip centered in the meat. If it touches the basket wall or rests against the bone, the reading reflects the metal or the bone, not the chicken.
What Causes Soggy Skin or Clumpy Cheese
A few specific mistakes ruin the texture of these wings. Knowing them saves you from wasting a batch.
Skipping the drying step. Wet skin steams. Steamed skin stays flabby. No amount of extra time in the air fryer fixes this if the initial moisture wasn't removed with paper towels.
Using pre-shredded cheese. Bagged shredded Parmesan contains anti-caking agents like cellulose. These prevent the cheese from melting into a smooth sauce. It forms grainy lumps that slide off the wings onto the bottom of the bowl.
Grate a block yourself or buy the finely powdered style.
Overcrowding the basket. Wings stacked on top of each other trap steam. Only the pieces on the very top get crispy. The ones buried underneath boil in their own juices.
Cook in single layers only.
Tossing in a cold bowl. If you transfer hot wings into a cold glass or ceramic bowl and pour the butter over them, the temperature drop shocks the butter. It seizes up instantly. The cheese doesn't melt.
Warm your mixing bowl with hot tap water and dry it before adding the wings, or use a metal bowl that heats up quickly.
Adding garlic too early. Burning garlic tastes harsh and ruins the whole batch. Sauté it gently in the melted butter off the main heat source, just until it smells good. Don't roast it alongside the wings at 400°F.
Variations and Adjustments for Different Machines
Basket-style air fryers and toaster-oven-style air fryers behave differently. Basket models circulate air more aggressively because the fan is closer to the food and the chamber is smaller. Toaster oven styles have more volume, meaning the air loses some heat before hitting the chicken.
If you're using a toaster oven style, you might need to add three to five minutes to the total cook time. Check the browning halfway through. If you notice grease pooling at the bottom of the tray, it can smoke.
Lining the drip tray with foil (keeping it clear of the heating elements) catches the fat. Cleaning up that baked-on grease afterward requires specific steps, especially if you plan to make these often. Knowing how to scrub the interior properly prevents old oil from smoking during your next batch.
You can swap the butter for ghee if you want a higher smoke point. Ghee handles heat better than regular butter and adds a slightly nuttier flavor that pairs well with garlic. Olive oil works too, though it changes the flavor profile and doesn't solidify the same way when cooled, leaving the wings greasier to the touch.
Spicy variations are easy. Add half a teaspoon of red pepper flakes to the butter while the garlic softens. Or stir in a tablespoon of hot sauce right before tossing.
Keep in mind that adding liquid hot sauce thins the butter slightly, which can make the Parmesan slide off faster. Toss quickly and serve immediately if you add wet sauces.
Bone-in wings are standard, but boneless chicken breast chunks cut into "wing" shapes work with this method too. Boneless pieces cook much faster. Drop the total time to 14 to 16 minutes at 400°F, and check the internal temp early.
Breast meat dries out rapidly past 165°F.
Frequently asked questions
Can I use frozen wings for this recipe?
Yes, but you need to adjust the process. Do not put frozen wings directly into the basket expecting them to crisp. Cook them at 360°F for 10 minutes first to thaw and release the ice glaze.
Drain the water that pools in the basket. Pat them dry with paper towels, apply the baking powder, and then increase the heat to 400°F for the standard 22 to 25 minutes. Skipping the thaw-and-dry phase guarantees soggy skin.
Why did my Parmesan cheese turn into hard clumps?
This happens when the cheese is too thick or the butter isn't warm enough to melt it. Finely grated or powdered Parmesan incorporates smoothly. Shredded cheese resists melting and balls up.
Also, make sure you take the butter off the heat before stirring in the cheese. Boiling butter separates the milk solids and causes the cheese to seize into a greasy lump.
Is 400°F too hot for chicken wings?
No. High heat is required to render the subcutaneous fat and blister the skin. Lower temperatures like 350°F cook the meat safely but leave the skin chewy and pale.
Watch them closely during the last five minutes, as sugar-free coatings can still scorch if left unattended, but 400°F is the correct target for a crispy exterior.
How do I keep the wings warm for a party without losing the crunch?
Spread them in a single layer on a wire rack set over a baking sheet. Place them in a standard oven set to 200°F. The wire rack allows air to circulate underneath so the bottoms don't steam.
Do not pile them in a bowl or cover them with foil. Trapped steam softens the crust within minutes. Apply the garlic Parmesan toss right before guests eat, rather than holding them coated in a warm oven.
Do I really need baking powder on the skin?
You can skip it, but the texture changes. Baking powder alters the pH of the skin, accelerating browning and drawing out moisture chemically. Without it, you rely entirely on physical drying (paper towels and fridge time).
Wings cooked without baking powder take longer to crisp and rarely achieve the same shatter-like snap. Never substitute baking soda, as it leaves a distinct chemical taste.
Can I make air fryer chicken wings garlic parmesan ahead of time?
You can prep the components. Dry the wings, coat them in baking powder, and store them uncovered in the fridge up to 24 hours in advance. Mince the garlic and grate the cheese ahead of time.
Cook and toss them right before serving. Reheating fully coated wings causes the butter to soak into the skin, turning it soft, and the reheated garlic often develops a sharp, unpleasant bite.
Getting the Timing Right Every Time
Nailing air fryer chicken wings garlic parmesan comes down to moisture control and temperature management. Dry the skin thoroughly, use high heat to force the fat to render, and keep the garlic and cheese away from the heating element until the very last second.
Don't skip the thermometer check. Visual cues on chicken skin can be misleading, especially when baking powder accelerates browning. Verifying the internal temperature protects you from serving undercooked poultry near the bone joints.
Once you dial in the drying step and the post-cook butter toss, the process becomes repeatable every time you run a batch.