A toaster oven air fryer is one of the hardest-working appliances on your countertop. It bakes, broils, crisps, and reheats—often all in a single evening. But that versatility comes with a hidden cost: grease splatters, baked-on crumbs, and sticky marinades accumulate fast inside the compact chamber. If you have been wondering how to deep clean your toaster oven air fryer without damaging its non-stick coating or delicate heating elements, this guide covers every step.
In practice, a deep clean takes about 30 to 45 minutes of active work, plus soaking time. Skipping it leads to smoking interiors, off-tasting food, and eventually a shorter lifespan for the appliance. By following a systematic approach using basic pantry staples, you can restore your machine to factory-fresh condition safely and efficiently. You can also read our guide on is chicken safe to eat at 70c.
Why a Deep Clean Is Essential for Performance and Safety
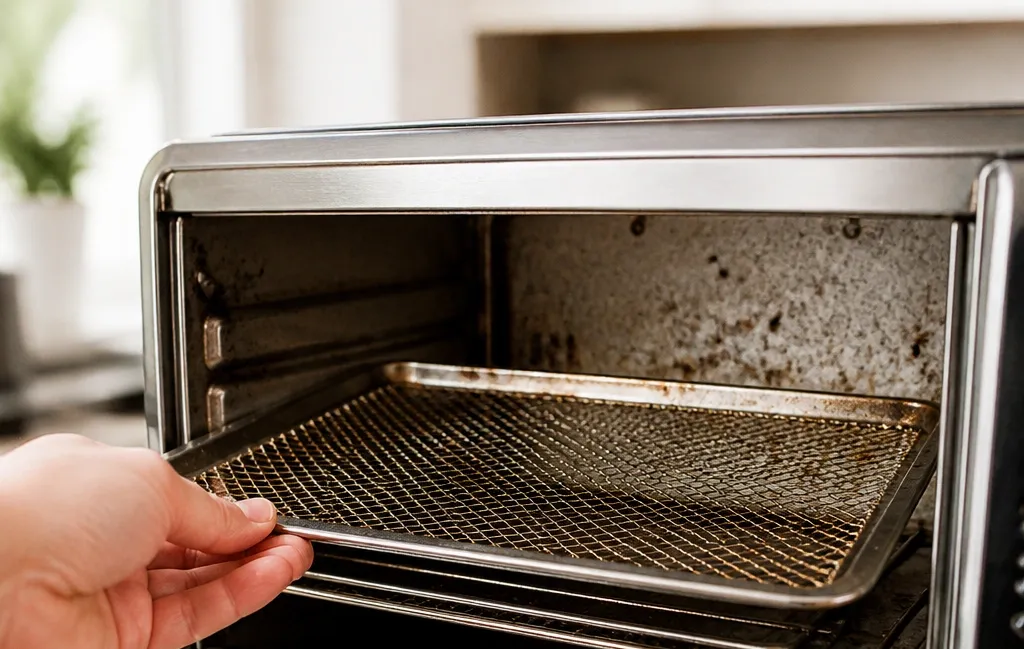
Routine wipe-downs handle surface spills, but they miss the polymerized grease that bonds to interior walls over weeks of high-heat cooking. When old oil repeatedly reaches its smoke point, it releases acrid fumes that settle onto fresh food. Nobody wants their morning toast tasting like last night’s salmon.
Beyond flavor, heavy buildup acts as an insulator. The convection fan has to push harder to circulate air through a greasy mesh basket, and the heating elements struggle to maintain consistent temperatures. This uneven heat distribution directly impacts your results. For instance, if you rely on precise internal readings to cook poultry safely, an appliance running ten degrees cooler than its display suggests will throw off your timing. Always verify doneness with a reliable digital probe rather than trusting visual cues alone, especially in a machine that hasn't been cleaned recently. You can also read our guide on how to clean air fryer toaster oven.
Most importantly, accumulated grease near the top heating coils or the fan motor is a genuine fire hazard. According to the National Fire Protection Association, cooking equipment remains the leading cause of home fires, and uncleaned small appliances contribute significantly to that risk. A thorough cleaning mitigates this danger entirely.
Tools and Supplies You Will Need
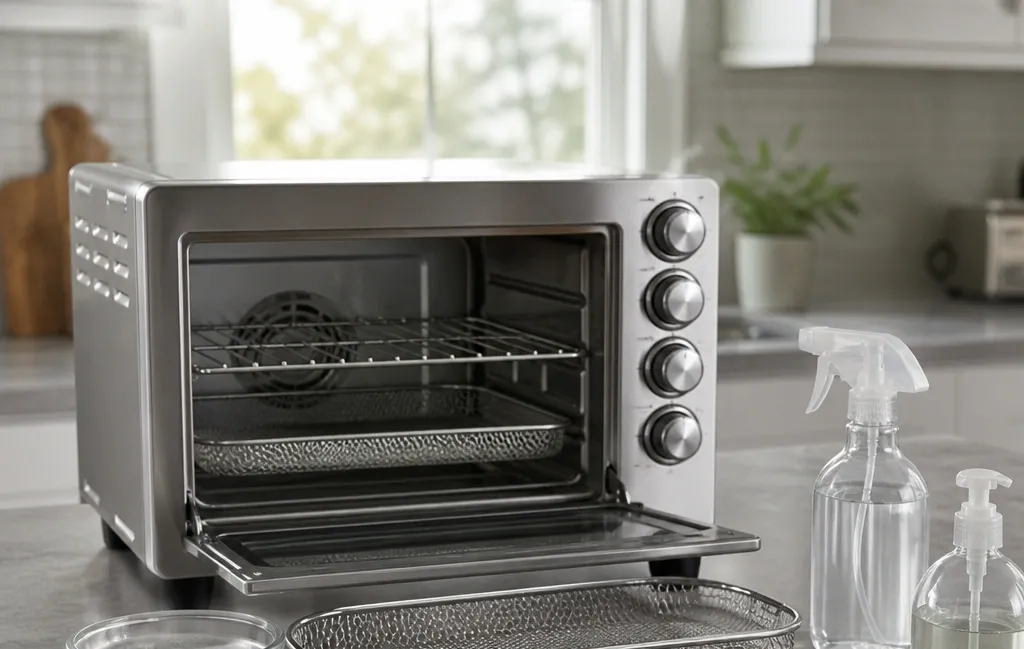
Gathering everything before you start prevents you from leaving a soapy appliance unattended while you search for a sponge. Avoid harsh chemical degreasers; they leave toxic residues unsafe for food contact surfaces. You can also read our guide on how long to bake bread in air fryer.
| Supply | Purpose |
|---|---|
| Mild liquid dish soap | Cuts everyday grease without stripping non-stick coatings |
| Baking soda | Acts as a gentle abrasive and natural deodorizer |
| Distilled white vinegar | Dissolves mineral deposits and cuts stubborn fat |
| Microfiber cloths (3-4) | Lint-free wiping and polishing without scratching glass |
| Soft-bristle brush or old toothbrush | Reaches wire rack intersections and fan crevices |
| Plastic scraper or silicone spatula | Lifts baked-on carbon without gouging metal |
| Spray bottle | Distributes vinegar solution evenly across vertical walls |
| Large basin or sink stopper | Soaks removable racks and crumb trays |
| Rubber gloves | Protects skin from prolonged exposure to hot water and grease |
If you are considering upgrading your current setup because the interior coating has already flaked beyond repair, comparing features across models helps. Understanding whether a French-door design fits better than a standard flip-top model can influence how easily you maintain the appliance long-term.
Critical Safety Precautions Before You Begin
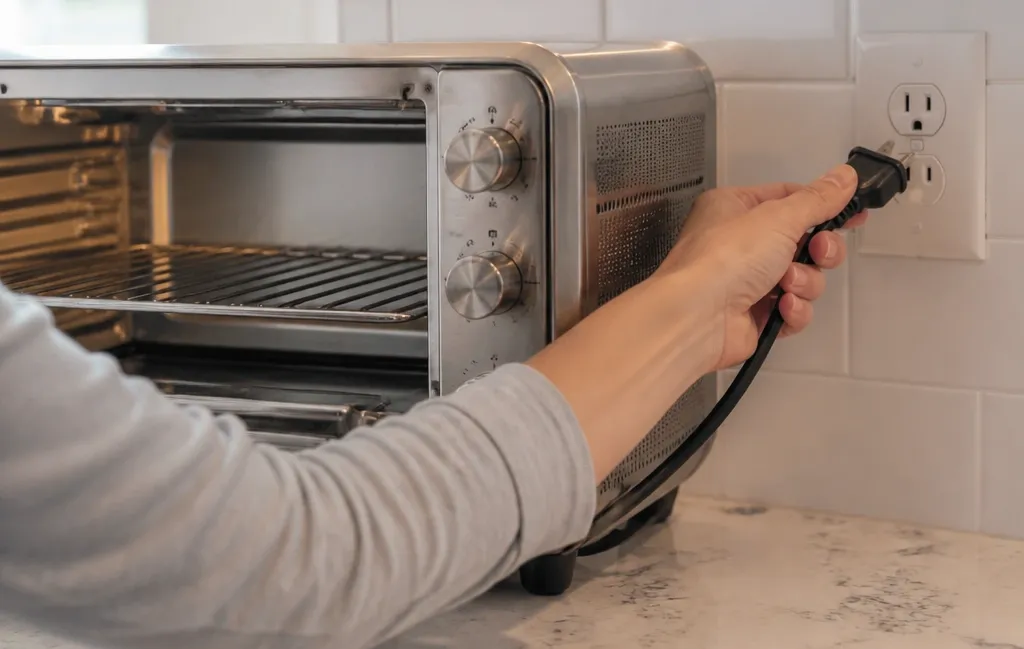
Cleaning an electrical appliance requires strict adherence to safety protocols. A common mistake is assuming the power button being in the "off" position is sufficient. It is not. You can also read our guide on hamburger temperature for food safety what you need to know.
- Unplug the unit completely. Pull the plug directly from the wall outlet. Never yank the cord.
- Allow total cooling. Heating elements retain extreme heat long after cooking stops. Wait at least two hours, or until the exterior feels room temperature. Touching a quartz or nichrome element prematurely causes severe burns.
- Protect electrical components. Never pour water directly into the main cavity. Moisture entering the fan motor housing or the control board will short-circuit the appliance. Use only damp—not dripping—cloths inside the chamber.
- Avoid abrasives. Steel wool and scouring pads permanently scratch non-stick interiors, creating micro-grooves where future grease anchors even more aggressively.
Step-by-Step Guide: How to Deep Clean Your Toaster Oven Air Fryer
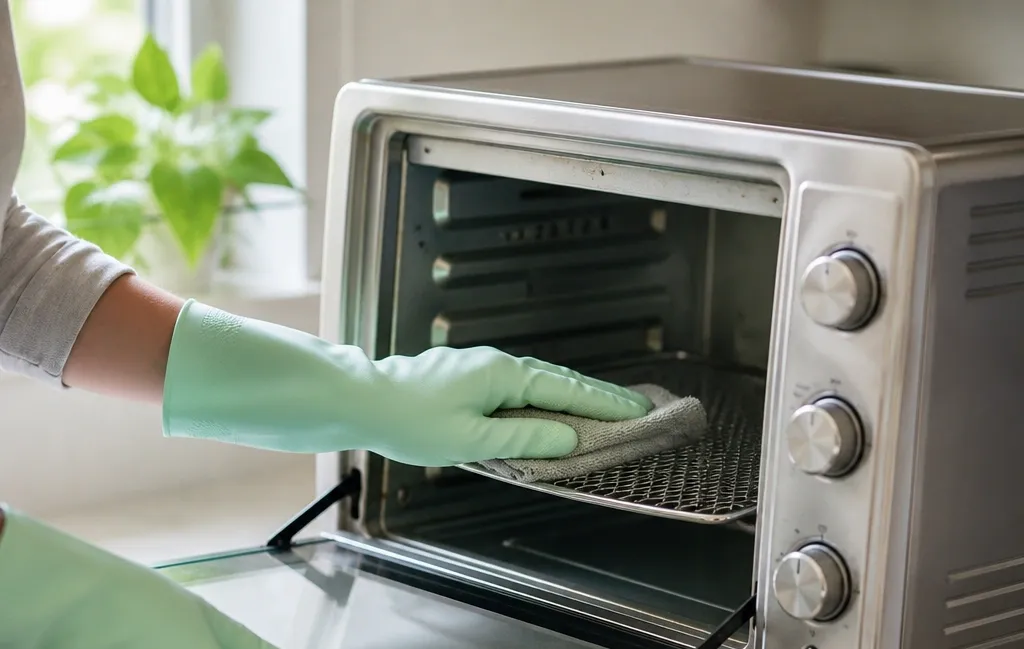
Working systematically ensures no component is overlooked. Start from the loose debris and move toward the bonded grease.
Remove All Accessories and Empty Debris
Slide out the bottom crumb tray and discard its contents into the trash. Next, remove the wire rack, air fryer mesh basket, and any included baking pans. Set them aside in your sink or basin. With the chamber empty, use a dry pastry brush or a handheld vacuum with a soft attachment to sweep out loose crumbs resting on the floor of the oven. Removing dry debris first prevents it from turning into a muddy paste when you introduce liquids later.
Wash the Removable Racks and Baskets
Fill your basin with very hot water and a generous squirt of dish soap. Submerge the crumb tray, wire racks, and air fryer baskets. Let them soak for at least 30 minutes. This dwell time breaks down polymerized fats.
After soaking, scrub the wire racks with your soft-bristle brush. An old toothbrush is invaluable for pushing grease out of the tight intersections of the air fryer mesh basket. Rinse everything thoroughly under warm running water. If your specific model's manual states the basket is dishwasher safe, you can use the top rack, though hand washing consistently preserves non-stick finishes much longer. Dry all parts completely with a towel to prevent flash rusting on exposed metal edges.
Wipe Down the Interior Walls and Ceiling
Mix equal parts distilled white vinegar and warm water in your spray bottle. Lightly mist the interior side walls, back wall, and ceiling. Do not spray heavily enough for liquid to pool or run down into the bottom vents. Allow the solution to sit for five minutes to emulsify the grease.
Wipe the surfaces using a damp microfiber cloth, rinsing the cloth frequently in a separate bowl of clean water. For the floor of the oven, wipe carefully around the lower heating element. If you own a combination unit and often debate which functions actually require the most cleanup, knowing how convection differs from halogen heating helps explain why certain cooking modes leave heavier residue than others.
Clean the Heating Elements Gently
The upper and lower heating elements are fragile. Never scrub them, and never apply chemical cleaners directly to the coils or quartz tubes. Inspect them visually. If you see dried sauce or grease splatters, dip a cloth in plain warm water, wring it out until it is barely damp, and gently wipe the affected section of the element. Support the element lightly with your other hand to avoid bending it. Any minor residue left behind will naturally burn off during your next preheating cycle.
Degrease the Glass Door
Grease bakes onto the interior glass door quickly, obscuring your view of the food. Spray your vinegar solution directly onto a cloth rather than the glass itself to prevent drips from seeping into the door hinges. Wipe the interior glass in circular motions. For stubborn, cloudy spots, apply a thin layer of baking soda paste (three parts baking soda to one part water), let it rest for ten minutes, then buff it away with a damp cloth. Finish by polishing the exterior glass with a dry microfiber towel for a streak-free finish.
Clear the Convection Fan and Vents
The rear or top-mounted convection fan drives the air frying process. Over time, airborne grease coats the fan blades and the surrounding vent grilles, reducing airflow efficiency. Unplugged and cool, use a dry toothbrush to gently dislodge dust and dried grease from the fan blades. Follow up by carefully vacuuming the loosened debris. Never insert wet tools into the fan housing. Keeping this area clear is vital; restricted airflow forces the motor to overwork, which can lead to premature failure.
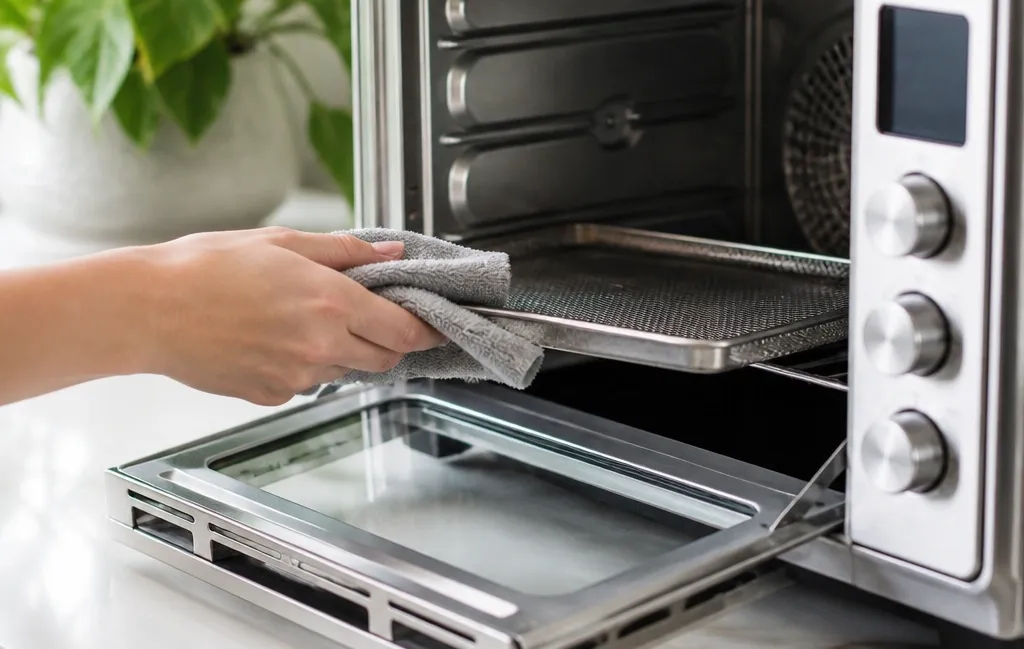
Removing softened grease from the interior walls protects the non-stick coating.
Tackling Stubborn Baked-On Grease
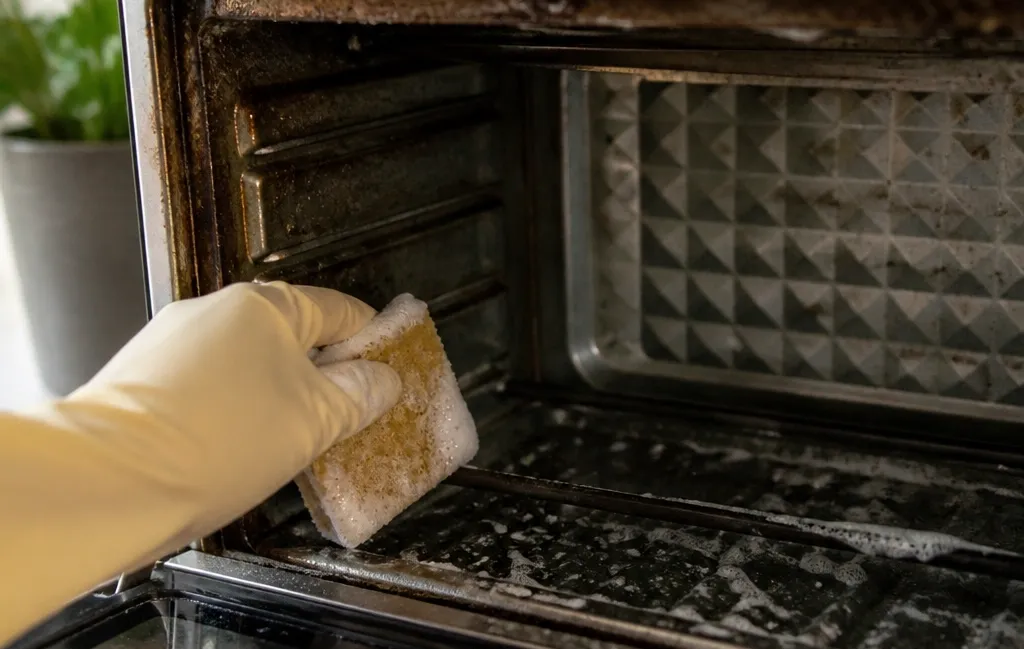
When standard wiping fails against thick, carbonized drips, you need targeted treatments. Patience is more effective than elbow grease here.
The Baking Soda Paste Method
For heavily soiled spots on the interior floor or lower walls, mix baking soda with just enough water to create a thick, spreadable paste. Apply a quarter-inch layer directly over the burnt grease. Leave it undisturbed for at least two hours, or overnight for severe buildup. The alkaline nature of baking soda slowly saponifies the hardened fat. When you return, scrape the softened mass gently with a plastic spatula and wipe the area clean with a damp cloth.
The Steam Loosening Technique
If the entire interior feels tacky, use steam to your advantage. Place an oven-safe ceramic bowl filled with one cup of water and half a cup of white vinegar inside the cold appliance. Plug the unit in, set it to 350°F (175°C), and run it for 10 to 15 minutes. The resulting steam permeates the chamber, softening stuck-on grime. Turn the appliance off, unplug it immediately, and leave the door slightly ajar. Once the interior is cool enough to touch safely (about 20 minutes), remove the bowl and wipe down the walls. The grease will slide off with minimal effort.
This technique works exceptionally well after cooking heavily marinated foods. If you frequently roast large proteins, verifying their final doneness with an accurate wireless thermometer means fewer instances of pulling food out too early, spilling juices, and restarting the cooking cycle—which only adds more splatter to your oven walls.
Cleaning the Exterior and Control Panel
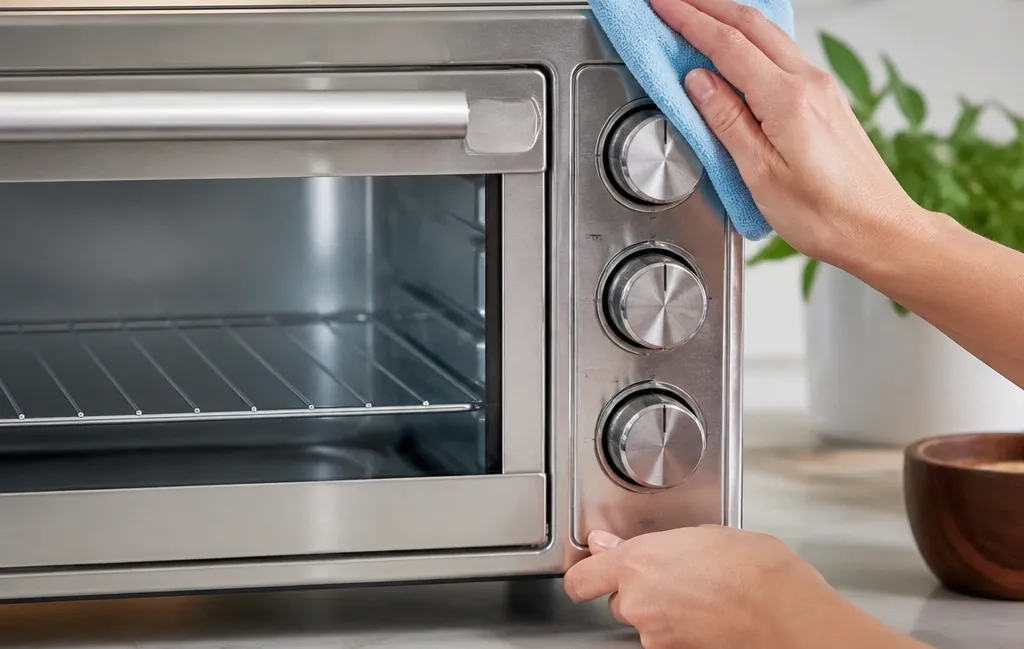
Do not neglect the outside of the appliance. Grease aerosolized during cooking settles on the exterior casing, attracting kitchen dust. Wipe the stainless steel or plastic housing with a cloth dampened with mild soapy water, followed by a dry cloth.
For digital touchscreens and control dials, use a barely damp microfiber cloth. Excess moisture can seep behind buttons and damage the circuitry. If your countertop space features dark cabinetry nearby, keeping the appliance's exterior polished prevents it from looking dull against contrasting backgrounds.
How Often Should You Deep Clean?
The frequency depends entirely on your usage volume and what you cook. Frying bacon daily demands more attention than toasting bagels twice a week.
| Maintenance Level | Frequency | Actions Required |
|---|---|---|
| Daily / Per Use | After every session | Empty crumb tray; quick wipe of visible splatters once cooled. |
| Weekly | Every 7 days (regular use) | Wash racks and baskets in hot soapy water; wipe interior glass. |
| Deep Clean | Monthly (or every 15 uses) | Full interior wipe-down, baking soda treatment, fan detailing, and accessory soaking. |
A practical rule of thumb: if you notice faint wisps of smoke during preheating when the oven is empty, or if your food carries a stale, smoky flavor, a deep clean is overdue. Consistent light maintenance drastically reduces the effort required during your monthly deep clean.
Preventive Habits to Minimize Future Buildup
Adopting a few proactive habits keeps your toaster oven air fryer cleaner for longer stretches.
- Always use the crumb tray. Never operate the appliance without it inserted. It catches falling debris before it hits the heating elements.
- Line drip-prone dishes. When roasting fatty meats or cheesy casseroles, place the provided baking pan beneath the air fryer basket to catch falling grease. Ensure any parchment paper used is weighed down by food so the powerful fan does not blow it into the upper heating element.
- Avoid overcrowding the basket. Piling food too high blocks airflow, resulting in uneven cooking and excessive splattering against the walls. Cook in smaller batches for crisper results and a cleaner interior.
- Wipe spills immediately after cooling. Fresh grease wipes away effortlessly. Grease subjected to three more high-heat cycles becomes a permanent carbon stain.
Taking preventive steps applies to your broader kitchen toolset as well. Whether you are maintaining a specialized countertop oven or ensuring consistent temperature readings from your probes, routine care always outperforms reactive repairs.
Frequently Asked Questions
Can I use commercial aerosol oven cleaners inside my air fryer toaster oven?
No. Commercial oven cleaners contain highly caustic chemicals like sodium hydroxide designed for traditional full-sized ovens. They will strip the non-stick coating off your toaster oven air fryer's interior, damage the heating elements, and leave toxic fumes that contaminate your food. Stick exclusively to dish soap, baking soda, and vinegar.
Is it safe to submerge the main appliance body in water?
Absolutely not. The main housing contains the fan motor, wiring harnesses, and electronic control boards. Submerging the unit will destroy it and create a severe electrocution hazard upon next use. Only the removable accessories (racks, baskets, trays) should be submerged.
How do I eliminate lingering odors after cleaning?
If a fishy or burnt smell persists after a deep clean, place a small oven-safe bowl containing two tablespoons of baking soda inside the unplugged, cool appliance. Close the door and leave it overnight. The baking soda absorbs ambient odors. Alternatively, run the steam method described above using lemon juice instead of vinegar.
Why does my toaster oven air fryer smoke when I turn it on?
Smoke during preheating indicates residual grease or food particles resting on or near the heating elements. This is a direct signal that a deep clean is required. Unplug the unit, let it cool, and thoroughly inspect the upper elements and the floor of the oven for baked-on drips.
Can I put the non-stick air fryer basket in the dishwasher?
While some manufacturers label their baskets as dishwasher safe, the harsh detergents and high heat of a dishwasher degrade non-stick coatings rapidly over time. Hand washing with warm soapy water and a soft sponge is strongly recommended to maximize the lifespan of the basket.
Conclusion
Knowing how to deep clean your toaster oven air fryer correctly protects your investment, ensures your food tastes exactly as intended, and eliminates unnecessary fire risks in your kitchen. By relying on gentle, accessible supplies like baking soda, white vinegar, and mild dish soap, you can dissolve stubborn polymerized grease without scratching delicate non-stick surfaces or damaging sensitive heating elements. The key is consistency: combining quick post-meal wipe-downs with a thorough monthly deep clean prevents minor splatters from becoming permanent carbon buildup.
Your immediate next step is simple. Unplug your appliance right now, pull out the crumb tray, and assess the interior walls. If you see dark, sticky patches or notice a lingering smoky scent, gather your microfiber cloths and baking soda, and tackle the deep clean this weekend. Your next batch of crispy fries will taste noticeably fresher for it.




