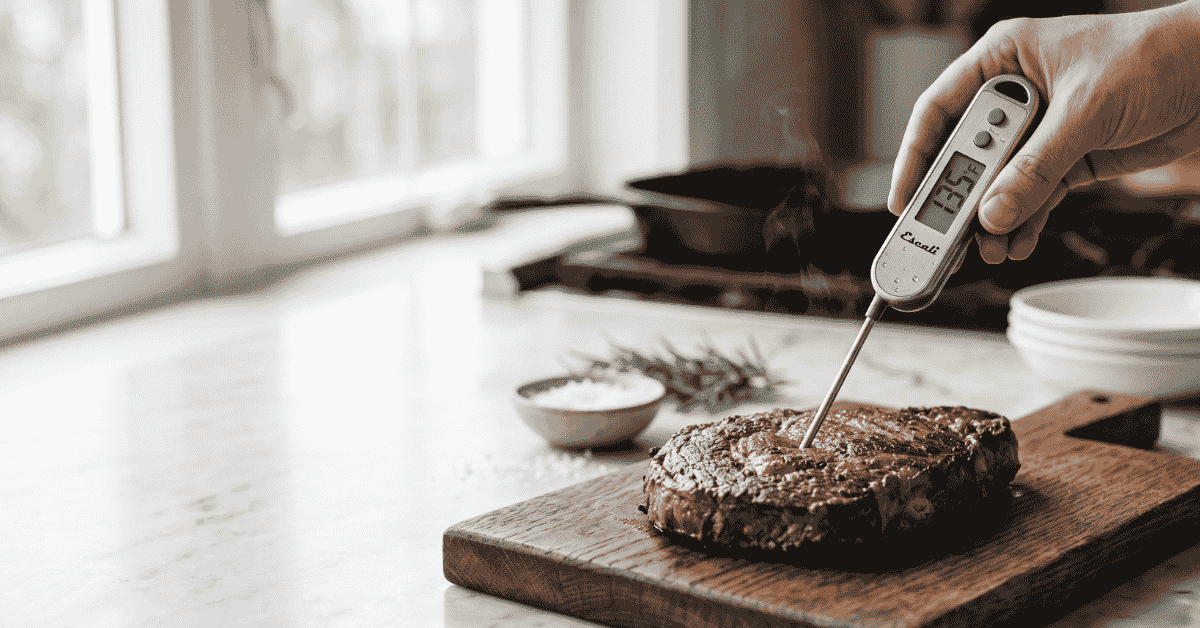
You’ve just pulled a beautiful ribeye off the grill, but as you go to slice it, you start to worry. Is it perfectly pink or dangerously raw? You grab your Escali thermometer, hit the power button, and then realize you aren’t quite sure how deep to poke it or which mode you’re in.
Getting it wrong might mean a dry, overcooked dinner or an extra hour of waiting while the rest of the sides get cold.
Quick Answer: To use an Escali meat thermometer, turn it on and insert the stainless steel probe into the thickest part of the meat, avoiding bone or gristle. Wait about 5 to 10 seconds for the digital display to stabilize, then compare the reading to your target temperature. Always clean the probe with hot, soapy water before and after each use to prevent cross-contamination.
The basics of probe placement and accuracy
Knowing how to use an Escali meat thermometer starts with understanding where the sensor actually lives. Most Escali digital models, like the DH1 or the AH1, have a sensitive thermistor located right at the tip of the metal probe. This means the temperature you see on the screen is the temperature of the exact spot where that tip is resting.
If you don’t push the probe deep enough, you’re just measuring the heat of the air or the outer crust of the meat. If you push it too far and hit a metal pan or a bone, the reading will be artificially high. Bone conducts heat much faster than muscle tissue, so resting the tip against a chicken drumstick bone will give you a “done” reading when the meat around it is still undercooked.
The goal is to find the “thermal center.” This is the part of the meat furthest from any heat source or bone. In a thick steak, that’s the dead center of the cut. In a whole turkey, it’s usually the deepest part of the breast or the thickest part of the inner thigh.
Digital vs. Dial models
Escali makes both digital instant-read thermometers and oven-safe dial thermometers. The digital versions are meant for quick checks. You don’t leave these in the oven while the food cooks.
You open the door, poke the meat, get a reading, and take it out.
The dial models, often made of stainless steel with a glass face, are designed to stay in the meat while it sits in the oven. They usually have a larger probe and take longer to react. If you use a dial model, make sure you can see the face through the oven window so you don’t have to keep opening the door and letting the heat out.
Switchable units and power
Most Escali digital thermometers have a small button on the back or near the display to switch between Celsius and Fahrenheit. If your screen suddenly shows a very low number like “55” for a cooked steak, you’ve likely bumped the button and switched to Celsius. Press it once to get back to the familiar Fahrenheit scale used in most US recipes.
Keeping the battery fresh is also a big part of a successful cook. If the display looks dim or the numbers start jumping around wildly, the button cell battery is likely dying. Most models use a standard CR2032 or LR44 battery.
It’s a good idea to keep a spare in your kitchen drawer so you aren’t stuck with a dead tool in the middle of a holiday dinner.
Step-by-step instructions for a perfect reading
Using the tool correctly is about timing and technique. You want to be fast so you don’t lose oven heat, but steady enough to get a real number.
- Sanitize the probe: Before it touches your food, wipe the metal stem with an alcohol swab or wash it with hot, soapy water. Even if it looks clean from the drawer, bacteria can hide.
- Power on: Press the power button. On many models like the Escali Gourmet (DHC6), the screen will show all icons for a second before settling at the current room temperature.
- Insert the probe: Aim for the center of the thickest part. For thinner foods like burgers or chicken breasts, try inserting the probe through the side rather than the top. This gives the sensor more surface area inside the meat for a more accurate result.
- Hold steady: Don’t wiggle the probe. Wait for the numbers to stop climbing. Most Escali digital thermometers take between 5 and 10 seconds to lock in the final temperature.
- Check multiple spots: In a large roast or a whole bird, check at least two different spots. You might find that one side of your oven is hotter than the other.
- Clean and store: Once you’re done, wash the probe immediately. Be careful not to submerge the digital head in water unless your specific model is rated as waterproof. Most are only “splash-proof.”
Target temperatures for safety and flavor
The reason we use a thermometer is to hit that perfect balance between food safety and moisture. The USDA provides clear guidelines for internal temperatures to kill off harmful bacteria. However, many chefs pull meat off the heat a few degrees early because of “carryover cooking.”
Carryover cooking happens when the heat from the outside of the meat continues to travel inward even after you take it out of the oven. A large roast can rise by 5 to 10 degrees while resting. If you want a final temperature of 145°F, you might want to pull it out when the Escali reads 138°F.
| Meat Type | USDA Safe Temp | Texture Preference |
|---|---|---|
| Chicken & Turkey | 165°F (74°C) | Always 165°F for safety |
| Ground Beef | 160°F (71°C) | No pink for safety |
| Beef Steak (Med-Rare) | 145°F (63°C) | Pull at 135°F-140°F |
| Pork Chops | 145°F (63°C) | Slight blush is okay |
| Fish | 145°F (63°C) | Flakes easily with a fork |
For more details on these standards, you can visit the USDA Food Safety and Inspection Service site.
Calibrating your Escali thermometer
Even the best thermometers can drift over time. If you suspect your Escali isn’t accurate, you can test it using the “ice bath” method. This is the most reliable way to check calibration without fancy lab equipment.
Fill a tall glass with crushed ice and add just enough cold water to fill the gaps. Stir it and let it sit for a minute. Insert the thermometer probe into the center of the ice slurry, making sure not to touch the sides or bottom of the glass.
Stir the probe gently.
A calibrated thermometer should read exactly 32°F (0°C). If your Escali is off by more than two degrees, check your manual. Some digital models have a “CAL” button that allows you to reset the base reading while the probe is in the ice water.
If your model doesn’t allow manual calibration, you’ll simply need to remember the offset (e.g., “it always reads 2 degrees high”) or replace the unit.
Edge cases: Thin meats and liquid temperatures
A common struggle is using a probe on very thin foods. If you’re grilling a thin piece of tilapia or a flat skirt steak, the probe might go all the way through and touch the grill grates. In this case, use a pair of tongs to lift the meat off the heat for a second.
Slide the probe into the side of the meat horizontally. This keeps the sensor fully encased in the food and away from the 500-degree grill surface.
You can also use your Escali for things besides meat. It works great for checking the temperature of water when blooming yeast for bread (usually 105°F, 110°F) or checking if a loaf of sourdough is done (usually 205°F, 210°F). Just remember that these probes are not designed for candy making or deep frying.
The high heat of boiling sugar or hot oil can melt the plastic housing or damage the internal electronics if left too long.
Common mistakes to avoid
- Leaving a digital thermometer in the oven: Unless the box explicitly says “Leave-in” or “Oven-safe,” the plastic will melt. Most Escali digital models are for instant-checking only.
- Touching the bone: As mentioned, bones lead to false readings. If you feel a hard resistance, pull back half an inch.
- Assuming the “Done” light is always right: Some models have pre-programmed settings for “Beef” or “Poultry.” These are based on USDA maximums, which might be more “well-done” than you prefer. Always look at the actual number.
- Not resting the meat: If you cut the meat immediately after checking the temp, the juices will run out. Let it rest for 5 to 10 minutes. The thermometer is for the cook, but the rest is for the flavor.
- Submerging the whole unit: Most Escali units are not dishwasher safe. Washing the electronic head will cause the screen to fog up or the circuit board to short out.
Frequently asked questions
Can I leave my Escali thermometer in the meat while it’s on the grill?
Only if it is a specific “leave-in” wired probe model or an analog stainless steel dial thermometer. Standard handheld digital Escali thermometers will melt if left inside a closed grill or oven.
Why does my thermometer show “LHH” or “LLL”?
These are error codes. “LLL” usually means the temperature is below the unit’s range (or the battery is very low). “HHH” or “LHH” means the temperature is too high for the sensor, which can happen if you expose it to a direct flame or a very hot pan.
How do I change the battery?
Most Escali models have a small circular battery door on the back. You can often use a coin to twist it open. Be sure the “+” side of the battery is facing up when you replace it.
Is the Escali thermometer waterproof?
Most are splash-resistant, meaning they can handle a light wipe with a damp cloth. Do not soak them in a sink or put them in the dishwasher, as water will get behind the screen and ruin the electronics.
Worth remembering
An Escali meat thermometer is a simple tool, but using it correctly changes everything about your cooking. It moves you away from guessing based on color and toward a scientific approach that hits the mark every time. Just remember to aim for the center, avoid the bone, and give the digital sensor a few seconds to finish its “math” before you pull it out.
If you keep the probe clean and the battery fresh, a single thermometer can last through years of Sunday roasts and backyard BBQs. It’s the easiest way to give yourself peace of mind and ensure your guests are eating food that is both safe and delicious.


