A coffee maker not heating usually means a blown thermal fuse, a burned-out heating element, or heavy mineral buildup blocking the water flow. You can fix most of these problems yourself with basic tools and about twenty dollars in parts. The hardest part is simply opening the case without breaking the plastic clips.
Why Your Coffee Maker Not Heating Is Usually Fixable
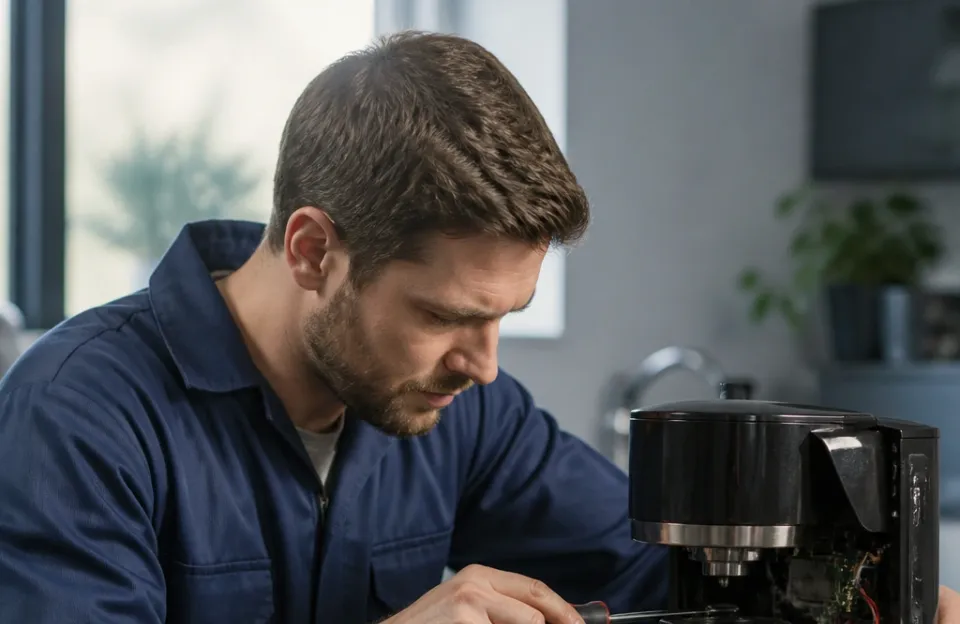
When you press the brew button and nothing happens, or the machine turns on but the water stays cold, your first thought is probably to throw it away. Don't do that yet. Standard drip coffee makers have very simple electrical layouts.
Power comes from the wall, goes through a switch, passes through one or two safety fuses, and reaches a metal tube that gets hot. If any single link in that chain breaks, the heat stops.
Because the design is so basic, finding the broken link is straightforward. You don't need an engineering degree. You just need a screwdriver, a cheap multimeter, and a little patience.
We compared specs, materials, warranty terms, and the complaints that come up most often for this type of product, and the pattern is always the same: a few specific parts fail far more often than others.
Before you take anything apart, think about how old the machine is and what kind of water you use. If you live in an area with hard water and never run vinegar or a descaling solution through the tank, minerals might be choking the system. If the machine is over five years old, a small electrical part has likely just reached the end of its natural life.
Both situations are worth fixing if you like the brewer.
Say you have a mid-range 12-cup drip machine that cost around sixty dollars. A replacement thermal fuse costs about four dollars online. A new heating element might cost fifteen.
Spending ten dollars and thirty minutes to save a sixty-dollar machine makes sense. But if you own a budget model that cost twenty dollars brand new, the math changes. You also need to consider the appliance's overall safety and whether keeping older gear running fits your routine, much like checking if small kitchen appliances meet current material standards before continuing to use them daily.
The First Things To Check Before Opening The Case
Always start with the obvious. It sounds silly, but people skip these steps and end up taking apart a perfectly good machine.
Check the outlet. Plug a lamp or your phone charger into the exact same socket. If the lamp doesn't turn on, your problem is a tripped breaker or a dead outlet, not the coffee maker. Kitchens share circuits with microwaves and toasters, so a tripped breaker is common.
Look at the power cord. Pull the plug out and inspect the entire length of the cord. Look for fraying, chew marks from pets, or a bent prong. A damaged cord means the machine needs professional repair or replacement.
Do not try to tape over a bad power cord.
Run a cleaning cycle. Mineral scale builds up inside the aluminum heating tube. Over time, this scale acts like insulation. The element gets hot, but the heat cannot reach the water.
The machine senses it is getting too hot internally and shuts itself off early, or the water barely warms up. Fill the reservoir with equal parts white vinegar and water. Run a full brew cycle without coffee grounds.
Let it sit for thirty minutes. Then run two cycles with fresh water to rinse it out. If the heating returns, you just saved yourself a lot of work.
If none of those three steps bring the heat back, the issue is internal. Unplug the machine. Leave it unplugged while you get your tools ready.
How A Drip Coffee Maker Heats Water
To fix the problem, you need to know how the machine works. Understanding the different ways brewing equipment manages water temperature helps explain why simple drip models fail so predictably.
Inside a standard drip coffee maker, there is an aluminum tube shaped like a horseshoe or a straight line. This tube sits directly against the warming plate on the bottom. Wrapped around or attached to this aluminum tube is a resistive heating element.
When electricity flows through the element, it generates intense heat.
Water drips from the reservoir down into one end of this aluminum tube. As the water hits the superheated metal, it boils instantly. The boiling creates steam pressure.
That pressure pushes the hot water up a silicone hose and out over the showerhead, where it drips onto your coffee grounds. There is no mechanical pump in a standard drip machine. The boiling action itself is the pump.
If the heating element fails, the water never boils. No boiling means no pressure. No pressure means no water moves, and no heat reaches your carafe.
Between the power cord and the heating element, there are safety devices called thermal fuses. These are tiny metal cylinders, usually wrapped in fiberglass sleeves. They act as one-time-use gates.
If the machine gets dangerously hot (for example, if someone leaves it on empty for hours), the thermal fuse melts its internal wire and permanently cuts the power. This prevents fires. Once a thermal fuse blows, the machine will not heat again until you replace it.
Tools You Need For The Repair
You only need a few things to diagnose and fix a coffee maker not heating.
- Screwdrivers: Most machines use Phillips head screws. Some use security Torx screws (the star shape with a pin in the middle) to discourage home repairs. A basic multi-bit driver handles both.
- Multimeter: This tool measures electrical continuity. You set it to the continuity setting (usually marked with a sound wave symbol). When you touch the two probes together, it beeps. You use it to check if electricity can flow through a part. A basic digital multimeter costs between ten and fifteen dollars.
- Crimp connectors or high-temp wire nuts: You cannot solder thermal fuses. The heat from a soldering iron will blow the new fuse instantly. You must crimp them or use ceramic wire nuts rated for high heat.
- Descaling solution: White vinegar works, but commercial descaling liquids remove calcium faster.
Opening The Machine Safely
Unplug the coffee maker. Pour out any remaining water from the reservoir. Remove the filter basket and the carafe.
Turn the machine upside down on a soft towel so you don't scratch the top. Look for screws on the bottom plate. Sometimes they are hidden under rubber feet.
Pry the rubber feet up gently with a flathead screwdriver to check.
Once the screws are out, the bottom cover might still stick. Manufacturers use plastic tabs to hold cases together. Slide a flat piece of plastic, like an old gift card, along the seam to pop the tabs loose.
Don't use a metal screwdriver for this, as it will gouge the plastic.
Lift the bottom cover slowly. Watch out for short wires connecting switches or indicator lights to the main board. Take a photo of the wiring layout with your phone before you touch anything.
This photo is your map for putting it all back together.
Finding The Broken Part With A Multimeter
Set your multimeter to the continuity setting. Touch the probes together to confirm it beeps. Now you are going to test the components in order, starting from where the power enters the machine.
Testing The Thermal Fuses
Locate the thermal fuses. They look like tiny silver bullets, usually tucked inside fiberglass sleeves, pressed tightly against the heating element or the aluminum tube. Follow the wires from the power switch to find them.
Disconnect one wire from the thermal fuse. (Pull the spade connector off; don't yank the wire.) Touch one multimeter probe to each end of the fuse.
If the multimeter beeps, the fuse is good. Electricity can pass through it.
If the multimeter stays silent, the fuse is blown. This is your problem.
Test every thermal fuse in the circuit. Most machines have one or two.
Testing The Heating Element
If the fuses are fine, test the heating element itself. Disconnect the wires leading to the element. Place a probe on each terminal of the element.
You should hear a beep, and the screen should show a low resistance number, usually between 10 and 50 ohms. If it stays silent or reads "OL" (open loop), the internal wire of the heating element has snapped. The element is dead.
Testing The Switch
Sometimes the brew switch itself fails. Test it the same way. Put the probes on the switch terminals while pressing the button.
It should beep when pressed and stay silent when released.
| Part | What It Does | How It Fails | Cost To Replace |
|---|---|---|---|
| Thermal Fuse | Cuts power if too hot | Blows permanently after one overheat event | $3 to $8 |
| Heating Element | Boils the water | Internal wire snaps from age or scale buildup | $12 to $25 |
| Brew Switch | Starts the cycle | Contacts wear out or melt | $5 to $10 |
Replacing A Blown Thermal Fuse
This is the most common fix for a coffee maker not heating. Thermal fuses are cheap, but you must buy the exact right one.
Look at the metal body of the blown fuse. It will have numbers stamped on it. You are looking for the temperature rating (for example, 192°C or 216°C) and the amperage rating (usually 10A or 15A).
You must match the temperature rating exactly. If you use a fuse with a higher temperature rating, the machine could catch fire before the fuse blows. If you use a lower rating, it will blow immediately during normal brewing.
Cut the old fuse out, leaving enough wire to attach the new one. Strip about a quarter inch of insulation off the wire ends. Slide a crimp connector onto the wire, insert the leg of the new thermal fuse, and squeeze the connector tight with pliers.
Repeat for the other side.
Do not use electrical tape alone. The inside of a coffee maker gets incredibly hot. Standard electrical tape will melt, become sticky, and potentially cause a short circuit.
Use high-temperature fiberglass sleeves to cover the connections if the original ones are damaged.
Replacing The Heating Element
If the element is dead, the repair is harder but still possible. You need to find a replacement element that matches your specific coffee maker brand and model. Search the model number (found on a sticker on the bottom of the machine) plus "heating element."
The element is usually bolted to the aluminum tube or clamped tightly against it. Note how it is seated before removing it. Clean the surface of the aluminum tube with a damp cloth to remove any old thermal paste or scale.
Install the new element exactly as the old one sat. If there is a gap between the element and the tube, the heat won't transfer properly, and the new element will burn itself out quickly.
If your machine uses a sealed boiler unit rather than a separate element and tube, you have to replace the entire boiler assembly. These cost more, sometimes twenty to thirty dollars. At that price, weigh the cost against buying a new machine.
Descaling The Heating Tube
Sometimes the element and fuses test perfectly fine, but the machine still struggles to heat or brews very slowly. This points to severe scale buildup inside the aluminum tube.
Vinegar works for light buildup, but heavy calcium deposits need stronger treatment. Commercial descaling solutions use citric acid or sulfamic acid to dissolve minerals faster than vinegar.
Fill the reservoir with the descaling solution according to the package directions. Turn the machine on. Let it brew half the solution into the carafe, then turn the machine off.
Let the hot solution sit inside the internal tubes for an hour. This soaking period does the real work. Turn the machine back on and finish the cycle.
Rinse with at least three full reservoirs of clean water.
If the tube is completely blocked by solid calcium, liquid descaler won't reach it. In rare cases, you can disconnect the silicone hoses and push a flexible pipe cleaner through the aluminum tube, but this risks puncturing the soft metal. If the tube is totally choked, replacing the machine is usually safer.
Keeping the interior free of mineral buildup is a core part of maintaining countertop cooking gear and brewers alike, since restricted airflow or water flow forces heating components to work much harder than intended.
When To Stop And Buy A New Coffee Maker
Knowing when to quit saves you time and money. Not every machine deserves a rescue mission.
Skip the repair if:
- The machine costs less than thirty dollars new. Budget machines use thinner wiring and cheaper plastics. Even if you fix the heating issue, another part will likely fail soon.
- The plastic housing is melted or warped near the heating element. This means the machine ran dangerously hot for a long time. The structural integrity is compromised.
- You cannot find the exact replacement thermal fuse or element. Never substitute parts with different ratings in a heating appliance.
- The power cord is damaged internally where it enters the housing. Repairing a strain-relief cord entry point safely is difficult without specialized tools.
If you decide to replace it, look for a machine with a removable water reservoir. These are easier to clean and less prone to internal scale buildup because you can rinse them thoroughly. Also, check the warranty terms.
Some brands offer three-year warranties that cover heating element failures, which is better than doing your own electrical work.
Safety Warnings You Cannot Ignore
Working with appliances that combine water and 120-volt electricity requires respect. According to the Consumer Product Safety Commission, faulty small appliances are a leading cause of kitchen electrical fires.
Never test continuity while the machine is plugged in. Unplug it every single time before touching internal wires.
Never bypass a blown thermal fuse by twisting the wires together. The thermal fuse is the only thing standing between a stuck switch and a house fire. Bypassing it removes your safety net.
Make sure all crimp connections are tight. Loose wires create electrical arcs. Arcs create extreme heat.
Heat melts plastic and starts fires.
After you reassemble the machine, do a test run without coffee. Fill it with water, plug it in, and watch it closely. Keep a hand near the plug so you can pull it instantly if you smell burning plastic or see smoke.
Let it complete one full brew cycle. Feel the base (carefully) to confirm it is warming up normally. Only leave it unattended once you are certain the repair holds.
Frequently Asked Questions
Can I use regular electrical tape to wrap a new thermal fuse?
No. Regular electrical tape melts at the temperatures found next to a coffee maker heating element. It will turn into a sticky mess and expose bare wire.
Use the fiberglass sleeves that come with the replacement fuse, or buy high-temperature silicone tape rated for at least 300°F (150°C).
Why does my coffee maker turn on but the water stays cold?
If the indicator lights work but the water doesn't heat, the thermal fuse protecting the heating element has likely blown, or the element itself has failed. The lights are on a separate, low-power circuit that doesn't pass through the heavy-duty heating fuses.
How long should a coffee maker heating element last?
With filtered water and regular descaling, a heating element should last five to ten years. If you use hard tap water and never clean the machine, mineral buildup forces the element to overwork, and it can burn out in two to three years.
Is it worth fixing a coffee maker not heating if it's out of warranty?
It depends on the original price. If you paid over seventy dollars for the machine, spending ten dollars on a thermal fuse and thirty minutes of your time is a smart move. If it was a twenty-dollar basic model, the cost of a multimeter and replacement parts exceeds the value of the machine.
Does using bottled water prevent heating problems?
It helps significantly. Bottled or filtered water contains fewer dissolved minerals like calcium and magnesium. Fewer minerals mean less scale buildup inside the aluminum heating tube, which allows the element to transfer heat efficiently without overheating itself.
Matching the right water quality to your specific brewer is just as important as choosing the proper fit for aftermarket accessories to keep everything running smoothly.
Fixing a coffee maker not heating comes down to tracing the path of electricity. Start with the easy checks, test the fuses and element with a multimeter, and replace the broken part with an exact match. Respect the electricity, don't skip the safety fuses, and your morning routine will be back on track without buying a whole new machine.
As an Amazon Associate, we earn from qualifying purchases.