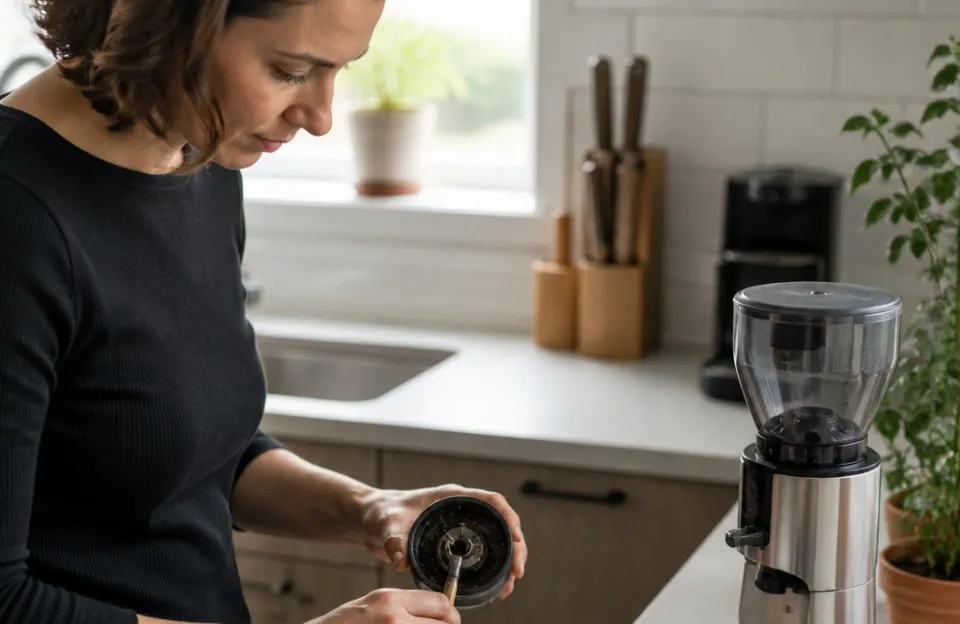
If your coffee maker is not brewing, the first step is to separate a power failure from a water-flow failure. If the machine is completely dead, check the outlet, plug, cord and any GFCI or breaker, and stop immediately if the cord is damaged, the machine smokes or smells burnt, or a breaker keeps tripping. If it powers on but no coffee comes out, work through the checks below in order: cleaning and descaling first, then documented resets and seating checks, and finally service for anything internal. Which of those causes applies depends on your model, so treat the sequence as general guidance rather than a ranking of likely faults. Manufacturer manuals are the authority for your specific machine, and the steps here follow the general pattern those manuals describe.
Why Your Coffee Maker Is Not Brewing: Start with the Symptom
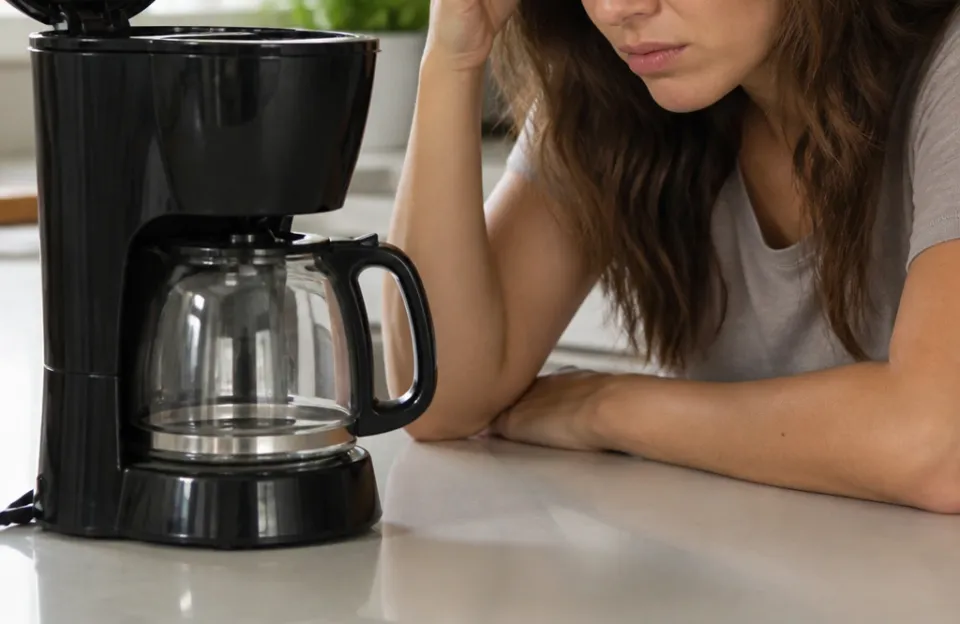
Manufacturer support pages, such as the Hamilton Beach customer service center, publish model-specific manuals and troubleshooting guidance that take precedence over any general sequence.
Two quick observations narrow almost every case down before you touch a tool. Watch the display or indicator light to confirm the machine has power, then listen for the pump during a brew cycle.
- No lights, no sound, no heat: treat this as a power problem and work through Fix 1.
- Lights on, pump silent or faint, little or no water: treat this as a flow or control problem and work through Fixes 2 to 6.
- Water flows but the coffee is cold: the water path is fine and the problem sits with heating or temperature control, which usually means service.
These groupings reflect the general troubleshooting logic published in appliance manuals; your model’s manual may describe different symptoms or checks.
Fix 7 in this guide covers a part that sits inside the machine, so treat it only as a service referral path rather than a home repair. These groupings are general guidance; confirm the specific behavior against your model’s manual, which is the authoritative source for your machine.
Fix 1: Check the Power Supply Safely
Unplug the machine before inspecting anything, and never probe inside a plugged-in appliance.
Confirm the outlet works by plugging in a lamp or phone charger. Check that the plug is fully seated and that the cord is not kinked, frayed or showing exposed copper or burn marks. If the cord is damaged, stop using the machine.
Press the reset button if the outlet or an in-line plug is a GFCI type. If a breaker trips again after you reset it, stop and have the circuit checked rather than repeatedly resetting it.
Stop troubleshooting and seek service if you see any of the following:
- A damaged, scorched or warm-to-the-touch power cord.
- Smoke or a burning smell from any part of the machine.
- Repeated breaker trips when the machine starts.
- Water pooling near the cord or base.
A machine that powers on but will not brew warm water is a different problem from a machine with no power at all, and the next fixes target the first case.
Fix 2: Descale to Clear Mineral Blockage
Mineral scale can build up inside the water path and narrow it, so the pump struggles to move water or the flow slows to a trickle. How quickly that happens depends on your water and how often you descale.
Descaling solution strength, soak time and rinse-cycle counts vary by model. Follow your own manufacturer’s manual rather than copying a ratio from another brand or machine. The general shape of the process, as described in manufacturer manuals, is the same:
- Empty and rinse the reservoir.
- Fill the reservoir to the manual’s descale line with the solution it specifies, or with a dilution it recommends.
- Start the machine’s descale mode if it has one, or run a brew cycle as directed.
- Let the solution sit for the soak time in your manual.
- Rinse by running fresh water cycles until the water runs clear and tastes neutral.
Repeat the descale only if your manual says to and the flow is still restricted. If multiple descaling cycles do not restore normal flow, stop and move to a repair assessment rather than continuing to run solution through the machine.
Fix 3: Clean the Showerhead, Filter Basket and Dispenser
Blocked accessible parts are common causes of slow flow or water backing up in the brew basket.
- Showerhead: remove it if your model allows and rinse away coffee oils and scale. Use a soft brush only if your manual permits.
- Filter basket: empty spent grounds, scrub away residue and check the exit hole for clogs.
- Dispenser and spout: check for crusted coffee and clear visible blockages.
These checks follow the cleaning guidance in typical appliance manuals; your model may list different parts.
These are general cleaning steps; your manual may specify different parts or methods for your model, and it should be followed where it differs.
Use only warm water and, where your manual permits, mild dish soap on removable parts. Rinse thoroughly before reassembly.
If water flows freely from the showerhead but the carafe stays empty, move to the next fix.
Fix 4: Clear Clogs in Pod-Brewer Needles and Water Lines
Single-serve brewers typically use entry and exit needles that pierce the pod. Coffee grounds and scale can block those needles, which can stop brewing even when the machine sounds like it is running.
Cleaning procedures differ by brand and model, so follow the brewer’s manual rather than a generic method. Where the manufacturer permits user cleaning, the routine is to remove the pod holder, rinse accessible needle areas and run the recommended cleaning cycle. Do not jab the needles with wire or pins unless the manual says to, because that can widen the holes or damage the assembly. Manufacturer support pages, such as the Hamilton Beach customer service center, publish model-specific cleaning instructions.
For drip machines, check that any water line the manual allows you to access is clear of scale and debris. Internal line replacement is a repair, not routine maintenance.
If you have cleaned the accessible needles and run the recommended rinse cycles and the brewer still refuses to dispense water, treat it as a hardware fault.
Fix 5: Reset the Machine’s Internal Controls
A stalled control board can leave the machine powered on but unresponsive. A documented reset is a safe step and does not require opening the appliance.
- Unplug the machine or switch off its power button.
- Wait about a minute, as your manual directs.
- Plug it back in and start a water-only cycle.
Some models have a reset button or a specific button combination in the manual. Use only the reset documented for your model. Do not open the appliance or remove the bottom panel to reset internal components. If your manual documents no reset, skip this fix. Your manual is the only reliable source for a reset procedure.
If the machine does not respond to a documented reset, treat that as a control-board or sensor problem and move to the decision table.
Fix 6: Check Carafe, Lid and Sensor Placement
Some models will not start a brew cycle unless the carafe, lid and reservoir are seated correctly. This is the quickest thing to rule out before assuming a hardware fault, though not every brewer has these interlocks.
- Seat the carafe fully under the brew basket and confirm it engages any button or lever at the back.
- Close the lid all the way and check that the reservoir is pushed in until it stops.
- Look for a sensor tab or magnet on the carafe lid that may be misaligned.
- Reassemble the parts you removed during Fix 3 and confirm the brew basket is locked.
Check your manual for the specific interlock behavior of your model.
If the machine begins a cycle once the parts are seated, the cause was the interlock rather than the brewing system.
Fix 7: Inspect the One-Way Valve Only with Model-Specific Service Guidance
A one-way valve, where a model has one, is designed to keep water moving in one direction. When it sticks, water can fail to reach the brew basket or can flow back into the reservoir. Your manual or a qualified technician can confirm whether your model has one and how it should behave.
On many coffee makers this valve sits inside the base or housing, and reaching it means removing panels that expose wiring and heating components. That is not a routine cleaning task and should be done only with model-specific service documentation, or handled by a qualified technician. Manufacturer support pages, such as the Hamilton Beach customer service center, can confirm the service options for your model.
Before deciding the valve is the cause, work through Fixes 2 to 6, because scale and clogs are the parts a home user can safely address according to most manuals.
Symptom-to-Action Table: Safe Checks and When to Escalate
| Symptom | Likely cause | Safe check | When to escalate |
|---|---|---|---|
| No lights, no heat | Power supply | Test the outlet, plug and cord, reset GFCI or breaker once | Damaged cord, smoke, burning smell, or repeated trips: stop and repair |
| Power on, no water | Scale or clog | Descale and clean accessible parts | Flow does not return after full procedure: service |
| Water backs up in basket | Blocked showerhead or filter path | Rinse and clear accessible parts | Persistent backup: service |
| Pod brewer not dispensing | Blocked needles or line | Clean per manual, run rinse cycle | Still blocked: service |
| Buttons unresponsive | Stalled controls | Documented reset, water-only cycle | No response: service |
| No brew, carafe in place | Interlock or sensor | Reseat carafe, lid and reservoir | Startup cycle fails: service |
| Water flows cold | Heating fault | Observe which fault appears before service | Always: service, do not attempt internal repair |
| Water under the machine | Leak or damaged line | Unplug and dry the area, look for a loose reservoir | Leak near electrical parts or persistent: stop and service |
If none of the safe checks resolve the problem, leave the machine unplugged until a technician inspects it.
Know When to Stop Troubleshooting and Seek Service or Replacement
Use the repair decision as a simple rule.
- Safe to repair at home: power, accessible cleaning, descaling and documented resets.
- Seek qualified service: any internal component, damaged cord, repeated breaker trips, leaks near electrics, or a control or heating fault that survives the safe checks.
- Use the warranty: check the manual or the manufacturer’s support site for your coverage terms and the required documents.
For Hamilton Beach models, the company directs customers to its support center for FAQs, product manuals and warranty information. For the fastest warranty service, it asks customers to have the product model number, series code and purchase receipt ready.
If the machine is older and the repair requires internal parts, compare the quote with the cost of a comparable replacement in the same size class. Manufacturer support pages, such as the Hamilton Beach customer service center, list current models and warranty terms for comparison.
If you decide to keep troubleshooting instead of replacing, the related guide on a coffee maker not working covers the same safe steps from a broader angle, and the article on a coffee maker not heating covers temperature problems that this guide does not.
Prevent Future Brewing Failures
A short routine prevents most repeat failures.
- Descale on the schedule your manual sets, adjusted for how hard your water is.
- If hard water is a known issue in your area, check whether your tap water needs treatment before it goes in the reservoir. Standards for household water treatment devices, such as those published by NSF, explain what filtered water matters for in terms of taste and appliance care.
- Empty and rinse the reservoir and brew basket after use to reduce residue.
- Clean the showerhead and pod needles as often as the manual recommends.
- Store the machine flat with the lid closed and the cord unplugged when not in use.
If you later decide to replace a machine that has failed repeatedly, different brewing systems suit different routines, and comparing them may be more useful than repairing an older unit that has already needed service.
The best fix for a coffee maker that is not brewing is to rule out a power failure first, then work through cleaning and descaling before assuming a hardware fault. If the machine still will not brew after those steps, stop troubleshooting and arrange service or a replacement rather than continuing to force a failing machine.