Yes, you can cook raw meat in an air fryer. It works for chicken, beef, pork, and fish. The machine circulates hot air around the food at high speed.
That process browns the outside while cooking the inside completely. You just need to hit the right internal temperature for whatever protein you are handling.
This guide covers how heat moves through raw cuts in that small chamber, which meats handle the method best, and where things go wrong. We will also look at safe handling practices so you do not end up with a greasy mess or a food safety problem. If you have ever wondered about the specifics of "can you cook raw meat in an air fryer," the answer is yes, provided you match the cut to the cooking time.
How Rapid Air Flow Cooks Raw Protein
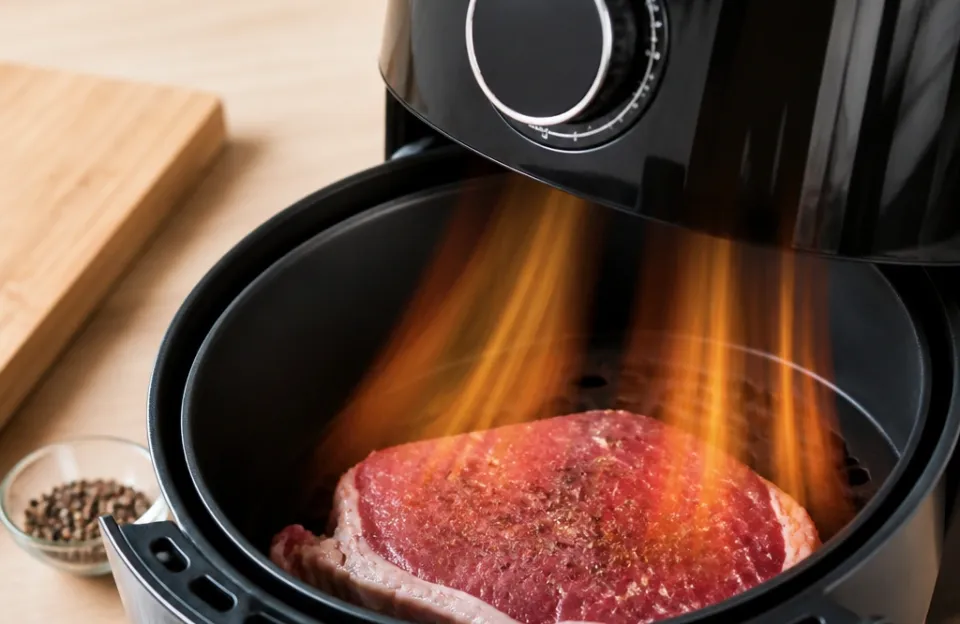
An air fryer is a compact convection oven. A heating element sits near the top, and a powerful fan pushes that heat down and around the basket. When you place raw meat inside, the moving air strips away the thin layer of moisture on the surface very quickly.
Once the surface dries out, the temperature of the meat rises past 300°F. That is when the Maillard reaction happens. Proteins and sugars on the outside brown and develop flavor.
Because the cooking space is small, the heat transfer is faster than in a standard oven. A raw chicken breast that takes 25 minutes in a conventional oven might finish in 15 to 18 minutes here. The fan forces hot air into every crevice.
This means you get browning without needing to submerge the food in oil or wait for a heavy pan to heat up.
The catch is that the outside cooks much faster than the inside. Thick pieces of raw meat can burn on the exterior before the center reaches a safe temperature. That is why thickness matters more than total weight.
A flat piece of meat cooks evenly. A thick, round roast struggles because the hot air only touches the outside. Knowing how long these appliances have been around helps explain why older recipes often missed this detail.
Early models had weaker fans, making uneven cooking a bigger problem back then.
Which Cuts Work Best Inside the Basket
Not all raw meat behaves the same way under a high-speed fan. Thin, uniform cuts are the easiest starting point. Chicken thighs, pork chops, steaks under one inch thick, and fish fillets all do well.
They fit in a single layer. They cook through before the outside turns to charcoal.
Ground meat works too, as long as you form it into something stable. You can cook a meatloaf directly in the basket if you shape it to leave room for air circulation. Checking guides on cooking a smaller loaf shows exactly how fast ground mixtures set up in this environment.
Sausage links are another reliable option. They have a casing that holds the fat inside while the skin crisps up. You can review typical timing for browning sausage links to avoid splitting the casings.
Bone-in pieces require a bit more attention. Chicken legs and drumsticks take longer because the bone insulates the meat near the center. You still get excellent browning on the skin.
Just plan for extra time. Looking at the schedule for finishing whole legs gives you a baseline so the joints do not end up pink.
Large roasts, whole chickens, and thick briskets are poor choices. The basket is too small. The outside dries out and hardens long before the center hits the target temperature.
Stick to individual portions or cuts you can slice into smaller pieces before cooking.
| Meat Type | Ideal Thickness | Target Internal Temp | Estimated Time at 375°F |
|---|---|---|---|
| Chicken Breast | 1/2 to 3/4 inch | 165°F | 12 to 16 minutes |
| Pork Chop (boneless) | 3/4 to 1 inch | 145°F | 10 to 14 minutes |
| Beef Steak | 1 inch | 130°F to 145°F | 8 to 12 minutes |
| Salmon Fillet | 1 inch | 145°F | 8 to 11 minutes |
| Ground Meat Patty | 3/4 inch | 160°F | 10 to 14 minutes |
Can You Cook Raw Meat in an Air Fryer Safely?
Food safety comes down to temperature, not the cooking method. The USDA states that poultry must reach 165°F internally to be safe. Ground meats need 160°F.
Whole cuts of beef, pork, and lamb are safe at 145°F followed by a three-minute rest. You can find their full guidelines on safe minimum cooking temperatures through FoodSafety.gov. An air fryer hits these targets easily if you give it enough time.
The real danger is guessing. Because the outside browns so fast, people assume the inside is done. It often is not.
You must use a digital meat thermometer. Insert the probe into the thickest part of the meat, avoiding any bones. Check it a few minutes before you think it should be done.
Cross-contamination is the other major issue. Raw meat drips. In an air fryer, those drippings fall through the basket into the bottom drawer.
If you pull the basket out carelessly, raw juice can spill onto your counter. Always pull the basket straight out over a sink or a plate. Wash the basket and the drawer with hot, soapy water immediately after cooking.
Never put cooked food back into an unwashed basket that just held raw protein.
Some people worry about bacteria getting blown around by the fan. The air inside the chamber reaches temperatures well above 300°F almost immediately. Bacteria cannot survive that heat.
The risk is entirely in how you handle the meat before and after it goes into the machine.
Handling Drippings and Excess Fat
Raw meat releases water and fat as it heats up. In a skillet, that liquid pools around the food. In an air fryer, it falls away.
This sounds great for crispiness, but it creates two problems: smoke and splatter.
Fatty cuts like chicken thighs with the skin on, or heavily marbled steaks, drip a lot of grease. When that grease hits the hot metal drawer at the bottom, it smokes. Your kitchen fills with blue haze, and the smoke alarm goes off.
To prevent this, put a small amount of water in the bottom drawer, beneath the basket. The water catches the dripping fat and keeps it below the smoking point. Do not put so much water that it touches the food in the basket.
One or two tablespoons is usually enough.
Another option is placing a small piece of bread in the bottom drawer to absorb the grease. It works, though it can burn if the machine runs for a long time. If you are cooking something particularly fatty, check the drawer halfway through.
If the bread is black, swap it out.
Splatter happens when fat hits the heating element near the top. This occurs mostly when the basket is too full, or when lightweight items fly around. Keep the meat in a single layer.
Leave space between pieces. If the fan blows a piece of parchment paper up into the element, it will catch fire. Weigh down any liners you use, or skip them entirely for wet, raw proteins.
Timing Adjustments for Different Machines
Every model circulates air slightly differently. A compact unit with a 2-quart basket concentrates heat intensely. A larger 6-quart or 8-quart model spreads the same wattage over more space.
If you follow a recipe written for a large machine but own a small one, your meat will cook faster and likely burn.
Check the wattage of your specific unit. Higher wattage means faster preheating and more aggressive cooking. If you recently upgraded your countertop setup to something like a multi-function glass model, you will notice the heating curve is different from older wire-basket designs.
Glass retains heat differently, which changes how the ambient temperature drops when you open the lid.
Always start checking your meat five minutes earlier than the recipe suggests. You can always add more time. You cannot un-burn a pork chop.
Write down what worked for your specific machine so you do not have to guess next time.
Preheating matters for raw meat. If you drop a cold chicken breast into a cold basket, the machine spends the first four minutes just warming up. The meat steams instead of searing during that window.
Preheat the empty machine for three to five minutes. Then add the raw meat. The immediate blast of hot air seals the surface faster.
Where People Usually Go Wrong
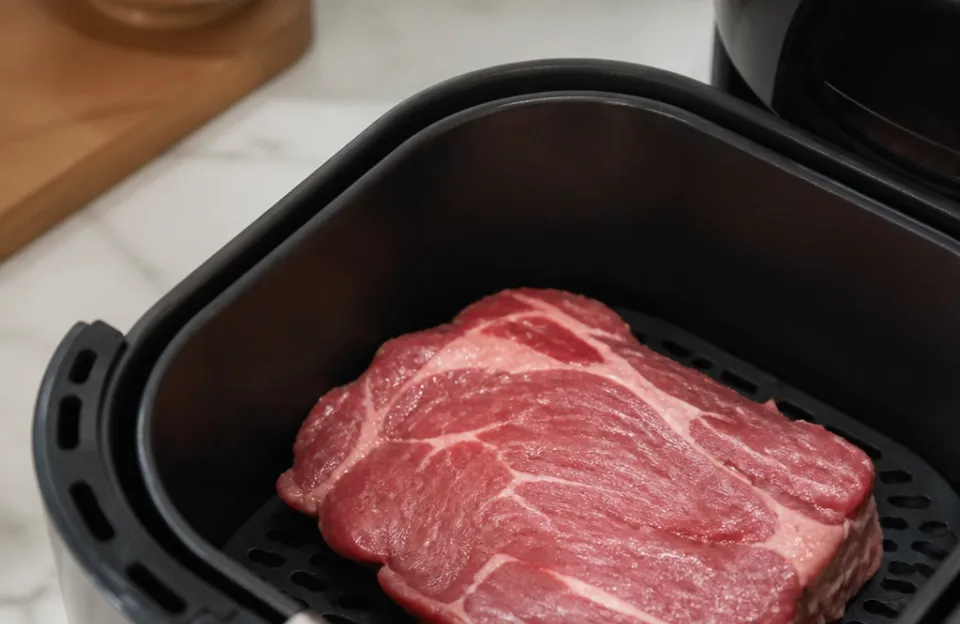
Cooking raw protein in a small convection box seems simple, but a few habits ruin dinner regularly.
- Overcrowding the basket. Stacking raw chicken breasts on top of each other blocks the airflow. The pieces touching in the middle stay gray and rubbery while the top piece dries out. Everything needs its own space.
- Skipping the thermometer. Relying on color or touch is a gamble. The rapid browning tricks your eyes. A dark crust does not mean the center is past 165°F.
- Using wet marinades without patting dry. If you soak raw meat in a liquid marinade and drop it straight into the basket, the excess liquid boils and steams the surface. You lose all the browning. Pat the meat dry with a paper towel first, then brush on a thin layer of oil or sauce.
- Forgetting to flip. The fan pushes air from the top down. The bottom of the meat, resting against the mesh, gets less direct heat. Flip everything halfway through the cook time. Tongs work better than a spatula here.
- Ignoring the rest period. Pulling meat out and cutting it immediately lets all the juices run onto the cutting board. Let it sit on a plate for three to five minutes. The fibers relax and hold onto the moisture.
If you are working with breaded raw meat, the coating introduces another variable. Flour and egg washes behave differently under high fan speeds. Reviewing techniques for getting a solid crust on wings applies to breaded chops or tenders too.
The flour needs a light spray of oil to brown properly, otherwise it stays powdery and pale.
Dealing With Uneven Thickness
A raw chicken breast is naturally lopsided. One end is thick; the other tapers to a thin point. If you cook it as-is, the thin end turns to jerky while the thick end remains undercooked.
Pounding the meat to an even thickness solves this. Put the raw meat between two sheets of plastic wrap and use a mallet or a heavy pan to flatten it until it is uniform. Half an inch to three-quarters of an inch is the sweet spot for most machines.
If you do not want to pound it, you can fold the thin end under itself to create a block of even thickness. Secure it with a toothpick if necessary. Remove the toothpick before eating.
Alternatively, butterfly the thick piece. Slice it horizontally through the middle, stopping before you cut all the way through, and open it like a book. Now you have two thinner, connected pieces that lay flat in the basket.
This method cuts the cooking time nearly in half, so watch the clock closely.
Is It Better Than Pan Frying Raw Cuts?
That depends on what you value. Pan frying uses direct conductive heat from a heavy surface. It builds a deep, hard crust very quickly, especially if you use butter or heavy oil.
The downside is the mess. Grease pops onto the stove, the counters, and your shirt. You also have to stand there managing the heat.
Air frying trades a little bit of that extreme crust for convenience. You get very good browning with a fraction of the oil. There is no standing over a hot stove.
You set the timer and walk away. Cleanup involves washing one basket instead of scrubbing a skillet and wiping down the backsplash.
For weeknight meals, the air fryer wins on ease. For a special occasion steak where you want a perfect, restaurant-style sear, a cast iron pan is still superior. Both methods safely cook raw meat to the required internal temperature.
The difference is purely textural.
Many people prep batches ahead of time using this method. Figuring out the right approach for batch cooking requires adjusting how you store the cooked protein so it does not dry out in the fridge. Cooked air-fried meat reheats beautifully because the circulating air re-crisps the exterior without turning it soggy like a microwave does.
Frequently asked questions
Does raw meat dry out in an air fryer?
It can if you overcook it or use a cut that is too lean and thin. The high-speed air removes surface moisture rapidly. Using a light coating of oil, brining the meat beforehand, or pulling it out exactly when it hits the target temperature prevents drying.
Dark meat chicken and fattier cuts of pork handle the dry air much better than lean white meat.
Can I put frozen raw meat straight into the basket?
You can, but the results are mixed. The outside will cook and potentially burn before the frozen center thaws and reaches a safe temperature. If you must cook from frozen, lower the temperature by 25°F to 50°F and increase the cooking time by roughly 50 percent.
Use a thermometer to verify the center is fully cooked. Thawing in the refrigerator overnight yields much better texture.
Do I need to add oil to raw meat before air frying?
You do not strictly need it for safety, but a small amount improves browning and texture. Oil conducts heat across the surface of the meat, helping the Maillard reaction happen evenly. A light spray or a teaspoon rubbed over the surface is plenty.
Without any fat, the exterior can turn leathery rather than crispy.
Will the fan blow raw meat juices everywhere?
No. The juices are heavy and fall downward through the basket into the drawer. The fan pulls air from the room, pushes it over the heating element, and forces it down through the food.
It does not create a horizontal windstorm that sprays liquid sideways. However, opening the basket while the fan is running can cause a brief puff of steam, so step back when you pull it out to flip the food.
What is the safest way to clean the basket after raw meat?
Wash it immediately with hot water and dish soap. Do not let raw meat residue dry onto the non-stick coating, as scrubbing it later can damage the surface. Most baskets and drawers are dishwasher safe, but hand washing preserves the coating longer.
Wipe down the interior heating element area with a damp cloth once the machine is completely cool, as grease splatters can accumulate there over time.
Before You Start Cooking
Cooking raw protein in a countertop convection oven is straightforward once you respect the physics involved. Match the thickness of the cut to the power of your machine. Keep the basket uncrowded so the air actually moves.
Use a thermometer every single time, because visual cues lie when the heat is this intense. Manage the dripping fat so your kitchen does not fill with smoke. Follow those rules, and you will get safely cooked, browned meat with minimal cleanup and zero standing over a hot stove.