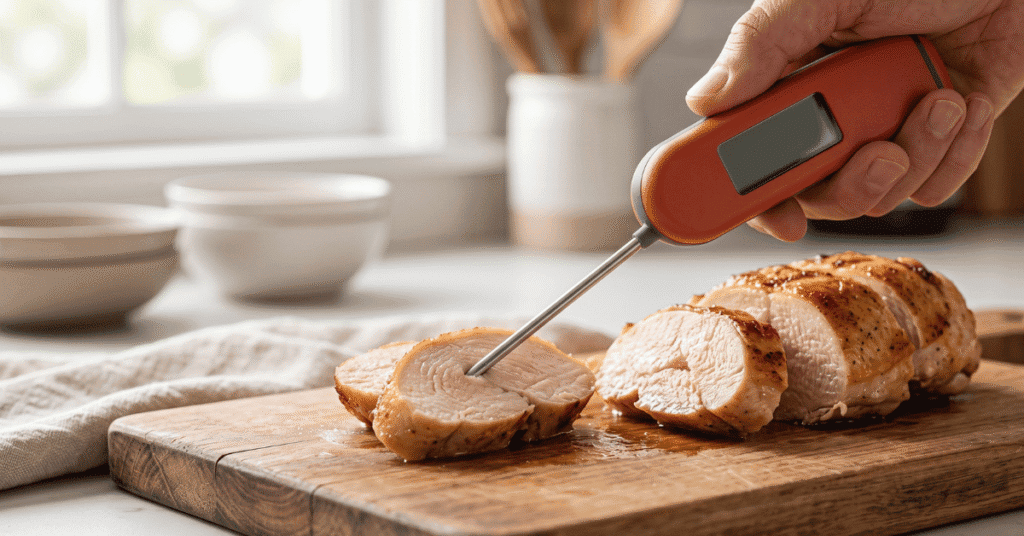
You’re standing over a expensive prime rib or a Thanksgiving turkey, wondering if the center is actually cooked. You don’t want to keep opening the oven door and losing heat, but you also don’t want to serve a meal that’s dry or, worse, undercooked. This is exactly where a wireless smart thermometer saves the day.
To use the MeatStick thermometer, insert the probe into the thickest part of the meat, launch the MeatStick app on your smartphone, and select your cook type. The probe stays inside the meat while it cooks, even in an air fryer or deep fryer, sending real-time temperature data to your phone via Bluetooth or Wi-Fi. You’ll receive an alert the moment your food reaches the target temperature, including a built-in rest period.
Getting Started with Wireless Temperature Monitoring
Standard wired thermometers often fail because the cables kink, melt, or prevent a total seal on your grill lid. The MeatStick is different because it’s a self-contained unit with no wires. It uses two sensors: one for the internal meat temperature and one for the ambient temperature of your oven or grill.
Understanding this dual-sensor system is the first step to mastering the tool. The internal sensor measures your food, while the ceramic handle contains the ambient sensor. Because the handle is exposed to the heat, it tells you exactly how hot your cooking environment is.
This helps you track evenness and predict when the meat will be done based on the heat of the fire.
Connecting to the App
Before you touch the meat, you need the app. The MeatStick app is the “brain” of the operation. You’ll turn on your phone’s Bluetooth, remove the probe from its charger to wake it up, and wait for the icon to appear in the app.
The charger acts as a signal repeater for many models, such as the MeatStick X. If you move too far away from the grill, the charger picks up the signal from the probe and boosts it to your phone. Always keep the charger within a few feet of the cooker to maintain a stable connection.
Charging and Preparation
You cannot use the probe if the battery is dead. Most MeatStick probes require about 4 hours for a full charge, but a quick 30-minute top-off is usually enough for a shorter cook. The light on the charger turns green when the probe is ready.
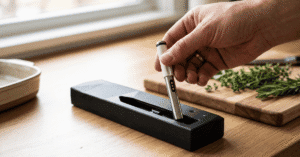
Clean the probe before every use. Even a small amount of carbon buildup on the metal shaft or ceramic handle can interfere with the charging pins or the accuracy of the sensors. A quick wipe with a damp cloth and mild soap is usually sufficient.
Practical Application: The 6-Step Process
Following a specific order of operations ensures you don’t damage the internal electronics or lose your connection mid-cook.
- Activate the Probe: Pull the probe out of the charger. The LED on the charger or the app should indicate that the device is active.
- Insert Into the Meat: Push the probe into the thickest part of the cut. Ensure you push it past the “insertion line” etched into the metal. If the internal electronics are exposed to direct high heat without the meat protecting them, the probe will fail.
- Set Up the App: Choose the type of meat (beef, pork, poultry, fish) and your desired doneness. Use the USDA Minimum Internal Temperature guidelines for safety, especially with poultry and ground meats.
- Start the Cook: Place the meat in the oven, grill, or fryer. Keep the charger (the Bridge) nearby to ensure the signal reaches your phone.
- Monitor the Stats: Watch the graph in the app. It will show you the “Internal” temp and the “Ambient” temp. The app will estimate your remaining cook time after a few minutes of steady heat.
- Rest the Meat: Once the app alerts you, remove the meat. The MeatStick will keep tracking the temperature during the rest phase, which is vital for juice retention.
Edge Cases and High-Heat Scenarios
Most meat thermometers are strictly for “low and slow” cooking, but the MeatStick has a higher tolerance for heat than many of its competitors. However, there are still limits you need to respect.
Deep Frying and Sous Vide
The MeatStick is deep-fry safe. This is a massive advantage for making Thanksgiving turkeys in oil. Because the probe is waterproof and heat-resistant, it can handle being submerged in oil or water.
For sous vide, it eliminates the need for bulky clips or wires that break the vacuum seal of your bags. Simply drop the probe into the bag with the meat, seal it, and cook.
High-Heat Searing
If you are searing a steak at 500°F or higher, you need to be careful. While the internal sensor is protected by the meat, the ceramic handle has a limit. Most MeatStick handles are rated for up to 572°F (300°C).
If you are using a charcoal chimney or an infrared sear station that exceeds these temps, remove the probe before the final sear or ensure the handle isn’t directly over the hottest part of the coal.
Using Multiple Probes
If you’re cooking a brisket and a pork shoulder at the same time, you can sync multiple probes to one app. You’ll name each one (e.g., “Left Brisket,” “Right Brisket”) so you don’t mix up the alerts. The app manages the timings for both simultaneously, giving you separate graphs and countdowns for each piece of meat.
[IMAGE: A smartphone screen showing multiple MeatStick temperature graphs | alt: Monitoring multiple pieces of meat using the MeatStick thermometer app.]
Common Mistakes to Avoid
- Under-insertion: This is the number one cause of broken probes. The internal sensors are delicate. The meat acts as a heat sink, drawing heat away from the battery. If you leave the metal portion exposed past the safety line, the battery will overheat and die permanently.
- Closing the Charger Case: Some users accidentally turn off the probe by putting it back into the charger while the meat is still cooking. The probe only stays “on” when it is out of the dock or charger.
- Cleaning in the Dishwasher: Even though it is waterproof, the high-pressure spray and harsh detergents in a dishwasher can degrade the seals over time. Stick to hand-washing with the soft side of a sponge.
- Losing Bluetooth Range: Bluetooth doesn’t travel well through thick metal grill lids or concrete walls. If you see “No Signal” on your app, move the charger/bridge closer to the grill or check that your phone’s battery saver mode hasn’t disabled Bluetooth background searching.
Quick-Reference Temperature Guide
| Meat Type | Target Internal Temp | USDA Safety Minimum |
|---|---|---|
| Beef Steak (Medium Rare) | 130°F – 135°F | 145°F (with 3-min rest) |
| Pork Chops | 145°F | 145°F |
| Chicken Breast | 160°F (Pull temp) | 165°F |
| Beef Brisket | 203°F | 145°F |
| Salmon | 125°F – 130°F | 145°F |
Note: For many BBQ cuts like brisket or pulled pork, “safety minimum” and “doneness” are very different. You cook these to higher Temps to break down collagen.
Frequently Asked Questions
Can I use the MeatStick in a microwave?
No. The MeatStick is made of metal and ceramic. Metal will cause arcing and sparks in a microwave, which will destroy both the thermometer and your appliance.
Use it only in ovens, grills, smokers, air fryers, or deep fryers.
Why is my MeatStick app showing a different temp than my oven thermometer?
The MeatStick measures ambient temperature right at the surface of the meat. Most ovens have “hot spots” and “cold spots.” Your oven’s built-in thermometer is usually located on the back or side wall, whereas the MeatStick is showing you the temperature of the air actually hitting your food. Trust the MeatStick ambient reading over the oven dial.
How long does the battery last during a long cook?
A fully charged MeatStick 4 or MeatStick X typically lasts 24 hours or more. This is plenty of time for even the slowest-smoked brisket or pork butt. If the battery dies mid-cook, it usually means it wasn’t sat correctly in the charger before you started.
How do I reset the connection if the probe won’t sync?
Put the probe back into the charger for 30 seconds, then remove it. Forget the device in your phone’s Bluetooth settings and restart the MeatStick app. This usually clears any “handshake” errors between the hardware and the software.
[IMAGE: Cleaning a MeatStick probe under a kitchen faucet | alt: Proper maintenance after learning how to use the MeatStick thermometer.]
Worth Remembering
Getting the most out of your MeatStick is about more than just reading a number on a screen. It’s about letting the technology handle the “guesswork” so you can focus on the flavor. By ensuring the probe is inserted past the safety line and keeping your Bridge near the cooker, you’ll avoid the most common technical frustrations.
For your first few cooks, keep a close eye on the app to understand how your specific grill or oven behaves. Once you see the “Total Cook Time” estimate pop up, you can relax and spend time with your guests, knowing the MeatStick will tell you exactly when it’s time to eat. If you’re looking for more specific recipes or advanced setups, check the documentation on the official MeatStick website for the latest firmware updates.