A thermometer accuracy rating tells you how far a reading can stray from the true temperature. If a device carries a rating of ±1°F, any number on the display could be one degree higher or one degree lower than the actual heat level. Understanding what the rating means helps you avoid undercooked food and ruined candy batches.
An accuracy rating is a bounded deviation over a stated range. A specification is the requirement or target value a product must meet, while a tolerance is the allowed range around that target. A rating of ±2°F means the real temperature sits somewhere inside a four-degree window around the displayed number. If your screen reads 165°F, the food might be at 163°F or 167°F. That window is a claim the manufacturer makes for a stated temperature range, not a promise of exact agreement, and it does not tell you how far a particular unit has drifted since it left the factory.
This article explains how those numbers work, why they differ between sensor types, and what tolerance you need for specific kitchen tasks. It also shows how to check and adjust your own probe without special equipment.
How Manufacturers Determine Temperature Tolerance
!How manufacturers determine temperature tolerance
Every sensor has physical limits. A manufacturer verifies the unit against a reference instrument in controlled conditions, and the difference between the unit under test and the reference becomes the published rating. The exact test conditions, reference equipment and acceptance protocol vary by brand, so read the spec sheet rather than assuming a universal laboratory procedure.
National metrology bodies such as the National Institute of Standards and Technology maintain the official temperature scales used in the United States. A claim that a thermometer is NIST-traceable means its calibration can be traced back through a documented chain of comparisons to such a standard. It does not guarantee a specific accuracy figure unless the certificate states one, and it does not prove that a unit still meets its specification after months of kitchen use.
Some units drift more at extreme highs or lows, so manufacturers sometimes list different tolerances for different ranges. Read the full specification rather than only the headline number, especially if you plan to use the probe above 400°F.
Digital thermistor probes generally hold tighter tolerances than bimetallic dial models, according to model-specific specs. A good digital probe often reaches around ±0.9°F (±0.5°C), while dial thermometers frequently sit around ±2°F to ±4°F. Infrared guns vary widely with surface material and distance. Treat all of these as typical tendencies: check the stated tolerance on the model you actually own.
Why Accuracy Matters More for Certain Foods
!Why accuracy matters more for certain foods
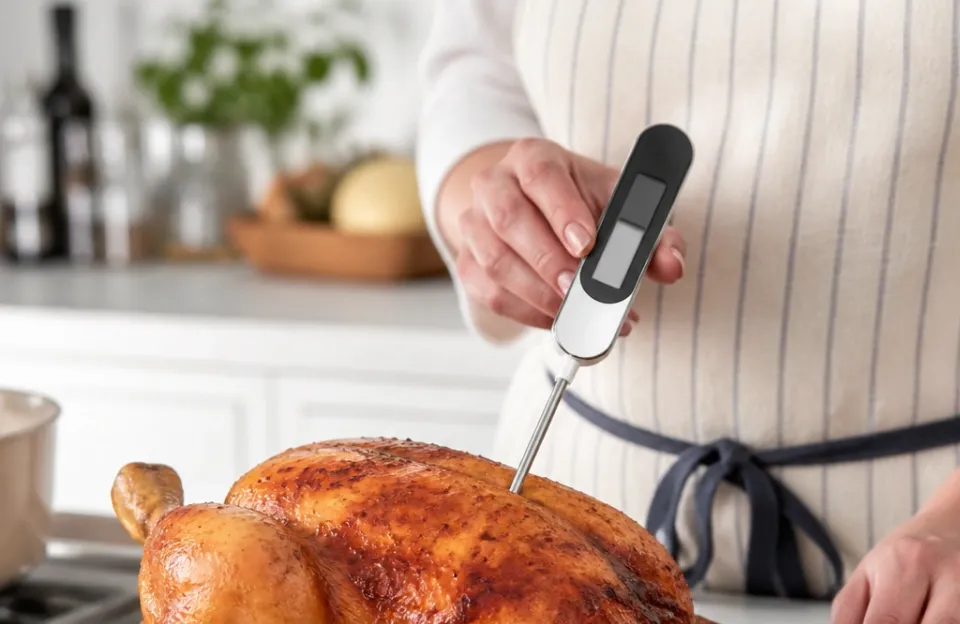
USDA FSIS advises cooking food to its listed minimum internal temperatures, measured with a food thermometer, before removing it from the heat source. All poultry, including ground poultry, should reach 165°F (73.9°C). Ground meats need 160°F (71.1°C), while fish and shellfish need 145°F (62.8°C). Leftovers and casseroles need 165°F (73.9°C). Steaks, chops and roasts of beef, pork, veal and lamb need 145°F (62.8°C) plus a rest of at least three minutes.
That rest requirement is a USDA condition, not a suggestion. It belongs to the specified minimum, so a thermometer that reads several degrees low can quietly turn a compliant cook into an undercooked one. A thermometer reading 5°F too low could show 165°F when the food is actually at 160°F, below the safe poultry target. A thermometer that reads two or three degrees off does not announce itself, which is why periodic calibration matters.
Pathogen destruction also depends on both temperature and time, so a given temperature held for different durations produces different levels of bacterial reduction. The USDA minimums already account for that relationship. A reading on the low edge of your device’s tolerance does not by itself mean the food is unsafe, but it does mean you cannot treat the displayed number as exact, and you should not plan to rely on a single-degree margin.
Candy making is less a safety issue than a precision one. Sugar syrup changes state across narrow temperature bands, and small errors move a batch from chewy to brittle. Verify stage temperatures against an authoritative candy reference for your recipe rather than relying on a display alone, and use a probe whose stated tolerance is comfortably tighter than the band you care about. Pairing a tight-tolerance probe with a proper deep frying and candy setup reduces guesswork.
Baking bread relies on internal crumb temperature too. Doneness targets depend on the specific loaf and method, so check your recipe’s guidance and size your tolerance accordingly. Pulling bread early by several degrees often leaves a gummy center.
Reading the Plus or Minus Symbol on Your Device
!Reading the plus or minus symbol on your device
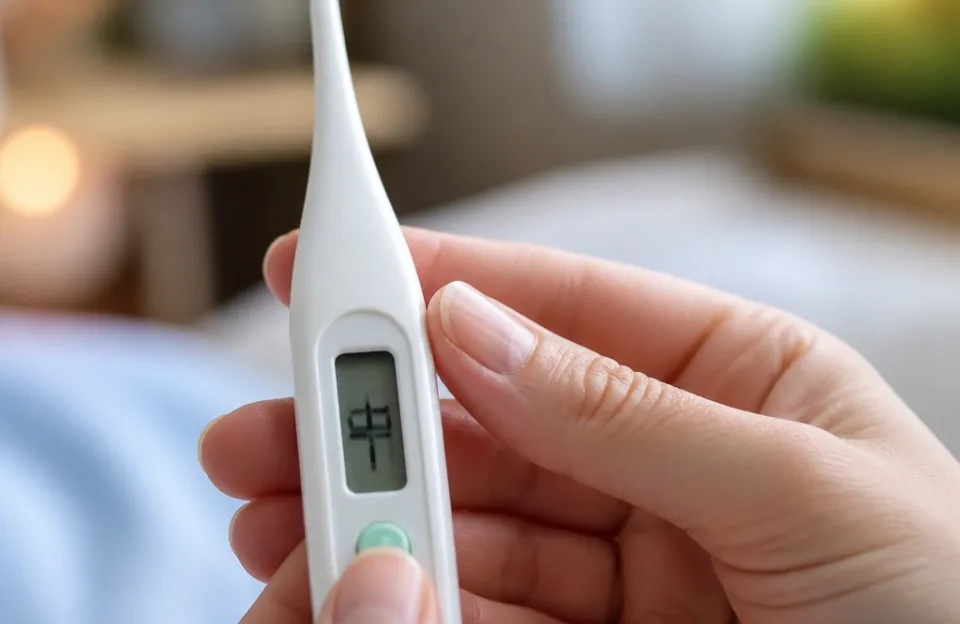
The ± symbol defines the boundary. A spec sheet listing ±1°C translates to roughly ±1.8°F, so always check which unit the manufacturer used. Mixing up Celsius and Fahrenheit tolerances causes big mistakes, especially when comparing a European spec sheet against a US recipe.
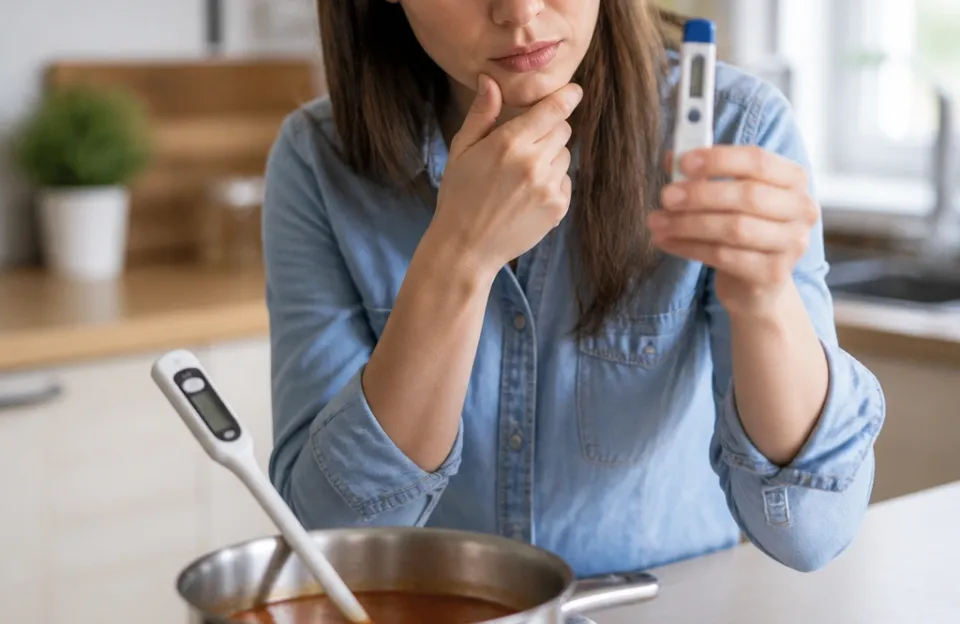
Some brands list resolution alongside accuracy. Resolution is the smallest increment the screen shows, such as 0.1°. Accuracy is how close that number is to reality. A display showing 150.1°F with a ±2°F rating means the true temperature falls between 148.1°F and 152.1°F. High resolution does not guarantee high accuracy: those extra decimal places can simply show a wrong number in greater detail.
Long, hot cooks take a toll. Digital stem thermometers rely on temperature sensors that can drift over time, which is why periodic calibration is needed. If you are also worried that a wireless model drops signal during long cooks, verify its temperature readings separately with an ice bath.
Comparing Sensor Types and Their Typical Ratings
!Comparing sensor types and their typical ratings
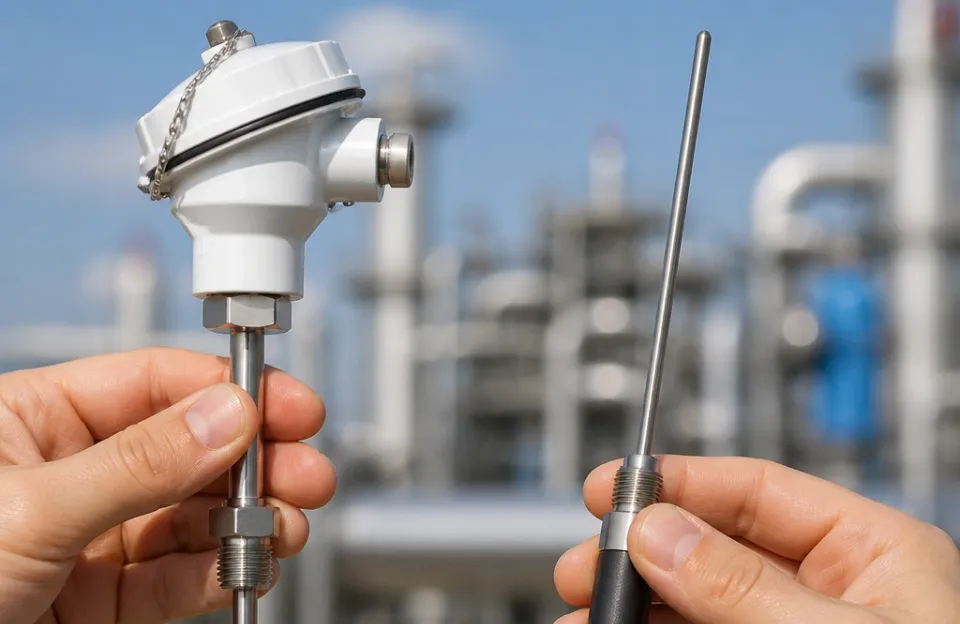
Different jobs call for different hardware. Bimetallic dial thermometers work because two fused metals with different thermal expansion rates bend a strip that moves the dial pointer. Industrial sensor families include thermocouples, RTD/Pt100, thermistors, bimetallic, gas-actuated, IC and infrared designs, which differ by range, accuracy and use. The figures below are typical tendencies only, not verified specifications for any model. Check your device’s own stated tolerance before relying on it.
| Sensor Type | Typical Rating | Best Used For |
|---|---|---|
| Digital thermistor | Often about ±0.5°C (±0.9°F) | Meat, liquids, quick checks |
| Bimetallic dial | Limited accuracy, model-dependent | Oven monitoring, slow roasts |
| Infrared (IR) gun | Model-dependent, surface-only | Surface temps, pizza stones |
| Thermocouple | Model-dependent, fast response | Fast instant-read checks |
Bimetallic dial thermometers are durable and inexpensive, need no batteries, but have limited accuracy and are sensitive to mechanical wear. Thermocouples respond fast and tolerate very high heat, and they are common in professional kitchens. Thermistors cost less and suit many home cooks.
Dial units are tough and cheap, though a wider margin makes them risky for thin cuts of meat. Infrared guns measure surface radiation, not internal heat, so using one to judge doneness of a roast will fail. They work best for checking pan heat before searing or mapping hot spots on a griddle.
Checking Your Probe: the Ice-Bath Method
!Testing and calibrating your probe at home
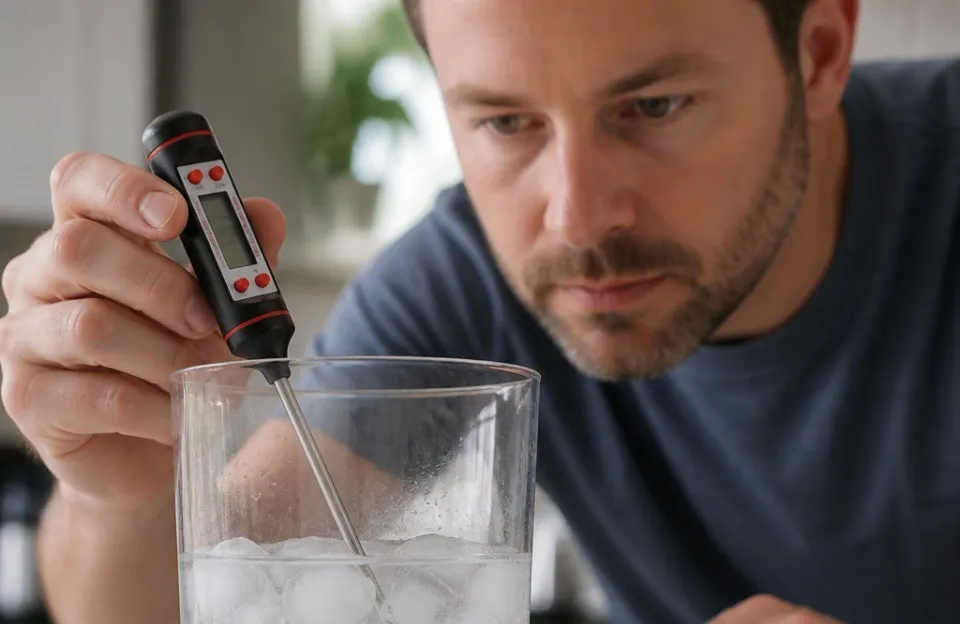
The ice-point method uses a well-stirred ice-water slush, which sits at 32°F regardless of elevation. That independence from altitude makes it the better default check for most kitchens.
- Fill a glass with crushed ice, then add cold water until the glass is nearly full. Aim for a thick slush rather than ice cubes floating in water, since a thin mix can warm unevenly.
- Stir well, then wait a couple of minutes for the mixture to settle at equilibrium.
- Insert the probe into the center of the ice water without touching the sides or bottom.
- Allow at least 30 seconds, or longer for slower-reading dials, for the reading to stabilize.
A reading of exactly 32°F means your unit is on target at that point. If it reads 34°F, you know this specific unit runs two degrees high. Simple ice-and-water checks are useful for basic verification, but they do not provide the accuracy or traceability required for professional-grade or regulated applications. They verify the low end of the range, not necessarily how the sensor behaves at 300°F.
Test your tools regularly, and recheck after any drop. If you rely on a fast reader for weeknight dinners, a monthly quick spot check in ice water takes seconds and catches drift before it ruins a meal.
Boiling-Point Checks and Why Altitude Matters
Boiling water is the other common reference, but its target temperature is not fixed. At sea level, water boils at 212°F, and the boiling point falls by roughly 0.9°F for every 500 feet of elevation gain. At 5,000 feet, that rule of thumb puts the target near 203°F.
Altitude is a proxy for atmospheric pressure, which is what actually determines the boiling point. Weather systems also shift local pressure, so the rule of thumb is approximate. If you need a close boiling-point check, look up the expected boiling temperature for your elevation and current pressure rather than assuming 212°F.
Boiling water also stresses a probe near its upper range and can be awkward to stabilize. An ice bath avoids both the altitude problem and the heat exposure, which is why it is the better routine check for most home cooks.
Adjusting a Digital or Dial Thermometer for a Known Offset
Once you know your unit’s error, decide whether to correct it, compensate for it, or replace it.
Many bimetallic stem thermometers have a calibration nut under the dial face. Hold the dial face still and rotate the nut until the dial reads the reference temperature. Most dial thermometers follow this pattern, while many digital thermometers cannot be field-adjusted and should be replaced if they are out of tolerance.
Adjustment procedures for digital models vary by manufacturer. Some offer a calibration menu or button sequence, and some offer nothing at all. Follow the instructions for your exact model rather than a generic procedure. If the manual gives no adjustment path, record the measured offset and apply it when you cook, or replace the unit if the error is large relative to your task.
Two habits keep the offset small. Do not leave a probe in a hot oven for hours beyond its rated use, since repeated heat exposure is one route to drift. And do not plunge a hot probe straight into cold water, which stresses the sensor junction. Let it cool slightly first.
Matching Tolerance to the Task: Meat, Candy, Bread and Surface Searing
Tolerance matters most when a small error crosses a decision threshold. Use this as a starting framework, then check your own device’s specification:
- Poultry and ground meat. These are the strictest safety targets. A probe rated ±1°F leaves a narrow window around 165°F for poultry and 160°F for ground meats. A probe rated ±2°F can plausibly display 165°F while the food is at 163°F, so aim to overshoot the target slightly and rely on the rest condition where applicable.
- Whole cuts of beef, pork, veal and lamb. The 145°F target comes with a three-minute rest, which gives you a little more room than poultry. A ±1°F to ±2°F probe is workable here, and knowing your target temperatures for pork helps you place the probe correctly.
- Fish and shellfish. The 145°F target is reached quickly in thin fillets, so a fast-reading probe matters as much as a tight rating. A slow dial can overshoot while you wait for the needle to settle.
- Candy and sugar work. Stage bands are narrow, so use the tightest tolerance you can justify and verify stages against an authoritative candy reference. A ±2°F probe is a poor fit for delicate sugar work; a tight-tolerance digital or thermocouple is better.
- Bread. Doneness targets are recipe-specific and forgiving compared with candy, so a ±2°F probe is usually adequate. The larger risk is probe placement in a dense crumb.
- Surface searing. Infrared guns are the right tool for pan and griddle surfaces, but their accuracy depends on distance-to-spot ratio and surface emissivity. They cannot tell you the internal temperature of a steak.
Conditions That Push Readings Outside the Stated Tolerance
Published ratings assume reasonable handling. Real kitchens are messier, and several factors can push a sensor outside its stated window. Thermometers can drift after drops or impacts, exposure to temperature extremes, weak batteries, probe damage, or age and wear.
- Battery voltage. Low batteries are one documented cause of inaccurate digital readings. If readings jump around erratically, swap the cells before trusting the number.
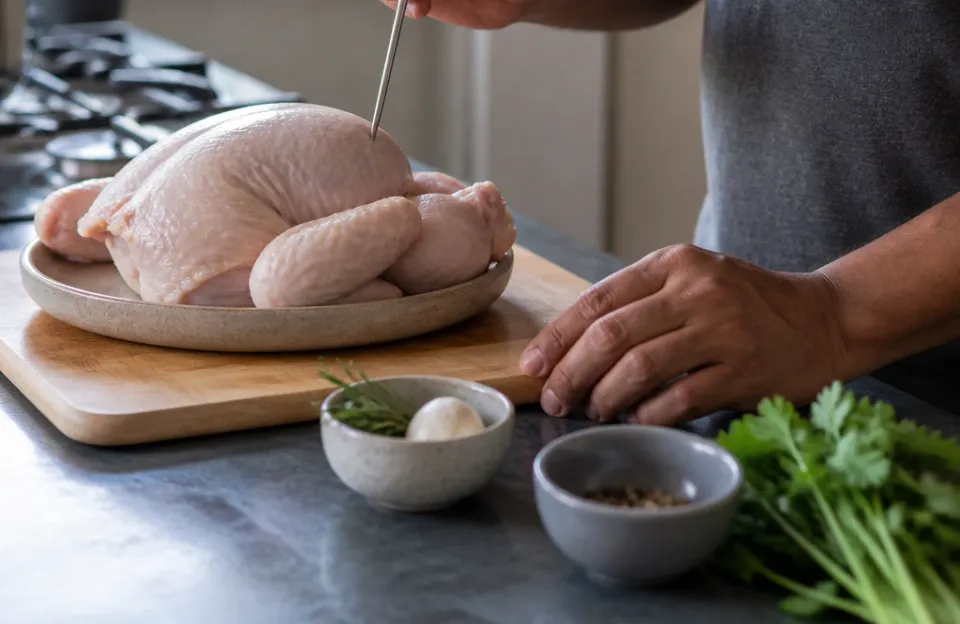
- Probe placement. Hitting bone or fat gives false numbers, since bone and fat conduct heat differently from muscle. A thermometer that reads two or three degrees off can still display a plausible number, so placement errors hide easily. Push the sensing area into the thickest part of the meat, centered away from bones. For poultry, reach the thickest part of the thigh without touching bone.
- Thermal shock and impact. Drops, impacts to the probe or stem, and repeated exposure to temperature extremes are recognized causes of drift. Handle the probe gently and let it cool before washing.
- Distance and emissivity (infrared). Holding the gun too far away expands the measurement circle, so you average the pan temperature with the counter beside it. Shiny surfaces reflect ambient heat and fool the sensor. Dark, matte surfaces give infrared guns their most reliable results.
- Age. Over time, even well-maintained thermometers can drift. A unit that was perfect two years ago may not be today.
Common Misreadings of Accuracy Specs and a Short Closing Decision
People misunderstand these specs constantly. Avoiding these errors keeps your cooking consistent.
- Confusing resolution with accuracy. A screen showing 0.1° increments feels precise. If the underlying rating is ±2°, those extra decimal places just show a wrong number in greater detail.
- Ignoring the temperature range. A device rated tightly between 32°F and 212°F may drift more above 400°F. Read the fine print for high-heat applications like deep frying oil.
- Assuming factory perfection. Manufacturing tolerances mean two identical boxes from the same brand can read slightly differently out of the packaging. Always test yours yourself.
- Using the wrong tool for the job. Pointing an infrared gun at a raw steak tells you nothing about the interior. Using a slow dial thermometer for a thin fish fillet means the meat overcooks while you wait for the needle to settle. A reliable digital probe fixes both issues.
- Forgetting to recalibrate. Sensors age and drift. Routine ice baths catch this early.
Knowing what a thermometer accuracy rating means changes how you trust your gear. You stop treating the display as absolute truth and start treating it as an estimate bounded by a specific number plus whatever drift has accumulated. Pick a tool whose stated tolerance suits your strictest task, test it in an ice bath, and apply the offset you measure, or replace the unit if the error is large for your cooking. Those three habits remove most of the guesswork from temperature-dependent cooking.