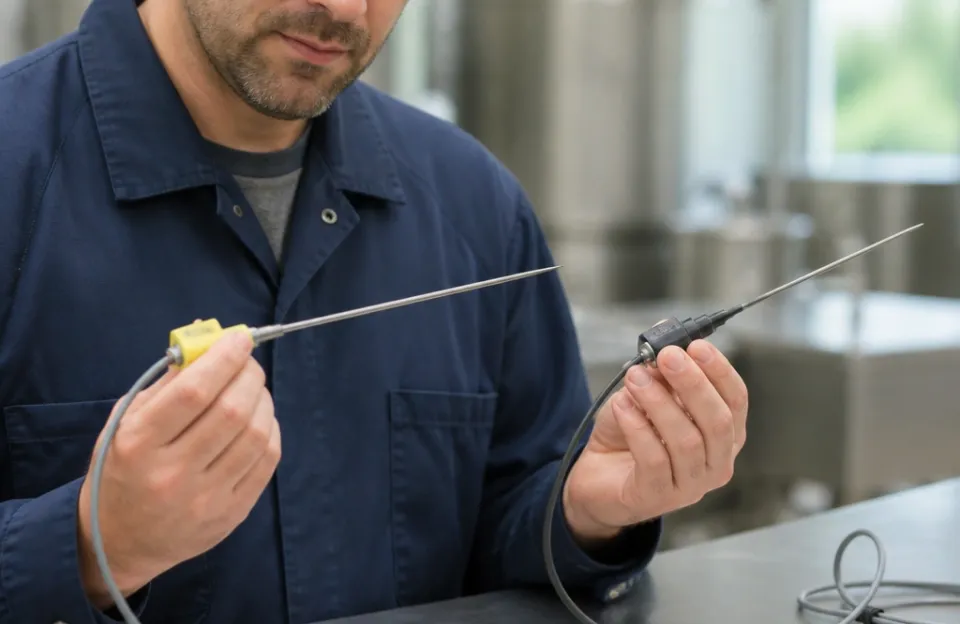
Neither sensor is universally better. A thermocouple thermometer is the stronger choice when you cook over high heat and want a fast, thin probe, while a thermistor thermometer is often the smarter buy for moderate-heat baking, roasting and everyday cooking. The deciding factor is rarely the sensor name alone: probe design, cable rating, electronics and calibration all shape real-world performance. This comparison explains what each sensor does, where the genuine differences lie, and how to match the choice to your cooking style.
The Short Answer: Match the Sensor to How You Cook
The right question is not which sensor is superior in the abstract, but which one fits your heat, speed and budget needs.
Choose a thermocouple if you grill, sear or fry often, want readings in a second or two, and need a thin tip that leaves a small hole in delicate proteins. Choose a thermistor if your cooking stays within moderate oven and pan temperatures, you want strong accuracy per dollar, and you do not need the fastest possible response. Either type can verify safe doneness, because using a food thermometer when cooking meat, poultry, seafood and egg products helps prevent foodborne illness from undercooking and confirms a safe minimum internal temperature.
How the Two Sensors Measure Heat
The two designs turn heat into a reading in fundamentally different ways, and that difference drives everything else.
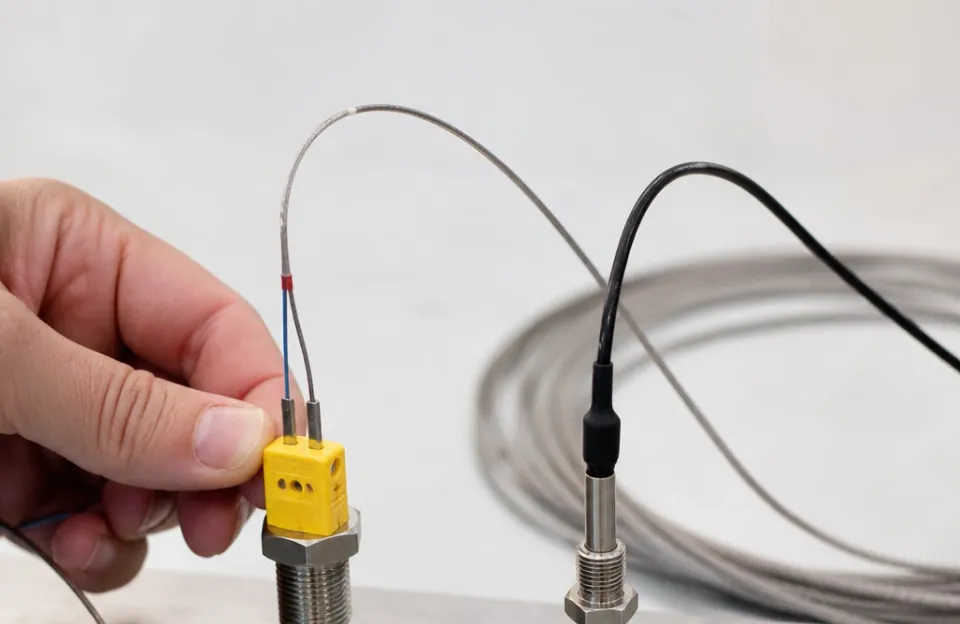
A thermocouple joins two dissimilar metals at the probe tip. Heating that junction generates a tiny voltage that changes with temperature, and the thermometer’s electronics convert that voltage into a reading. A thermistor uses a ceramic or polymer element whose electrical resistance changes predictably as it warms.
Because the sensing junction in a thermocouple is small, the tip can be made very thin. Thermistor elements are typically bulkier, which affects probe geometry and how quickly the sensor responds to temperature changes.
This matters because sensor type is only one variable. The probe housing, the cable’s heat rating and the quality of the electronics all influence what you actually see on screen. For background on how these sensor principles are defined and standardized, the National Institute of Standards and Technology publishes technical references on thermocouple thermometry and thermistor thermometry.
Speed Differences in the Kitchen
Do not assume that every thermocouple is instant and every thermistor is slow. Response time depends on the mass of the sensing element, the thickness of the probe wall, the electronics, and how the probe contacts the food.
The practical guidance is simple: check the manufacturer’s stated response time for the specific model you are considering, rather than trusting the sensor type alone. A thin-tipped probe will generally settle faster than a thick one, regardless of which sensor sits inside it. That is a general principle of probe mass, not a guarantee for any particular model, so the stated specification remains the deciding evidence.
When speed is your main priority, a quick digital reader is worth comparing on its stated response time rather than its marketing label. Either way, hold the probe still until the reading stops climbing, and check that the tip sits in the thickest part of the food, away from bone, fat or gristle. For thin foods, insert the probe through the side until it reaches the center.
Temperature Limits and Probe Thickness
This is where the two designs diverge most in practical terms, and where manufacturers’ ratings, not rules of thumb, should guide you.
Every thermometer has a rated maximum for its probe and cable, and those limits vary widely by model, housing material and insulation. Before using any thermometer in a grill, deep fryer, pizza oven or smoker, check the manufacturer’s stated temperature rating for both the probe and the cable. Using a probe beyond its rated limit can damage it or produce readings you should not trust. This is a general caution about manufacturer ratings, not a claim about any specific model’s limits.
Probe thickness also shapes the reading. Thin tips are useful for burgers, fish fillets, chicken breasts and other foods where a large puncture would be noticeable. Thicker probes can still be accurate, but they are slower to settle and are best suited to roasts and larger cuts.
FSIS directs users to read the manufacturer’s instructions, which should state how far the thermometer must be inserted to give an accurate reading. If you are also monitoring target doneness for specific meats, a pork internal temperature guide can help you confirm what you are aiming for.
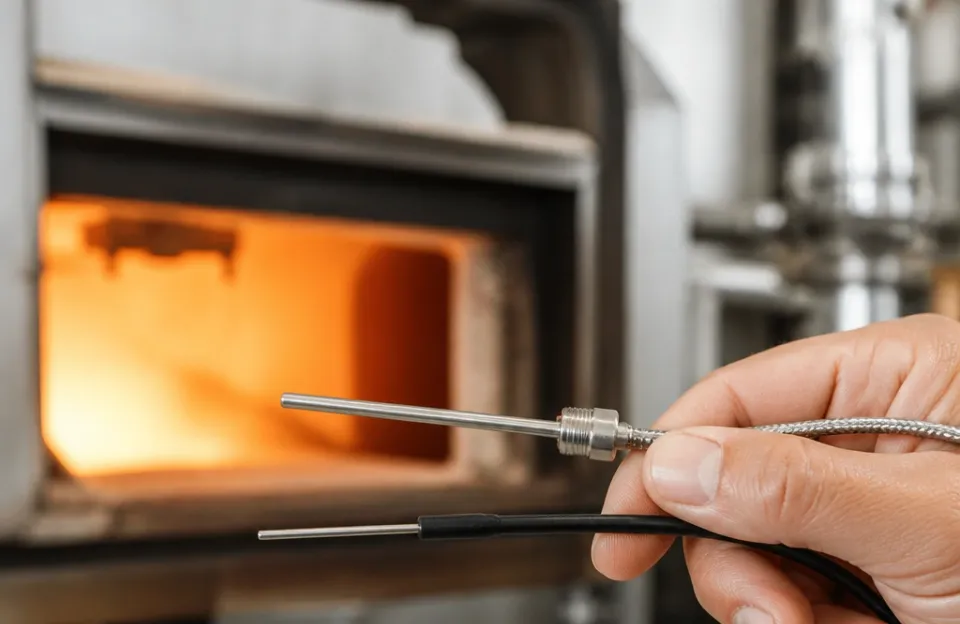
Accuracy Across Cooking Ranges
Sensor type does not guarantee accuracy. Calibration and correct placement do most of the work.
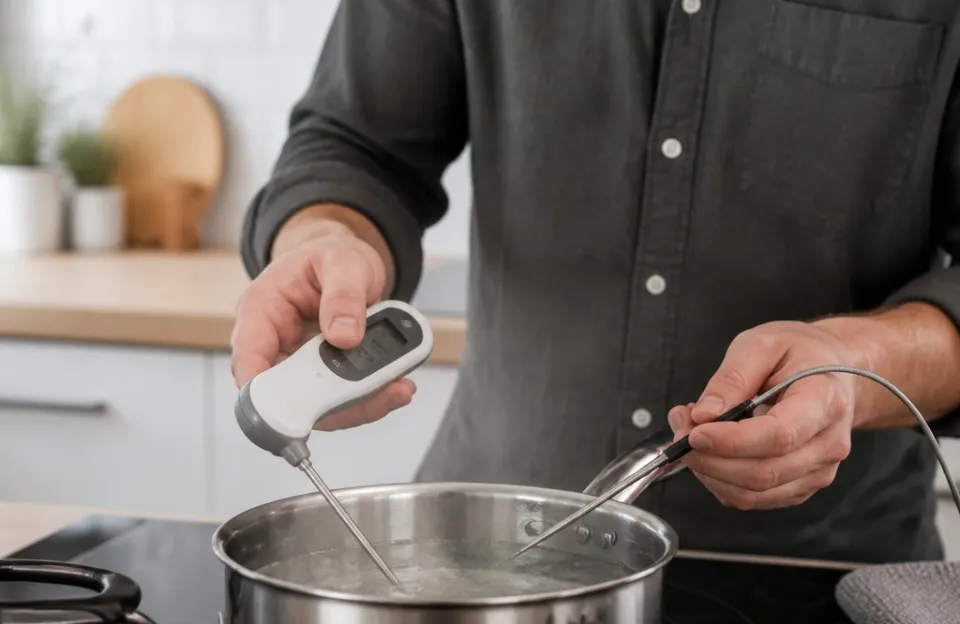
USDA FSIS states that most food thermometers will give an accurate reading within 2 to 4 degrees F, but the reading will only be correct if the thermometer is placed properly in the food. That guidance applies across sensor types, so a well-built thermistor and a well-built thermocouple can both serve you well when they are calibrated and used correctly.
Verify your thermometer before relying on it for safety decisions. FSIS includes a calibration section in its food thermometer guidance that walks through ice-point and boiling-point checks; follow that procedure rather than guessing. If your probe is reading oddly, checking whether it needs a replacement probe is the practical next step.
Understanding your target temperatures also helps you judge whether a reading is plausible. FSIS guidance states that most pathogens are destroyed between 140 degrees F and 165 degrees F, and that a hamburger cooked to 160 degrees F, as measured with a food thermometer, is safe regardless of color.
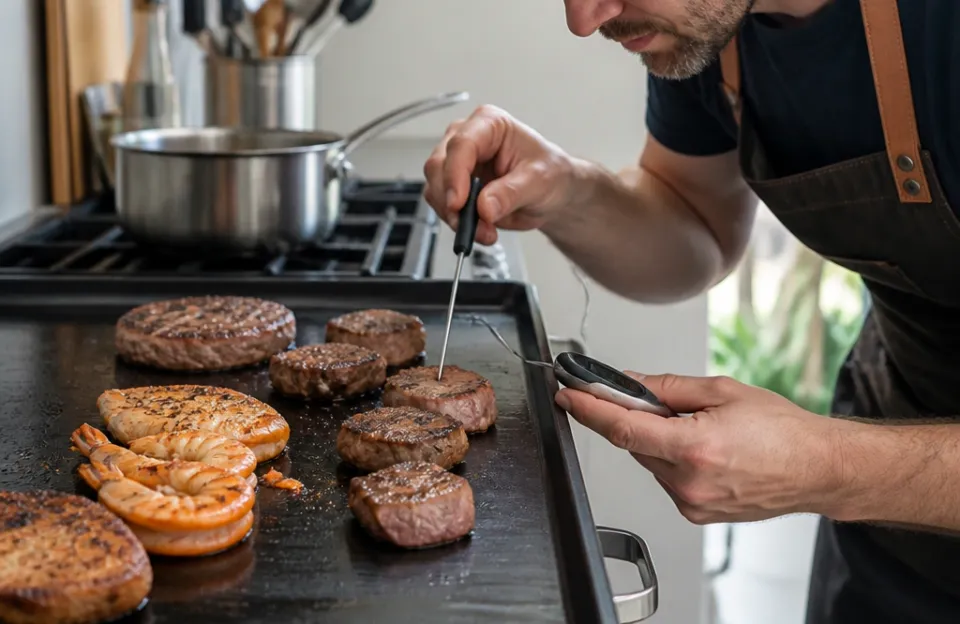
Durability and Long-Term Drift
Both sensor types can fail, and both last longer with careful handling.
Thermocouples are known to drift over time from oxidation of the metal junction, especially when repeatedly exposed to high heat. Thermistors can be damaged by thermal shock, which happens when a hot probe is plunged into cold liquid or moved abruptly between extreme temperatures. Avoid those abrupt swings, clean and store probes as the manufacturer instructs, and replace any probe that no longer reads correctly.
If durability is central to your decision, probes built for heavy use are worth comparing on construction and replacement availability. For long cooks and continuous monitoring, a dual-channel wireless setup in which the probe tolerates prolonged ambient heat can be a better fit than a handheld probe.
One note on life expectancy: specific lifespan figures vary by model and use conditions, so treat any single number as a claim to verify rather than a guarantee. The failure modes described here are general tendencies, not predictions for a particular thermometer.
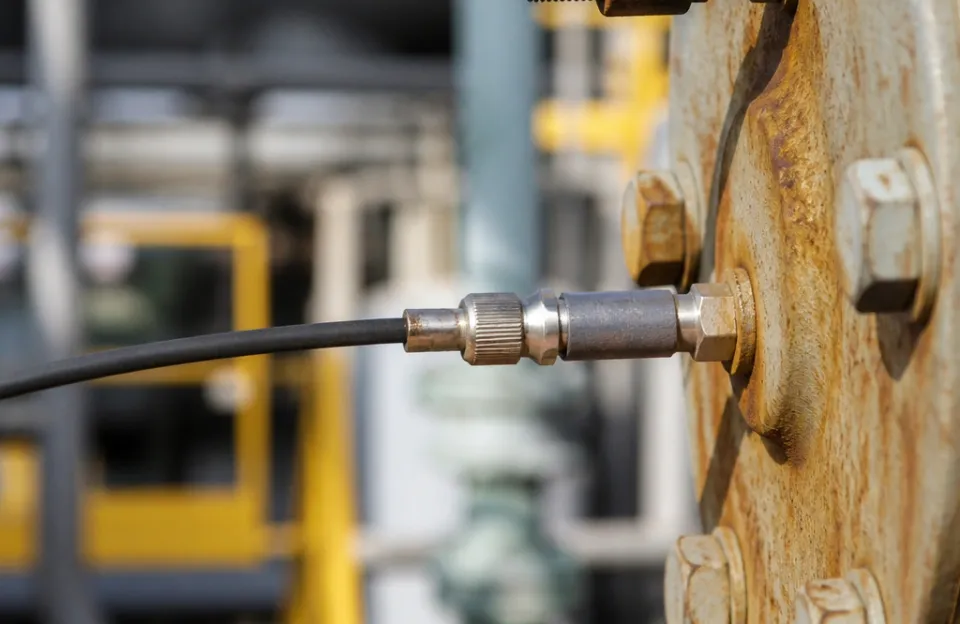
Thermocouple vs Thermistor Thermometers Side by Side
The table below compares the two sensor types using only criteria that are consistently relevant to a buying decision. Where a value depends on the specific model, the table says so rather than asserting a fixed number. The sensing principles are general descriptions of how each design works, while the performance rows are deliberately model-dependent.
| Criterion | Thermocouple Thermometer | Thermistor Thermometer |
|---|---|---|
| How it senses heat | Two joined metals generate a voltage that changes with temperature | A resistive element changes resistance as it warms |
| Typical probe tip | Can be made very thin | Often bulkier, though slim designs exist |
| Response time | Depends on probe mass and electronics; check the model’s stated time | Depends on probe mass and electronics; check the model’s stated time |
| Maximum probe and cable temperature | Set by the manufacturer’s rating; check before high-heat use | Set by the manufacturer’s rating; check before high-heat use |
| Accuracy | Must be calibrated; FSIS notes most food thermometers read within 2 to 4 degrees F when placed correctly | Must be calibrated; FSIS notes most food thermometers read within 2 to 4 degrees F when placed correctly |
| Common failure mode | Drift from oxidation of the metal junction over time | Damage from thermal shock and rough handling |
| Best fit | High-heat cooking, fast reads, thin-tip needs | Moderate-heat baking, roasting and everyday cooking |
| Cost | Varies by model; compare like-for-like build quality | Varies by model; compare like-for-like build quality |
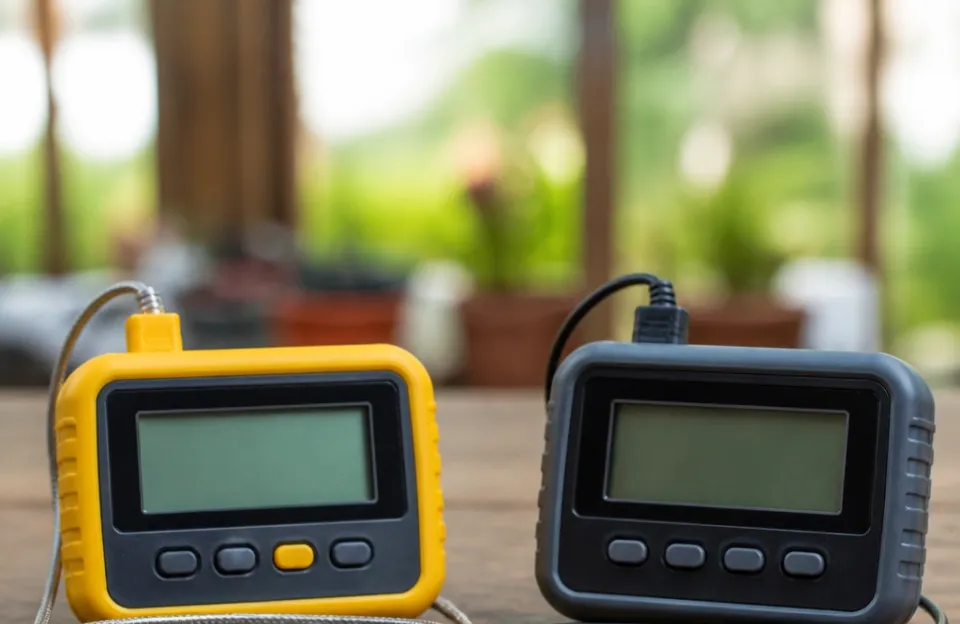
Picking the Right Sensor for Your Cooking Style
Different cooking styles put different demands on a probe. Here is how the trade-offs play out.
High-heat grilling, searing and frying. Look for a probe and cable rated for the temperatures you actually reach, and favor a thin tip for quick, low-damage checks. The sensor type matters less than the manufacturer’s rated limit. If your thermometer’s cable is not rated for the heat of your grill, no sensor design will save it. This is a selection principle based on how ratings work, not a claim that any specific model will or will not survive your grill.
Baking, roasting and everyday pan cooking. A thermistor thermometer is usually sufficient, and many reliable kitchen probes use thermistors precisely because they balance cost and accuracy for everyday meals. That is a general market pattern rather than a guarantee about any individual product, so compare the stated accuracy and build quality of the models you are considering.
Low-and-slow smoking and long cooks. Continuous monitoring is often more useful than repeated poking. Either sensor type works if the probe and cable are rated for the ambient heat of your smoker. The rating, not the sensor name, is what determines suitability here.
Thin proteins such as fish and cutlets. A thin tip gives you a smaller puncture and a faster-reading measurement in the center of the food.
Pizza ovens and other very high heat. These environments test the probe and cable rating, not just the sensor. Check the manufacturer’s maximum rated temperature before use, and do not assume a given sensor type is automatically suitable. If the rating does not cover the environment, choose a different thermometer rather than relying on the sensor type.
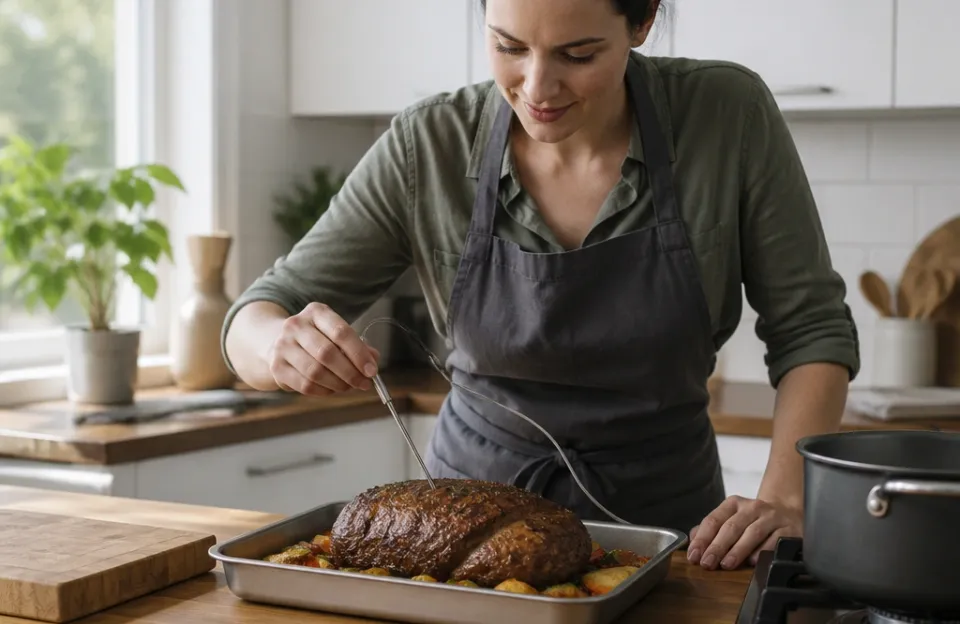
Whichever type you choose, apply the same food-safety fundamentals. Insert the probe into the thickest part of the food, away from bone, fat or gristle. For thin foods, insert through the side until it reaches the center. When cooking large or irregularly shaped foods such as a beef roast, check the temperature in several places. Always check each piece of food individually, because size, quantity and distribution cause pieces to reach a safe internal temperature at different times.
What Temperatures You Actually Need to Verify
Whatever sensor you choose must handle the safe minimum internal temperatures for the foods you cook. These numbers are the reason a thermometer matters in the first place.
| Food | Safe Minimum Internal Temperature | Rest Time |
|---|---|---|
| Beef, pork, veal and lamb steaks, chops and roasts | 145 degrees F (62.8 degrees C) | Rest at least 3 minutes |
| Ground meats | 160 degrees F (71.1 degrees C) | None specified |
| All poultry, including breasts, whole bird, legs, thighs, wings, ground poultry, giblets and stuffing | 165 degrees F (73.9 degrees C) | None specified |
| Fish and shellfish | 145 degrees F (62.8 degrees C) | None specified |
| Eggs | 160 degrees F (71.1 degrees C) | None specified |
| Leftovers and casseroles | 165 degrees F (73.9 degrees C) | None specified |
| Ham, fresh or smoked (uncooked) | 145 degrees F (62.8 degrees C) | Rest at least 3 minutes |
| Fully cooked ham packaged in USDA-inspected plants | Reheat to 140 degrees F (60 degrees C) | None specified |
| All other hams | Reheat to 165 degrees F (73.9 degrees C) | None specified |
These figures are the FSIS safe minimum internal temperature values, and they apply regardless of which sensor type your thermometer uses.
These values come from the FSIS safe minimum internal temperature chart, which is the reference to check when you are confirming doneness.
Consumers may choose to cook food to higher internal temperatures than the minimum for reasons of personal preference. One important caveat: color and grill marks are not indicators that food is safe to eat, and relying on them could put you at risk for foodborne illness if dangerous bacteria are still present. FSIS also cautions that color and grill marks are not reliable indicators that food is safe to eat, so a thermometer reading is the dependable check.
Frequently Asked Questions
Do thermocouples require batteries?
That depends on the thermometer electronics, not the sensor. A thermocouple generates its own tiny voltage, but the display, amplifier and any backlight need power. Check the product specification for your model rather than assuming. The sensor type alone does not tell you whether a given thermometer uses a battery.
Can a thermistor thermometer survive a pizza oven?
Do not assume so. Check the manufacturer’s stated maximum probe and cable temperature before exposing any thermometer to very high heat. If the rating does not cover your cooking environment, use a thermometer that does.
Is one sensor type more accurate than the other?
Calibration and placement matter more than sensor type. FSIS states that most food thermometers will give an accurate reading within 2 to 4 degrees F, but only if the thermometer is placed correctly in the food. Verify accuracy with the calibration procedure described in FSIS guidance.
Which sensor should I choose for low-and-slow smoking?
Either can work, provided the probe and cable are rated for the ambient heat of your smoker. Continuous monitoring with a compatible probe is usually more useful than repeated poking, because it avoids opening the cooker. The deciding evidence is the manufacturer’s stated rating for your specific probe and cable.
How do I know if my probe has failed?
Drift from oxidation affects thermocouples over time, and thermal shock can damage thermistors. A simple test is to check your thermometer against a known calibration point. If it no longer reads correctly, replace the probe.

Before You Buy Your Next Probe
Stop treating this as a debate about which sensor wins. Treat it as a question about your kitchen.
If you grill, sear, or fry often and want the fastest realistic response with a thin tip, look for a thermocouple thermometer whose probe and cable are rated for your cooking temperatures. If your cooking stays within moderate oven and pan heat and you want reliable accuracy without paying for high-heat headroom, a thermistor thermometer is the practical choice. These are conditional recommendations based on the trade-offs described above, not universal rankings, so confirm the stated specifications of the specific model before buying.
Whatever you pick, do three things before you rely on it. Check the manufacturer’s rated temperature for the probe and cable. Verify the thermometer’s accuracy using the calibration procedure in FSIS guidance. And use the temperature reading, not color or grill marks, as your doneness check. Incidentally, that distinction between display type and sensor design comes up often in the comparison of digital and analog dial thermometers.
One last consideration: many cooks eventually keep both. A thermistor thermometer handles everyday baking and roasting, while a thermocouple thermometer covers high-heat grilling and searing. If your budget allows only one, buy the one that matches the cooking you do most often, and confirm its rated limits before the first use. The sensor type narrows the field, but the model’s stated specifications and build quality decide whether it suits your kitchen.