You’re halfway through a twelve-hour brisket smoke when the display flashes an error code or the reading jumps wildly in seconds. That sinking feeling hits hard. Your meal is on the line, and your gear just quit. In many cases the probe, not the base unit, has failed, and knowing how to handle a meat thermometer probe replacement can save an expensive cut and your afternoon.
Confirm the probe is at fault by testing it against a known reference and checking the reading against your manufacturer’s accuracy specification. To replace a damaged probe, identify your device’s brand and model and obtain the exact compatible replacement. Power down the unit, unplug the old probe by its plug housing, inspect the socket for debris or corrosion, and seat the new jack firmly. Then test the new probe in a properly prepared ice bath before you start cooking, and judge the result against your device’s stated tolerance rather than a fixed number you apply to every thermometer. Check your manual for the correct procedure before you begin.
You can also read our guide on is your meat thermometer probe broken how to tell and what to do.
Why Thermometer Probes Fail and How to Confirm the Probe Is the Problem
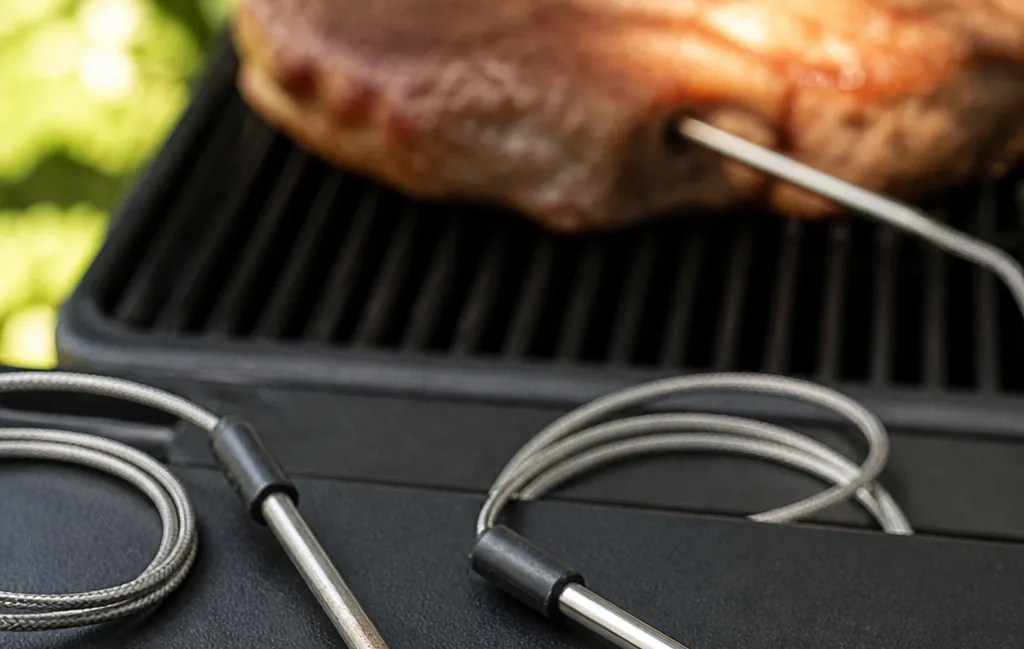
Probe failures are common enough that many cooks treat probes as consumables.
A probe thermometer lives a hard life. It spends hours inside a hot, smoky chamber, gets splashed with rendered fat, endures flare-ups, and often suffers through aggressive cleaning. The sensor inside, typically a thermistor or a thermocouple, translates temperature into an electrical signal. When the wiring inside the braided cable frays or the sensor in the tip degrades, that signal becomes unreliable.
Moisture and physical stress are two common reasons probes fail. The junction where the wire enters the metal housing is often not fully sealed, and water that seeps in during a sink soak can short the circuit. Physical stress matters too: thermometer accuracy can be compromised by frequent handling, jarring or vibration, physical stresses, and inadvertent external damage. Extreme storage temperatures and declining battery life are additional factors that affect accuracy.
You should consider a replacement if you notice physical fraying on the mesh cable, if the wire feels unusually stiff or kinked, or if your display shows an obviously wrong temperature. Error codes vary by brand, so look up your own model’s manual rather than assuming a universal meaning. Because these parts are consumables, many experienced cooks keep a spare or two on hand. A replacement probe usually costs far less than a new base unit or a new wireless system.
Testing the Probe Versus the Base Unit
A simple cross-check separates a bad probe from a bad thermometer. Most multi-channel units let you move the suspect probe to a different port:
- Unplug the suspect probe from its current channel.
- Plug it into a different port on the same base unit.
- If the error or bad reading follows the probe, the probe is the problem.
- If the problem stays with the original port no matter which probe you use, the base unit or that port is the problem.
You can also compare readings: place the suspect probe and a known-good probe in the same ice bath or the same roast and see whether they diverge. If you suspect your readings are drifting without visible damage, erratic temperature swings are usually the first sign of internal sensor degradation.
Preparing a Reliable Ice Bath
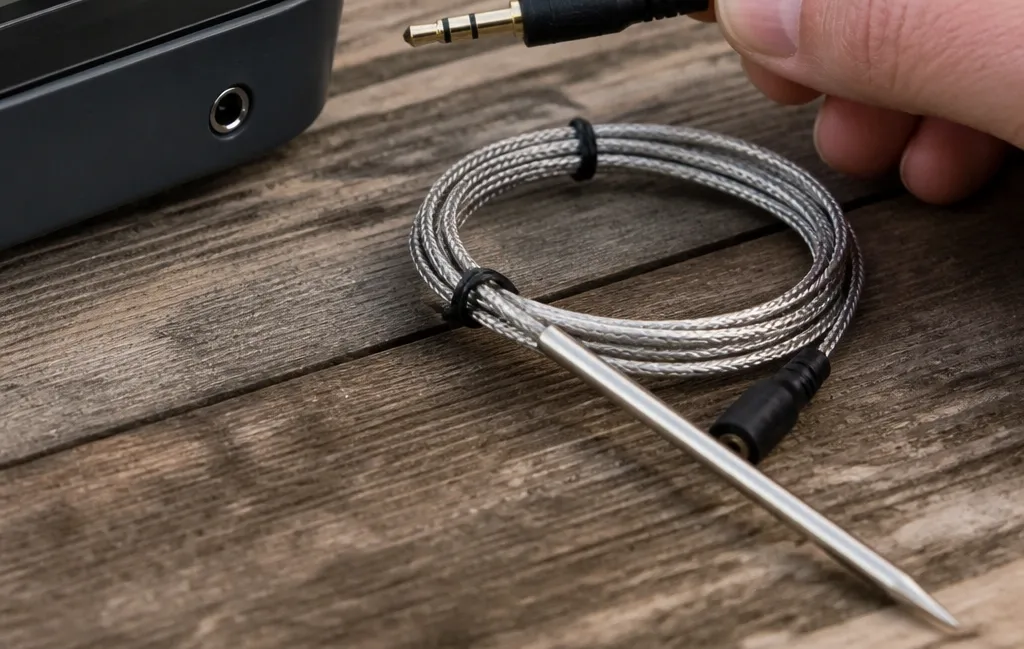
A properly built ice bath is the reference point for every accuracy check in this guide.
The ice bath is the reference test, so it has to be built correctly. A careless ice bath can be off by several whole degrees, which is enough to make a good probe look broken or a bad probe look fine.
- Fill a container with ice, then add water until it reaches about half an inch below the top of the ice.
- Let the slurry settle and stir it gently so the temperature evens out. Small mistakes such as too much water or improper probe placement can create temperature gradients inside the bath.
- Place the probe tip in the center of the slurry and stir gently without touching the ice, the container walls, or the bottom.
- Hold it there until the reading stabilizes. Follow your manufacturer’s instructions for immersion depth and stabilization time.
Water quality makes a small difference: an ice and water mixture made from distilled, reverse-osmosis, or deionized water will read 32°F (0°C), while surface, well, or bottled waters can vary in dissolved solids and shift the mixture’s temperature. For a home accuracy check, the bigger variables are the ice-to-water ratio, crush size, stirring, and probe placement.
A properly made ice bath measures 32°F (0°C) and serves as a benchmark for validating probe accuracy. You can follow a step-by-step manufacturer procedure from SmartSense’s ice bath calibration guide, which walks through immersion depth and stabilization.
Reading the Result: Adjust or Replace
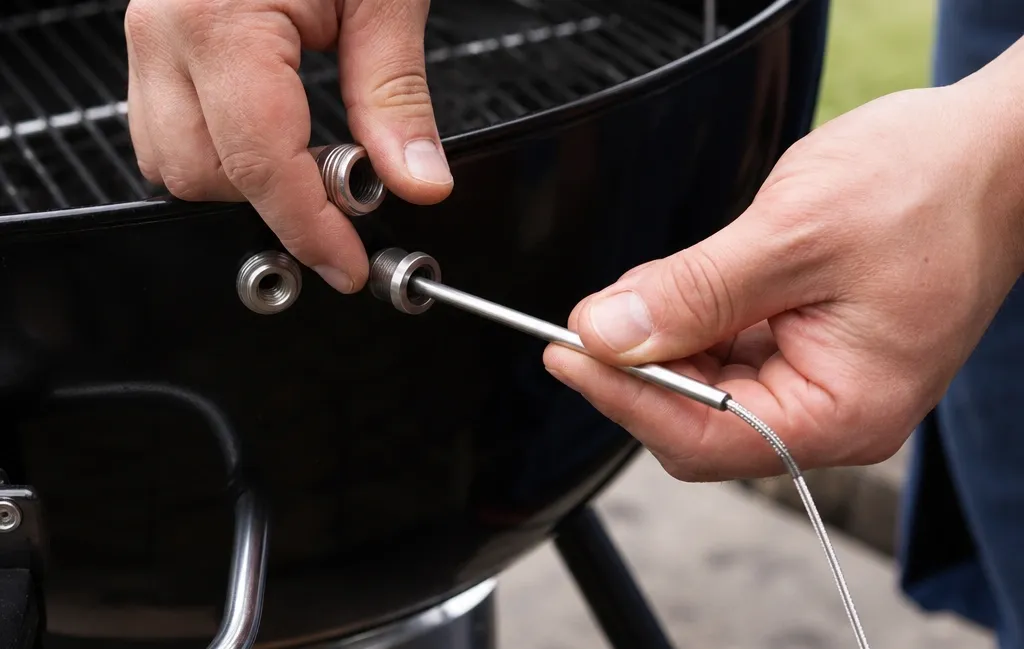
How you interpret the reading depends on the tolerance your manufacturer publishes for your model.
Do not calibrate before you compare. Before adjusting a digital instant-read thermometer, check whether its ice-bath reading already falls within the manufacturer’s accuracy range; if it does, adjustment isn’t needed. The same logic applies to probe thermometers generally: use the manufacturer’s specifications to set the acceptable tolerance for the instrument being evaluated.
That tolerance varies by instrument, probe, operating range, and manufacturer, so there is no single number that fits every device. Manufacturers who publish a tolerance often state it as a plus-or-minus figure, so a reading slightly off the reference may still be in specification. To see how this works in practice, ThermoWorks explains the ice-bath procedure and the within-specification check in its proper ice bath guide.
- Within your device’s stated tolerance: do not adjust anything. The probe is reading as designed.
- Outside tolerance and your unit has a calibration function: follow the manufacturer’s adjustment instructions.
- Outside tolerance and there is no adjustment, or the reading is wildly wrong: replace the probe or investigate the base unit.
For context, one retailer’s walkthrough notes that a ThermoPop reading slightly off the reference in a proper ice bath may still be within its stated specification and should not be adjusted. Check your own device’s stated tolerance before deciding.
Temperature tolerance matters most where food safety is concerned. The USDA FSIS kitchen thermometers page explains how thermometers should be used and calibrated for safe cooking. Follow your manufacturer’s calibration instructions for your specific model.
Identifying the Right Replacement Probe
The most frequent mistake is buying a “universal” probe that is not actually universal. A probe that physically fits can still be wrong for your base unit if the sensor type or calibration curve does not match. Matching by brand, model, plug type, and sensor type is the reliable path, and the manufacturer’s own compatibility documentation is the only dependable guide to the exact part. When in doubt, contact the manufacturer before ordering.
- Brand and model: start with your base unit’s model number and look up the manufacturer’s listed replacement probes.
- Plug and jack: connector sizes and styles differ, and some brands use proprietary connectors. Do not force a plug that does not slide in smoothly.
- Sensor type: thermistor and thermocouple probes are not interchangeable. Check your manual or the manufacturer’s compatibility documentation to confirm which type your base unit requires.
- Meat probe versus ambient probe: internal meat probes are designed to reach the thermal center of a roast. Ambient, or pit, probes are designed to measure air temperature and often ship with a grate clip. Buy the type that matches the job.
- Stated tolerance: check how accurate the replacement is specified to be, since this is the benchmark you will test it against.
If your probe has gone black or crusty and you are unsure whether it is still safe to use, our guide on a meat thermometer probe turning black covers when to clean and when to retire it.
Step-by-Step Probe Replacement
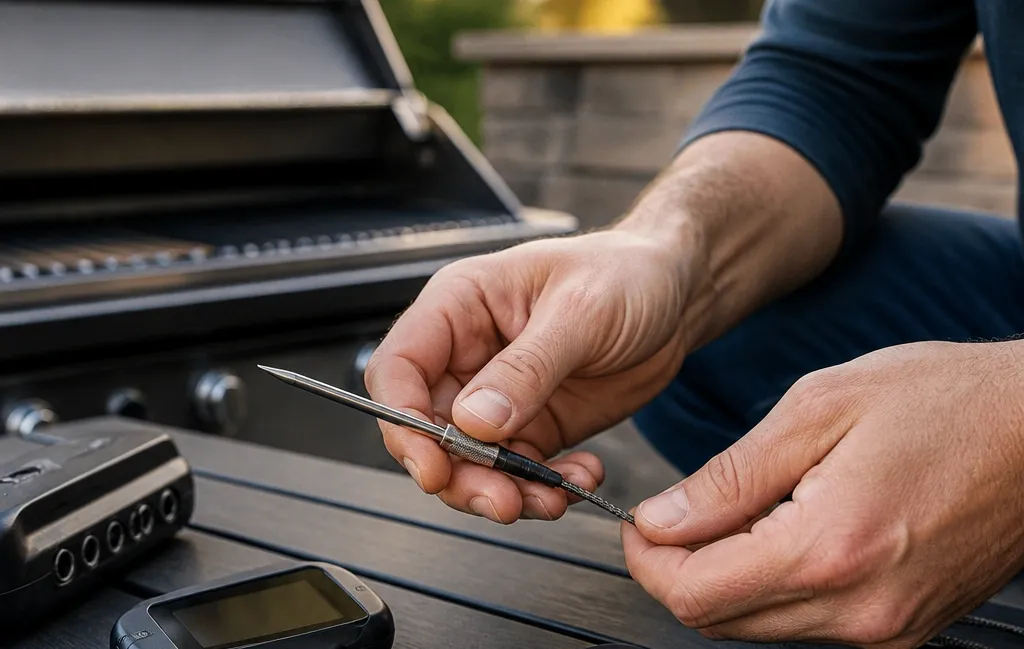
Work through the steps in order and stop if anything looks damaged.
- Power down the unit. Turn off the transmitter and receiver completely before touching the ports.
- Remove the old probe. Grasp the plastic or rubber housing of the plug, never the wire, and pull it straight out of the port.
- Inspect the port. Look inside the socket for debris, corrosion, or moisture. A quick blast of compressed air or a dry cotton swab clears loose material. Stop here and contact the manufacturer if you see heavy corrosion or a damaged pin inside the socket, because a new probe will not fix a ruined port.
- Plug in the new probe. Push the jack in firmly until it seats. If there is a visible gap between the plug housing and the unit, it is not inserted all the way.
- Power up and read room temperature. The display should show a sensible ambient reading.
- Run the ice bath test. Prepare the slurry as described above, wait for a stable reading, and compare the result against your device’s stated tolerance.
If the new probe seats correctly but the ice-bath reading still falls outside specification, the base unit, the port, or the replacement probe may be at fault. Do not start adjusting calibration until you have confirmed the probe is the right part for your model. Check the manufacturer’s troubleshooting guidance before replacing more parts.
When the Base Unit Is the Fault
A probe replacement will not help if the problem sits inside the thermometer itself. Watch for these signs:
- The error or bad reading follows the port rather than the probe when you swap channels or probes.
- The unit will not power on, or the display is blank or garbled with a known-good probe attached.
- Readings jump wildly with the probe motionless in a stable ice bath.
- Battery contacts are corroded, or fresh batteries do not restore normal behavior.
Battery problems are the cheapest thing to rule out first. Our guide on how do I know if my thermometer battery is low explains the symptoms that mimic a failing sensor. If the unit still misbehaves with fresh batteries and a known-good probe, check your warranty and the manufacturer’s support channel before buying a replacement base. A probe is a consumable, but the base unit is usually the longer-lived part of the system.
Specialty and Wireless Probe Replacement
Not all replacements are as simple as plugging in a wired sensor. Truly wireless probes are typically replaced as a whole unit rather than as a detachable probe. The replacement process then involves removing the old probe from your app’s device list and pairing the new one, and those pairing steps vary by model and need to come from the manufacturer’s instructions.
Wireless probes also fail in ways wired probes do not. Signal reliability depends on the distance and obstacles between the probe, its base station, and your phone. One reviewer’s comparison of wireless probes reported differences in Bluetooth range and connection stability between models. Those are single-reviewer, model-specific observations and should not be generalized to all wireless probes.
Two other details from that comparison are useful context. Some wireless probes rely on an app for temperature display, while others include a base station that can connect via Bluetooth or Wi-Fi. Check the manufacturer’s specifications for the model you own. If you are comparing systems, our guide on infrared vs probe thermometers for meat explains where each type fits. Whichever platform you own, check the manufacturer’s stated heat limits before cooking with the probe and its stated pairing procedure before you assume a probe is broken.
A frayed probe wire near the jack is a common reason for sudden error codes and jumpy readings.
Common Pitfalls During Probe Replacement
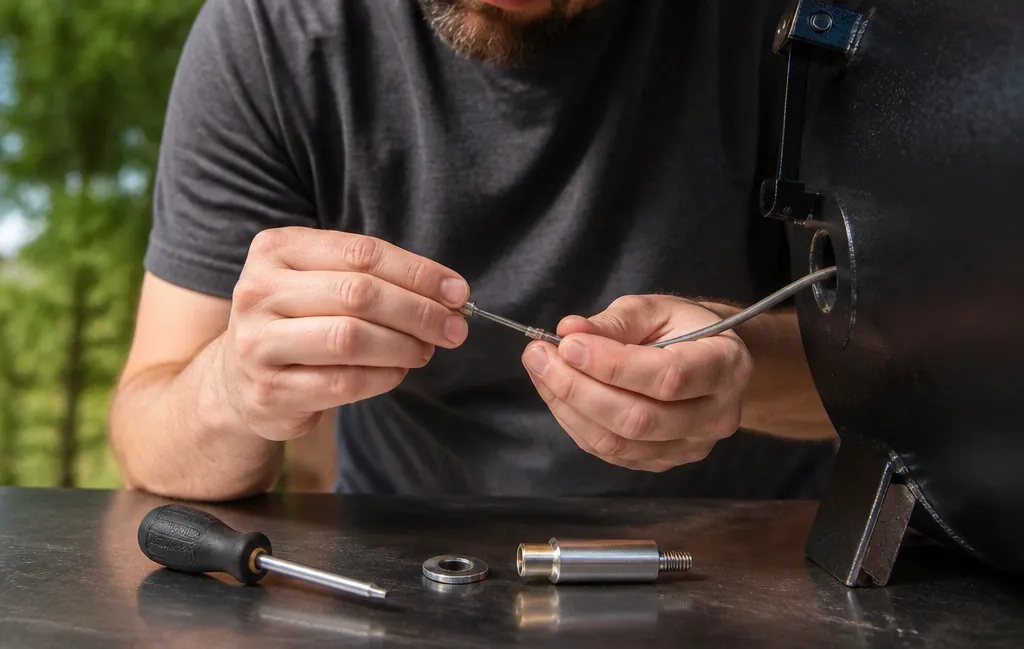
Most replacement problems trace back to a part that does not match the base unit.
- Buying a lookalike probe. A plug that fits is not proof of compatibility. Unless the manufacturer says the part is compatible with your model, assume it is not.
- Forcing the plug. If the jack does not slide in smoothly, you likely have the wrong connector. Forcing it can damage the socket and turn a cheap fix into a ruined base unit.
- Skipping the port inspection. A corroded or dirty socket can cause false readings even with a brand-new probe.
- Ignoring seals and O-rings. If your probe has a rubber seal on the plug shaft, make sure it stays seated. Without it, steam can reach the electronics.
- Yanking the coiled cable. New probes arrive tightly coiled. Unroll them carefully rather than pulling, since kinks right out of the box stress the internal strands.
- Dunking the whole cable. Even when packaging says waterproof, treat the wire-to-probe junction as a weak point. Wipe the stainless section with a soapy cloth and keep the braided wire dry.
- Adjusting calibration before checking the part. Confirm the replacement is the correct model and seats fully before you change any settings.
If you use your probe alongside other countertop appliances, inserting rigid probes into tight baskets can bend the wires. Our guide on using a meat thermometer for oil covers the temperature and handling limits that apply when you move beyond the grill.
Extending the Lifespan of Your New Probe
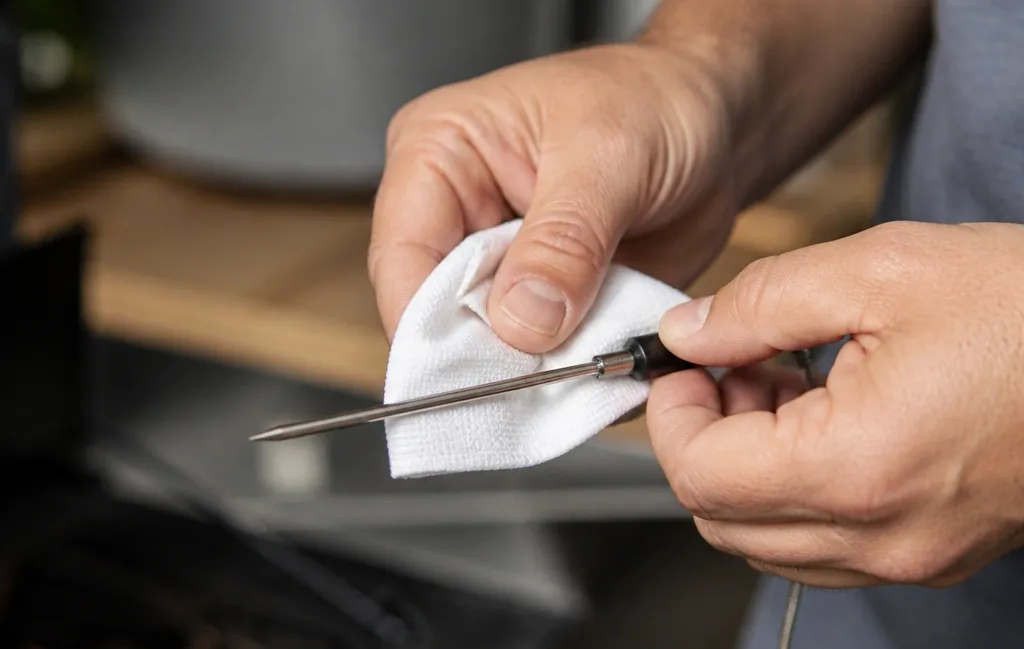
A few handling habits make the biggest difference to how long a probe lasts.
Replacing a probe is cheap, but doing it every month is frustrating. A common mistake is letting the probe or cable rest directly against metal grates or the side of the firebox. Metal conducts heat far faster than air, and sustained contact with hot metal can push the probe past its rated limit. Use the provided clips to route the wire out of direct flame paths, and check your manual for the probe’s stated maximum temperature.
Cleaning habits matter just as much. Check your manual for whether your probe is dishwasher safe, since prolonged submersion and harsh detergent can damage the wire junction. Wait until the probe is cool, wipe the metal shaft with a damp paper towel, and use a mild degreaser only on the stainless steel. Coil the wire loosely in large loops when storing it, since tight wrapping strains the conductors. Our guide on how to store thermometer probes without tangling the wires has more storage patterns.
Finally, handle the electronics like the sensitive instruments they are. Frequent handling, jarring, extreme storage temperatures, and declining battery life all affect accuracy over time. Store the base unit dry, replace batteries before they leak, and recheck the probe in an ice bath after any drop or hard knock.
Summary of Probe Types and Plugs
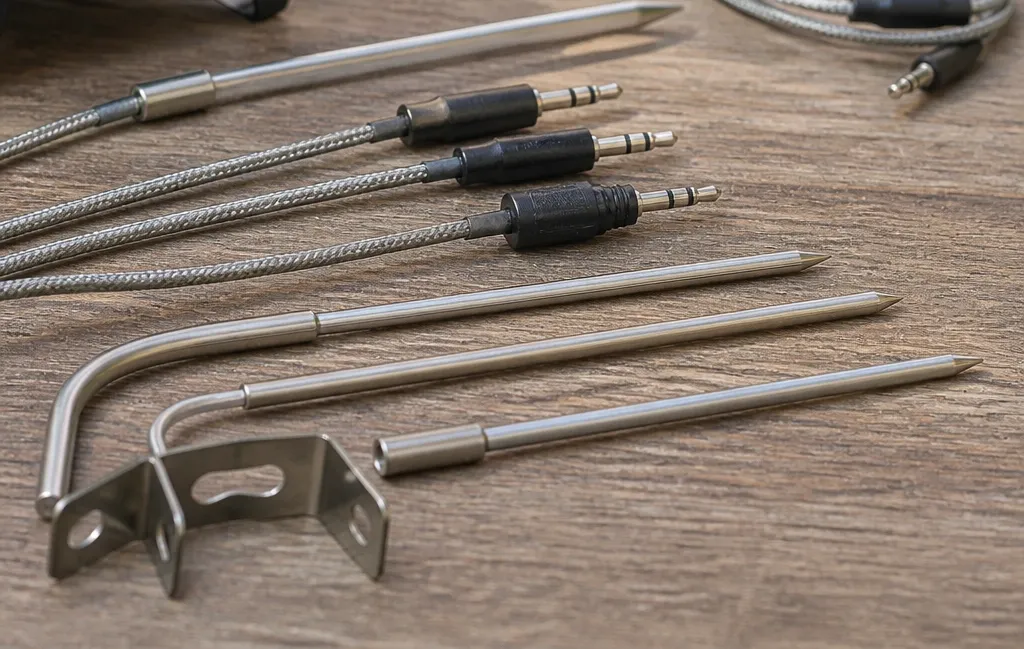
The table below summarizes how the main probe types differ in connection, use, and replacement approach.
| Feature | Thermistor Probe | K-Type Thermocouple Probe | Truly Wireless Probe |
|---|---|---|---|
| Typical Connection | Proprietary or jack-style connector, model-specific | Connector and electronics matched to a thermocouple-ready unit | No plug; radio link to a base or app |
| Common Use | Backyard BBQ, oven roasts | Fast-reading and professional-style setups | Rotisserie, closed-lid cooking, moves freely with the food |
| Accuracy Note | Tolerance set by instrument, probe, and range | Tolerance set by instrument, probe, and range | Follow the manufacturer’s stated tolerance and heat limits |
| Durability | Vulnerable to moisture at the cable junction | Robust sensor, but cable and connector still wear | Sealed electronics; sensitive to ambient heat limits |
| Replacement Approach | Buy the exact model-specific probe | Buy the manufacturer’s specified thermocouple probe | Replace and re-pair the whole unit |
Check your manual for the specific connection, tolerance, and replacement part for your model.
Frequently Asked Questions
These answers cover the questions readers ask most often after a probe fails.
Can I Use a Probe from a Different Brand If the Plug Fits?
A fitting plug is not proof of compatibility. Base units are calibrated to a specific sensor type and temperature curve, so a probe from another brand can produce inaccurate readings even when it seats properly. Unless the manufacturer states the part is compatible with your model, use the manufacturer’s specified replacement. Check the manual or contact the manufacturer if you are unsure.
Why Does My New Probe Show an Error Code Right Out of the Box?
Error codes differ by brand, so check your model’s manual first. As a practical start, confirm the plug is fully seated and try the probe in a different channel. If the error follows the probe across channels, the probe is likely faulty or was damaged in transit. If the error stays with one port, the base unit is the more likely culprit. Follow the manufacturer’s troubleshooting steps before replacing parts.
Is It Possible to Repair a Probe Wire Instead of Replacing It?
Replacement is the safer default. A DIY repair is difficult to verify against the manufacturer’s accuracy specification, and the modest cost of a model-specific replacement usually makes it unnecessary. Check with the manufacturer before attempting any repair.
How Many Times Can I Replace a Probe Before the Base Unit Fails?
There is no universal cycle count to rely on. The base unit sits away from the heat and often outlasts several probes, but port wear, moisture, drops, and battery leakage all affect its lifespan. Keep the transmitter dry, avoid drops, and deal with battery corrosion promptly.
What Is the Difference Between a Stepped-Tip and a Tapered-Tip Probe?
Probe tip designs vary by manufacturer. Check your manual or the product listing for the tip style and recommended use for your model.
Final Thoughts on Replacing a Meat Thermometer Probe
The decision path is short: confirm the probe is the faulty part with a cross-channel check, buy the manufacturer’s specified replacement for your exact model, inspect the port, seat the plug fully, and verify the new probe in a properly prepared ice bath against your device’s stated tolerance. If the error follows the port instead of the probe, look at the base unit and your battery contacts before spending money on another probe.
Take two minutes to run the ice-bath check before your next cook. That single step tells you whether your gear is giving you trustworthy numbers. If you find yourself replacing probes often, look at how you clean, route, and store them: keeping cables out of the sink, avoiding tight kinks, and suspending wires away from direct heat will save you money and frustration. Identify your model’s requirements now and keep a tested spare probe ready for your next smoke. Check your manual for the correct procedure for your device.