You pull your roast from the oven, slide in your thermometer, and see 158°F. Relieved, you pull the probe out to wipe it down, reinsert it ten seconds later, and now it reads 149°F. Suddenly you are wondering if your dinner is safe to eat or if your equipment is broken. This frustrating scenario plays out in kitchens every day, but the culprit is rarely a defective device.
When you experience wildly varying numbers, you are almost always dealing with a combination of meat physics, sensor placement, and user technique rather than a faulty tool. Understanding why these discrepancies happen transforms you from a nervous cook guessing at doneness into someone who can confidently verify food safety. This guide breaks down exactly why your readings jump around, how different technologies behave under heat, and the practical steps you need to take to get reliable numbers every single time. You can also read our guide on how do you use a meat thermometer step by step.
Why Meat Temperature Isn’t a Single Number
A common mistake is assuming that a piece of cooking meat exists at one uniform temperature. It does not. Heat transfers from the outside environment—whether an oven, grill, or pan—inward toward the center. This creates what thermodynamics calls a temperature gradient. The outer layers might be well over 200°F while the very core is still climbing past 130°F.
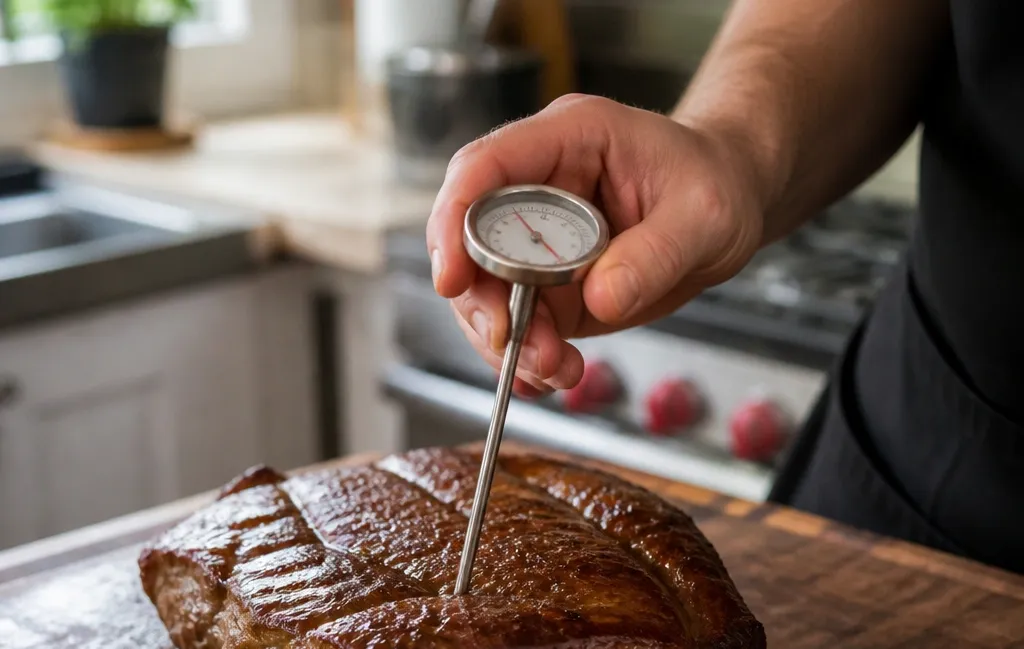
Because of this gradient, moving your probe even half an inch changes the exact zone you are measuring. If your first insertion lands slightly off-center and your second hits the true geometric middle, you will record two completely different numbers. Both readings are technically accurate for the specific millimeter of flesh the sensor touched; they just represent different locations within the thermal gradient. You can also read our guide on chicken internal temperature chart safe cooking temps for every cut.
How Probe Placement Changes Everything
In practice, probe placement causes the vast majority of perceived inconsistencies. Meat is not a uniform block of protein. It contains bones, dense connective tissue, rendered fat pockets, and occasionally small air voids left behind by shrinking muscle fibers.
- Hitting bone: Bone conducts heat differently than muscle. A probe resting against a femur or rib will often register significantly higher than the surrounding meat, giving you a false sense of security about doneness.
- Piercing fat caps: Fat insulates. If your sensor sits inside a thick layer of unrendered fat, it will read lower than the lean muscle beneath it.
- Finding air pockets: Especially common in whole poultry or rolled roasts, tiny air gaps inside the meat will cause the sensor to read the ambient trapped air rather than the tissue, resulting in erratic, falsely low numbers.
- Shallow insertions: Most digital sensors live in the final half-inch of the probe tip. If you only push the stem in a quarter inch, the sensor is hovering near the hot surface rather than reading the interior.
To get consistent results, you must deliberately target the thickest part of the muscle mass, avoiding all hard structures and visible fat seams. You can also read our guide on do professional chefs use a meat thermometer.
Sensor Technology: Why Speed Matters for Consistency
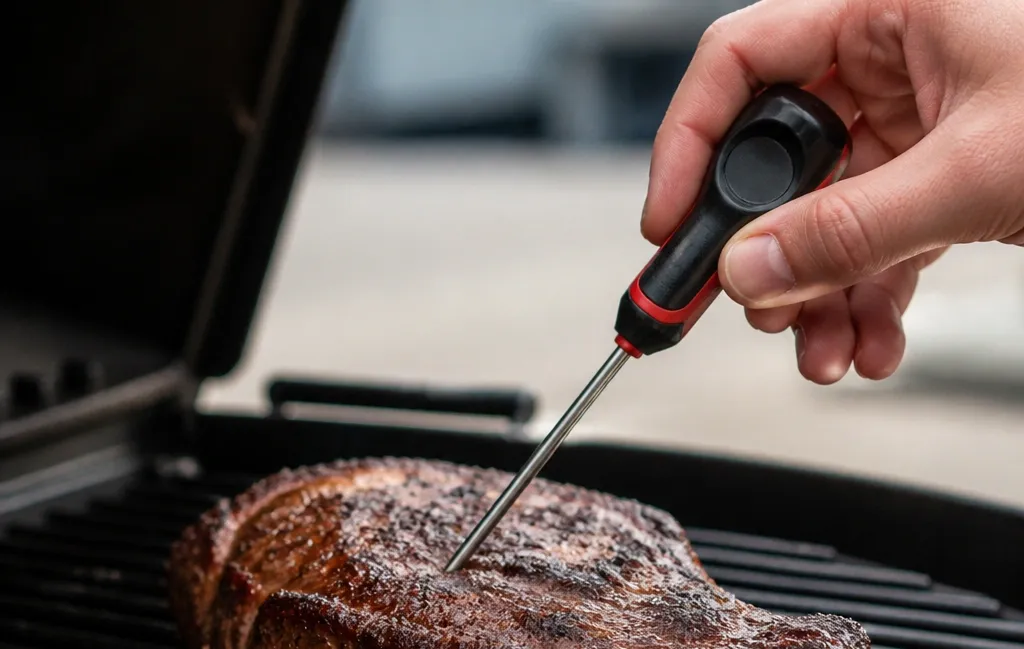
Not all thermometers react to heat at the same pace, and response time directly impacts how stable your numbers appear on the display. When people compare popular models like those in our thermometer brand breakdown, they often notice that faster devices feel more “jumpy” simply because they catch micro-fluctuations that slower devices miss entirely.
Bimetallic Dials vs. Digital Sensors
Older analog dial thermometers use a bimetallic strip—a coil of two bonded metals that expand at different rates as they heat up, physically turning a needle. These require deep insertion (often two inches or more) and take up to 20 seconds to stabilize. Because the needle moves slowly and the printed scale is broad, minor temperature variations are hidden. You might read “roughly 160°F” three times in a row and assume perfect consistency, when in reality the temperatures were 157°F, 161°F, and 159°F.
Digital thermometers use either thermistors or thermocouples. Thermistors measure changes in electrical resistance and typically stabilize in 3 to 5 seconds. Thermocouples generate a tiny voltage at the junction of two dissimilar metals and are the fastest available, locking in a reading in 1 to 2 seconds. Because digital screens show precise decimals, you see every single degree of variation as you shift the probe through the temperature gradient. This precision makes them vastly superior for safety, but it also makes normal fluctuations much more obvious to the user.
| Feature | Analog Dial | Digital Thermistor | Digital Thermocouple |
|---|---|---|---|
| Response Time | 15–20+ seconds | 3–5 seconds | 1–2 seconds |
| Sensor Location | Bottom 1–2 inches | Very tip (approx. ½ inch) | Extreme pin-point tip |
| Precision Display | Broad visual estimate | Exact numerical digit | Exact numerical digit |
| Best Use Case | Leave-in oven monitoring | Quick everyday spot checks | Professional rapid testing |
If you want speed without sacrificing reliability, evaluating whether this popular budget model delivers is a smart starting point before upgrading your toolkit.
Leave-In Probes vs. Instant-Reads
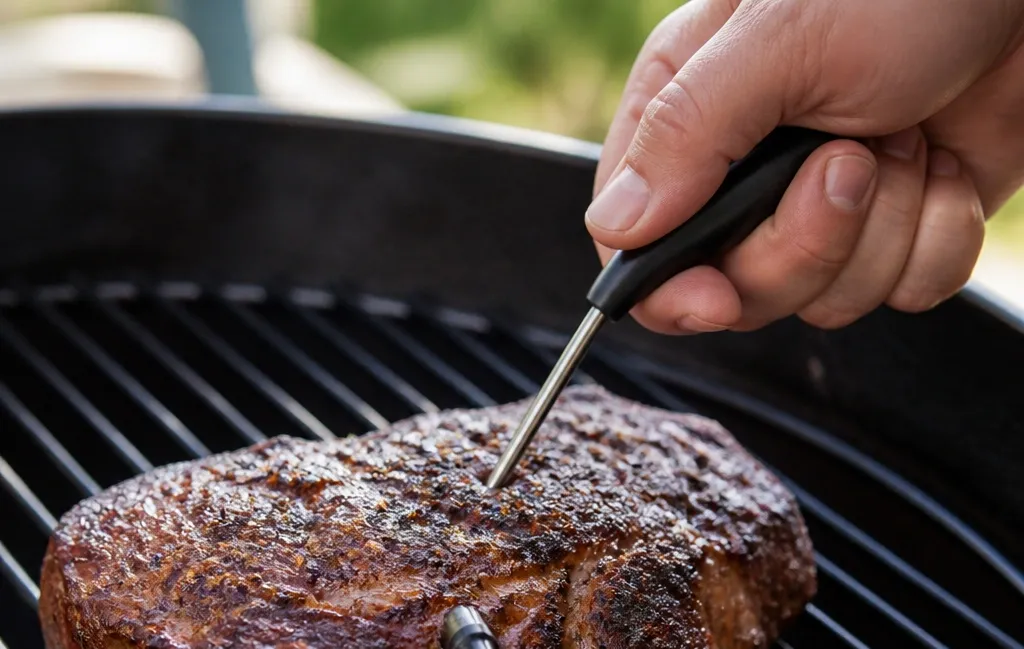
Understanding the intended design of your tool prevents misuse that leads to bad data.
Instant-read thermometers are built for brief spot checks. You open the grill, insert the probe, wait for stabilization, read the number, and remove it immediately. Leaving an instant-read inside a 400°F oven will melt its plastic housing or fry its circuitry. Because you are repeatedly inserting and withdrawing the probe, you are highly likely to hit slightly different spots each time, naturally generating varied readings.
Leave-in probes feature a heavy-duty metal spike attached to a braided, heat-resistant cable that runs outside the oven to a base unit. Because the spike stays anchored in one exact location for the entire cook, you eliminate placement variance. However, leave-in probes only monitor a single point. If you placed the tip slightly too close to the surface, or if the roast cooks unevenly due to oven hot spots, your alarm might sound while the true center remains dangerously undercooked.
For high-heat environments where surface temps deceive you, understanding the difference between radiant and contact measurement tools ensures you are using the right physics for the job.
Carryover Cooking and Resting Dynamics
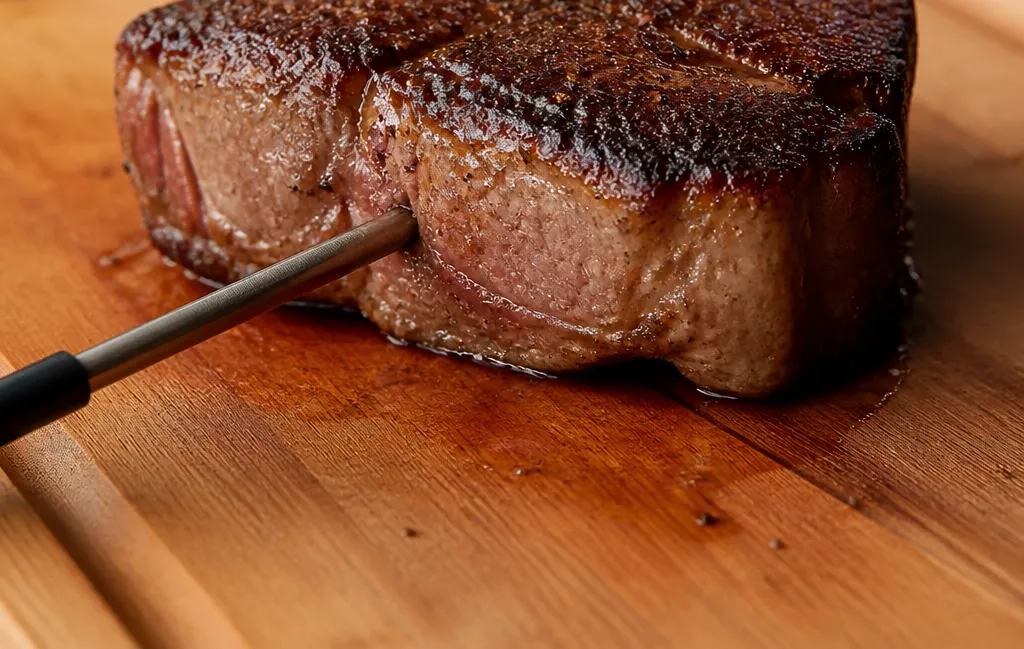
If your readings climb after you take the meat off the heat, your thermometer is not lying—it is accurately tracking carryover cooking. When you remove a roast from a 350°F oven, the exterior is significantly hotter than the core. That stored thermal energy continues migrating inward even without an external heat source.
Depending on the mass of the protein and the cooking temperature, the internal core can rise anywhere from 5°F to 15°F during resting. A large prime rib pulled at 125°F will easily coast to 135°F. If you check the temperature immediately upon removal, and then check again five minutes into the rest, you will see a higher number. This is not an inconsistency; it is expected thermodynamic behavior. Always factor in this temperature rise when planning your target pull temp.
Hardware Issues That Cause Erratic Numbers
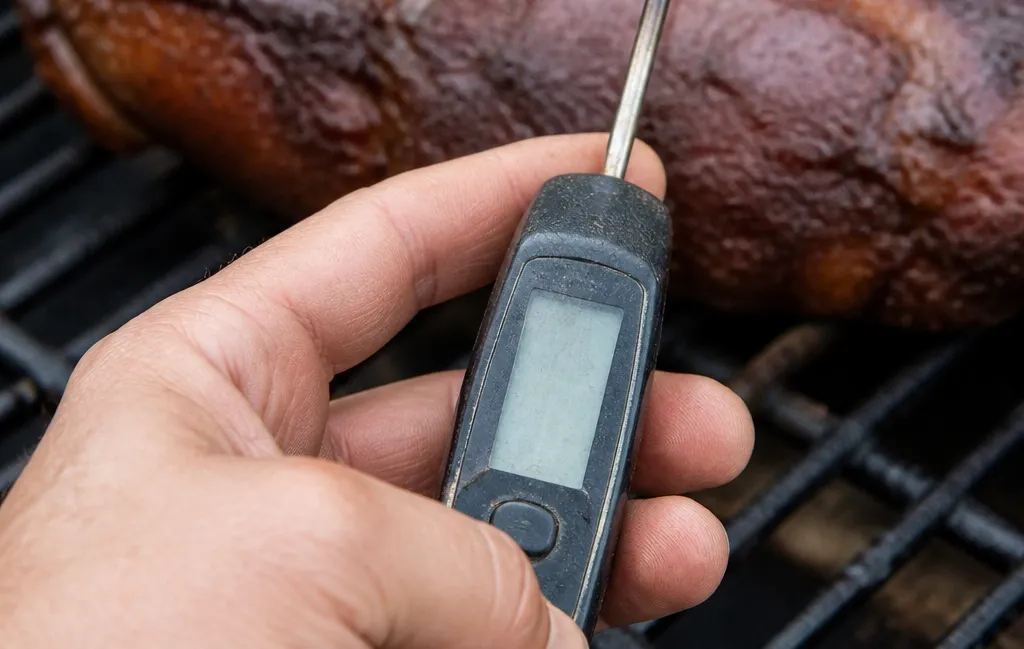
While technique accounts for most variations, physical hardware failures do happen. Before throwing a thermometer away, rule out these common mechanical issues.
Weak Power Sources
Digital sensors require steady voltage to calculate resistance accurately. As batteries deplete, the processor struggles to maintain stable calculations, leading to flickering screens, delayed response times, or numbers that drift upward or downward while sitting perfectly still. If your device starts acting erratically, learning how to identify a dying power source should be your very first troubleshooting step. Swapping in a fresh battery resolves the majority of sudden electronic glitches.
Moisture Intrusion and Physical Damage
Probes endure extreme abuse: intense heat, ice baths, drops onto tile floors, and aggressive scrubbing. Even a microscopic breach in the seal where the metal probe meets the plastic handle allows steam and moisture to enter. Once water reaches the circuit board or the sensor wiring, readings will jump unpredictably. Similarly, if a probe has been bent or kinked, the internal thermocouple wires may be frayed, creating intermittent connections that register as wild temperature swings. Inspect your probe shaft regularly for dents, bends, or signs of rust.
How to Verify Accuracy With an Ice Bath Test
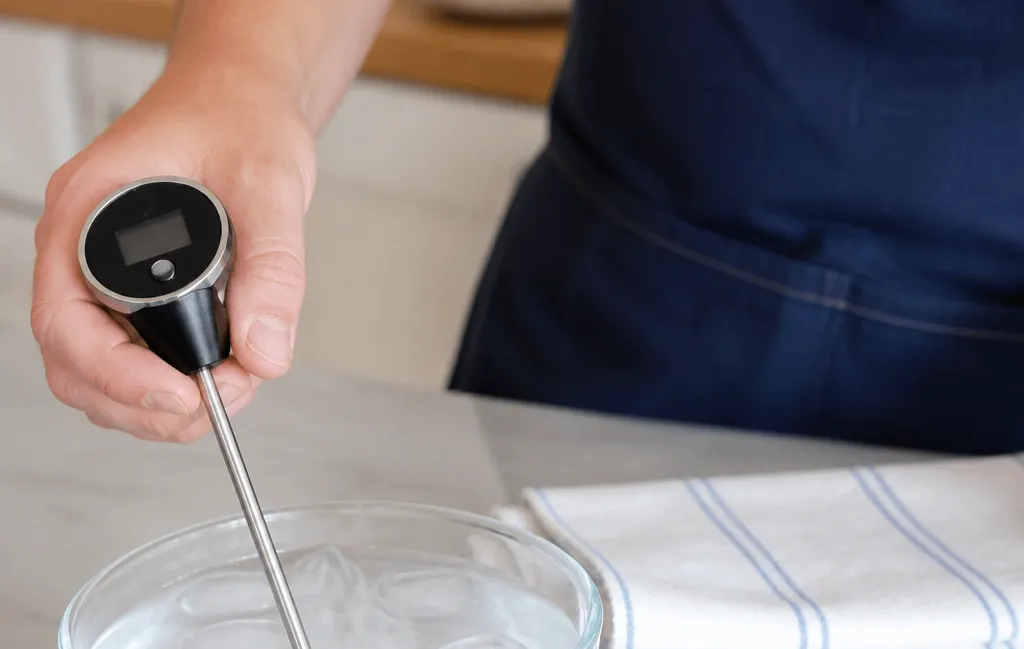
You cannot trust a tool you have not verified. Calibration drift happens gradually, especially with analog dials that get knocked around in drawers. The ice bath test is the gold standard for checking baseline accuracy at the freezing point.
- Crush the ice: Fill a tall glass entirely with crushed ice. Cubes leave too many air gaps, which skews the water temperature.
- Add cold water: Pour in just enough cold tap water to fill the spaces between the ice, stopping about half an inch below the rim. Stir vigorously for 30 seconds to ensure thermal equilibrium.
- Insert the probe: Plunge the sensing area (the bottom half-inch for digital, the bottom two inches for dial) into the dead center of the slurry. Do not let the tip touch the bottom or sides of the glass, as the glass itself conducts room temperature.
- Wait and read: Give a thermocouple 5 seconds, a thermistor 15 seconds, and a dial up to a minute. A perfectly calibrated device will read exactly 32.0°F (0.0°C).
If your reading is off by more than 2°F, you need to adjust it. Analog dials usually feature a hex nut directly beneath the face that can be turned with pliers to zero out the needle. Many digital models feature a “CAL” button for offset adjustments. If your specific model fails this test and lacks adjustment features, it is time to look into resolving persistent reading errors or replacing the unit entirely. For those needing to fine-tune their gear, knowing how to adjust your specific digital model saves money and guarantees peace of mind.
According to the USDA Food Safety and Inspection Service, color and texture are unreliable indicators of doneness, making a verified, accurate thermometer the only acceptable way to ensure harmful pathogens like Salmonella and E. coli have been destroyed.
Best Practices for Bulletproof Readings
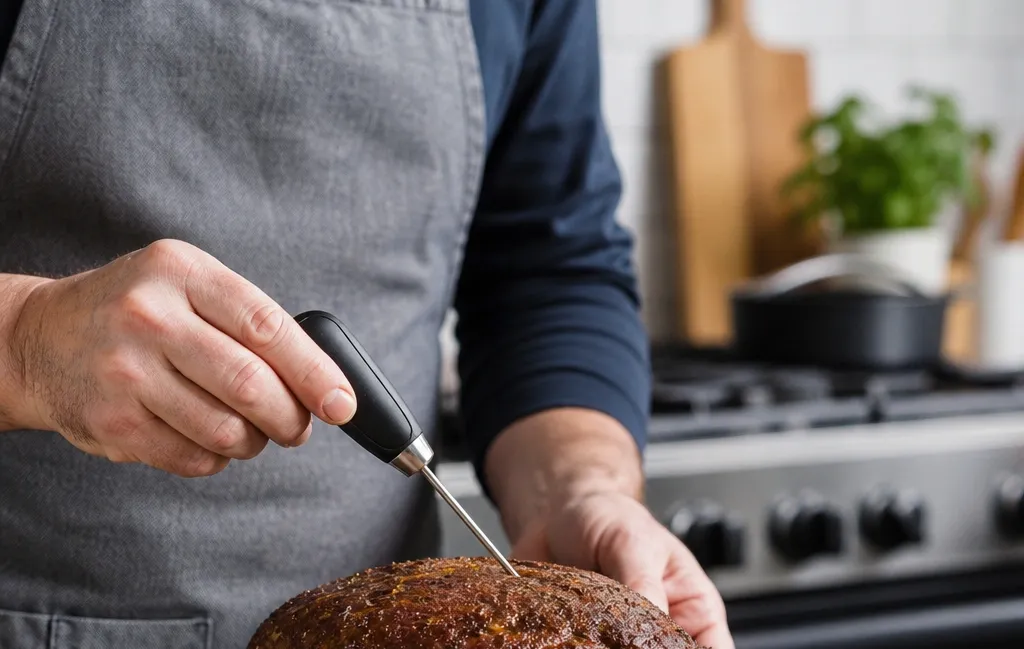
Eliminating inconsistent readings comes down to building a repeatable, deliberate physical routine every time you check your food.
- Target the thermal center: Visually identify the absolute thickest portion of the meat. Insert the probe from the top or side, angling the tip so it rests in the exact geometric center of that mass.
- Watch the numbers drop: As you push a digital probe deeper into cooking meat, watch the display. The number will steadily fall as you move away from the hot exterior toward the cooler core. Stop pushing when the number stops dropping and stabilizes. That lowest stabilized number is your true internal temperature.
- Avoid the pan and the bone: Never let the metal tip rest against a roasting pan, baking sheet, or skeletal structure. Metal pans conduct heat instantly and will give you a drastically inflated reading.
- Take multiple samples: For large items like whole turkeys or pork shoulders, check both thighs, both breasts, or multiple points along the roast. Trust the lowest number you find among those checks.
- Clean between checks: Wiping the probe with a sanitizing cloth between insertions prevents cross-contamination, especially when checking poultry that hasn’t yet reached safe temperatures.
When shopping for a replacement or an upgrade, investing in a reliable grilling tool designed specifically for high-heat environments prevents many of the hardware failures associated with cheap, generic kitchen gadgets.
Frequently Asked Questions
Why does my thermometer read higher after I take the meat out of the oven?
This is caused by carryover cooking. The intensely hot outer layers of the meat continue transferring thermal energy inward toward the cooler core even after the external heat source is removed. Depending on the size of the roast and the cooking temperature, the internal temperature can rise 5°F to 15°F during the resting period.
Is a 3-degree difference between two checks considered inconsistent?
No. A variance of 1°F to 3°F is entirely normal and falls within the standard manufacturing tolerance of most consumer thermometers, which is typically ±2°F. Furthermore, shifting the probe even a few millimeters places the sensor in a slightly different part of the meat’s natural temperature gradient, which easily accounts for a multi-degree swing.
Can I calibrate a digital thermometer if it fails the ice bath test?
Some digital thermometers include a dedicated calibration button or an offset function in their settings menu that allows you to correct minor drift. However, many budget-friendly instant-reads are factory-sealed and lack this feature. If a non-adjustable digital thermometer consistently reads more than 2°F off during an ice bath test, the internal sensor has likely degraded and the unit should be replaced.
Does leaving the oven door open to check the temperature affect my reading?
Yes, opening the oven door dumps a massive amount of ambient heat, causing the cavity temperature to plummet rapidly. While this doesn’t instantly change the deep internal temperature of the meat, it cools the surface rapidly. If you are using a leave-in probe with poor insulation, or if you are checking the meat with an instant-read while the door is wide open and a draft is hitting the exposed probe shaft, you can introduce temporary inaccuracies. Check quickly and close the door.
Should I trust the pop-up timer in my turkey instead of a thermometer?
No. Pop-up timers are notoriously unreliable. They are often set to trigger at temperatures well above the safe minimum, resulting in severely overcooked, dry breast meat by the time the thighs are done. Alternatively, they can stick or malfunction. The National Institute of Standards and Technology (NIST) emphasizes the importance of precision measurement instruments over rudimentary mechanical triggers. Always verify doneness with a properly calibrated digital probe inserted into the thickest parts of the thigh and breast.
Conclusion
When your meat thermometer hands you conflicting numbers, it is rarely trying to sabotage your dinner. Inconsistent readings are almost always the result of probing different zones within the meat’s natural temperature gradient, failing to account for carryover cooking, or using a device with a depleted battery or drifted calibration. By understanding how your specific sensor technology works, verifying its accuracy with a simple ice bath, and deliberately targeting the thermal center of the protein, you can eliminate the guesswork entirely.
Your immediate next step is to perform an ice bath calibration test on your primary thermometer today. Verifying that baseline accuracy takes less than two minutes and instantly tells you whether your fluctuating numbers are a hardware failure or simply a matter of refining your probing technique.



5 thoughts on “Is Your Meat Thermometer Lying? Inconsistent Readings Explained and Fixed”