There is no single fastest instant-read thermometer for every cook or every task. Speed depends on the sensor type, the probe’s construction, insertion depth and the medium being measured, so two thermometers with the same advertised number can behave differently in real use. A controlled home test, run in an ice-water bath and compared under identical conditions, is the practical way to find out how quickly yours responds and whether its speed suits the way you cook.
The sections below explain what response time actually measures, walk through a repeatable speed test, and show how to interpret the results without confusing speed with accuracy.
What “Fastest” Really Means for an Instant-Read Thermometer
A thermometer is not fast or slow in the abstract. It is fast or slow at reaching a defined share of a temperature change in a specific medium. A probe that settles in two seconds in stirred ice water may take noticeably longer in air or inside a thick roast, because the rate of heat transfer into the sensor differs.
That is why advertisements rarely settle the question. A quoted response time is meaningful only alongside the definition used, the test medium and the starting conditions. Without those, comparing two numbers across brands is a weak basis for a buying decision.
How Response Time Is Defined and Measured
Response time, often written as tx, is the time a temperature probe takes to reach a defined percentage x of an applied temperature change. A probe plunged into ice water starts at room temperature and climbs toward the bath’s temperature; the clock measures how long it takes to cover a stated share of that gap.
Two related figures appear in sensor documentation. The thermal time constant τ is the time to reach 63.2% of a step change, and T90 is the time to reach 90%. Engineers often find T90 more useful in practice, and it is roughly five times τ.
This matters when you read a spec sheet. A “one-second” claim could refer to τ, to T90, or to something looser. Unless the definition and test conditions are stated, advertised numbers are not directly comparable.
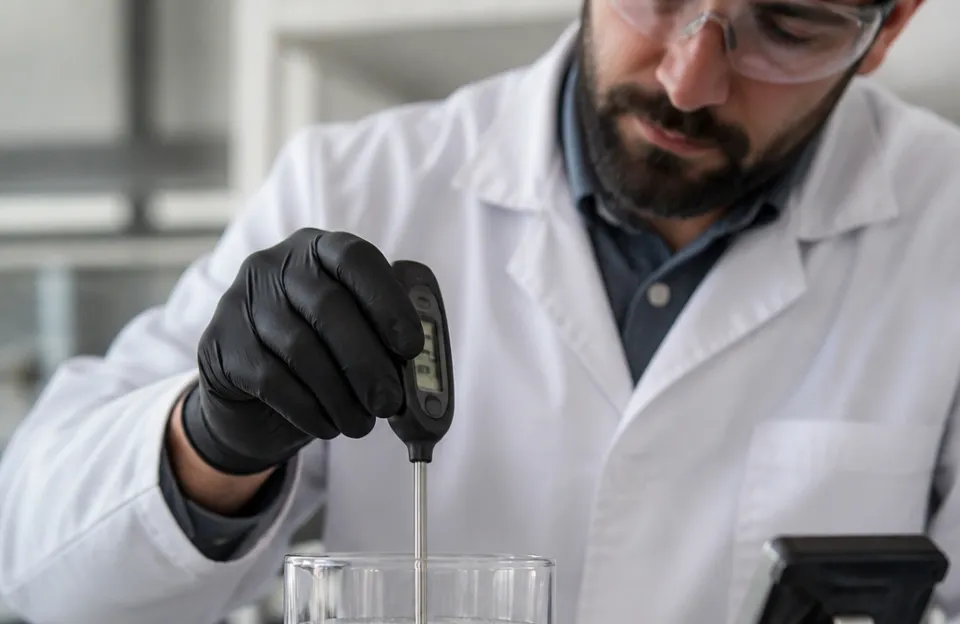
Setting Up Your Own Speed Test
You need a stopwatch, a tall glass or container, crushed or cubed ice, water, and your thermometer. The method below follows published calibration guidance for building a proper ice bath.
- Fill the container with ice, preferably crushed because it packs with fewer gaps, then add water to roughly 1 cm below the rim.
- Stir gently and let the bath sit for a minute or two so the mixture stabilizes.
- Immerse only the probe if your thermometer is not designed for full immersion, and avoid letting it touch the sides or bottom of the container.
- Move the probe gently through the bath so it cools thoroughly and contacts fresh ice water.
- Start your stopwatch the moment the probe enters the water. Record the reading at one-second intervals, and note when it first stops climbing.
- Repeat the test two or three times and compare the runs.
For a second reference point, you can run the same procedure in boiling water, though the target value changes with elevation. Boiling water tests are generally judged by how long the display takes to reach a stable readout; older test summaries rated 10 to 20 seconds as excellent, 20 to 30 seconds as fair, and anything above 30 seconds as poor.
If your probe or cable is damaged, replacing it before testing avoids blaming slow electronics for a failing connection. A guide to getting a replacement probe installed covers the practical steps.
Reading the Results: Stabilization Time and Slow Readings
The number that matters is when the display stops climbing or dropping and holds. Write down the elapsed time. A thermometer that settles in a second or two is behaving like a fast instrument; one that still creeps at eight or ten seconds is slow under these conditions.
Mechanical thermometers need far longer. Liquid-filled models may require several minutes in an ice bath to adjust, which is one reason dial and glass thermometers are not suited to quick spot checks. Consumer guides place analog dial thermometers around 45 seconds to settle, compared with about 2 to 3 seconds for thermocouple models and 10 to 20 seconds for thermistor-based units.
If the display never fully stabilizes, or jumps between values, that is a useful result in itself. It may point to poor probe contact, a damaged cable or a thermometer that is not suited to fast readings. The next step is usually to check accuracy in a fresh ice bath and consider replacing the unit if the problem persists.
A thermometer that fails a properly built ice bath is a candidate for replacement, according to calibration guidance. That advice applies to accuracy, and it is also a reasonable threshold for retiring an instrument whose readings cannot be trusted.
How Sensor Type and Probe Design Affect Speed
Sensor type shapes the ceiling on response time, but construction decides where a specific model lands within that ceiling. A glass-encapsulated microbead NTC thermistor can have a τ of 0.1 to 1 second in stirred water, with T90 around 0.5 to 5 seconds, because its thermal mass is tiny. An exposed-contact thermocouple can reach a τ of 0.1 to 1 second in air. A 1.0 mm armored grounded thermocouple has a τ of about 0.2 to 0.5 seconds in stirred water but about 1 to 3 seconds in air.
Broadly, thermocouple sensors are typically faster than resistance technologies such as thermistors or RTDs, and electronic thermometers are faster than mechanical ones. Even so, encapsulation and probe design can narrow or reverse that gap in specific products.
In everyday terms, here is the rough mapping that the evidence supports:
| Response time in a controlled bath | Sensor type usually involved | Practical impact in the kitchen |
|---|---|---|
| About 1 to 2 seconds | Fast thermocouple with small thermal mass | Very little heat lost while the reading settles |
| About 3 to 5 seconds | Fast thermistor or budget thermocouple | Brief pause; fine for most home cooking |
| About 6 to 20 seconds | Standard thermistor | Oven or grill door stays open longer, so the cooking environment cools |
With RTD and thermistor sensors commonly found in digital instant-read thermometers, a temperature reading typically takes only a few seconds. Consumer-oriented guides place thermistor thermometers in the 10 to 20 second range, which suggests a wide spread across designs.
Speed Versus Accuracy: Test Both Separately
Speed and accuracy are independent properties. A thermometer can reach its final number quickly and still be wrong. It can also be extremely accurate and take ten seconds to get there.
Test accuracy in a properly built ice bath. A functioning thermometer should read between -0.5 °C and +0.5 °C in a bath made with more ice than water and no salt. If it reads above +0.5 °C, check that there is more ice than water. If it reads below -0.5 °C, check for salt contamination. If it still misses the range after corrections, the thermometer should be replaced.
For broader coverage of the two reference baths, an article on ice versus boiling water accuracy tests explains how the results complement each other.
Factors That Skew Your Speed Test Results
A few variables can make a fast thermometer look slow or a slow one look fast:
- Heat dissipation: a probe that loses heat to the surrounding air or through an exposed cable can lag well behind the bath temperature, and in extreme cases may never fully reach it.
- Contact with the container: letting the probe touch the glass wall or the bottom of the bath creates a false reading path, so stir gently and keep the tip in the ice-water mix.
- Starting temperature: a probe that begins at room temperature covers more range than one that has already been chilled, so the same thermometer can clock different times across runs.
- Probe design and mass: a heavier armored probe carries more metal to heat or cool than a thin bare junction, which is why the same sensor family can show very different times.
- Insertion method: partial immersion leaves part of the sensing element exposed to room air, which delays response.
Some explanations for a slow reading, such as a low battery, are plausible but not covered by the evidence used here, so treat them as hypotheses to check rather than proven causes.
For different tool types, the considerations differ. A stainless steel candy gauge uses a different sensing approach with its own time behavior, and an infrared laser gun measures surface temperature only, so comparing its response with a probe thermometer is not a like-for-like test.
When Speed Matters Most and When It Matters Less
Speed is not just a spec-sheet luxury; it changes outcomes in certain cooking situations.
Speed matters most when:
- You are checking thin cuts such as burgers, scallops or thin pork chops, where the internal temperature can climb quickly once the probe is in and carryover cooking continues after removal.
- You are cooking with the oven or grill door open while you measure, since every extra second bleeds heat from the cooking chamber.
- You are monitoring doneness near a target temperature, where a slow readout may let the food overshoot while the display catches up.
Speed matters less when:
- You are checking a large roast early in the cook, when a few seconds of measurement will not materially change the reading.
- You are cooking low and slow with a leave-in probe, where continuous monitoring replaces spot checks.
- You are confirming a stable temperature at the very end of a long cook, when accuracy is more important than reaction time.
The practical implication is simple: a two- to three-second thermometer is adequate for most home cooking, while a six-second-plus model is workable but asks you to keep the door open longer and plan around the delay.
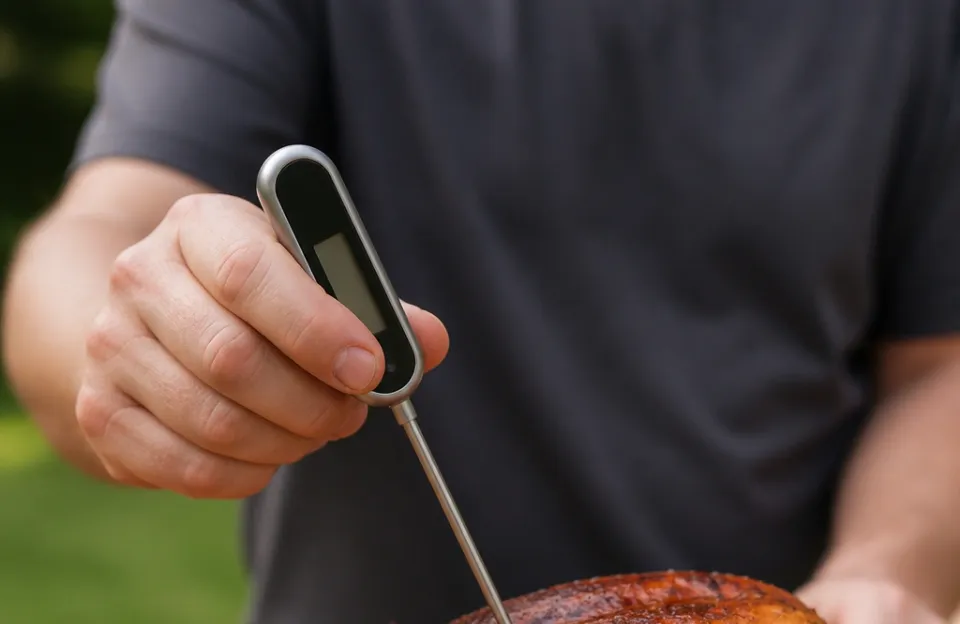
Keeping Your Readings Reliable Over Time
A thermometer that tested fast when new can drift or slow down with age or damage. Repeating the ice-bath check every few months is a simple way to catch problems early. If a unit that once settled in two seconds now takes eight, the probe or cable may be at fault.
For broader durability guidance, the article on running an instant-read thermometer speed test alongside waterproof checks explains how water exposure and physical stress shorten a probe’s useful life.
Store probes clean and dry, avoid yanking the cable, and replace anything that fails the ice-bath tolerance twice in a row.
Safe Cooking Temperature Reference
Speed and accuracy both serve one purpose: knowing when food is safely cooked. USDA FSIS publishes minimum internal temperatures that should be measured with a food thermometer before the food leaves the heat source.
- Beef, pork, veal and lamb steaks, chops and roasts: 145 °F (62.8 °C) with a 3-minute rest.
- Ground meats: 160 °F (71.1 °C).
- All poultry, including ground poultry, breasts, whole birds, legs, thighs, wings, giblets and stuffing: 165 °F (73.9 °C).
- Fish and shellfish: 145 °F (62.8 °C).
- Eggs: 160 °F (71.1 °C).
- Leftovers and casseroles: 165 °F (73.9 °C).
For readers who want to compare these targets against specific proteins, a guide to the internal temperature for pork covers the relevant cuts.
Practical Takeaways and a Decision Framework
Use the test results to decide whether your current thermometer is fast enough for how you cook:
- If it settles in 1 to 3 seconds: it is fast by any reasonable home standard and suits thin cuts and precise doneness work.
- If it settles in 3 to 6 seconds: it is adequate for most cooking; keep the door open briefly and account for carryover.
- If it settles in 6 to 10 seconds or more: it will work for large roasts and low-and-slow cooking, but it is a poor match for thin proteins or repeated spot checks.
- If it never stabilizes: check the ice bath again, inspect the probe, and consider replacement.
That is the honest answer to which thermometer is fastest: the one whose sensor and probe design suit the medium and task you actually cook, verified under controlled conditions rather than by the number on the box.