An ice bath checks your thermometer at 32°F (0°C), and boiling water checks it near 212°F (100°C) at sea level. Compare the reading at each point against the expected value. Most food thermometers read accurately within 2 to 4°F, so a small offset can fall inside normal range. If the error is larger and your model allows adjustment, calibrate it. If it does not adjust, treat the offset as a known correction or replace the device.
Accurate readings matter because a thermometer is the only reliable way to confirm that meat, poultry, seafood, and egg dishes have reached a safe minimum internal temperature. Most pathogens are destroyed between 140°F and 165°F, and color or grill marks cannot tell you whether food is safe. The USDA (USDA) publishes the safe minimum internal temperatures that these readings are checked against.
Why Fixed Points Matter for Kitchen Thermometers
A thermometer reading is only correct when the sensor sits in the right place. That is one reason fixed points are so useful: ice water and boiling water give you two known references to compare against, so a placement or drift problem shows up as a number you can act on. Get the reading right in the reference bath, and you can trust the same instrument more in a roast or a pot of oil.
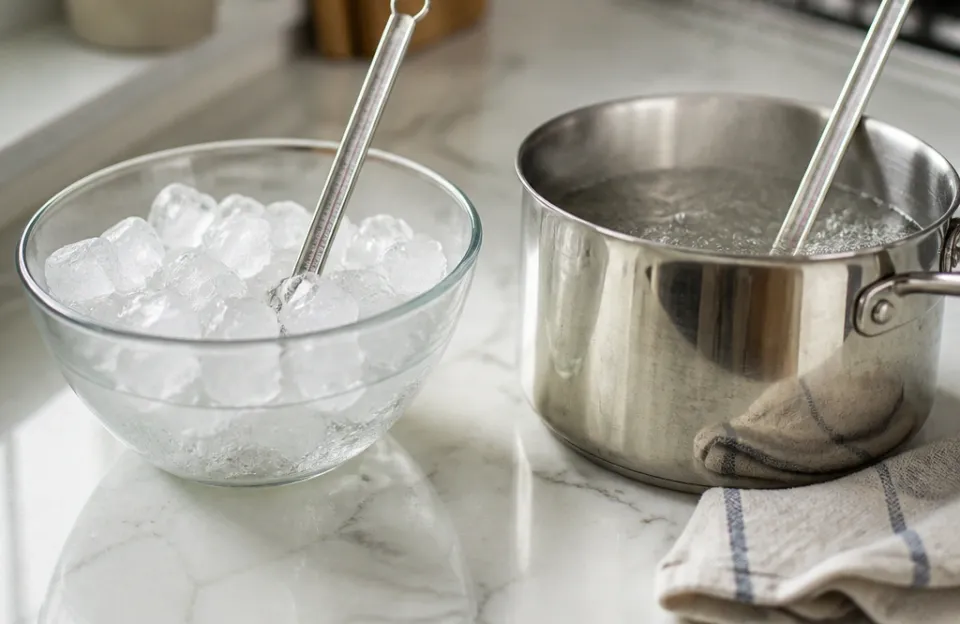
Running the Ice Bath Check
The ice bath is the easier test, and it works for almost any contact thermometer.
- Fill a tall glass or jar with crushed ice, then add cold water until the ice floats and the water reaches just below the rim. A slushy mix of ice and water holds temperature better than ice alone.
- Stir the mixture so the water temperature evens out, then let it settle for a moment before you insert the probe.
- Insert the stem into the center of the slush, avoiding the sides and bottom of the glass. Dial thermometers in particular need deeper insertion to read correctly.
- Hold the probe steady and wait for the display or needle to stabilize. Stirring gently during the wait helps the sensor reach equilibrium faster, especially on slower analog models.
- Read the value once it stops moving. On a fast digital model like this instant-read tool, stabilization happens almost immediately; a dial may take longer.
The target is 32°F (0°C). Repeat the test twice to confirm the reading is consistent, not a one-off.
Using Boiling Water to Verify High Temperatures
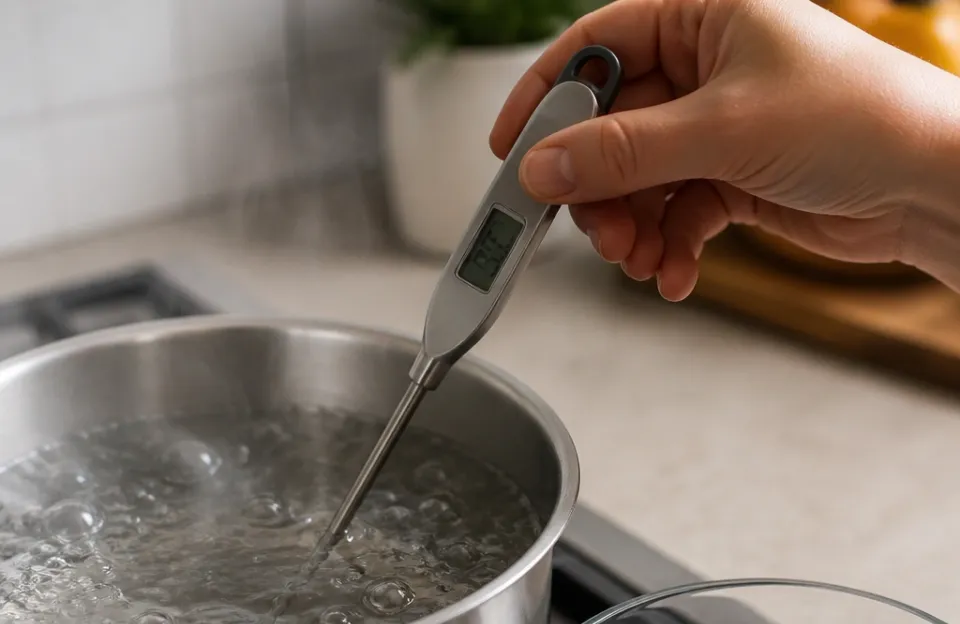
The boiling water test checks the upper end of the range, which matters more for candy, frying, and high-heat roasting.
- Fill a pot with enough water to cover the sensing area and bring it to a full rolling boil. A shallow layer of water can be affected by the pot bottom and give a false reading.
- Wait for large, continuous bubbles across the surface. A simmer is not a boil and will read well below the target.
- Insert the probe into the center of the water, below the surface and away from the pot bottom and sides. Metal conducts heat, so contact with the pot skews the reading.
- Hold the probe steady and wait for stabilization. Do not let the cable or handle touch the pot rim or the burner.
- Read the value once it settles. On a full rolling boil at sea level, the target is 212°F (100°C).
Before you run the test, check the manufacturer’s immersion limit. Many probe thermometers tolerate only the metal stem in boiling water, and some are rated for a shorter time than others. Keep the plastic handle and any digital body well above the steam.
Two practical notes. If you use a wireless dual-probe setup to monitor things remotely, keep the transmitting unit safely away from the steam. And the boiling test pairs naturally with an ice bath calibration check, since the two together bracket the working range.
How Altitude Changes Your Boiling Point Results
If you live above sea level, boiling water will not reach 212°F, and that is not a thermometer fault. The boiling point drops as atmospheric pressure falls. A widely used approximation is roughly 1°F lower for every 500 feet of elevation gain. At 5,000 feet, for example, water boils near 202°F rather than 212°F. A thermometer reading 202°F there may be perfectly accurate.
The ice bath is unaffected by altitude. Ice water stays at 32°F (0°C) regardless of how high you are, which makes it the more portable reference of the two. If you want a precise target, check a local pressure altitude reference for your elevation, or use a boiling point calculator that accounts for current atmospheric pressure.
Before running the boiling water test at elevation, decide which number you are comparing against. Use the local boiling point, not the sea-level figure, or you will misjudge a working thermometer.
The same placement rules apply regardless of altitude: center of the water, clear of the pot bottom and sides, stem fully submerged to the rated depth.
Infrared Guns and Dial Thermometers Need Different Approaches
Not every thermometer can be tested the same way, and a surface-reading infrared gun is the clearest example.
Probe thermometers. These read the temperature at the tip, so the ice bath and boiling water tests work directly. Follow the insertion depth in the manufacturer’s instructions; if those are missing, look for a dimple on the stem that marks the sensing area.
Dial thermometers. A dial reads through a bimetallic coil, so it responds more slowly and needs deeper insertion, roughly 2 to 3 inches. Let the needle settle fully before you judge the result, and stir the bath during the wait. If you use a large dial oven thermometer to monitor baking temperatures, a boiling water check shows how it responds to sustained heat.
Infrared thermometers. An IR gun measures surface temperature from a distance, so it cannot be dunked in ice water or held over a boiling pot and compared directly. The practical approach is to verify it against a contact reference: point the IR gun at a stable, matte, non-reflective surface, note the reading, and compare it with a probe thermometer placed on the same surface at the same distance and emissivity setting. Differences of a few degrees are normal because the two instruments measure different things. Check the manufacturer’s stated accuracy and emissivity guidance for your specific model before treating any gap as a fault.
When Calibration Fails and Replacement Makes Sense
If the ice bath reads 32°F and the boiling test is off by a degree or two, and your device allows adjustment, calibration is straightforward. Many analog dial thermometers have a hex nut under the face that you turn with pliers or a wrench to reset the needle. Some digital models have a CAL button that locks the current reading as the reference point; check your manual for the exact sequence, since it varies by model.
If the two tests disagree with each other by more than a few degrees, or if the reading drifts during a single test, the sensor is likely failing. A known, stable offset is workable: you can add or subtract the correction in your head every time you cook. A wandering reading is not workable, because you cannot predict the error. Replace the unit.
Replacement also makes sense when:
- The error exceeds the manufacturer’s stated tolerance and no adjustment is available.
- The probe has been bent, crimped, or exposed to temperatures past its rating.
- The display flickers, the needle sticks, or the reading jumps with movement.
- The device has been dropped or submerged past its waterproof rating.
A dedicated stainless steel candy thermometer built for submersion in hot sugar syrup is designed for boiling tests, while a general-purpose instant-read may not be. Knowing which units hold up longest helps you pick a replacement that survives regular calibration checks.
A hamburger cooked to 160°F, as measured with a food thermometer, is safe regardless of color, which is a good reminder of why the reading you get at the tip is worth protecting. Color and grill marks are not safe-to-eat indicators, and a USDA study found 21% of participants relied on those visual cues to judge whether patties were fully cooked.
Keeping Your Readings Reliable
Between tests, a few habits protect accuracy. Store the probe clean and dry, avoid bending the stem, and never leave a digital unit in a hot oven or on a hot pan. Wash probes by hand unless the manufacturer rates them for the dishwasher. If you cook often, an ice bath check every few weeks catches drift before it affects a meal. Test both points before a high-stakes cook, such as a holiday roast or a batch of candy.
Placement still does most of the work at the stove. Insert the probe into the thickest part of the food, away from bone, fat, and gristle. For thin cuts, slide the probe in through the side until it reaches the center. When you cook a large or irregularly shaped roast, check the temperature in several spots. Always verify each piece individually, because pieces reach temperature at different times. If a temperature-sensitive dish sits out between 40°F and 140°F for more than 2 hours, treat it as a food safety risk.
The closing decision is simple. Run both tests, compare each reading to the correct target for your altitude, calibrate if your model allows and the offset is steady, and replace the unit if the offset moves or the device shows physical damage.