Stale coffee oils make your morning cup taste bitter and rancid no matter how expensive your beans are. You can remove this buildup safely using grinder cleaning tablets, uncooked rice, or a thorough manual disassembly with food-safe cleaners. Regular cleaning prevents flavor transfer and keeps your machine running smoothly for years.
Why Coffee Oils Ruin Fresh Grounds
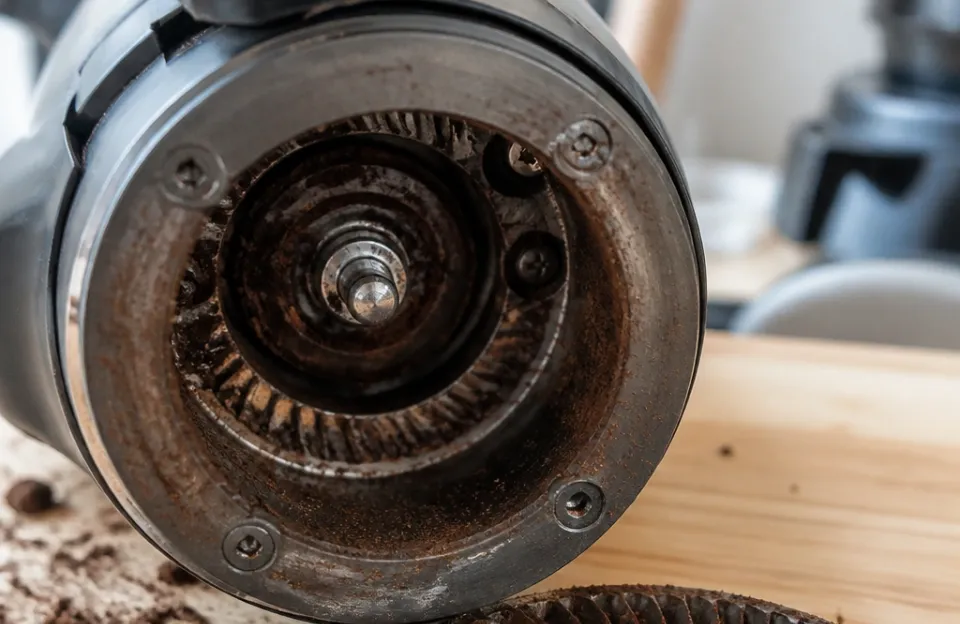
Coffee beans contain natural lipids that coat burrs and chambers during grinding. These oils oxidize quickly when exposed to air and heat. The result is a sticky, dark residue that traps old grounds and creates off-flavors.
Light roasts have less oil but still leave deposits over time. Dark roasts and espresso blends accelerate the problem significantly.
Oxidized oil tastes sharp, sour, or like cardboard. It masks the delicate notes you paid extra for. Even high-end espresso machines cannot fix bad-tasting grounds.
The contamination starts at the grinder.
Moisture from humid kitchens makes oily residue gummier. This sticky layer attracts fine particles and dust. Bacteria and mold can grow in neglected grinders according to food safety guidelines from the USDA.
Clean equipment is a basic kitchen safety standard, not just a flavor preference.
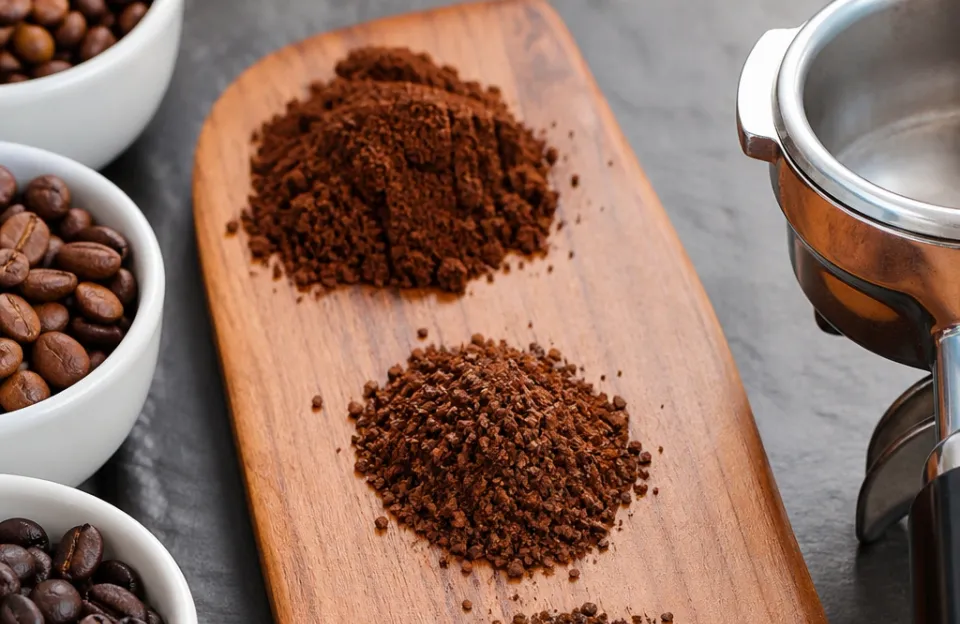
Residue also affects grind consistency. Clogged burrs produce uneven particle sizes. Uneven grounds lead to poor extraction and wasted coffee.
Your grinder works harder and may overheat. Motor strain shortens the appliance lifespan. Cleaning restores both flavor purity and mechanical performance.
Grinder Cleaning Tablets and Powders
Commercial grinder cleaners are the fastest hands-off method. Products like Urnex Grindz or Full Circle use starch-based pellets to absorb oils. You run them through the grinder like coffee beans.
The pellets scrub internal surfaces without water or disassembly. They carry away trapped fines and rancid residue.
This method takes about two minutes total. It reaches areas your fingers cannot touch. Manufacturers recommend it every four to eight weeks for home use.
Commercial settings need weekly treatment. Always follow the specific product label for dosage and cycles.
The main limitation is cost per cleaning. Tablets are more expensive than pantry alternatives. Some users report a faint starchy taste if they skip the purge cycle.
You must run fresh coffee afterward to clear any cleaner residue. This wastes a small amount of beans each time.
Not all grinders tolerate pellet cleaners equally. Check your owner’s manual before buying. Super-automatic machines with complex pathways may require specific brands.
Blade grinders often work better with liquid or powder methods. Pellet cleaners excel in burr grinders with accessible chutes.
Store cleaners in airtight containers away from moisture. Humidity activates the starch prematurely. Expired or damp pellets lose effectiveness.
Buy only what you will use within six months. Proper storage maintains cleaning power and prevents waste.
Using Uncooked Rice as a Budget Alternative
Uncooked white rice absorbs oils effectively and costs pennies per cleaning. Use instant or parboiled rice for softer grains that protect burrs. Avoid brown rice, wild rice, or jasmine varieties.
Harder grains can damage precision burrs or jam motors. Minute Rice is the most commonly recommended type.
Measure one-quarter cup for standard home grinders. Run the rice through on a medium-fine setting. Discard the resulting powder completely.
Repeat with a second quarter-cup if heavy buildup exists. Follow immediately with a half-cup of cheap coffee beans to purge rice starch.
Rice lacks the specialized surfactants in commercial tablets. It absorbs surface oil but struggles with hardened resin. Multiple cycles may be needed for neglected grinders.
Starch residue can linger longer than pellet cleaner traces. The purge coffee step is non-negotiable here.
This method voids warranties on some premium grinders. Manufacturers argue rice is harder than coffee and risks burr wear. Baratza and Eureka explicitly warn against it.
Check your warranty terms first. If your grinder is out of warranty or budget-grade, rice remains a viable option.
Never use cooked or instant oatmeal as substitutes. Moisture content causes clumping and motor damage. Only dry, processed white rice is safe.
Keep a dedicated bag solely for cleaning to avoid cross-contamination. Label it clearly to prevent accidental cooking use.
Manual Disassembly for Deep Cleaning
Surface methods miss caked-on residue in hidden crevices. Manual cleaning addresses severe buildup and restores factory performance. Unplug the grinder before touching any components.
Remove the hopper, upper burr carrier, and any removable seals. Consult your manual for model-specific disassembly steps.
Use a soft brush to loosen dry grounds first. A dedicated grinder brush or clean paintbrush works well. Vacuum loose debris with a narrow nozzle attachment.
Compressed air helps eject fines from tight spaces. Work over a trash can or paper to catch fallout.
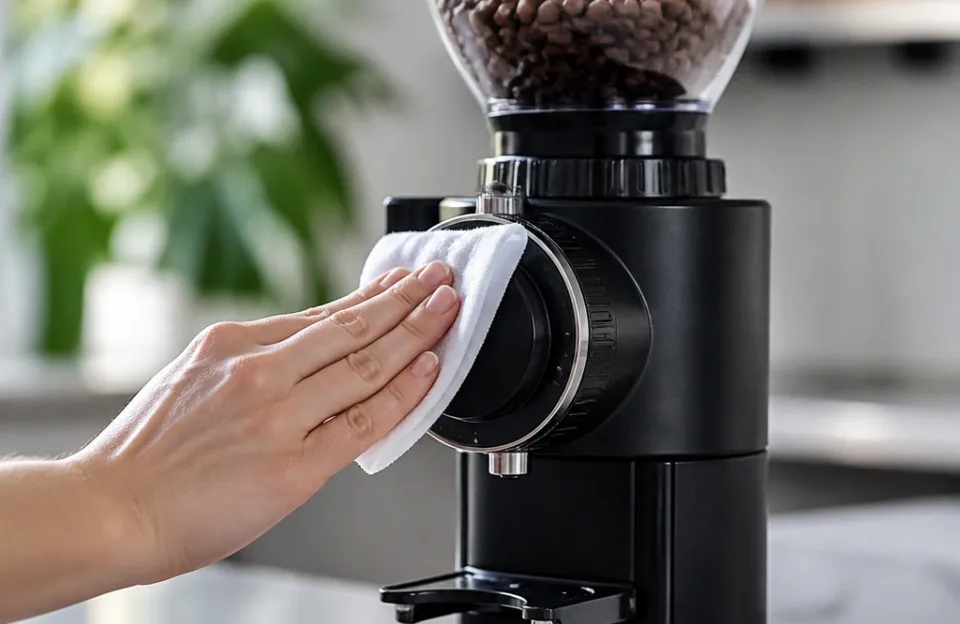
Wipe accessible surfaces with food-safe degreaser. Cafiza or diluted dish soap cuts grease without toxic residue. Dampen a microfiber cloth rather than spraying directly.
Liquid inside the motor housing causes electrical failure. Never submerge electronic parts or the motor base.
Clean burrs separately with a stiff nylon brush. Soak metal burrs in warm soapy water if heavily coated. Dry them thoroughly before reassembly to prevent rust.
Ceramic burrs should never soak; wipe only. Inspect for chips, cracks, or dull edges while cleaning.
Reassemble in exact reverse order. Misaligned burrs cause inconsistent grinding and noise. Hand-tighten screws to avoid stripping threads.
Run a test cycle with cheap beans to verify alignment. Listen for unusual sounds that indicate improper seating. Deep cleaning takes thirty to sixty minutes but yields superior results.
Safe Cleaning Agents and Tools to Avoid
Kitchen cleaners vary widely in food safety and material compatibility. Dish soap is universally safe for removable parts. Rinse thoroughly to prevent soapy flavors.
White vinegar dissolves mineral scale but does not cut oil effectively. Reserve vinegar for descaling, not degreasing.
Avoid bleach, ammonia, or abrasive scouring pads. These damage plastic housings and leave toxic residues. Baking soda is mildly abrasive and safe for spot cleaning.
Isopropyl alcohol evaporates quickly and cuts grease on metal parts. Use only on non-plastic surfaces and allow full evaporation.
Microfiber cloths trap oils better than paper towels. Paper leaves lint behind that contaminates future batches. Silicone-tipped tools reach narrow gaps without scratching.
Wooden skewers dislodge packed grounds gently. Metal picks risk gouging burr surfaces and creating new trap points.
Food-grade lubricant maintains moving parts after cleaning. Apply sparingly to burr shafts and adjustment threads. Petroleum-based greases contaminate coffee and degrade plastics.
Only use lubricants labeled safe for food equipment. Wipe excess to prevent attracting fresh grounds.
Store all cleaning supplies together in a labeled bin. Separate them from regular kitchen chemicals. Cross-contamination defeats the purpose of specialized cleaning.
Replace brushes and cloths regularly to avoid reintroducing old oils. Clean tools are as important as clean grinders.
Establishing a Realistic Maintenance Schedule
Frequency depends on usage volume and roast profile. Daily espresso drinkers should clean monthly. Occasional weekend brewers can wait eight to twelve weeks.
Dark roast users need twice the frequency of light roast users. Oily beans demand shorter intervals regardless of volume.
Track cleaning dates on a calendar or phone reminder. Visual inspection beats guesswork. Shine a flashlight into the chute weekly.
Visible dark coating means you have waited too long. Smell test the grounds; rancidity indicates overdue maintenance. Preventive cleaning is easier than restorative deep cleans.
Seasonal changes affect oil viscosity and buildup rate. Summer humidity accelerates staling and mold risk. Winter dryness slows oxidation but increases static cling.
Adjust your schedule with seasonal shifts. Clean before storing a grinder for extended periods. Stale oil hardens during dormancy and becomes difficult to remove.
Document which method works best for your specific grinder. Some models respond better to tablets; others prefer manual care. Note any flavor improvements or mechanical changes post-cleaning.
This personal log refines your routine over time. Generic advice is a starting point, not a final rule.
Share maintenance tasks among household coffee drinkers. Rotation prevents neglect when one person travels or gets busy. Make cleaning part of the bean rotation ritual.
New bag arrival triggers a quick wipe-down. Habit stacking builds consistency without extra mental load.
Troubleshooting Persistent Odors and Residue
Some grinders retain smells despite thorough cleaning. Plastic components absorb oils permanently over years. Replacement of worn gaskets or chutes may be necessary.
Upgrading to a grinder with metal internals solves chronic issues. Accept that some budget grinders have finite lifespans.
Persistent bitterness after cleaning suggests incomplete purging. Run three to four ounces of cheap beans through. Taste-test the output before returning to premium beans.
Repeat purging if off-flavors remain. Patience here saves expensive beans from ruin.
Grind inconsistency after reassembly points to burr misalignment. Loosen and reseat the upper burr carrier. Ensure calibration marks align precisely.
Test grind size across the full adjustment range. Seek professional service if problems persist. Forced adjustments damage threading permanently.
Motor humming without rotation indicates jammed burrs. Unplug immediately to prevent burnout. Disassemble and clear obstructions manually.
Check for foreign objects like stones or hardened clumps. Reassemble and test with minimal load. Electrical issues require authorized repair, not DIY fixes.
Moldy smells signal moisture intrusion. Inspect seals and gaskets for deterioration. Replace compromised parts before further use.
Store grinders in dry locations away from sinks. Desiccant packets in the hopper help control humidity. Mold exposure poses health risks beyond bad taste.
Frequently Asked Questions About Grinder Maintenance
Can I use vinegar to clean my coffee grinder?
Vinegar removes mineral deposits but fails against coffee oils. It also leaves a strong odor that transfers to grounds. Stick to dish soap or dedicated grinder cleaners for oil removal.
Reserve vinegar for descaling espresso machines and kettles.
How do I know if my grinder needs cleaning?
Smell the freshly ground coffee before brewing. Rancid, sour, or cardboard-like aromas indicate oil buildup. Visually inspect the burrs and chute for dark, sticky residue.
Inconsistent grind size or increased motor noise are mechanical warning signs. Trust your senses over arbitrary timelines.
Is it safe to wash grinder burrs in the dishwasher?
Most manufacturers prohibit dishwasher cleaning for burrs. High heat warps precision metal and degrades ceramic coatings. Harsh detergents leave residues unsafe for consumption.
Hand washing with mild soap preserves burr integrity. Always air-dry completely before reinstallation.
Do grinder cleaning tablets expire?
Yes, starch-based tablets degrade with moisture and age. Check expiration dates on packaging. Store in sealed containers with desiccant packs.
Expired tablets may crumble or fail to absorb oils. Replace stock annually to maintain effectiveness.
Why does my coffee taste worse after cleaning?
Incomplete purging leaves cleaner residue in the grind path. Run additional cheap beans through until flavor normalizes. Some grinders need two full purge cycles after deep cleaning.
Taste-test incrementally rather than assuming one pass suffices. Residual starch tastes flat but is harmless.
Can I use compressed air alone to clean my grinder?
Air removes loose fines but cannot dissolve bonded oils. It complements brushing and wiping but replaces neither. Use air as a pre-clean step before wet methods.
Direct airflow away from electronics and bearings. Combine with physical agitation for complete residue removal.
Maintaining a clean grinder is foundational to good coffee. Flavor clarity, equipment longevity, and food safety all depend on it. Choose the method that fits your grinder type, budget, and schedule.
Consistency matters more than perfection. A simple monthly routine beats sporadic deep cleans. Your palate and your machine will thank you.