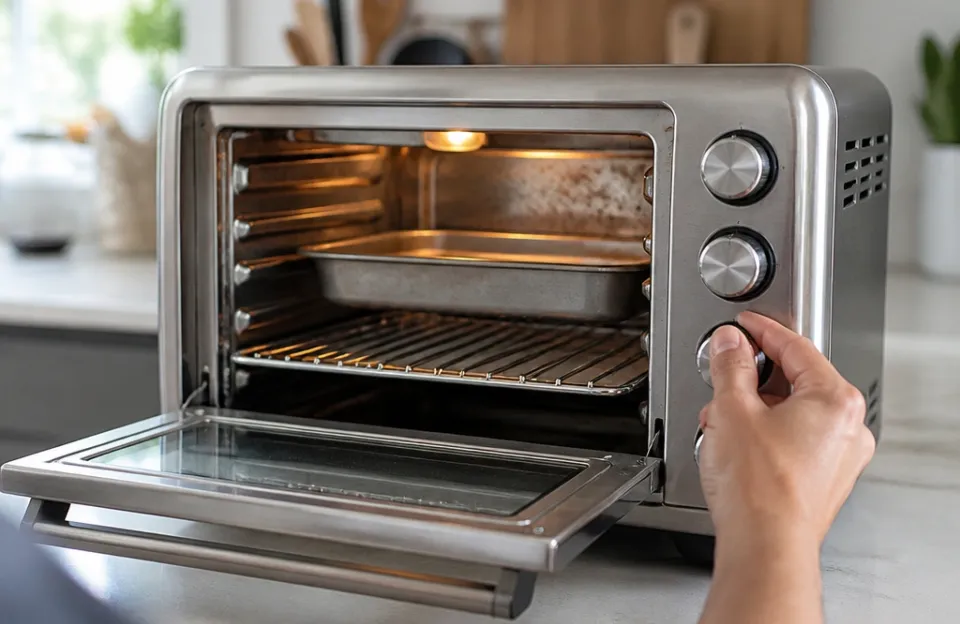
Cleaning an air fryer takes about ten minutes after a normal meal. A deep clean runs closer to thirty. You need warm water, dish soap, and a soft sponge.
Knowing how to clean an air fryer properly keeps your food tasting right and stops grease fires before they start.
Most of the work happens in the basket and the pan. The heating element needs attention too, just less often. This guide covers the daily wipe-down, the weekly scrub, and the fixes for baked-on grease that won't budge.
What you'll need before washing the basket
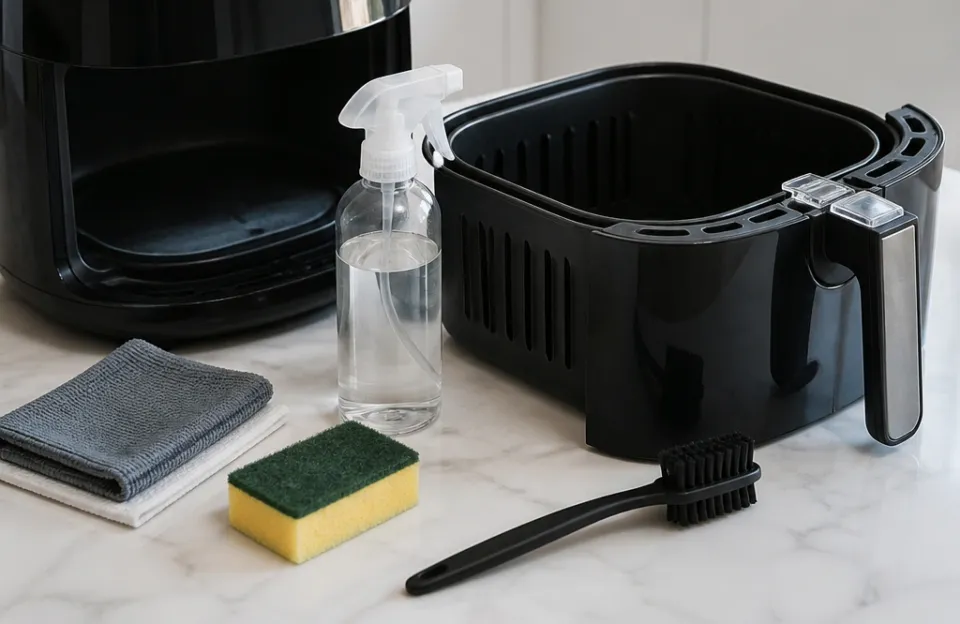
Gather these items before you start. Having them ready saves time and prevents you from grabbing something abrasive out of frustration.
- Warm water
- Mild dish soap
- Soft sponge or microfiber cloth
- Old toothbrush or soft nylon brush
- Baking soda
- White vinegar (optional)
- Paper towels or a dry lint-free cloth
Avoid steel wool, scouring pads, or harsh chemical sprays. Most baskets use a nonstick coating. Scratching it ruins the surface and can cause flakes to mix with your next batch of crispy chicken wings.
How to clean an air fryer after every use
Let the machine cool down first. Unplug it and wait at least twenty minutes. The heating coil stays hot long after the fan stops.
Touching it too soon causes burns.
Pull out the basket and the drip pan. Wash both in the sink with warm soapy water. Use the soft side of your sponge.
Rinse them completely. Soap residue leaves a weird taste on roasted vegetables or reheated slices of pizza.
Wipe the inside of the main unit with a damp cloth. Squeeze out excess water first. You don't want liquid dripping into the electrical components.
Dry the interior with a paper towel. Leave the basket out to air dry fully before putting it back. Trapped moisture causes rust on cheaper models.
If you cook greasy foods like bacon or sausage links, empty the drip pan immediately. Fat cools fast and hardens into a sticky layer. Wiping it while still slightly warm makes the job much easier.
Grease pooling at the bottom is exactly what leads to smoke when you preheat for your next meal.
Scrubbing off baked-on grease from the basket
Sometimes food sticks. Flour coatings burn onto the mesh. Sugary marinades caramelize into dark spots.
When regular soap doesn't work, you need a paste.
Mix three parts baking soda with one part water. Spread this thick paste over the stuck-on areas. Let it sit for fifteen to thirty minutes.
The baking soda breaks down the carbonized food without scratching the metal.
Take your old toothbrush and scrub gently in circles. Focus on the corners where the mesh meets the frame. That's where gunk hides.
Rinse with warm water. Check your progress. If dark spots remain, apply more paste and wait another ten minutes.
For really stubborn messes, fill the basket with hot water and a squirt of dish soap. Let it soak for an hour. Soaking loosens the bonds between the burnt food and the nonstick surface.
After soaking, the sponge should glide right over the trouble spots. Never force it. Pushing too hard strips the coating.
If you frequently cook battered foods, you might notice buildup faster. Keeping track of how many calories are in those wings is one thing, but tracking the grease they leave behind matters just as much for maintenance. Heavy batters require immediate soaking rather than waiting until the next day.
Wiping down the heating element safely
The heating element sits at the top of the cooking chamber. It looks like a metal coil or a covered disc, depending on your model. Over time, oil splatters land on it.
These splatters burn during the next use, creating smoke and bad smells.
Unplug the machine. Turn it upside down if your manual allows it. Some heavy units shouldn't be flipped.
Check your specific brand's instructions. If you own a compact countertop unit, flipping it gives you better access. For larger oven-style models, you'll likely clean it right-side up using a mirror or phone camera to see what you're doing.
Use a damp cloth wrapped around your finger. Wipe the coil gently. Don't press hard.
You can bend the element or damage the wiring. If grease is caked on, dip a soft brush in warm soapy water. Scrub lightly.
Wipe away the suds with a clean damp cloth.
Never spray water directly into the top of the unit. Liquid gets into the fan motor. That causes shorts or permanent damage.
Keep everything barely damp, never wet. The official safety guidelines from the FDA regarding household appliance care stress keeping electrical components dry during any cleaning process. Water and exposed wiring are a dangerous combination.
Cleaning the exterior and the power cord
The outside gets dusty and greasy. Fingerprints build up near the handle. Splatters hit the front panel when you pull the drawer out quickly.
Wipe the plastic or stainless steel shell with a damp microfiber cloth. Add a drop of dish soap for sticky spots. Dry it immediately to prevent water marks on shiny finishes.
Stainless steel shows streaks easily. Wiping in the direction of the grain helps avoid that dull, smeared look.
Check the power cord. Grease travels. Wipe the cord down with a dry cloth.
Inspect it for cracks or fraying. Heat exposure degrades rubber over time. A damaged cord is a fire hazard.
Replace the unit or get it repaired if the insulation looks worn. Don't wrap the cord tightly around the base for storage. That bends the internal wires.
Loop it loosely instead.
Dealing with lingering smoke and food odors
Air fryers trap smells. Cooking fish one night means your roasted potatoes might taste like salmon the next day. Smoke happens when old grease hits the heating element again.
To fix odors, place a small oven-safe bowl inside the basket. Fill it halfway with water and add two tablespoons of white vinegar. Run the machine at 350 degrees Fahrenheit for five minutes.
The steam carries the vinegar through the chamber. It neutralizes trapped oils. Let it cool, then dump the liquid and wipe the inside dry.
Lemon juice works too. Rub a cut lemon half over the cold basket. Let it sit for ten minutes before rinsing.
Citric acid cuts through light grease films that hold onto smells.
If your kitchen fills with smoke every time you turn the dial past 400 degrees, you have hidden grease. Check the area where the basket slides into the housing. Food particles fall into that gap.
Use a dry toothbrush to sweep debris out of the tracks. Vacuum the loose crumbs. Leaving them there means they will burn the next time you try getting perfectly timed potatoes on the table.
| Issue | Cause | Solution |
|---|---|---|
| White smoke during preheat | Residual grease on the heating element | Wipe the coil with a damp cloth while unplugged |
| Fishy smell on new food | Trapped odor molecules in the porous nonstick coating | Steam with vinegar and water for five minutes |
| Sticky drawer tracks | Crumbs and oil falling behind the basket | Sweep with a dry toothbrush and vacuum loose debris |
| Flaking black specks in food | Damaged nonstick coating from abrasive scrubbing | Stop using steel wool; replace the basket if peeling continues |
| Burnt plastic smell | Exterior touching a heat source or melting cord | Move away from walls; inspect the power cable for damage |
Dishwasher safety for removable parts
Many people ask if they can toss the basket in the dishwasher. The answer depends entirely on your specific model. Check the manufacturer's manual.
Some brands label their pans and baskets as top-rack dishwasher safe. Others warn against it completely. The high heat and harsh detergents inside a dishwasher degrade nonstick coatings faster than hand washing.
Even if your manual says it's safe, hand washing extends the life of the basket significantly.
If you do use the dishwasher, skip the heated dry cycle. Let the parts air dry. High heat warps thin metal pans.
Warped pans don't slide back into the housing smoothly. They scrape the sides and wear down the finish.
When you plan meals ahead, like setting aside batches of drumettes for the week, you'll run the machine multiple times. Hand washing between heavy uses prevents the cumulative damage a dishwasher causes over months. It takes two minutes with a sponge.
It saves you buying a replacement basket later.
Fixing common mistakes that ruin the coating
People ruin air fryers by using the wrong tools. Metal tongs scratch the bottom when you flip meat. Silicone-tipped tongs protect the surface.
Always use wood or silicone utensils inside the basket.
Another mistake is spraying aerosol nonstick cooking spray directly into the basket. Commercial sprays contain propellants and lecithin. These additives bake into the coating and create a sticky film that soap won't remove.
Over time, the nonstick properties fail completely. Buy a refillable oil mister instead. Fill it with avocado or olive oil.
Spritz lightly before adding food.
Preheating an empty basket for too long also damages the coating. Without food to absorb the heat, the metal expands rapidly. Follow the recommended preheat times in your manual.
Usually, three minutes is plenty.
Stacking heavy pots inside the basket during storage crushes the mesh. Store the drawer separately or leave it inside the unit empty. Treat the basket like a delicate pan, because the coating is thin.
Once it chips, food sticks permanently to that spot. There is no safe way to repair a chipped nonstick surface. You either live with the sticking or buy a replacement part.
Deep cleaning schedules based on usage
How often you cook dictates how often you deep clean. Light users who make snacks twice a week only need a monthly deep clean. Daily users cooking full dinners need one every week.
A deep clean involves everything mentioned above: soaking the basket, wiping the element, steaming out odors, and cleaning the exterior. Set a reminder on your phone. It's easy to forget until smoke starts pouring out during a busy weeknight dinner.
Pay attention to the fan vent on the back or top of the unit. Dust accumulates there. A blocked vent makes the motor work harder and overheat.
Wipe the vent slats with a dry cloth every few weeks. Compressed air cans work well here. Blow the dust out from the inside toward the exterior.
Keep the nozzle a few inches away to avoid forcing moisture into the electronics.
If you switch between sweet and savory recipes often, clean between batches. Sugar burns faster than fat. Glazed chicken leaves a residue that scorches when you immediately throw in frozen fries.
A quick wipe with a damp paper towel between courses prevents cross-contamination of flavors and burnt sugar buildup.
Frequently asked questions
Can I submerge the entire air fryer in water?
No. The main housing contains electrical wiring, a fan motor, and a heating element. Submerging it destroys the appliance and creates a severe shock hazard.
Only the removable basket and drip pan go in the sink. Wipe the main unit with a damp cloth only.
Why does my air fryer smell like burning plastic the first time I use it?
New units have factory oils and protective coatings on the heating element. Manufacturers recommend running the machine empty at a high temperature for ten to fifteen minutes before cooking food. Do this in a well-ventilated area or under your stove hood.
The smell dissipates after this initial burn-off.
Is it safe to use oven cleaner on the basket?
Oven cleaners contain lye and other caustic chemicals. They strip nonstick coatings instantly and leave toxic residues that are difficult to rinse completely. Stick to dish soap, baking soda, and white vinegar.
Those three handle almost every mess safely.
How do I clean the fan blade inside the top housing?
Accessing the fan requires unscrewing the outer casing. Doing this voids most warranties. Unless you are experienced with appliance repair, leave the internal fan alone.
Wiping the heating element and blowing dust out of the vents manages most airflow issues. If the fan rattles loudly, contact the manufacturer for service.
Will baking soda scratch the nonstick surface?
Baking soda is a mild abrasive. Used as a paste with gentle pressure, it cleans effectively without scratching. Pressing hard or using it dry with a stiff brush increases the risk of micro-scratches.
Always mix it with water and use a soft cloth or nylon brush.
Do I need to clean it if I only use parchment paper liners?
Yes. Liners catch large crumbs and drips, but grease vapor still coats the heating element and the interior walls. Steam escapes around the edges of the paper.
You still need to wipe down the inside and check the element regularly, even with liners.
Keeping your machine running smoothly
Learning how to clean an air fryer protects your investment. Ten minutes of wiping and soaking prevents smoking, bad tastes, and premature breakdowns. Skip the harsh chemicals.
Stick to soap, water, and baking soda. Treat the nonstick coating gently. Your machine will crisp food evenly for years instead of months.
Whether you're preparing a quick snack or timing out salmon fillets for dinner, a clean basket guarantees the heat circulates exactly the way it should.