Air fryer chicken wings extra crispy come down to three things: completely dry skin, a light starch coating, and a two-stage cooking temperature. You don't need oil submersion or special equipment beyond what's already on your counter. Getting that shatteringly crisp exterior while keeping the meat juicy takes about 30 minutes of active cook time, plus a few minutes of prep work.
This guide covers why moisture is the enemy of crunch, which pantry starches produce the best crust, and how to adjust timing for different wing sizes. We'll also look at saucing methods that keep the texture intact and fix common problems like soggy bottoms or burnt edges.
Why Air Fryer Chicken Wings Extra Crispy Need Dry Skin
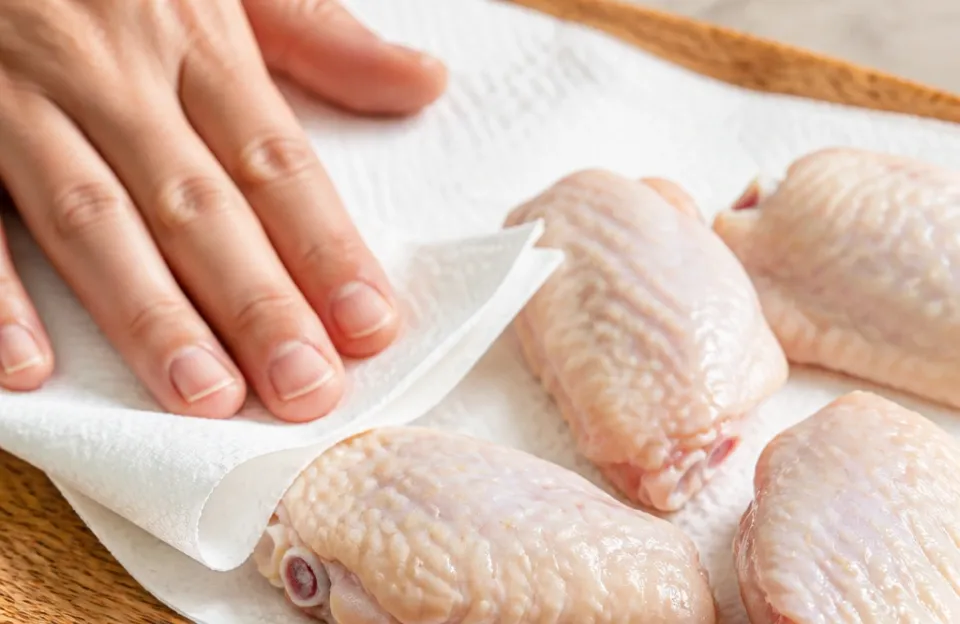
Crispness happens when surface moisture evaporates fast enough for proteins and fats to brown. Water caps the surface temperature at 212°F until it boils off. The Maillard reaction, which creates the golden-brown color and roasted flavor, requires temperatures above 300°F.
Any lingering water on the chicken skin delays that browning process significantly.
An air fryer circulates hot air rapidly around the food. That constant airflow strips away steam faster than a standard oven. But the machine can only do so much if the wings go in wet.
Patting them dry with paper towels removes surface water. Leaving them uncovered in the refrigerator overnight pulls out deeper moisture from the skin itself.
The USDA recommends cooking all poultry to an internal temperature of 165°F for safety. Reaching that target inside the meat while drying out the exterior requires balancing heat intensity with time. Too low, and the meat dries out before the skin crisps.
Too high, and the outside burns while the inside stays raw. A reliable instant-read thermometer removes the guesswork from checking the thickest part of the drumette.
The Refrigerator Drying Method
Place raw wings on a wire rack set over a baking sheet. Leave them uncovered in the fridge for 12 to 24 hours. Cold air circulation draws moisture out of the skin slowly.
The surface will feel tacky and slightly leathery when you take them out. That texture means the water is gone.
If you're short on time, pat the wings aggressively with paper towels right before seasoning. Press hard. Change the towel when it gets saturated.
This skips the deep drying but handles the immediate surface moisture.
Baking Powder vs Cornstarch for Crunch
A thin dusting of starch gives the skin something to dehydrate into a rigid shell. Baking powder (not baking soda) contains sodium bicarbonate and an acid. It raises the pH of the skin slightly, which breaks down proteins faster and encourages browning.
It also creates tiny bubbles as it reacts with the chicken's natural moisture, leaving a micro-textured surface that feels exceptionally crunchy.
Cornstarch works differently. It absorbs water and forms a tight, glass-like film when heated. Many cooks use a 50/50 mix of both.
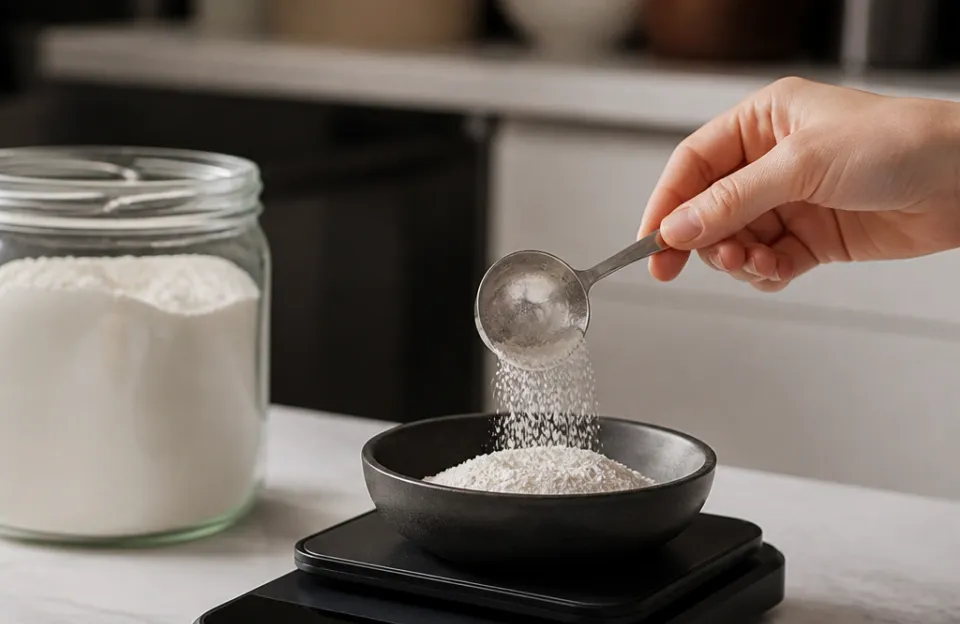
Use about one tablespoon of total starch per pound of wings. Toss them in a bowl until every piece has a dull, matte finish. Clumps of white powder will burn, so shake off any excess.
Cooking Temperatures That Build the Crust
A single temperature rarely produces air fryer chicken wings extra crispy without compromising the meat. Starting at a moderate heat renders the thick layer of fat just under the skin. Finishing at a high heat puffs and blisters the dried exterior.
| Cooking Phase | Temperature | Duration | Purpose |
|---|---|---|---|
| Fat Rendering | 360°F | 12 to 15 minutes | Melts subcutaneous fat, gently cooks meat |
| Crisping Finish | 400°F | 8 to 10 minutes | Triggers rapid browning, puffs the starch coating |
Render the fat first. If you blast raw wings at 400°F immediately, the skin tightens and traps the fat underneath. The result is greasy, chewy skin instead of a brittle snap.
The lower initial temperature melts that fat slowly, letting it drip away through the basket holes.
After the first phase, pull the basket out. Increase the dial to 400°F. Let the machine preheat for two minutes while you flip the wings.
Return them for the final blast. Watch closely during these last ten minutes. Sugars in rubs or the starch itself can cross the line from golden to charred quickly.
Using a dual-probe setup allows you to monitor the largest wing in the batch without opening the drawer repeatedly. Every time you open the basket, the ambient temperature drops by 20 to 30 degrees, extending the cook time and slowing the crisping process.
Basket Arrangement Stops Soggy Spots
Airflow is the entire mechanism of this appliance. Blocking that flow guarantees uneven cooking. Wings piled on top of each other steam where they touch.
The trapped humidity prevents the starch coating from setting, leaving pale, rubbery patches.
Lay the pieces flat in a single layer. Leave at least a quarter inch between each wing. Depending on your machine's capacity, this usually means cooking in two or three batches for a standard family-sized portion.
Overcrowding is the most frequent reason homemade attempts fail to match restaurant quality.
Flipping halfway through each temperature stage exposes the bottom surface to direct air. Use tongs rather than a spatula to avoid scraping off the delicate starch layer. Turn them gently.
If the coating sticks to the basket grate, the wings went in too wet or the basket wasn't preheated.
A quick spritz of neutral oil helps conduct heat across the dry starch. Don't pour oil. Don't drench them.
Two or three pumps from a spray bottle is enough to coat the powder and promote even browning. If you skip the spray entirely, the wings will still crisp, but they might look slightly dusty in spots.
Keeping your equipment clean matters here too. Caked-on grease from previous meals blocks ventilation holes. Taking a few minutes to clear out old residue after heavy cooking sessions keeps the fan pushing air efficiently.
Saucing Without Losing the Snap
Dunking freshly cooked wings directly into a bowl of sauce ruins the crust instantly. Liquid rehydrates the starch matrix you spent thirty minutes building. If you want wet wings, you have to apply the sauce strategically.
Toss the wings lightly. Put the cooked pieces in a large metal bowl. Drizzle the sauce over the top rather than dumping the wings into the liquid.
Fold them gently with a silicone spatula. You want a thin glaze clinging to the ridges, not a heavy pool soaking into the meat.
Serve immediately. Even a light toss will soften the exterior within five to ten minutes as the hot wings absorb the moisture. Plating them right away preserves the maximum amount of texture.
For dry rubs, apply them before cooking along with the starch. Wet marinades should be wiped off completely before the starch goes on. Sugar-heavy sauces like teriyaki or sweet barbecue will scorch at 400°F.
Apply those only in the final two minutes of cooking, or brush them on after the wings are fully removed from the heat.
If you prefer dipping, leave the wings naked. Serve the sauce on the side. This is the only way to guarantee air fryer chicken wings extra crispy stay that way from the first bite to the last.
Buffalo sauce made from melted butter and hot sauce clings better than water-based glazes because the fat repels moisture absorption slightly longer.
When Wing Sizes Change the Timing
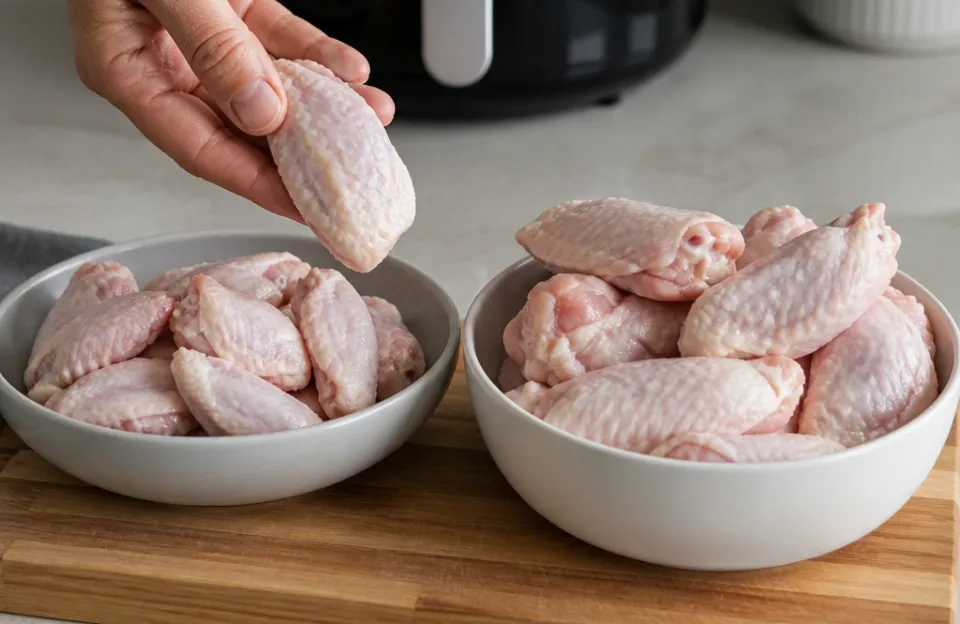
Not all chicken wings weigh the same. Small party wings cook much faster than large split drumettes from bulk warehouse stores. Following a rigid timer without checking the physical cues leads to either undercooked joints or desiccated leather.
Smaller wings might only need eight minutes at the lower temperature and six at the higher end. Massive drumettes could require eighteen minutes of rendering and twelve of crisping. The visual cue for the transition point is rendered fat pooling in the bottom of the drawer and skin that looks slightly translucent and tightened.
Checking the internal temp of the largest piece in your batch confirms doneness. Insert the probe into the thickest part of the meat, avoiding the bone. Bones conduct heat differently and give false readings.
A fast digital reader gives you a number before the drawer loses its heat.
Frozen wings require a completely different approach. Never put frozen wings straight into the high-heat cycle. The outside will burn while the center remains icy.
Thaw them completely in the refrigerator first, then pat them dry. The drying step becomes even more critical because freezing ruptures cell walls, releasing extra water as they thaw.
If you must cook from frozen, start at 300°F for fifteen minutes to defrost and render. Then drain the accumulated liquid from the basket. Proceed with the standard starch application and two-stage cooking method.
Expect the total time to increase by roughly forty percent compared to fresh poultry.
Troubleshooting Texture Failures
Sometimes the method is correct but the outcome falls flat. Identifying the specific failure points saves the next batch.
- Chewy, rubbery skin: The wings didn't dry long enough, or the initial rendering temperature was skipped. Moisture trapped under the skin prevents it from turning brittle. Go back to the paper towel step or extend the fridge time.
- Burnt black spots: The starch coating was applied too heavily, or sugar was included in the dry rub before the high-heat phase. Shake off excess powder vigorously. Keep brown sugar and honey out of the basket until the very end.
- Pale, blond coloring: The finishing temperature wasn't high enough, or the basket was overcrowded. Verify your machine's actual output with an oven-safe dial gauge since built-in digital displays often run twenty degrees cooler than stated.
- Sticking to the grate: The basket went in cold, or the wings were placed down wet. Always let the air fryer run empty for three minutes to heat the metal before adding food.
- Meat pulling away from the bone: Cooked too long at the rendering stage. Once the fat liquefies and the skin tightens, move to the high heat immediately. Prolonged moderate heat dries out the muscle fibers.
Maintaining accurate temperature readings throughout the process prevents most of these issues. Guessing based purely on a countdown timer ignores variables like starting meat temperature, ambient room humidity, and voltage fluctuations in your kitchen. A reliable wireless probe left in the thickest wing during the entire cook cycle tracks the exact progression from raw to perfectly rendered.
Frequently Asked Questions
Does baking soda work the same as baking powder?
No. Baking soda is pure sodium bicarbonate and highly alkaline. Using it alone leaves a metallic, soapy taste on the skin and causes excessive browning that turns bitter quickly.
Baking powder contains baking soda balanced with an acid like cream of tartar, making it neutral in flavor while still altering the skin's pH enough to aid crisping.
Can I stack wings if my air fryer has a rack insert?
Stacking reduces airflow around the bottom layer regardless of rack design. The top layer will crisp properly, but the pieces underneath will steam in the rising moisture. Cooking in sequential single-layer batches yields consistently better results than trying to fit everything at once using multi-tier accessories.
Why did my cornstarch coating turn gummy?
Gumminess happens when the starch absorbs moisture faster than the heat can evaporate it. This usually means the wings were too wet before tossing, or too much cornstarch was used relative to the meat volume. Stick to one tablespoon of total starch per pound, and make sure the skin feels dry to the touch before mixing.
Is it safe to eat wings cooked below 165°F?
The FDA food safety guidelines state that poultry must reach 165°F internally to destroy harmful bacteria like Salmonella. Some cooks pull chicken at 155°F and let carryover heat finish the job, but doing so requires precise temperature tracking and holding the meat at that lower temperature for several minutes to achieve pasteurization. For standard home cooking, hitting 165°F directly is the safest route.
Do I need to preheat the machine for crispy results?
Yes. Dropping starch-coated wings into a cold basket causes the powder to absorb surface moisture and form a paste before the heating element activates. Running the unit empty at your target temperature for three to five minutes sears the coating immediately upon contact, locking it in place.
How long do leftover crispy wings stay crunchy?
They don't. Once cooled, ambient humidity softens the crust within an hour. To revive them, place leftovers back in the air fryer at 375°F for three to four minutes.
Microwaving reheats the interior water content and turns the exterior permanently soggy, so always use dry heat for warming up previously fried items.
Getting the Timing Right Every Time
Achieving air fryer chicken wings extra crispy relies on controlling moisture and heat sequentially. Dry the skin thoroughly, dust it lightly with a baking powder blend, render the fat at a moderate pace, and finish with intense circulating air. Skipping any of those phases compromises the final texture.
Keep a thermometer handy, resist the urge to overcrowd the drawer, and sauce them only at the last possible second. Once you dial in the two-stage temperature method for your specific machine, the results repeat reliably every time you cook.



8 thoughts on “Extra Crispy Air Fryer Chicken Wings: The Ultimate Guide”