Waking up to weak, watery coffee is a rough way to start your morning. An AeroPress is a small, hand-powered coffee maker that uses air pressure to push hot water through ground beans. It brews a rich, smooth cup in about two minutes with very little mess.
The Basic Shape and Size
The AeroPress looks like a giant plastic syringe. It has two main tubes. One tube slides inside the other.
The whole thing stands about 5.5 inches tall when put together for brewing. It weighs just over half a pound. You can hold it easily in one hand.
It takes up very little space in a kitchen cabinet. This makes it great for small kitchens or travel bags.
The original model comes in dark gray plastic. A newer clear version exists too. Both work the exact same way.
The size means you brew one cup at a time. You cannot make a full pot for a crowd. If you need coffee for four people, you will press four separate times.
That is the biggest trade-off you accept when you buy one.
What Comes Inside the Box
When you open the box, you get several pieces. There is the main chamber. This is the wide tube where the magic happens.
Then there is the plunger. It has a thick rubber seal on the end. The seal fits tight inside the chamber.
You also get a filter cap. This screws onto the bottom of the chamber. It holds the paper filter in place.
The box includes a funnel for moving grounds around. A stirring stick comes in the package too. Finally, you get a small scoop that holds about 14 grams of coffee.
That is roughly one standard tablespoon.
Everything packs down into itself. The plunger pushes all the way through the chamber. You can stack the pieces to save room.
For folks who already think carefully about measuring out portions for recipes, the included scoop gives you a solid starting point. But most serious fans prefer weighing their beans.
How the Pressing Action Works
Brewing with this tool relies on air pressure. You put coffee grounds in the chamber. You add hot water.
You stir it. Then you put the plunger on top. You push down with your hands.
Your body weight forces the water through the coffee.
This pressure does something special. It pulls flavor out of the beans fast. Normal drip coffee relies only on gravity.
Gravity is slow. Pressure is fast. The quick process stops bitter flavors from getting into your mug.
The result tastes very clean.
You do not need electricity. You do not plug it into a wall. Your arms do all the work.
Pushing down takes about 20 seconds. You feel some resistance as you press. It should feel firm but not hard.
If you have to fight the plunger, your coffee is ground too fine.
Paper Filters Versus Metal Screens
The original design uses round paper filters. They are tiny. They look like small white coins.
You place one in the filter cap. You wet it with hot water first. This washes away any paper taste.
It also helps the filter stick to the cap.
Paper blocks almost all the coffee oils. It also catches tiny bits of grit. Your final drink ends up very clear.
It feels light on your tongue. Many people love this clean taste. The paper filters cost money over time.
You buy them in packs of 350.
Some folks swap the paper for a metal screen. Metal lets natural oils pass through. This makes the coffee taste heavier.
It feels more like French press coffee. Metal screens last for years. You just rinse them off.
But they let tiny coffee dust into your mug. If you hate sludge at the bottom of your cup, stick with paper. Choosing between these options matters just as much as picking the right brewing setup for your countertop.
Water Heat and Coffee Grind
Water temperature changes everything here. Boiling water burns coffee. It makes the drink taste harsh.
The official advice suggests water around 175 degrees Fahrenheit. That is well below boiling. At 175 degrees, the sweet flavors come out easily.
The bitter ones stay hidden in the grounds.
If you do not have a thermometer, boil your kettle. Let it sit open for one minute. It will drop close to the right heat.
Some people like hotter water. You can try 185 or 190 degrees. Darker roasts often taste better at lower temperatures.
Lighter roasts might need slightly hotter water.
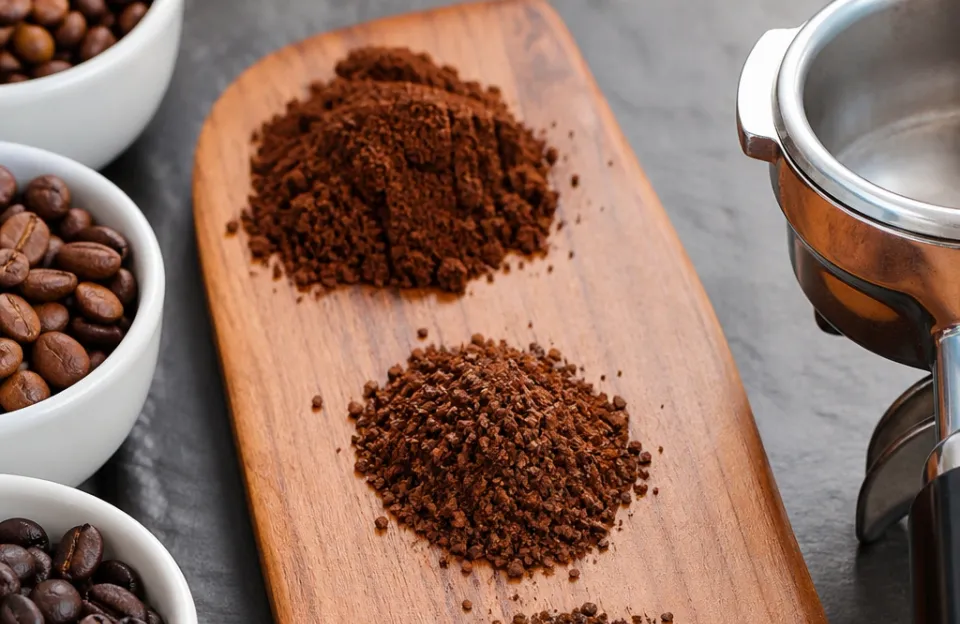
The grind size matters just as much. You want a medium-fine grind. It should look like table salt.
Too coarse, and the water rushes through. You get sour, weak coffee. Too fine, and the water gets stuck.
You cannot push the plunger down. A medium-fine grind hits the sweet spot. It gives good flavor without fighting your hands.
The Standard Brew Method
Making a cup the normal way takes two minutes. First, put a paper filter in the cap. Rinse it with hot water.
Screw the cap onto the chamber. Place the chamber on a strong mug.
Add one scoop of coffee. That is about 14 grams. Pour hot water up to the number one or two mark on the side.
Stir the mix three times with the paddle. Put the plunger on top. Press down slowly.
Stop when you hear a hissing sound. That hiss means the water is gone. Only air is left.
Take the device off your mug. Point it at the trash can. Push the plunger the rest of the way.
The puck of wet coffee pops right out. Rinse the rubber seal under the tap. You are done.
The whole cleanup takes ten seconds. No scrubbing is needed.
The Upside Down Trick
Many fans flip the whole thing upside down. This stops water from dripping through early. You put the plunger into the chamber first.
Stand it up so the rubber seal rests on the counter. The open top faces the ceiling.
Add your coffee. Add your water. Stir it.
Let it sit for a minute or two. This soaking time builds deep flavor. When you are ready, wet the filter and screw on the cap.
Put your mug upside down on top of the filter cap. Hold the mug and the device together. Flip the whole stack over in one quick move.
Now the mug is right side up on the counter. Press the plunger down.
This method gives you total control over time. Nothing leaks out while you wait. It requires a bit of care when flipping.
Hold it tight so hot water does not spill. Once you learn the flip, it becomes second nature.
Cleaning Up After Your Mug
Mess is a big problem with many coffee makers. Drip machines leave wet baskets everywhere. French presses require taking apart a metal cage.
This device avoids those headaches. The wet grounds form a tight puck. You push the puck straight into the trash or compost bin.
After popping out the puck, pull the plunger back out. Run water over the rubber end. Wipe the inside of the chamber if you see oil.
You rarely need soap. Hot water handles most of the mess.
Let the pieces dry before putting them away. Storing it wet can cause mold over time. Take the plunger out of the chamber for storage.
Leaving it pushed all the way in squishes the rubber seal. Over months, that squished shape ruins the tight fit. Always store it with the plunger resting loosely inside or pulled completely out.
Keeping gear clean applies across the board, much like checking if everyday appliances avoid certain plastics before buying them.
Travel and Camping Use
This brewer shines outside the house. It weighs almost nothing. It rolls up tight.
You can toss it in a backpack or suitcase. It does not break if you drop it. Glass French presses shatter easily in a bag.
This plastic tube survives rough trips.
For camping, you only need hot water and beans. You can heat water over a camp stove. You do not need a power outlet.
The paper filters pack flat in a small bag. Cleanup in the woods is easy. Just pop the coffee puck into the fire or a trash bag.
Rinse the parts in a stream or with bottled water.
It also works great in hotel rooms. Hotel coffee is often stale. Bringing your own brewer fixes that.
You just need access to a hot water tap or a basic kettle. Many travelers refuse to leave home without it.
How It Compares to Other Brewers
People often ask how it stacks up against regular drip machines. Drip makers brew large pots. They take five to ten minutes.
They also require washing glass carafes and paper cone baskets. The AeroPress makes one cup in two minutes. It cleans up faster.
But you cannot serve a family of four quickly.
Compared to a French press, the difference is texture. French press coffee is thick. It has oils and fine grit floating in it.
The paper filter here removes all of that. You get a lighter, smoother drink. The French press also takes longer to wash.
Taking apart the metal mesh screen is annoying. Popping out a dry puck of coffee is much easier.
Then there is espresso. True espresso needs nine bars of pressure. That requires heavy, expensive machines.
You can read about how different pump systems work to understand why. This manual brewer creates maybe one or two bars of pressure by hand. It makes a strong, concentrated shot.
You can add hot water to mimic an Americano. But it does not produce real crema. It is a fantastic alternative for people who want strong coffee without spending hundreds of dollars.
Who Invented This Device
Alan Adler created it in 2005. He is an engineer. He also invented the Aerobie flying ring.
He wanted a faster, less bitter way to make coffee at home. He tested dozens of shapes and methods. The syringe shape won because it was simple.
He introduced it at a coffee industry event. People thought it looked strange. But the taste won them over.
Soon, fans started hosting world championships. Baristas compete every year to find the best recipe. The community built around this plastic tube is huge.
People share exact gram weights, water temperatures, and steep times online.
According to the official company history, Adler designed it specifically to reduce acidity. Lower acid means less stomach upset for sensitive drinkers. His engineering background shows in the smart, simple design.
There are no extra parts. Every piece has a clear job.
Real Limits to Keep in Mind
No kitchen tool is perfect. This one has clear limits. The biggest issue is volume.
You brew about eight ounces at a time. If you want a large travel mug, you have to press twice. Making coffee for guests takes patience.
You will stand there pressing over and over.
The materials are another point. It is made of plastic. While the manufacturer states it is BPA-free and safe for hot liquids, some buyers prefer glass or steel.
Plastic can stain over years of daily use. It can also scratch if you use rough sponges.
The rubber seal wears out eventually. After a few years of daily use, it loses its grip. Air sneaks past it.
You have to buy a replacement plunger. Replacement parts are cheap, but it is an extra step.
Finally, it requires physical effort. Pushing the plunger takes arm strength. Most adults handle it fine.
But someone with severe arthritis or weak wrists might struggle. The pressure builds up, especially with fine grinds. You must lean into it.
If that sounds hard, a standard drip machine is a safer bet.
Common Questions About the AeroPress
Can I make cold brew with it?
Yes, you can. Use cool or room temperature water instead of hot. Stir the grounds and water together.
Let it sit for one to two minutes. Press it out over ice. Cold water extracts flavor slower than hot water.
So you might want to use finer grounds or wait a bit longer. The result is a very smooth, cold drink. It lacks the heavy bitterness of traditional overnight cold brew methods.
How long do the paper filters last?
A single paper filter works for one brew. But many users rinse them and reuse them a few times in one day. The box comes with 350 filters.
If you brew once a day, one pack lasts almost a year. They are very cheap to replace. Buying a few packs at once keeps you stocked for a long time.
Does it really taste like espresso?
Not exactly. It makes a strong, concentrated coffee. You use less water and more beans to get this effect.
It mimics the bold flavor of espresso. You can pour it over milk for a latte-style drink. But it lacks the thick foam layer called crema.
True espresso machines force water through at much higher pressures. Think of it as a middle ground between drip coffee and real espresso.
Is the plastic safe for boiling water?
The current models use medical-grade, high-density plastic. The brand confirms it contains no BPA or phthalates. It is built to handle boiling water safely.
However, the recommended brew temperature is 175 degrees Fahrenheit. Using slightly cooler water protects the plastic over time. It also makes your coffee taste better.
Boiling water scorches the beans, regardless of the brewer you use.
Why does my coffee taste sour?
Sourness means the water moved through the grounds too fast. It did not pull out enough flavor. Try grinding your beans finer.
You can also let the coffee soak in the water longer before you press. Adding 30 seconds of wait time often fixes a sour cup. Make sure your water is hot enough, too.
Lukewarm water fails to extract the sweet compounds from roasted beans.
Can I use pre-ground coffee from the grocery store?
You can, but it changes the taste. Store-bought pre-ground coffee is usually meant for drip machines. It is ground too coarse for this device.
Water will rush through it. Your drink will taste thin. If you must use pre-ground, try to find an espresso grind.
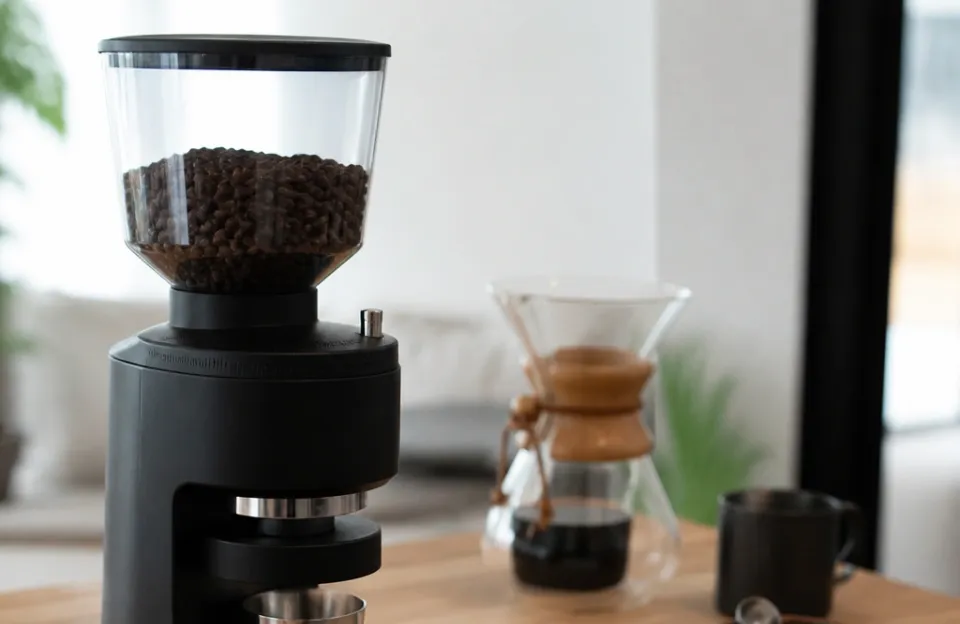
It is finer and works much better here. Grinding fresh beans right before brewing always gives the best flavor.
Do I need a special mug?
You need a mug with a sturdy rim. The chamber sits directly on top of the cup while you press down. Flimsy cups might tip over.
Wide mugs work best. The base of the chamber is about 2.5 inches across. As long as your mug opening is wider than that, you are fine.
Avoid tall, skinny glasses. They tip easily when you apply downward pressure.