Test your thermometer in a properly made ice bath at 32°F (0°C). If a dial model is off, turn its calibration nut; if a digital model has no adjustment, record the offset and apply it to your readings. A boiling water test confirms the upper range at your local boiling point, which drops as elevation rises. A properly calibrated thermometer is key to both food safety and quality, so check it regularly.
A food thermometer is the only reliable way to confirm that meat has reached a safe minimum internal temperature. Those targets include 145°F (63°C) for steaks, roasts and chops with a 3-minute rest, 160°F (71°C) for ground meat, and 165°F (74°C) for poultry. An error of a few degrees can matter: chicken reading 162°F (72°C) is still below the 165°F (74°C) target. For a quick refresher on the basics, see this guide to meat thermometer calibration with ice and boil tests.
Why Your Thermometer Drifts Over Time
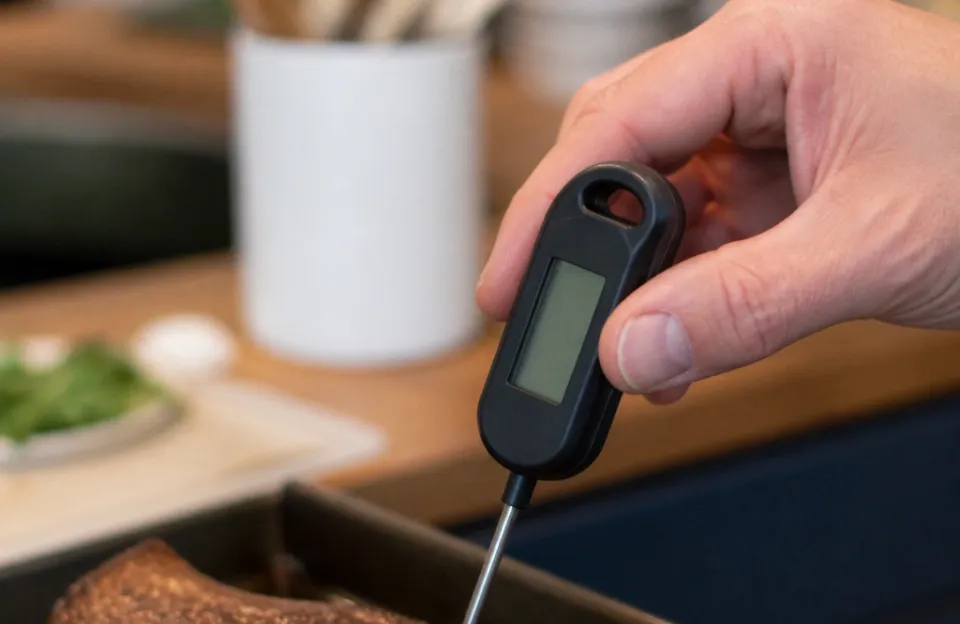
Thermometers should be checked and adjusted on a regular basis. Most food thermometers are accurate within 2 to 4°F (about 1 to 2°C), but that tolerance is a general expectation, not a guarantee for a specific device. Your own model’s stated accuracy is the figure to compare against, so keep the documentation that came with it.
The practical response is routine testing rather than assuming a device is fine. A fast-reading digital model is convenient for the ice bath steps below because it settles quickly.
If a probe is physically damaged, calibration cannot restore it; replacement is the safer route through probe replacement options. A dial thermometer that cannot be adjusted reliably points to the same decision.
The Ice Bath Method for Checking 32°F
A carefully made ice bath sits at 32.0°F within about ±0.1°F, which makes it the stronger reference available to a home cook. A careless ice bath, by contrast, can be off by several degrees.
- Fill a tall glass or mug to the top with ice; finely crushed ice is best, but cubed ice also works.
- Add cold water to fill the gaps, stopping roughly 1/2 inch below the top of the ice.
- Stir well and let the mixture sit for a minute or two so the temperature settles.
- Insert the probe so the sensing area is immersed but not touching the sides or bottom of the glass.
- Stir the probe gently in the slurry to keep the sensor off an ice cube.
- Wait about 30 seconds for a digital reading; allow 1 to 2 minutes for a dial thermometer.
- A reading of 32°F means the thermometer is correct and ready to use.
Immersion depth: Follow the manufacturer’s stated minimum immersion for your model, but keep the probe tip clear of the container walls and floor. Both contact points skew the reading. If your analog thermometer reads off after this procedure, the troubleshooting guide on differing readings covers placement issues.
The ice bath also serves as your reference whenever a boiling test result looks odd, since it depends on ice and water rather than atmospheric pressure.
The Boiling Water Test: Altitude Correction
The boiling water method gives you a second check, at a temperature that depends on where you live. At sea level, water boils at 100°C (212°F), and the boiling point falls as elevation rises.
To run the test, bring a pot of water to a rolling boil, submerge the probe in the water without touching the pot’s bottom or sides, and hold it there until the display stabilizes. The immersion and stirring habits from the ice bath apply here too: keep the sensor off hot metal and let the water move around the tip.
Then compare the reading with your local boiling point instead of a fixed 212°F. For example, at roughly 1,609 m (about 5,280 ft), water boils near 94.55°C (202.18°F). A common rule of thumb subtracts about 1°C per 300 m (0.5°F per 500 ft) above sea level, but treat it as an approximation rather than a substitute for a proper calculation. Use a boiling point calculator that accounts for your elevation and local atmospheric pressure, or find a published table for your area.
Calibrating a dial thermometer to exactly 212°F at high altitude is a systematic mistake: it makes the thermometer read high at every temperature you use it for. The boiling point of water changes with elevation, so adjust the target before you judge the device.
Which Test Should You Run First?
Run the ice bath first. It needs only crushed ice and water, it is not affected by altitude, and it produces a precise reference temperature when made carefully. Most home cooking targets sit closer to the ice point than to the boil point, so the lower anchor is also the more relevant check.
Use the boiling test as confirmation when the ice bath result seems inconsistent or when you work at high altitude and want to verify the full range. Neither test alone tells you the whole story of a thermometer’s accuracy.
On frequency, the standard is simply to check and adjust on a regular basis. Tie testing to real use: before a big cook, after a drop, and whenever a reading seems strange. If you rely on quick checks while grilling, a dual-sensor setup can track pit and meat temperature at once without repeatedly opening the lid.
Adjusting an Analog Dial Thermometer
Many food thermometers have a calibration nut beneath the dial that you can adjust. To correct a dial model that misses 32°F in a careful ice bath, turn the thermometer over and twist the nut slowly while watching the needle until it reads 32°F.
Use the right tool. Needle-nose pliers or a small wrench sized to the nut work better than a large adjustable wrench, and steady pressure beats force. If the nut will not move easily, stop rather than forcing it, because bending or stripping it ends the adjustment option entirely.
After any adjustment, run the ice bath test again before cooking. A reading that returns to 32°F within a minute of stirring is the confirmation you need.
Dealing with Digital Models That Won’t Adjust
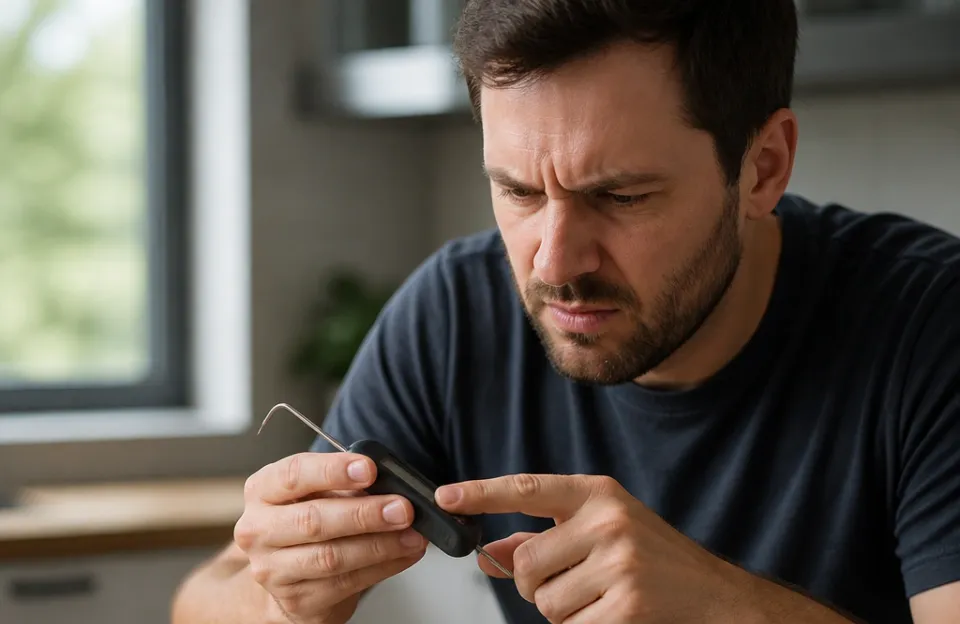
Digital models can be harder to correct because some have no user adjustment at all. Before trying anything, check the reading against the manufacturer’s stated accuracy: if the device is within its own specification, do not adjust it.
If the device does fall outside its spec:
- Built-in calibration mode: Some thermometers include an offset or ice-point calibration function. Follow your manual’s exact procedure, since button sequences differ by model.
- Manual offset: When no adjustment exists, the error can be added or subtracted from your target cooking temperature. A probe that reads 34°F in a proper ice bath runs 2°F high, so subtract 2°F from every reading.
- Record keeping: Write the offset inside the battery cover or in a note you’ll find before the next cook, and keep a log to track performance over time.
If the device still fits no pattern after these steps, consider long-lasting models built for heavy use rather than recalibrating a failing unit.
When to Skip Calibration Entirely
These methods apply to dial and probe thermometers, not to infrared surface thermometers. If you use a laser temp gun for checking pan heat or grill grates, rely on the factory settings unless you have professional blackbody calibration equipment.
Skip calibration and replace the unit when the probe is bent, cracked, or visibly damaged; the sensing element cannot be trusted once it has been compromised. Probes, like the dial stems above, should be inserted properly into the thickest part of the food to give meaningful readings in the first place.
Troubleshooting: Consistent Offset vs. Erratic Readings
A consistent offset looks clean: 34°F every time in ice water, and the same gap in boiling water. That pattern points to a calibration issue, and the fix is either a dial adjustment or a written offset.
Erratic readings are different. If the display swings around in a stable ice bath, or reads differently each time you test it, the sensor or probe is likely failing. No offset can correct a reading that won’t hold still, and no adjustment routine fixes a sensor that has drifted from repeatability. Replace the probe or the thermometer.
Also watch for these signals:
| Symptom | Likely cause | Action |
|---|---|---|
| Consistent high or low reading in ice water | Calibration drift | Adjust the nut or apply an offset |
| Reading jumps around in stable ice water | Failing sensor or moisture ingress | Replace the unit |
| Bent, cracked, or crushed probe | Physical damage | Replace the probe |
| Reading within the spec in ice water but off in boiling water | Altitude misjudgment or sensor curve error | Recheck elevation and confirm against manufacturer tolerance |
Using your calibration record and the manufacturer’s stated accuracy, you can tell which situation you’re in before you commit to an adjustment.
Keeping Your Readings Honest
Accuracy is judged on the thermometer, not just the food. Even a perfect instrument only works if you place it in the right part of the meat, so use it in the thickest section and away from bone or gristle.
For dial thermometers, insert the stem about 2 to 3 inches into the food so the sensing portion reaches the target. For probe models, follow the marked immersion line or depth; a probe that is only halfway inserted can read the pan or the cooler surface layer instead of the interior.
Store thermometers away from heat sources and water ingress, protect probes from drops, and re-run the ice bath whenever a reading feels suspect. Testing on a schedule tied to real use beats a fixed calendar, and recording results helps you notice drift before it becomes a safety problem.
The correct order for any thermometer is simple: check against ice, then boiling water at your local boiling point, adjust if possible, apply a documented offset if not, and replace anything physically damaged or erratic. Do those steps and your thermometer’s reading will do what the safe temperatures chart assumes it does.