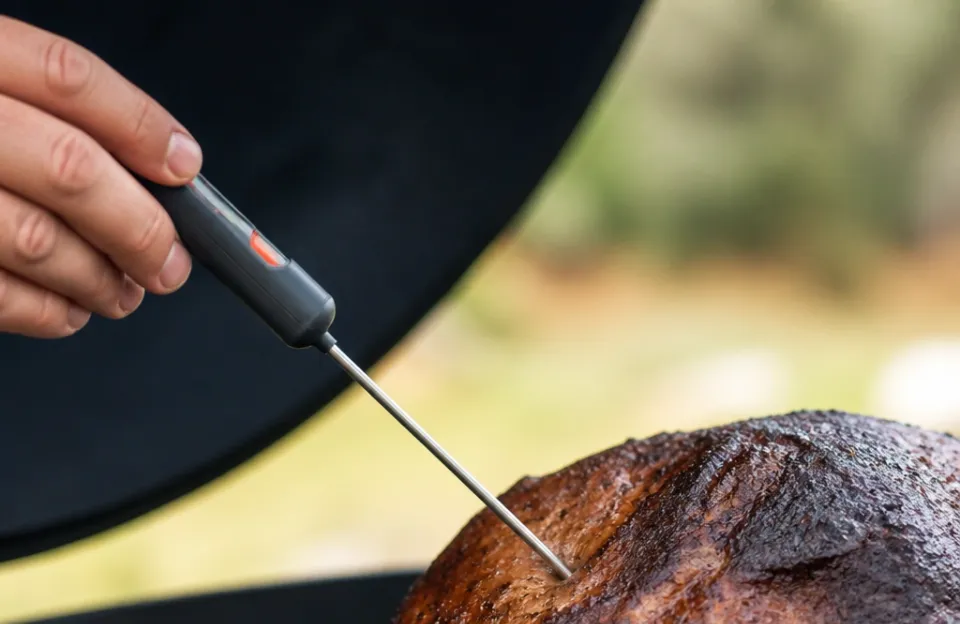
Using a meat thermometer in the oven takes about ten seconds to set up and saves you from guessing when dinner is done. You insert the probe into the thickest part of the raw meat, route the cable out through the oven door, and leave the display unit on the counter while the food cooks. That's the entire process for an oven-safe leave-in model.
If you own an instant-read thermometer, the approach changes. You open the oven door, pull the rack out slightly, check the temperature by hand, and close the door again. Knowing how to use a meat thermometer in the oven correctly depends entirely on which type of tool you have.
This guide covers the exact placement steps for both styles, safe internal temperatures, and the mistakes that lead to dry roasts or undercooked poultry.
Tools needed before preheating the oven
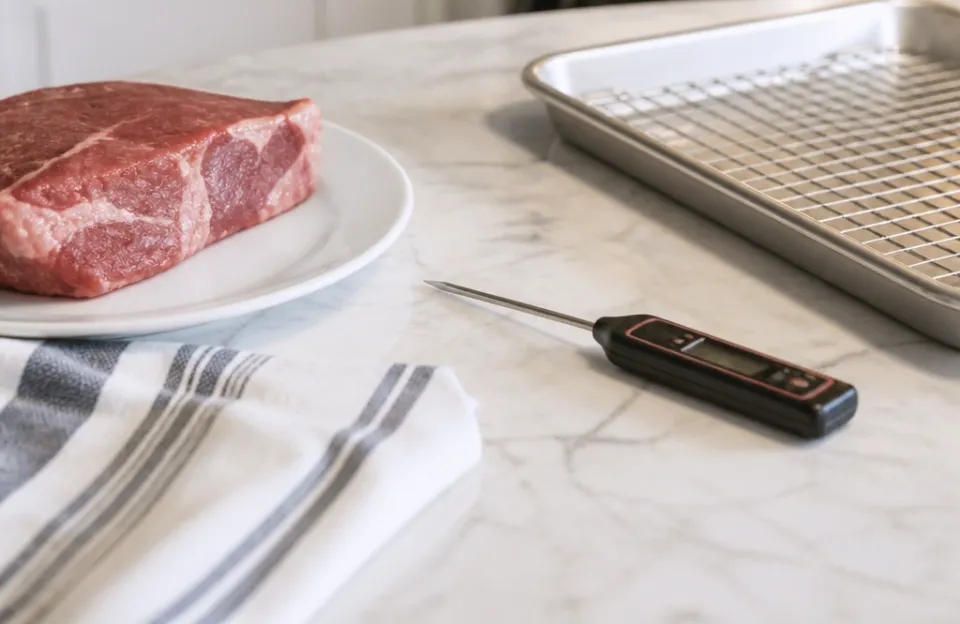
You need very little gear to start tracking temperatures inside your oven. Gather these items before you turn the dial.
- An oven-safe leave-in meat thermometer with a heat-resistant cable, or an instant-read digital thermometer rated for brief high-heat exposure.
- The raw meat, seasoned and ready for the pan.
- A roasting pan, baking sheet, or oven-safe skillet.
- Oven mitts for adjusting the probe if it shifts during cooking.
If you are shopping for equipment, a dual-probe setup lets you monitor the internal meat temperature and the ambient oven air at the same time. Having two readouts prevents you from opening the door just to check if the oven is holding its target heat.
Placing the probe in whole birds and thick roasts
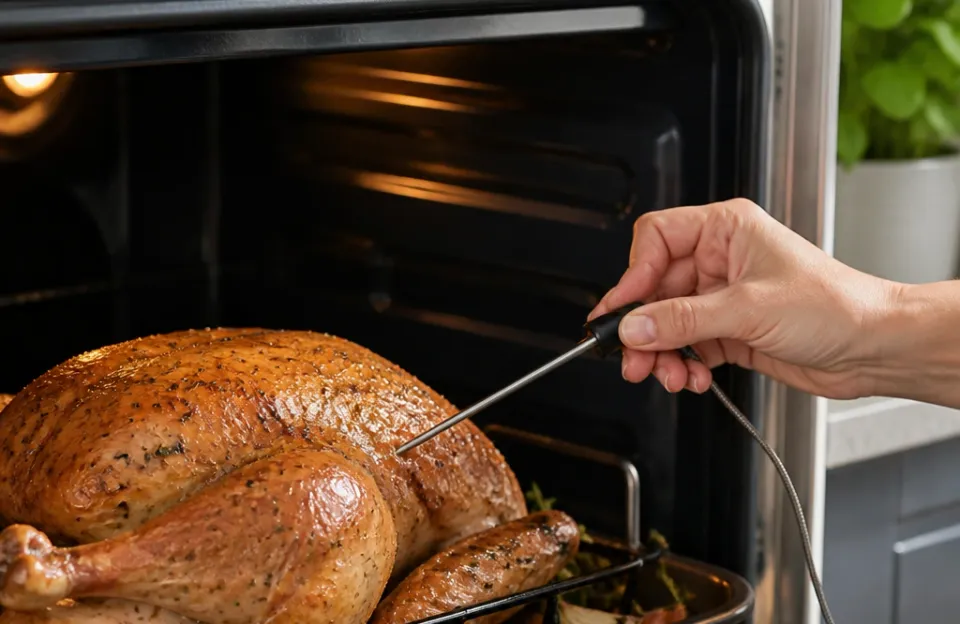
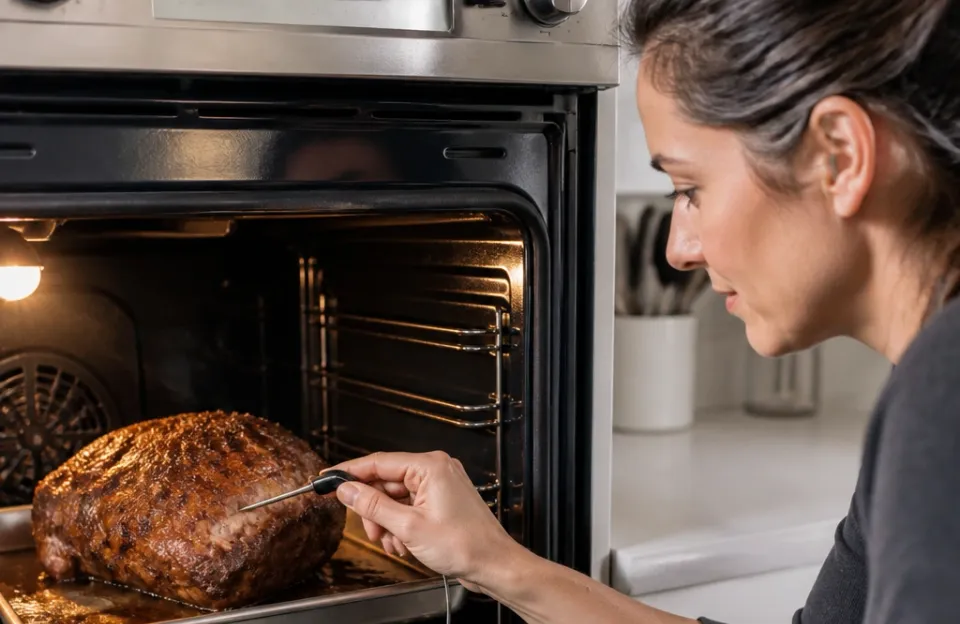
Probe placement determines whether your reading is accurate or completely wrong. The sensor tip sits at the very end of the metal shaft, usually within the bottom half-inch. That specific point needs to rest in the center of the thickest muscle mass.
For whole chickens and turkeys, push the probe into the deepest part of the thigh. Angle it inward toward the body cavity. Keep the metal tip away from the femur bone.
Bone conducts heat faster than muscle tissue, so touching it gives you a falsely high number. You will pull the bird out too early, and the breast meat will be undercooked.
Large beef roasts, pork shoulders, and prime rib follow the same logic. Find the geometric center of the thickest section. Insert the probe horizontally or at a slight downward angle until the sensing area sits dead center.
Avoid pockets of fat or gristle. Fat renders and shifts during roasting, which can push the probe out of position or insulate the sensor from the actual meat temperature.
When you cook multiple pieces on the same sheet pan, like four chicken breasts, test the smallest one. The smallest piece finishes first. If the smallest breast hits 165°F, the larger ones are already there or very close.
Routing the cable safely outside the oven door
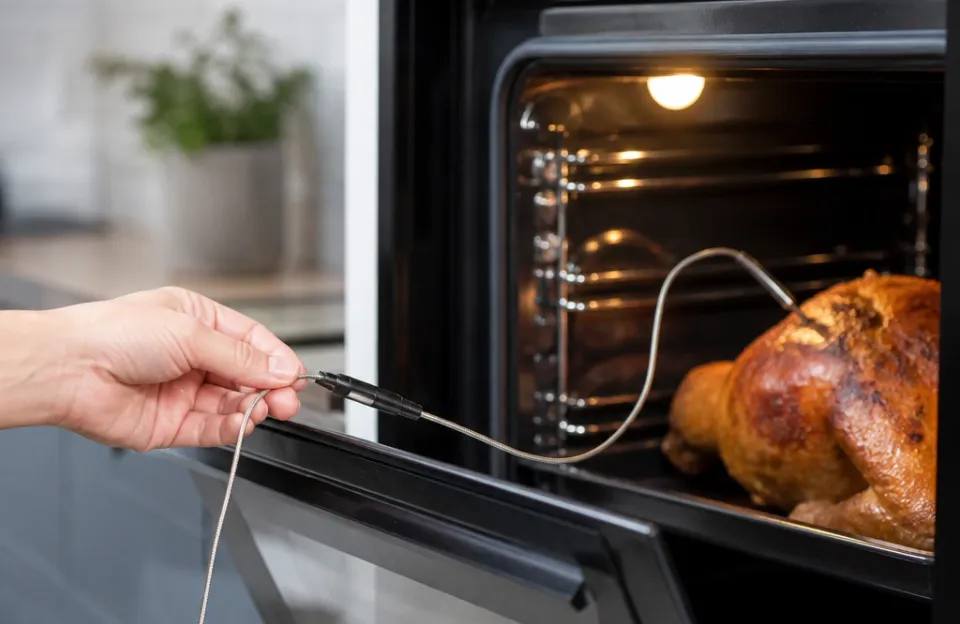
Leave-in thermometers have a braided metal cable connecting the probe to the base unit. That cable has to cross the oven threshold without melting or breaking the door seal.
Place your meat in the oven first. Route the cable over the edge of the roasting pan so it doesn't touch the oven walls or heating elements. Direct contact with a glowing electric coil or a gas flame will destroy the wire insulation instantly.
Run the cable flat across the front lip of the oven frame.
Close the door gently on top of the cable. Most modern oven doors have enough give in the gasket to press down on a thin wire without losing significant heat. If you see light pouring out around the wire, or if the oven struggles to reach temperature, the seal is compromised.
Try shifting the cable to the far left or right corner of the door frame where the hinge pressure is strongest.
Set the receiver unit on the counter next to the stove. Keep it away from direct heat sources like stovetop burners. The plastic housing on the display cannot handle the same temperatures as the metal probe.
Checking temperatures manually with an instant-read probe
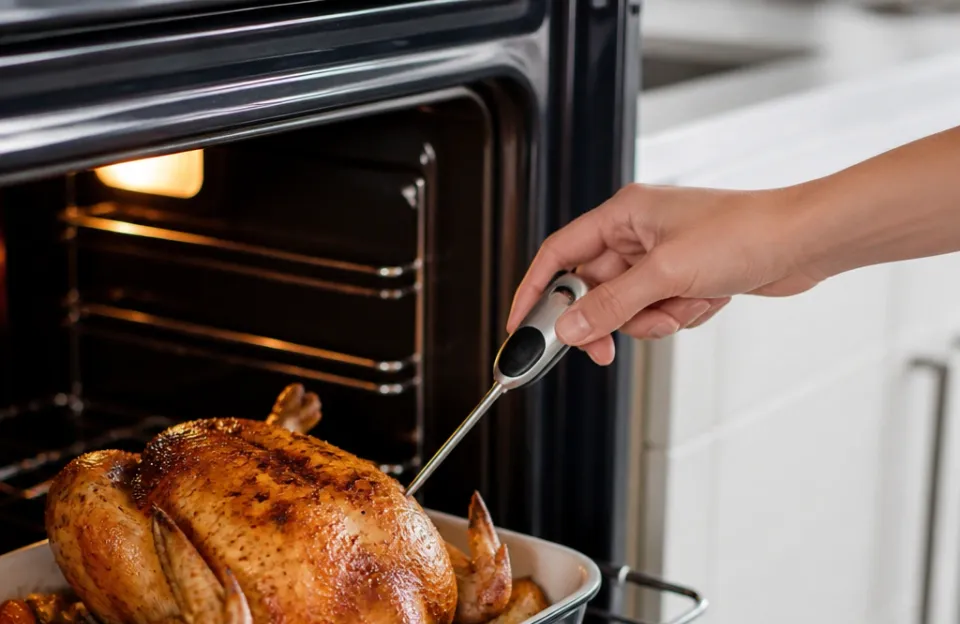
Instant-read thermometers do not stay inside the oven during the cooking cycle. They are designed for quick spot checks. Learning how to use a meat thermometer in the oven with this style requires a fast, deliberate routine to prevent heat loss.
Wait until the meat is roughly 75% of the way through its estimated cook time. Opening the door too early drops the ambient temperature drastically and extends your total roasting time. When you are ready to check, grab your mitts and your thermometer.
Open the oven door fully. Pull the rack out toward you just enough to access the meat comfortably. Insert the probe tip into the thickest part of the roast or bird, using the same bone-avoidance rules mentioned earlier.
Wait for the numbers on the screen to stabilize. A fast model locks in a final reading in two to three seconds. Slower analog dials might take fifteen seconds.
Pull the probe out, slide the rack back in, and shut the door immediately. Every second the door stays open bleeds hot air into your kitchen. If the meat needs more time, wait another ten to fifteen minutes before checking again.
Repeatedly stabbing the meat also creates holes for juices to escape, so limit your checks to two or three per session.
If you prefer speed during these manual checks, a one-second response model minimizes the time the oven door hangs open. Getting a stable reading instantly means less heat escapes the cavity.
Target internal temperatures for common meats
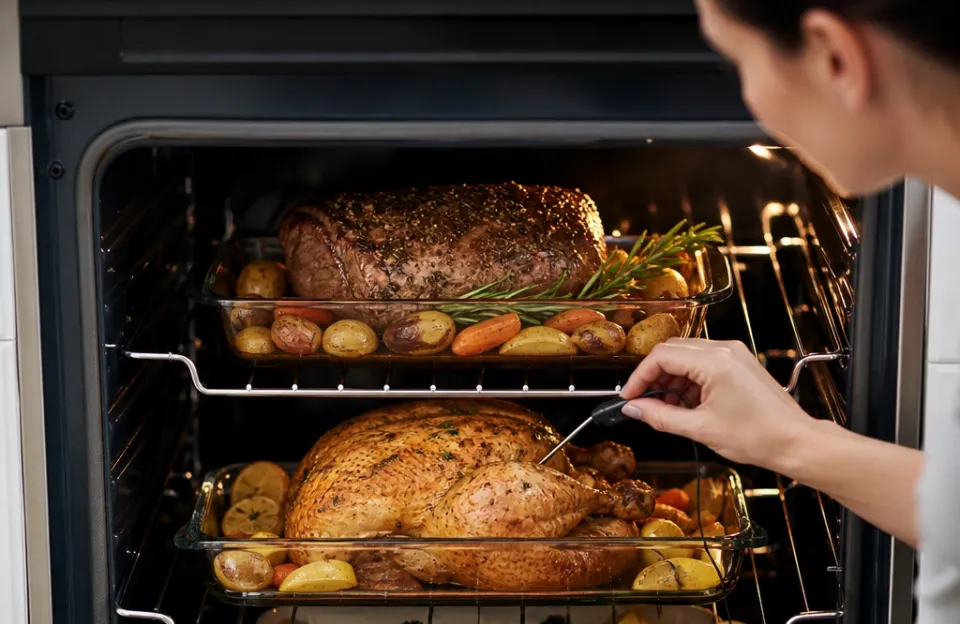
Knowing where to put the probe only solves half the problem. You also need to know what number to look for. The USDA sets minimum safe internal temperatures to kill pathogens like Salmonella and E. coli.
These targets apply regardless of your cooking method.
| Meat Type | Minimum Safe Temperature (USDA) | Resting Carryover Note |
|---|---|---|
| Poultry (whole or ground) | 165°F | Remove exactly at 165°F; carryover is minimal in lean birds |
| Ground meats (beef, pork, lamb) | 160°F | No resting period required for safety |
| Beef, pork, veal, lamb steaks/roasts | 145°F | Requires a 3-minute rest after removal |
| Fresh ham (raw) | 145°F | Requires a 3-minute rest after removal |
| Pre-cooked ham (reheating) | 140°F | Only needs to reach serving temperature |
These numbers come directly from official USDA food safety guidelines. Always aim for these minimums. Cooking below them carries a real risk of foodborne illness, especially with poultry and ground meats where bacteria gets mixed throughout the product rather than sitting only on the surface.
Accounting for carryover cooking after pulling the pan
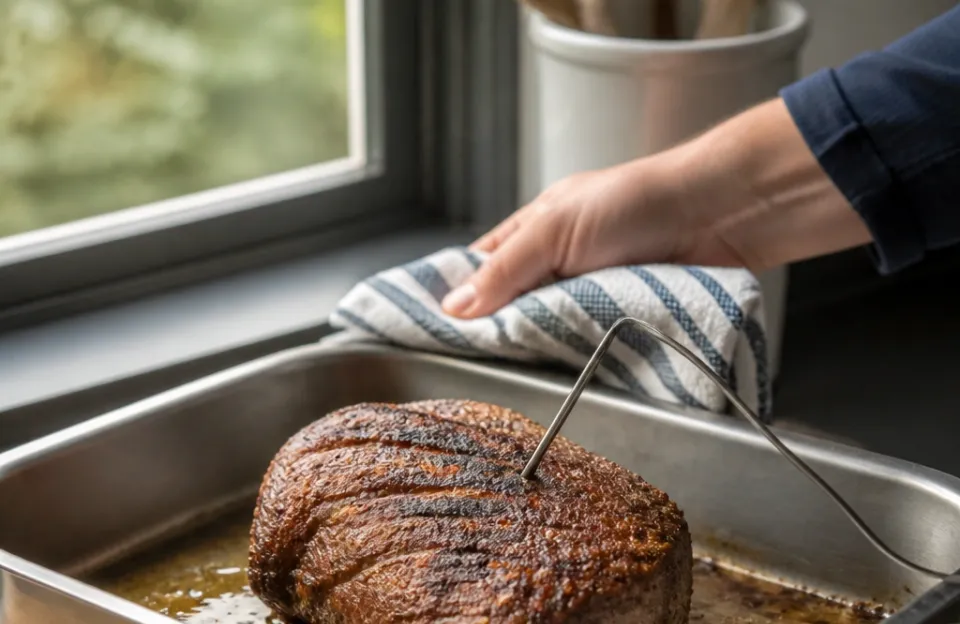
Meat does not stop cooking the second you take it out of the oven. The outer layers are significantly hotter than the center. Once the pan sits on the counter, that exterior heat drives inward.
This phenomenon is called carryover cooking, and it can raise the internal temperature by 5°F to 10°F depending on the size of the roast.
A massive prime rib or a whole turkey retains a tremendous amount of thermal energy. If you leave the probe in while the meat rests on the cutting board, you will watch the numbers climb. For large cuts that target 145°F, pull them from the oven when the thermometer reads 135°F to 140°F.
Tent the meat loosely with foil and let it rest for fifteen to twenty minutes. The residual heat pushes the center past the safe mark without drying out the exterior.
Small cuts like thin chicken breasts or pork chops have less mass. They lose heat faster than they generate carryover. With smaller items, pull them much closer to the actual target temperature.
Removing a thin chicken breast at 155°F expecting it to coast to 165°F often results in it cooling down to 158°F and stalling.
Understanding carryover heat is one reason many cooks prefer a wireless monitoring system that tracks the temperature continuously even after the pan leaves the oven. Watching the curve flatten out on a screen removes the guesswork from resting times.
Calibrating your thermometer with ice water
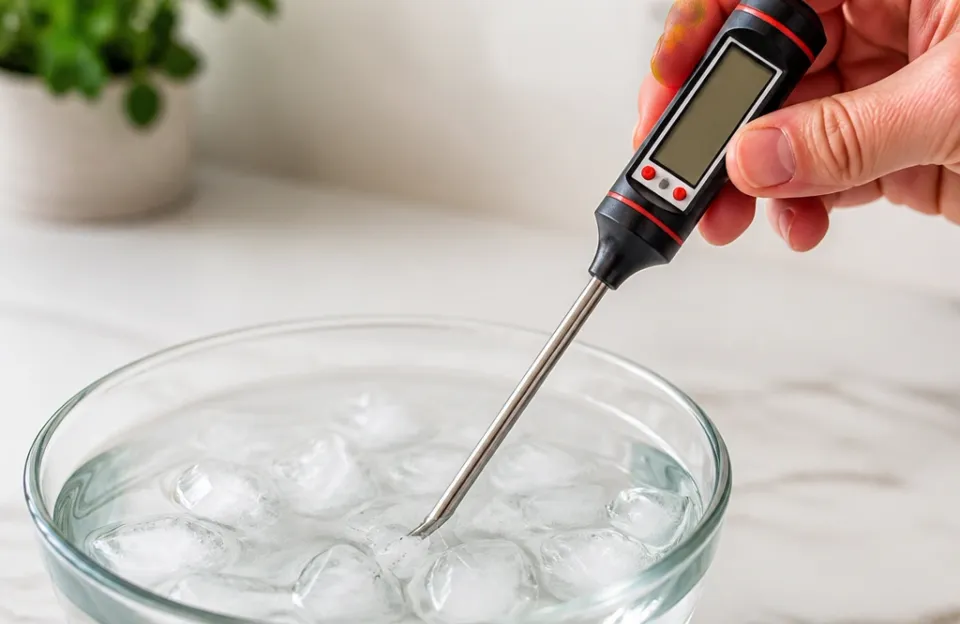
Thermometers drift over time. Dropping one on the floor, exposing it to extreme heat repeatedly, or simply aging electronics can shift the reading by several degrees. A five-degree error is the difference between medium-rare and medium-well, or worse, the difference between safe and unsafe poultry.
Test your calibration before any major holiday meal or expensive roast. Fill a tall glass completely with crushed ice. Add cold tap water until the glass is full to the brim.
Stir it and let it sit for two minutes. Submerge the probe tip into the ice slurry without letting it touch the bottom or sides of the glass.
The display should read exactly 32°F. If it shows 35°F or 29°F, your tool is inaccurate. Many digital models have a small calibration button or a reset sequence in the manual to correct this offset.
Analog dial thermometers usually have a hex nut directly under the face that you twist with pliers to align the needle.
If your device lacks a calibration option and reads incorrectly, replace it. Relying on a broken sensor defeats the purpose of learning how to use a meat thermometer in the oven. You can verify basic accuracy quickly with a standard digital probe before trusting it with a long braise.
Mistakes that ruin readings and damage equipment
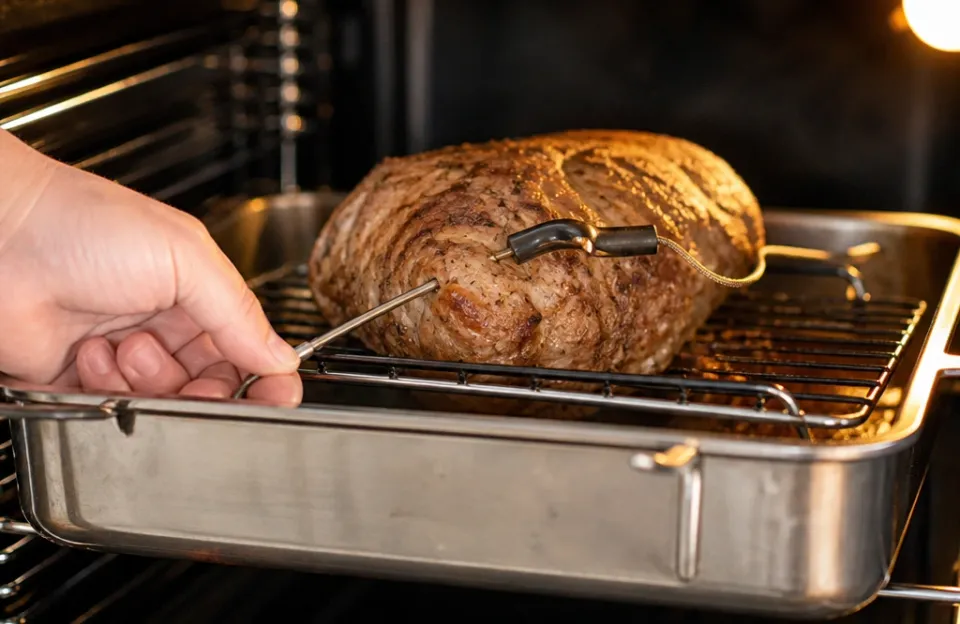
Even experienced home cooks make errors when managing probes in a hot oven. These specific issues cause the most problems.
- Touching the pan bottom. If the probe slides all the way through a thin piece of meat and rests against the metal roasting pan, it reads the pan temperature. Metal pans get much hotter than the meat itself. Your thermometer will tell you the chicken is done when it is still raw inside.
- Closing the oven door on a rigid glass tube. Old-school candy or deep-fry thermometers made entirely of glass cannot be shut inside an oven door. The glass shatters under the weight of the door. Stick to flexible braided cables or standard metal probes meant for roasting. If you are ever curious about swapping tools, check whether you can safely repurpose a candy thermometer before trying it in a roast.
- Ignoring low battery warnings. Digital displays fade or flash erratically when batteries die. A weak battery can cause the sensor to report sluggish or false numbers mid-roast. Change batteries before starting a long cook.
- Washing the base unit. The probe and cable are waterproof. The plastic display box containing the electronics is rarely submersible. Wipe the base with a damp cloth instead of running it under the sink.
- Trusting a single reading in uneven cuts. A whole chicken has thick thighs and thin wings. One probe placement does not represent the whole bird. Check multiple spots if you suspect uneven cooking.
Choosing between wired and wireless oven thermometers
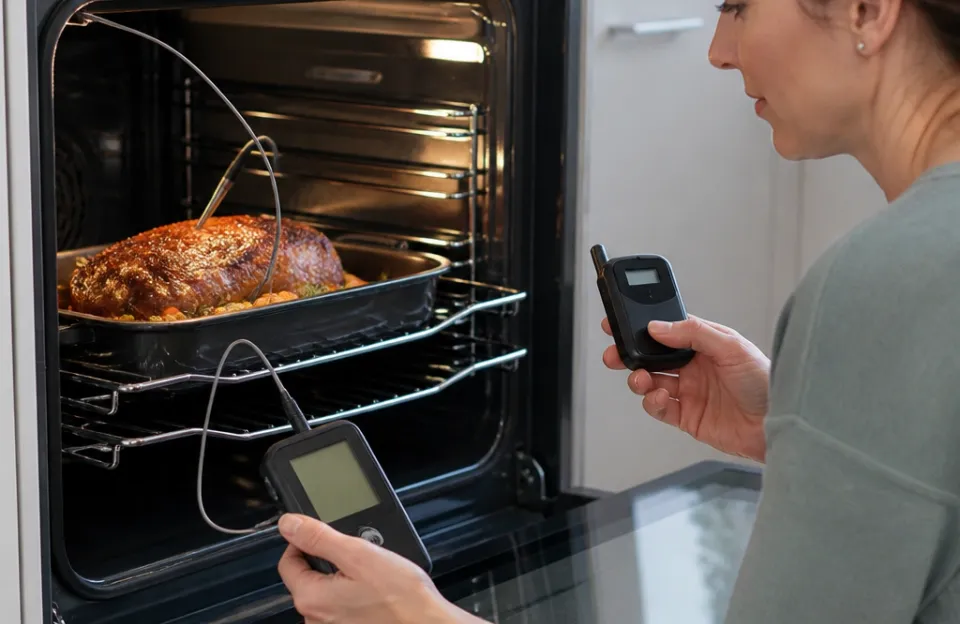
The market splits oven-safe thermometers into two main categories: wired models with a physical cable running out of the door, and truly wireless probes that transmit data via Bluetooth or Wi-Fi.
Wired models are generally cheaper and highly reliable because the physical connection never drops signal. You don't have to worry about pairing devices or interference from other kitchen appliances. The downside is the cable management.
Routing the wire safely through the door seal takes practice, and you are tethered to the length of the cord.
Wireless probes contain the transmitter inside the metal shaft itself. You insert the probe, close the oven door completely with no wires hanging out, and walk away with your phone or a dedicated receiver. This preserves the oven seal perfectly.
However, the internal electronics must withstand extreme heat. High-quality wireless probes use ceramic cores or specialized shielding to protect the battery and transmitter. Cheap versions fail rapidly under sustained roasting temperatures.
If you experience frequent dropouts with a wireless setup, troubleshooting the signal connection issues usually involves moving the receiver closer or removing obstacles between the oven and the display. Thick metal oven walls block radio frequencies heavily.
For those who want durability above all else, researching the longest-lasting build quality available helps narrow down options that survive years of high-heat exposure without drifting out of calibration.
Adapting the method for covered roasting and Dutch ovens
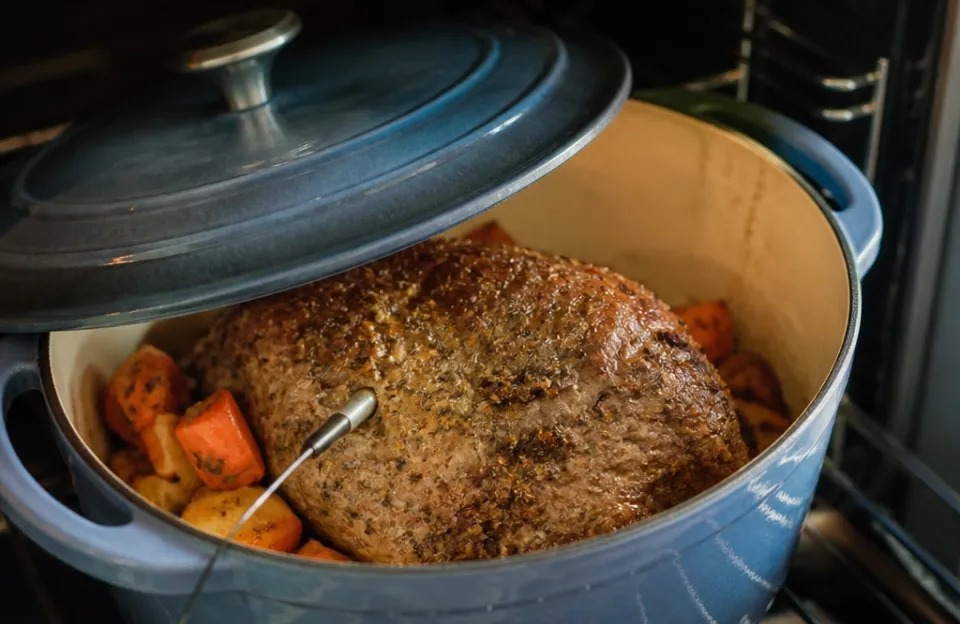
Cooking inside a lidded Dutch oven or wrapping a brisket tightly in butcher paper changes how you deploy the probe. The sealed environment traps steam and raises humidity, which affects heat transfer.
If you are braising a pot roast with the lid on, you can still run a wired probe through the gap between the pot rim and the lid. Position the lid slightly askew so it rests on the cable without cracking the enamel or crushing the wire. The heavy cast iron holds heat exceptionally well, so opening the lid to check manually causes a massive temperature drop inside the pot.
A leave-in probe is vastly superior here.
When wrapping ribs or pork shoulder in foil or paper during the "stall" phase of barbecue-style oven roasting, pierce the wrap directly with the probe. Push it through the paper and into the meat. Don't unwrap the package just to check the temperature, as releasing the trapped steam resets the cooking process and dries out the bark you spent hours building.
Frequently asked questions
Can I leave an instant-read thermometer inside the oven the whole time?
No. Instant-read thermometers are built for brief exposure. Their handles, screens, and internal batteries cannot survive prolonged ambient oven temperatures of 300°F or higher.
Leaving one inside will melt the plastic housing and permanently destroy the electronics. Only use tools specifically labeled as oven-safe or leave-in probes.
How deep should the probe go into a thick steak?
The sensing area is typically the bottom half-inch of the metal shaft. You need to push the probe deep enough so that this specific half-inch sits in the exact geometric center of the steak. For a two-inch thick ribeye, insert the probe about one inch deep from the side, aiming horizontally toward the middle.
Does the oven temperature affect how fast the thermometer reads?
Yes. Higher oven temperatures drive heat into the meat faster, meaning the internal temperature climbs more rapidly. However, the thermometer's response time, how quickly the screen updates to reflect the new temperature, remains constant based on its electronic design.
A fast-reading probe updates in seconds regardless of whether you roast at 250°F or 450°F.
Why does my thermometer show different numbers when I move it slightly?
Meat does not cook evenly from edge to center. The outer layers are always hotter than the core. If you push the probe in two inches, you might read 160°F.
If you pull it back half an inch, you hit a cooler zone and read 145°F. Always trust the lowest reading you find near the center, as that represents the least cooked portion of the meat.
Is it safe to put the thermometer probe in while the oven preheats?
It is better to insert the probe into the cold meat before putting the pan into the oven. Placing a cold metal probe into a fully heated 400°F oven can cause rapid thermal expansion. While most quality probes handle this fine, repeated thermal shock shortens their lifespan.
Put the meat and probe in together, then turn on the heat.
Keeping your roasts predictable every time
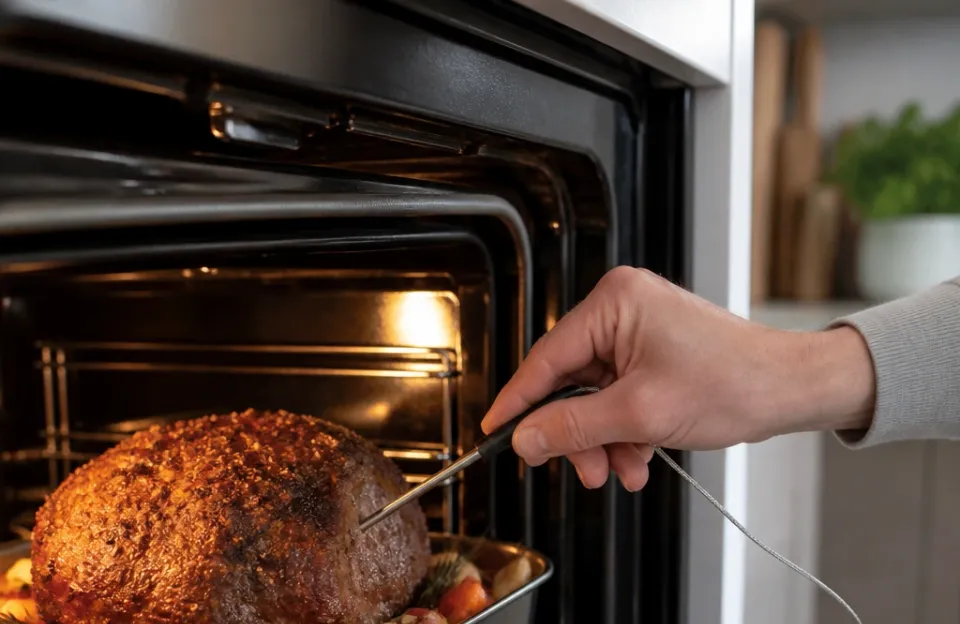
Learning how to use a meat thermometer in the oven removes the anxiety from cooking expensive cuts of meat. The technique relies on finding the thickest muscle, avoiding bones, and understanding that carryover heat finishes the job once the pan hits the counter. Whether you route a cable through the door seal or drop a wireless transmitter into a Dutch oven, the physics remain identical.
Track the center temperature accurately, respect the USDA safety minimums, calibrate your gear occasionally, and you will stop relying on luck to serve dinner.