For standard frozen fish sticks, set the air fryer to 400°F (200°C) and cook for about 8 to 12 minutes, flipping once halfway through. Start checking at the 8-minute mark; thinner sticks often finish at the low end, while thicker or battered pieces need closer to 12. Cooking times are a starting point, not a guarantee, because results shift with your appliance, the batch size and the specific product. For safety, fish should reach a minimum internal temperature of 145°F (63°C), and a food thermometer is the reliable way to confirm it.
Why Frozen Fish Sticks Cook So Fast
Air fryers work by circulating hot air at high speed around the food. That constant airflow crisps the breading on all sides much faster than a conventional oven, which is why a single layer of thin fish sticks can be done in under 10 minutes.
Most frozen fish sticks are pre-cooked by the manufacturer before freezing, so the home cook’s job is mostly to heat them through and crisp the coating. Not every brand follows the same process, so check the package: if it carries cooking instructions for a raw or uncooked product, follow those and confirm the internal temperature rather than relying on browning alone.
Timing by Stick Type and Coating
Product size changes the math more than most other factors. Mini sticks and standard thin sticks heat through quickly, while thick sticks, fillets and large battered pieces need extra minutes to reach a hot center. Use this table as a starting guide at 400°F, then adjust for your own air fryer:
| Fish Stick Type | Temperature | Time | Notes |
|---|---|---|---|
| Mini or kids’ size | 400°F | 6–8 minutes | Check at 6 minutes |
| Standard thin sticks | 400°F | 8–10 minutes | Flip halfway |
| Standard sticks (general range) | 400°F | 8–12 minutes | Flip or shake halfway |
| One common recipe baseline | 400°F | 9–11 minutes | Flip at 5 minutes |
| Thick sticks or fillets | 400°F | 10–13 minutes | Flip halfway |
| Large battered fillets | 400°F | 12–15 minutes | Flip halfway; check center |
| Gluten-free sticks | 390°F | 9–11 minutes | Lower temp protects delicate coating |
Two patterns stand out in that table. Thicker pieces sit at the top of the range, and gluten-free breading may do better at a slightly lower temperature because the coating is more fragile.
Preheating and Air Fryer Variability
Preheating is optional but helps with initial crispness. One recipe source recommends 2 minutes at 400°F and advises not skipping it, while another suggests 3 minutes. Modern basket-style air fryers typically heat up in about 2 minutes, and larger oven-style models may need 3 to 4. Some newer models run an automatic preheat cycle, so check your manual for the recommended time. Never preheat with food already in the basket.
If you skip preheating, expect to add a minute or two to the cook time. Appliance differences matter too: one source’s times are based on a 6-quart basket air fryer and note that smaller or more powerful models may crisp 1 to 2 minutes faster. Treat any published time as a first-batch test, then record what actually worked in your own machine.
Step-by-Step for Crispy Results
- Preheat to 400°F for 2 to 3 minutes if your model supports it.
- Arrange in a single layer with visible space between sticks so they do not touch.
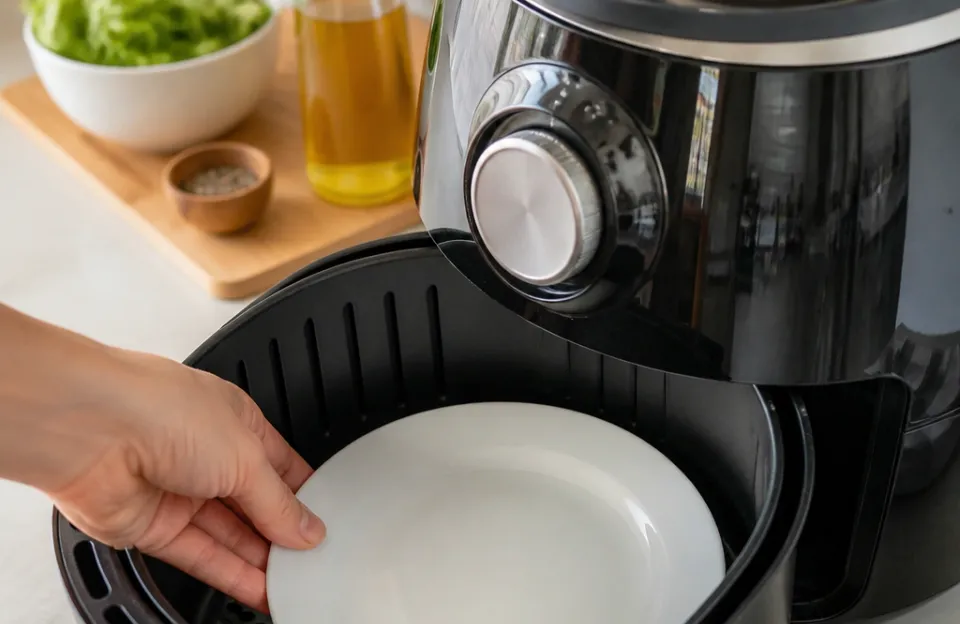
- Skip the parchment if you want a crisp bottom, since it reduces airflow underneath the food.
- Cook from frozen, flipping once at roughly the halfway point.
- Start checking early. Pull one stick at the low end of the range and test it.
- Batch larger loads. If the basket is crowded, cook in two rounds rather than stacking.
Flipping matters because the underside sits closest to the heating element and can brown unevenly. If your model has a shake function, a quick shake works as well as tongs for loose sticks.
Checking Doneness Safely
Visual cues such as golden-brown breading and a rigid, crisp exterior tell you the coating is done. They do not confirm that the center is safe, because color and texture are unreliable indicators of food safety, and a food thermometer is the only reliable way to check meat, poultry, seafood and egg products across all cooking methods.
Fish should reach a minimum internal temperature of 145°F (62.8°C). Federal guidance also describes fish as done when the flesh is no longer translucent and separates easily with a fork. For a fish stick, insert the thermometer into the thickest part of the fish center rather than the breading. If the product is pre-cooked, the thermometer check confirms it is properly heated through; if the package describes a raw product, treat 145°F as the minimum before serving.
If you want practical context on how the 145°F figure applies to fish, the USDA safe minimum temperature chart and the FoodSafety.gov minimum internal temperature guide both list it directly.
Troubleshooting Soggy, Cold or Burnt Fish Sticks
Soggy bottoms. The usual cause is blocked airflow: overcrowding, stacking, or parchment trapping moisture underneath. Cook a single layer with gaps and flip halfway.
Cold centers with browned outsides. The outside is cooking faster than the heat can penetrate, often because the pieces are thick or the basket is packed. Reduce the temperature slightly and extend the time, and confirm the center with a thermometer rather than guessing from the crust.
Burnt or dark breading. Thin sticks and powerful appliances can overshoot quickly. Start checking at the low end of the range, and remember that smaller or more powerful models may finish 1 to 2 minutes early.
Uneven browning. Sticks near the front or edges of the basket may cook faster. Shake or rearrange them at the flip, and keep the load loose enough for air to move freely.
Breading falling off. Avoid thawing before cooking; frozen sticks hold their coating better, and most sources instruct cooking straight from frozen. Handle them gently when flipping.
Adjusting for Different Types of Fish Sticks
Battered coatings behave differently from breadcrumb coatings. Large battered fillets need 12 to 15 minutes at 400°F with a center check, because the batter shell is thicker than a standard crumb coating. Gluten-free sticks are best started at 390°F for 9 to 11 minutes so the more delicate coating does not darken before the fish heats through.
Mini sticks are the easiest to overcook. At 6 to 8 minutes they can go from pale to overdone quickly, so check one at 6 minutes. Standard sticks sit in the middle of the range and are the most forgiving. If you are also cooking other frozen breaded foods, the airflow principles carry over: a single layer and a mid-cook flip do most of the work. The site’s guide to air fryer frozen fish sticks covers a similar 400°F approach in more detail, and the air fryer battered fish guide is useful if you move on to larger battered pieces.
Storage and Leftover Safety
Refrigerate or freeze leftovers within 2 hours of cooking, or within 1 hour if the outside temperature is above 90°F. Reheat them in the air fryer rather than the microwave to bring back some crispness, and check that the center is hot. Never thaw frozen fish sticks at room temperature; safe defrosting methods are the refrigerator, cold water or the microwave. In practice, though, there is no need to thaw at all for air frying.
Serving and a Final Decision
Fish sticks pair well with tartar sauce, lemon, ketchup or a simple yogurt-based dip, and they work in tacos, sandwiches or alongside fries and a green vegetable. For the cooking itself, keep one rule in mind: start at 400°F, check at the low end of the range for your stick size, flip once, and confirm 145°F with a thermometer when you want certainty. Adjust from there based on your own air fryer’s behavior, and the second batch will be more predictable than the first.