A coffee maker making weak coffee almost always points to one of three problems: water that never gets hot enough, a grind size that is too coarse, or a ratio with too much water for the amount of grounds. Fixing this takes about five minutes and rarely requires buying anything new. You just need to know which part of the process is failing.
Why Your Coffee Maker Is Making Weak Coffee
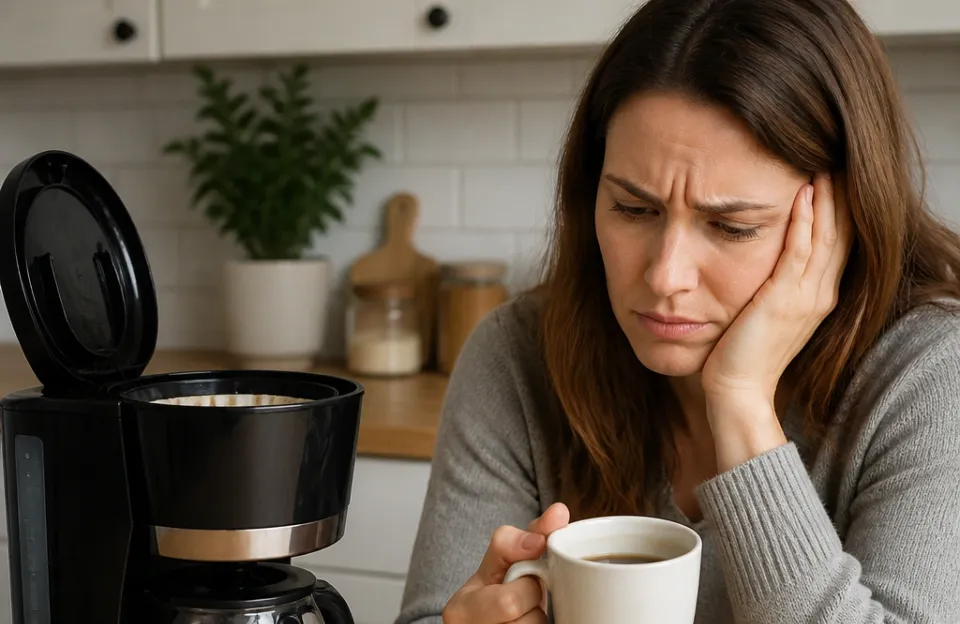
Weak coffee happens when water fails to pull enough flavor from the grounds. That extraction depends on heat, time, surface area, and the amount of coffee you start with. When any single factor falls short, the whole cup tastes thin.
Most automatic drip machines brew by heating water in a tank and pushing it through a showerhead over the filter basket. If the heating element wears out or mineral buildup blocks the flow, the water arrives at the grounds too cool or too fast. The result is a pale, watery cup that lacks body.
Understanding how your specific machine works helps you isolate the problem. If you have been looking into different brewing setups recently, you already know that pressure and temperature control vary wildly between machine types. Drip brewers rely entirely on gravity and a basic thermostat, which makes them vulnerable to scale buildup and worn parts.
The Water Temperature Problem
Coffee extracts best when water hits the grounds between 195°F and 205°F (90°C to 96°C). This range dissolves the oils and sugars that give coffee its body. Below 195°F, the water only pulls out acids and light compounds.
The cup tastes sour, flat, and weak.
Older machines often lose their ability to reach this range. The heating element degrades over years of use. A machine that is five or six years old might only heat water to 180°F.
You will not see this on the outside, but you will taste it immediately.
You can check this yourself without special tools. Run a brew cycle with no coffee in the basket. Catch the water in the carafe as it comes out of the showerhead.
Use a standard kitchen thermometer to measure the temperature right away. If it reads below 195°F, your machine cannot extract properly.
Mineral scale inside the water tubes acts as an insulator. It traps heat before the water reaches the top. This is why a machine that used to brew strong coffee slowly starts producing weaker cups over several months.
The heating element is working, but the heat never fully transfers to the water.
Grind Size Matters More Than You Think
Pre-ground coffee from the grocery store is usually ground for a medium setting. But "medium" varies between brands. Some are closer to coarse sand, which is meant for French presses.
If you put coarse grounds in a paper filter, the water flows straight through them.
When water passes through coffee too quickly, it does not spend enough time touching the particles. Extraction drops. You get a full pot of lightly tinted water instead of actual coffee.
For a standard drip machine, the grounds should look like table salt. Rub a pinch between your fingers. If you feel distinct, gritty chunks, the grind is too coarse.
If it feels powdery and clumps together, it is too fine and will cause bitter over-extraction or clog the filter.
Blade grinders chop beans unevenly. You end up with large boulders and fine dust in the same batch. The water rushes past the boulders and stalls in the dust.
The resulting cup is both weak and bitter at the same time. A burr grinder produces uniform pieces, which allows water to extract evenly across the entire bed of coffee.
If you buy pre-ground coffee, look for bags labeled specifically for automatic drip machines. Avoid anything marked for French press or cold brew, as those are ground far too coarsely for a paper filter system.
Getting the Coffee-to-Water Ratio Right
The standard starting point for drip coffee is two level tablespoons of ground coffee for every six ounces of water. Many people guess this ratio. They scoop less coffee than they think, or they fill the water reservoir to the maximum line without adding enough grounds.
A common mistake is reading the lines on the carafe as "cups." A coffee maker "cup" is usually five or six ounces, not eight. If you fill the water tank to the 10-cup line, you are pouring 50 to 60 ounces of water. You need roughly 10 to 12 tablespoons of coffee for that volume.
Using four scoops for a full pot guarantees a weak result.
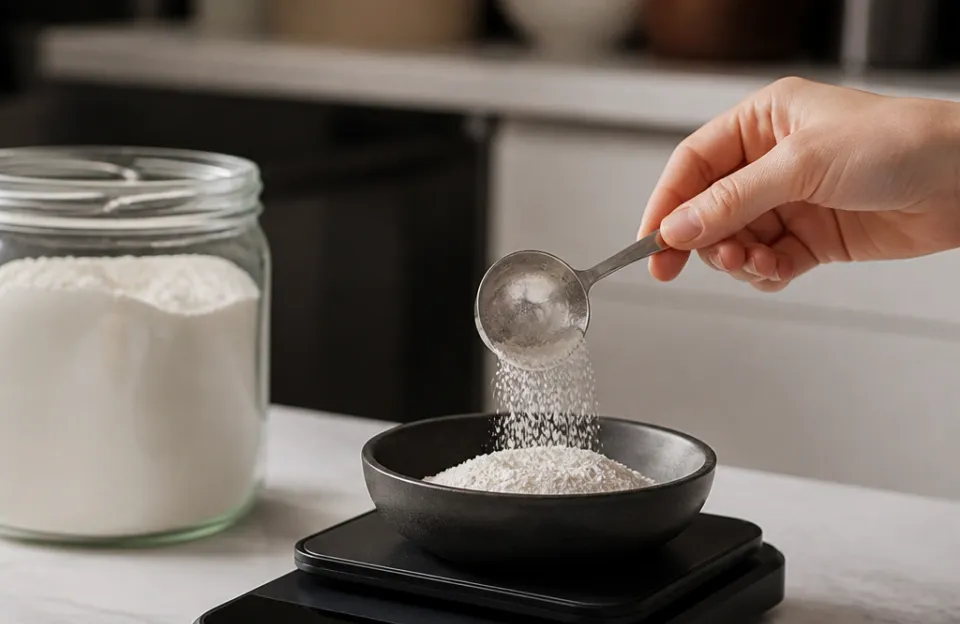
Weighing your coffee removes all guesswork. A digital kitchen scale costs very little and changes everything. The golden ratio by weight is 1 gram of coffee to 15 to 18 grams of water.
For a standard 12-ounce mug, that means about 20 to 24 grams of coffee.
| Water Volume | Coffee (Tablespoons) | Coffee (Grams) |
|---|---|---|
| 6 oz (1 small cup) | 2 | 10 to 12g |
| 12 oz (1 large mug) | 4 | 20 to 24g |
| 30 oz (5-cup mark) | 10 | 50 to 60g |
| 60 oz (10-cup mark) | 20 | 100 to 120g |
If you prefer strong coffee, move toward the 1:15 ratio. If you like it milder but still flavorful, stick to 1:18. Going beyond 1:18 usually results in a hollow, tea-like drink.
Stale Beans Produce Flat Coffee
Coffee beans lose their volatile aromatic compounds quickly after roasting. Once you open a bag, oxygen begins breaking down the oils that provide flavor and body. Ground coffee stales even faster because more surface area is exposed to the air.
If your bag of coffee has been sitting open on the counter for a month, no amount of extra scoops will fix the weakness. The soluble material that creates flavor is simply gone. The water washes over dead grounds and produces a thin, papery liquid.
Buy whole beans in amounts you can finish within two weeks. Store them in an opaque, airtight container at room temperature. Keep them away from the stove, the oven, and direct sunlight.
Heat accelerates the staling process.
Avoid storing daily coffee in the freezer. Taking the bag in and out introduces condensation. Moisture ruins the cellular structure of the bean and dulls the flavor permanently.
Only freeze coffee if you are storing a bulk supply for longer than a month, and portion it into sealed bags first so you never thaw and refreeze the same beans.
Mineral Buildup Chokes the Flow
Hard water leaves calcium and magnesium deposits inside the aluminum or copper tubing of your machine. Over time, these deposits narrow the path the water travels through. The pump has to work harder, and the water often sprays unevenly from the showerhead.
Instead of raining gently over the entire bed of coffee, the water shoots out in one or two heavy streams. It drills a hole straight through the center of the grounds. The coffee on the edges stays completely dry.
You end up over-extracting the middle and under-extracting the rest. The overall cup tastes weak and slightly metallic.
Descaling fixes this. You need to dissolve those mineral deposits every one to three months, depending on how hard your tap water is. White vinegar works, but it leaves a lingering smell that takes multiple rinse cycles to clear.
Citric acid powder or commercial descaling solutions break down calcium faster and rinse away cleanly.
To descale with citric acid, mix one tablespoon per quart of water. Pour it into the reservoir. Run half the brew cycle.
Turn the machine off and let the solution sit inside the tubes for thirty minutes. Turn it back on and finish the cycle. Follow this with two full cycles of plain fresh water to flush the system.
Keeping your appliances free of mineral buildup applies across your kitchen. Just as you would maintain proper airflow and cleanliness in other countertop devices to prevent odd flavors, a clean internal pathway is non-negotiable for good coffee.
Dirty Filters Block Proper Extraction
Paper filters are designed for a single use. Reusing them traps old oils and blocks water flow. But even fresh paper filters can cause issues if you do not rinse them first.
Dry paper filters hold a slight woody taste. They also repel water initially, causing the first bit of hot water to channel around the edges rather than soaking evenly through the coffee. Wet the paper filter with hot water before adding your grounds.
Swirl the water around the basket, then dump it out. This removes the paper taste and helps the filter stick to the walls of the basket, promoting an even flow.
Permanent mesh filters collect coffee oils over time. These oils turn rancid and build up a sticky film that clogs the microscopic holes in the metal mesh. When the mesh clogs, water pools above the grounds and drains too slowly, or it finds a single gap and rushes through.
Wash permanent filters with warm water and dish soap after every single use. Once a week, soak them in a mixture of hot water and baking soda to dissolve trapped oils.
How the Showerhead Distributes Water
Look inside the top of your coffee maker where the water drips out. Most machines have a plastic disc with several small holes. This is the showerhead.
Its job is to spread water evenly across the coffee bed.
On cheaper models, or older machines, the holes might be unevenly sized or partially blocked by scale. If water only drips from the center hole, you get what is called channeling. The water digs a trench through the middle of the grounds.
The coffee on the outer edges of the filter never gets wet.
You cannot extract flavor from dry grounds. If half your coffee stays dry, your final cup is exactly half as strong as it should be.
Clean the showerhead by wiping it with a damp cloth and a soft brush. If you see white crust around the holes, run a descaling cycle immediately. Some higher-end machines have removable showerheads that snap off for easy soaking.
If yours does not come off, tilt the machine carefully and use a cotton swab dipped in vinegar to clear each hole.
Quick Troubleshooting Checklist
If you want to fix your coffee maker making weak coffee today, follow these steps in order. Each one addresses a specific failure point.
- Check your ratio. Measure your water and weigh your coffee. Use 1 gram of coffee for every 15 to 18 grams of water. Stop guessing with the provided scoop.
- Inspect the grind. Rub the grounds between your fingers. If they feel like coarse sea salt, switch to a finer setting. Aim for the texture of table salt.
- Test the water temperature. Brew plain water into the carafe and use a thermometer. If it is under 195°F, descale the machine. If it remains under 195°F after descaling, the heating element is failing.
- Descale the interior. Run a citric acid or commercial descaling solution through a full cycle. Flush twice with clean water.
- Rinse your filter. Always wet a paper filter before adding coffee. Scrub permanent mesh filters with soap to remove oil buildup.
- Check the showerhead. Look for blocked holes. Clear them with a pin or a cotton swab soaked in vinegar.
- Evaluate your beans. Smell the coffee before brewing. If it lacks a strong aroma, the beans are stale. Buy a freshly roasted bag.
When It Is Time to Replace the Machine
Sometimes the problem is terminal. Heating elements in budget drip coffee makers typically last three to five years with daily use. Once the element degrades, the machine will never reach the proper temperature again.
Descaling will not fix a broken heater.
If you have verified the water temperature is consistently below 190°F, and descaling did not improve it, the machine is done. Continuing to use it will only waste your coffee beans.
When shopping for a replacement, look for machines certified by the Specialty Coffee Association (SCA). These models are tested to prove they reach and maintain the 195°F to 205°F range during the entire brew cycle. They also feature showerheads designed to saturate the grounds evenly.
SCA-certified brewers cost more upfront, but they extract properly from day one.
Pay attention to the carafe type as well. Glass carafes sitting on a hot plate continue to cook the coffee after brewing. This destroys delicate flavors and leaves a burnt, flat taste that mimics weakness.
Thermal carafes keep the coffee hot without applying direct heat, preserving the body and strength of the brew.
Replacing a worn-out appliance is a normal part of kitchen upkeep. Whether you are upgrading because your current brewer is failing or simply choosing the right size for your counter space, matching the equipment to your daily habits prevents frustration.
Choosing the Right Replacement Brewer
If your troubleshooting confirms the machine is dead, picking the right replacement stops this cycle from repeating. Budget matters, but so does thermal stability. Cheap machines save money on day one but cost more in wasted beans and early replacements.
Machines with a thermal carafe generally protect flavor better than glass ones sitting on a warming plate. The constant heat from a warming plate breaks down aromatic compounds rapidly, leaving a flat taste that many people mistake for weak brewing.
Before buying, verify the water reservoir capacity matches your actual daily consumption. Filling a 12-cup machine to brew only 4 cups often leads to poor water distribution over the grounds. If you usually drink one or two mugs, a smaller brewer or a single-serve setup will extract more efficiently.
If you decide to replace your brewer, here are three reliable categories to consider based on typical needs. Always check the manufacturer specifications for the latest version of these models, as designs update frequently.
Technivorm Moccamaster (SCA-Certified Drip)
This is the standard for home drip brewing. It uses a copper heating element that holds water strictly in the 195°F to 205°F range. The showerhead distributes water evenly across the entire basket.
It lasts for years, and individual parts are replaceable. The main limit is the price, which sits significantly higher than standard department store brands. It also lacks programmable timers on most base models.
Skip it if you need to wake up to a pre-set brew time.
Check current price on Amazon
Bonavita Connoisseur (Thermal Carafe Brewer)
A strong option if you want SCA-level extraction without the highest price tag. It features a powerful heater and a stainless steel thermal carafe that stops the cooking process immediately after brewing. The pre-infusion mode wets the grounds briefly before the full pour, which improves extraction.
Its limitation is the build quality of the exterior plastics, which feel lighter than premium competitors. Skip it if you prefer a heavy, all-metal exterior.
Check current price on Amazon
OXO Brew 8-Cup (Compact Precision Brewer)
Ideal for smaller kitchens or people who brew fewer than 40 ounces at a time. It meets SCA standards and includes a silicone mixing tube that agitates the coffee in the carafe for even flavor. The single-dose capability is excellent for avoiding the weak batches that happen when you brew small amounts in large machines.
The limit is the water reservoir size; it cannot handle brewing for a large group all at once. Skip it if you regularly serve more than four people simultaneously.
Check current price on Amazon
Maintaining Kitchen Equipment for Better Results
Fixing a coffee maker making weak coffee is mostly about understanding how water interacts with organic material. The principles of heat transfer, scale prevention, and regular cleaning apply to almost every appliance in your home.
Scale buildup does not just ruin coffee. It coats the heating elements of kettles, irons, and steamers. Using filtered water extends the life of any device that heats tap water.
If your local water is particularly hard, a simple pitcher filter reduces the mineral load before the water ever enters the machine's reservoir.
Routine maintenance prevents sudden failures. Wiping down baskets, clearing showerheads, and running descaling solutions should be scheduled tasks rather than emergency reactions. Setting a reminder on your phone for the first of every month keeps this manageable.
Proper storage of consumables plays an equal role. Keeping coffee beans away from heat sources, like the top of the refrigerator or next to the oven, preserves their soluble oils. The same logic applies to spices and teas.
Air, light, and heat degrade organic flavor compounds universally.
Paying attention to how your equipment handles food and liquids prevents cross-contamination of flavors. Cleaning protocols matter everywhere. For example, knowing which materials are safe for high-heat applications in your other appliances ensures you are not introducing unwanted chemical tastes into your meals or drinks.
Frequently Asked Questions
Can using a paper filter make my coffee weak?
Yes, if you use the wrong size or fail to rinse it. A filter that folds over itself blocks water flow, causing the water to bypass the coffee grounds. Always rinse paper filters with hot water before brewing to remove paper dust and help the filter adhere flat against the basket walls.
Does soft water make weak coffee?
Softened water can produce a flat-tasting cup. Water needs some mineral content, specifically magnesium and calcium, to bind with flavor compounds in the coffee. Completely demineralized or heavily softened water struggles to extract properly.
If you have a whole-house softener, try using bottled spring water for your coffee to see if the strength improves.
Why is my coffee weak only in the morning?
If your machine sits idle overnight, the water in the internal tubes cools completely. The first few seconds of the brew cycle push cold water through the grounds before the heater catches up. Running a blank cycle with just water before adding coffee warms the internal components and stabilizes the brewing temperature.
Will adding more coffee grounds damage my machine?
Adding slightly more coffee will not harm the machine, but overfilling the basket causes problems. If the grounds swell and block the water from draining, the basket will overflow. Hot water and wet grounds will spill onto the warming plate.
Stick to the recommended ratio and adjust your grind size instead of piling in excessive scoops.
How often should I descale my coffee maker?
Descale every one to three months. If you use unfiltered tap water in an area with hard water, aim for once a month. If you use filtered water, every three months is usually sufficient.
Visible white crust around the showerhead or a noticeably slower brew cycle means you have waited too long.
Getting strong coffee from an automatic drip machine relies on physics, not luck. Clean water pathways, correct temperatures, fresh beans, and precise ratios solve almost every case of a coffee maker making weak coffee. Measure your inputs, clean the hardware, and the output will take care of itself.
As an Amazon Associate, we earn from qualifying purchases.