Ever found yourself double-checking your thermometer’s reading, especially when cooking or during important tasks? Sometimes that little device can drift, leading to guesswork. Understanding what tool you actually need to calibrate it is key to getting reliable temperatures every single time.
It’s less about finding a single gadget and more about using the right reference points.
Our research indicates that most home and kitchen calibrations rely on simple, accessible standards rather than specialized equipment. For instance, manufacturer specifications for many digital food thermometers suggest calibration at 32°F (0°C) using an ice point check. This straightforward approach ensures your thermometer is reading accurately under common conditions.
Let’s break down what that really means and what you’ll need.
Quick Answer: Your “Tool” is Likely a Reference Point, Not a Single Gadget
The most common “tool” for calibrating a thermometer isn’t a single purchase. Instead, it’s a reliable reference point like an ice water bath or boiling water. For digital models, you might use the thermometer’s own adjustment setting.
For dial thermometers, a small wrench or pliers helps turn an adjustment nut. The idea is to compare your thermometer to a known standard temperature.
Why Thermometer Accuracy Matters for Food Safety
Inaccurate temperature readings can lead to serious health risks. When you’re cooking meat, poultry, or fish, hitting the right internal temperature is non-negotiable for killing harmful bacteria like E. coli and Salmonella. For example, the U.S.
Food and Drug Administration (FDA) recommends that ground meat reaches an internal temperature of 160°F (71°C) to be safe for consumption. An uncalibrated thermometer might show 160°F when the actual temperature is still too low, increasing the chance of foodborne illness. Beyond safety, an accurate thermometer ensures your food is cooked perfectly, avoiding dry, overcooked meals or undercooked, risky ones.
Understanding Your Thermometer: The First Step in Calibration
Before you can calibrate, you need to know what kind of thermometer you’re working with. This dictates the method and the “tools” you’ll use. Most common thermometers fall into a few categories: digital, dial, oven, and infrared.
Each has its own quirks.
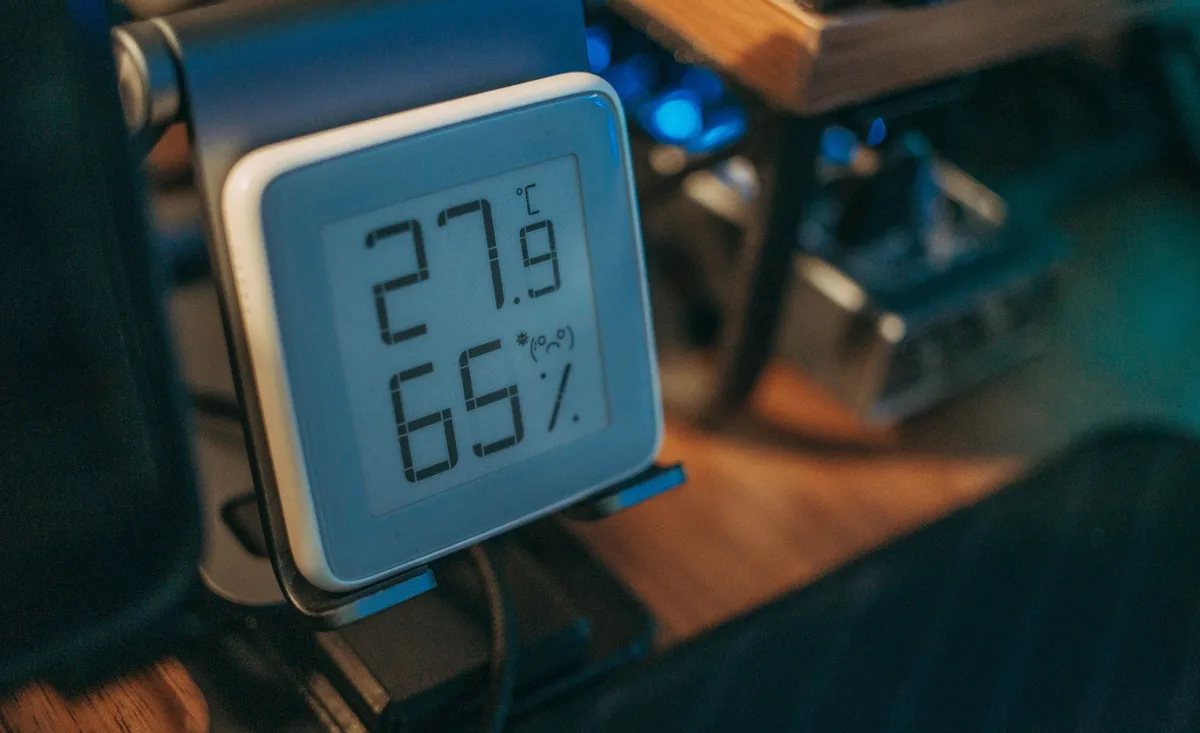
Image source: Pexels / FOX ^.ᆽ.^= ∫ (Pexels License)
Digital thermometers often have buttons to adjust or re-zero them. Dial thermometers usually have a small adjustment nut on the back or stem. Oven thermometers are typically passive and compared against a known standard inside the oven.
Infrared thermometers, used for quick surface readings, often require professional calibration or have specific user-initiated recalibration sequences defined by the manufacturer.
Digital vs. Dial: How They Differ and Affect Calibration
Your thermometer’s display style significantly impacts how you calibrate it. Digital thermometers often offer a more straightforward recalibration process. Manufacturers frequently build in a specific function where you can hold a button while the probe is in a known temperature (like 32°F) to reset or adjust its reading.
Aggregate reviews show that models with this feature are generally easier for home users.
Dial thermometers, on the other hand, typically require a small physical adjustment. Look for a small nut or screw, usually located near the dial face or where the probe enters the housing. This nut allows you to physically move the dial to the correct temperature.
While effective, this method can feel a bit more hands-on and sometimes requires a small tool like pliers to turn, as the nut can be tiny.
The Ice Water Bath: Your Go-To “Tool” for Home Calibration
For most household thermometers, particularly kitchen ones, an ice water bath is your primary calibration “tool.” It provides a stable, easily reproducible temperature of 32°F (0°C) at sea level. This is your benchmark for ensuring the thermometer is reading accurately at freezing point. This method is widely recommended because it’s simple, requires common household items, and directly addresses a critical calibration point.
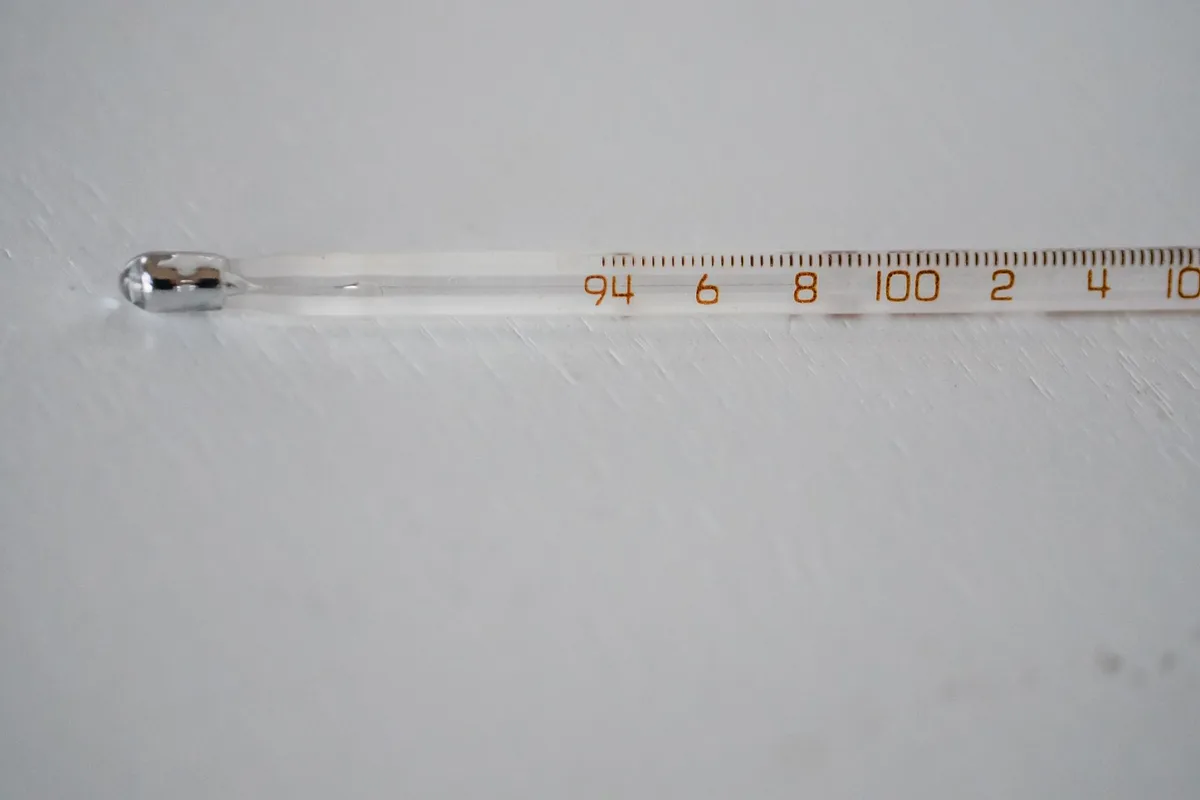
Image source: Pexels / Jessica Lewis 🦋 thepaintedsquare (Pexels License)
To perform this calibration, you’ll need a container, crushed ice, and cold water. The goal is to create a mixture where the ice is suspended in water, ensuring the coldest possible temperature that still remains liquid. This reliable reference point is crucial for validating your thermometer’s accuracy.
How to Prepare and Use an Ice Water Bath Accurately
Creating the perfect ice bath is surprisingly simple. Start by filling a sturdy glass or bowl about two-thirds full with crushed ice. Add cold tap water until the container is nearly full, leaving a little room at the top.
Stir vigorously for about 30 seconds. This process cools the water down to near its freezing point. Let the mixture sit for another minute or two for the temperature to stabilize.
You want the thermometer’s probe to be fully submerged in the slushy mixture, ensuring it’s not touching the sides or bottom of the container.
Boiling Water: Another Key Reference Point
While the ice bath covers the lower range, boiling water serves as a critical reference point for higher temperatures. At sea level, water boils at a consistent 212°F (100°C). This is crucial for calibrating thermometers used for canning, candy making, or even checking oven accuracy at higher settings.
However, altitude significantly impacts boiling temperature. For every 500 feet (approx. 152 meters) of elevation above sea level, the boiling point of water decreases by about 1°F (0.56°C). For example, at 5,000 feet, water boils closer to 203°F (95°C).
Why Altitude Matters for Boiling Point Calibration
If your thermometer is designed for or will be used at a significant altitude, ignoring this factor means your calibration will be off. For precise calibration using boiling water, you need to know your local boiling point. You can find charts online or use a local boiling point calculator.
This compensated boiling point becomes your target for adjustment. If your thermometer has a two-point calibration feature, checking both the ice bath and the correct boiling point at your altitude is essential for maximum accuracy.
Adjusting Your Thermometer: When Readings Are Off
If your thermometer’s reading in the ice bath isn’t exactly 32°F (0°C), it needs adjustment. For digital thermometers with an adjustment function, this is where you use it. Consult your thermometer’s manual for specific button sequences.
Typically, you’ll hold down a “Calibrate” or “Mode” button while the probe is in the ice bath until the display changes. For dial thermometers, you’ll need a small tool, like needle-nose pliers or a small wrench, to carefully turn the adjustment nut on the back or stem. Turn the nut until the needle points precisely to 32°F.
Doing a Boiling Point Check: What to Expect
After checking or adjusting at the ice point, a comprehensive calibration involves checking the boiling point. Prepare a pot of water and bring it to a rolling boil. If you’re at sea level, the target is 212°F (100°C).
If you’re at a higher altitude, you’ll need to know the adjusted boiling point for your region. Ensure the thermometer probe is submerged in the boiling water but not touching the bottom of the pot. Wait for the reading to stabilize.
This step is especially critical for thermometers used in candy making or canning.
How to Adjust for High Altitude Boiling
If you’re calibrating at a higher altitude using boiling water, you’ll need to perform a quick online search for “boiling point calculator by altitude.” Input your approximate elevation to find your local boiling point. For instance, at 3,000 feet above sea level, water boils around 208°F (97.8°C). Your thermometer should ideally be able to be adjusted to this specific temperature if it offers a two-point calibration function.
If it doesn’t, you’ll need to mentally adjust your readings by the difference between 212°F and your local boiling point.
How Often Should You Calibrate?
The frequency of calibration depends on how you use your thermometer and its quality. For essential food safety tasks, recalibrating every few months or whenever you suspect an issue is a good practice. If you use your thermometer frequently, or if it’s been dropped or exposed to extreme temperatures, calibrating it more often is wise.
Higher-end, laboratory-grade thermometers might require calibration annually by a professional service to maintain their NIST-traceable accuracy. For general kitchen use, a quick ice-bath check every 3-6 months is usually sufficient.
Common Calibration Mistakes to Avoid
One common mistake is not using enough ice in the ice bath. If the water isn’t cold enough, your calibration reading will be inaccurate. Another error is not letting the thermometer’s reading stabilize in the ice bath or boiling water; rushing this step leads to false adjustments.
Forgetting to account for altitude when checking boiling water is also a frequent oversight. Finally, using a thermometer that is physically damaged or has a visibly loose probe means it likely cannot be calibrated effectively and should be replaced.
When to Consider Professional Calibration
While home calibration methods are effective for most kitchen and general-purpose thermometers, some situations call for professional help. If your thermometer is used for critical scientific research, medical applications, or you require certified traceability to national standards (like those from NIST), DIY calibration isn’t enough. Professional calibration services use highly accurate, certified reference instruments in controlled environments to ensure the utmost precision.
Aggregate reviews suggest professional services can be costly but are essential for high-stakes applications where even slight deviations could have serious consequences.


