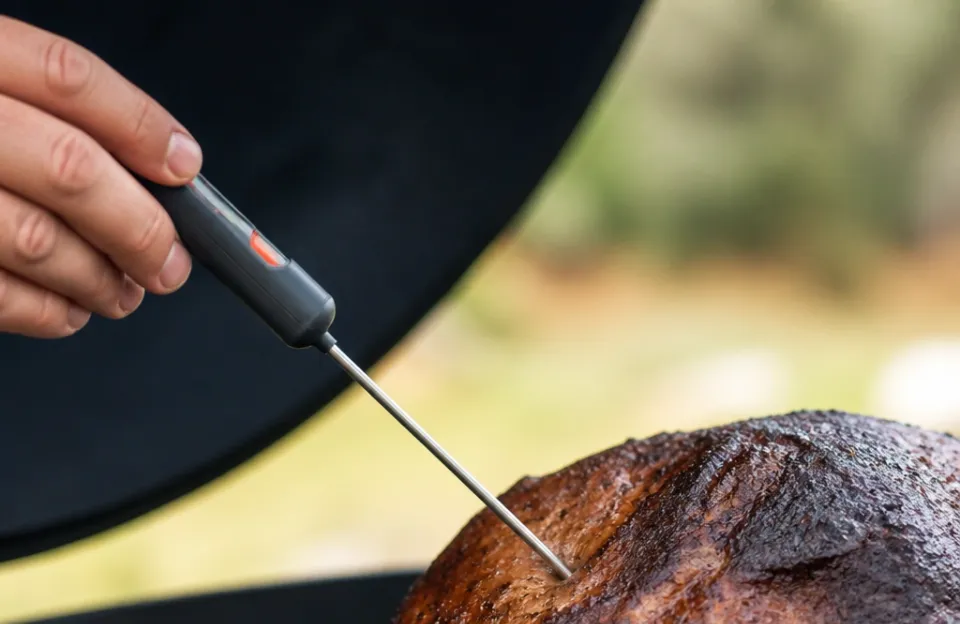
Knowing how to use a meat thermometer on a grill takes the guesswork out of cooking outdoors. You insert the probe into the thickest part of the meat, wait for the reading to stabilize, and compare it against safe internal temperatures. The whole process takes under ten seconds with a good instant-read model.
Grilling introduces variables you don't deal with on a stovetop. Flare-ups, uneven heat zones, and wind all change how fast food cooks. Relying on color or touch leaves too much room for error.
A thermometer gives you an exact number every time. This guide walks through where to place the probe, which temperatures to aim for, and how to handle different cuts without losing heat from your grill.
Tools That Work Best Over Open Flames
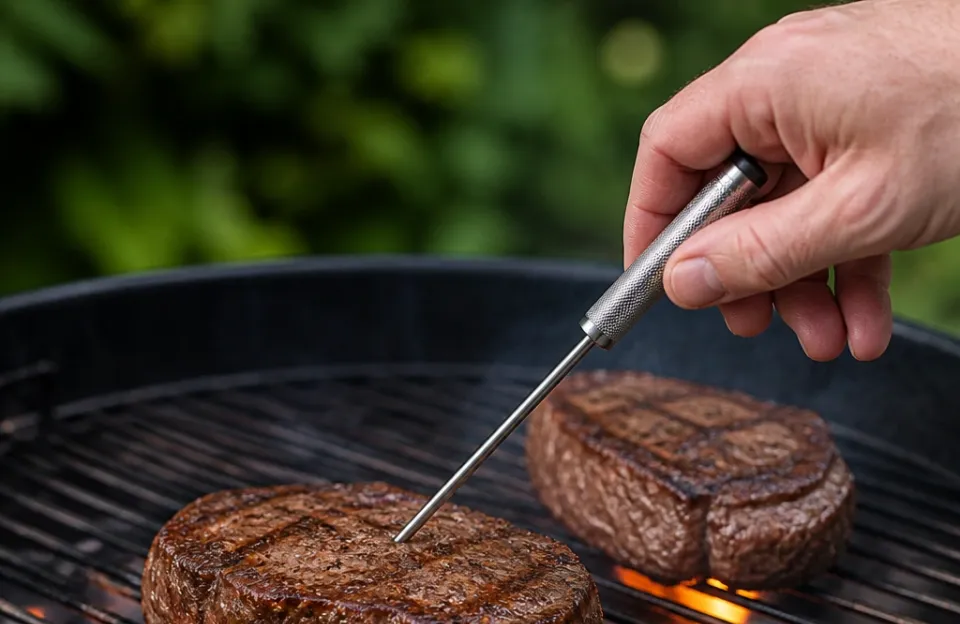
You need a thermometer that reads fast and handles high ambient heat. Instant-read digital thermometers are the standard choice for grilling. They give you a temperature in two to five seconds.
That speed matters because you want the grill lid open for as little time as possible. Every second the lid stays up lets heat escape and drops the cooking temperature.
Leave-in probe thermometers work well for large cuts like brisket or pork shoulder. These stay inside the meat while it cooks. The probe connects to a base unit outside the grill via a heat-resistant cable or wireless signal.
You can monitor the temperature without lifting the lid at all. If you've dealt with a dropped wireless signal during a long smoke, you know how frustrating connection issues get near heavy metal grates.
Infrared laser guns have a specific role on the grill, but they don't replace a probe. An infrared thermometer only reads surface temperature. It tells you how hot your grates are or whether your two-zone fire is set up correctly.
It cannot tell you if the center of a chicken breast is cooked through. Use it to manage your fire, and use a probe to check your food.
| Thermometer Type | Speed | Best Grill Application | Limitation |
|---|---|---|---|
| Instant-read digital | 2 to 5 seconds | Quick checks on burgers, steaks, chicken | Requires opening the lid |
| Leave-in probe | Continuous | Brisket, whole turkey, pork shoulder | Cable can melt if touching hot metal |
| Infrared gun | Instant | Checking grate temp, mapping heat zones | Only reads surface temperature |
Where to Insert the Probe for an Accurate Reading
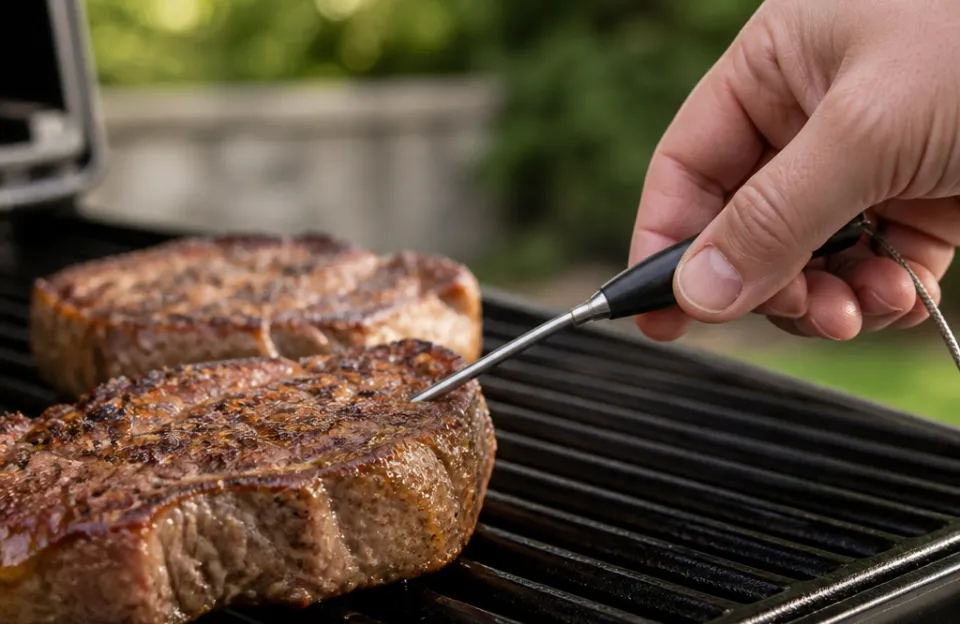
Placement determines whether your reading is accurate or completely wrong. The goal is always to measure the thermal center of the meat. That is the spot furthest from the surface, which heats up last.
If the thermal center reaches your target temperature, the rest of the cut is done too.
For thick cuts like pork chops, steaks, or chicken breasts, insert the probe through the side rather than the top. Push the tip toward the exact middle. Many people poke straight down from the top, which makes it easy to push the probe right through the bottom and hit the hot grill grate.
Hitting the grate gives you a false reading that spikes instantly. Going in from the side gives you more control over depth.
Bone conducts heat differently than muscle tissue. If your probe touches bone, the reading will skew. Bone heats faster than the surrounding meat, so you might pull a chicken thigh off the grill thinking it's done when the flesh next to it is still raw.
Always aim for the thickest pocket of meat and steer clear of bones, fat caps, and gristle. Fat insulates and doesn't reflect the true temperature of the muscle fibers.
Thin cuts present a challenge. Burgers less than half an inch thick cool down the moment you take them off the heat. Slide the probe horizontally into the edge of the patty, pushing it toward the center.
You only need the sensing area of the probe buried in the meat. Most digital models have a sensing zone about half an inch from the tip.
Target Temperatures for Common Grill Proteins
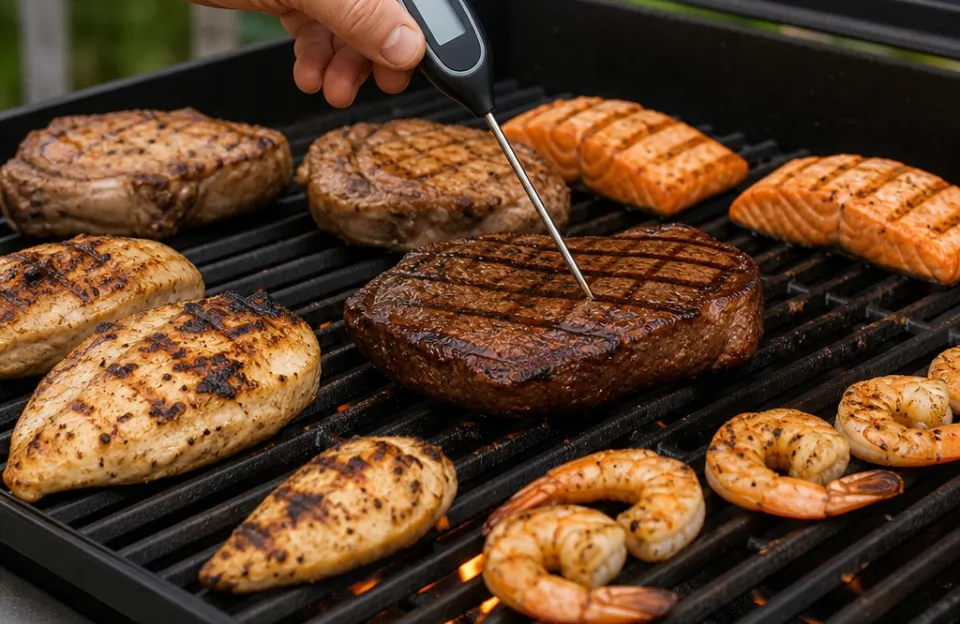
The USDA recommends cooking all poultry to 165°F. Ground meats, including beef, pork, and lamb, also need to reach 160°F according to official USDA food safety guidelines. These numbers exist to kill harmful bacteria like Salmonella and E. coli.
Whole cuts of beef, pork, veal, and lamb are safe at 145°F, provided you let them rest for three minutes before carving.
Steak preferences change those numbers in practice. A rare steak sits around 125°F, medium-rare at 135°F, and medium at 145°F. Because whole muscle cuts rarely harbor bacteria deep inside, many cooks prefer lower temperatures for texture and flavor.
Poultry and ground meat don't offer that flexibility. Bacteria gets mixed throughout ground beef during processing, so the entire patty must reach 160°F.
Fish typically finishes between 130°F and 145°F, depending on the species and your preference. The FDA sets the safe minimum for fish at 145°F. At that temperature, the flesh turns opaque and flakes easily.
| Protein | Safe Minimum (USDA) | Preferred Range for Texture |
|---|---|---|
| Poultry (all cuts) | 165°F | 165°F to 175°F (dark meat benefits from higher temps) |
| Ground beef/pork | 160°F | 160°F |
| Beef steak/roast | 145°F + 3 min rest | 125°F (rare) to 155°F (well done) |
| Pork chops/roast | 145°F + 3 min rest | 145°F to 160°F |
| Fish | 145°F | 130°F to 145°F |
How to Use a Meat Thermometer on a Grill Without Losing Heat
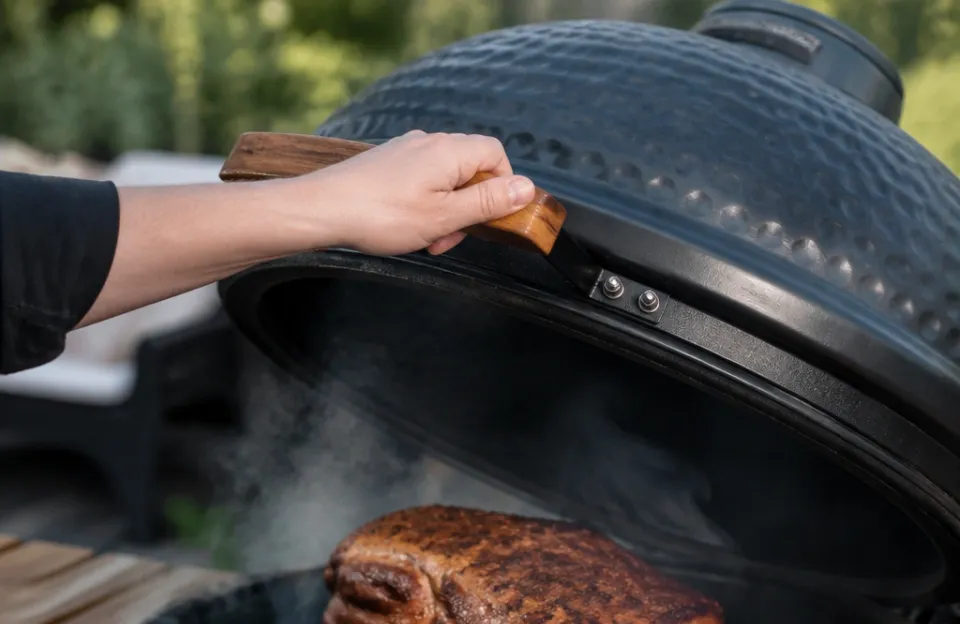
Checking the temperature shouldn't ruin your cook. Grills rely on trapped air to maintain steady heat. Opening the lid vents that air immediately.
Charcoal grills lose temperature slower than gas grills, but both drop noticeably if left open for thirty seconds.
Have your thermometer ready before you lift the lid. Turn it on, unfold the probe, and stand by the grill. Open the lid just enough to access the meat.
Insert the probe, read the number, remove it, and close the lid. This sequence should take under five seconds. If you're using a fast-reading tool, you barely have time to blink before the screen locks onto a number.
For indirect cooking setups, position the meat so the thickest part faces the hinge or the front of the grill. This way, you don't have to reach over roaring flames or lift the lid entirely to get a good angle. Reaching across a hot grill leads to burns and clumsy probe placement.
If you're smoking a large cut low and slow, limit your checks. Opening a smoker every twenty minutes extends the total cook time significantly. Trust your leave-in probe for the first several hours.
Only spot-check with an instant-read thermometer near the end of the estimated cook time to verify the reading.
Adjusting Technique for Different Cuts of Meat
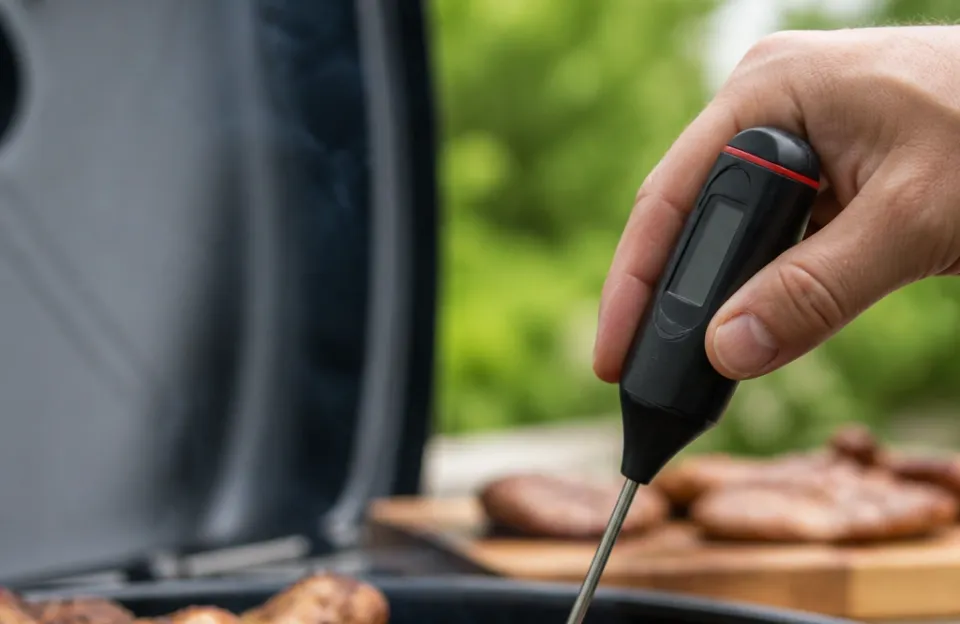
A whole chicken requires a different approach than a rack of ribs. With a whole bird, you need to check multiple spots. The breast finishes faster than the thighs.
Insert the probe into the thickest part of the breast first. Then check the inner thigh, angling the probe away from the bone. Both areas must reach 165°F.
If the breast hits temperature early, you can tent it loosely with foil while the dark meat catches up.
Ribs are notoriously difficult to read with a thermometer. The meat layer is thin, and there are bones everywhere. Most pitmasters judge ribs by feel rather than temperature.
If you do use a probe, slide it parallel to the bones into the thickest section of meat between them. You're looking for a reading around 195°F to 203°F, which indicates the collagen has broken down. Below that range, the meat will be tough.
Brisket behaves similarly. It needs to reach roughly 200°F to 205°F for the connective tissue to render properly. Check the flat and the point separately.
The point is thicker and fattier, so it often finishes slightly later than the flat. When probing brisket, you'll notice the probe slides in with almost no resistance once it's truly done. Temperature tells you it's safe; that tender feel tells you it's ready to eat.
Burgers require speed. Take them off the grill, insert the probe horizontally through the side, and read the number within two seconds. Waiting longer means the burger cools below its actual peak temperature.
If you're cooking smash burgers, they're so thin that some probes struggle to get a stable reading. In those cases, visual cues like clear juices and browned edges supplement your thermometer work. Choosing a model built for quick kitchen tasks helps when dealing with thinner patties that cool rapidly.
Calibrating Your Thermometer Before Lighting the Coals
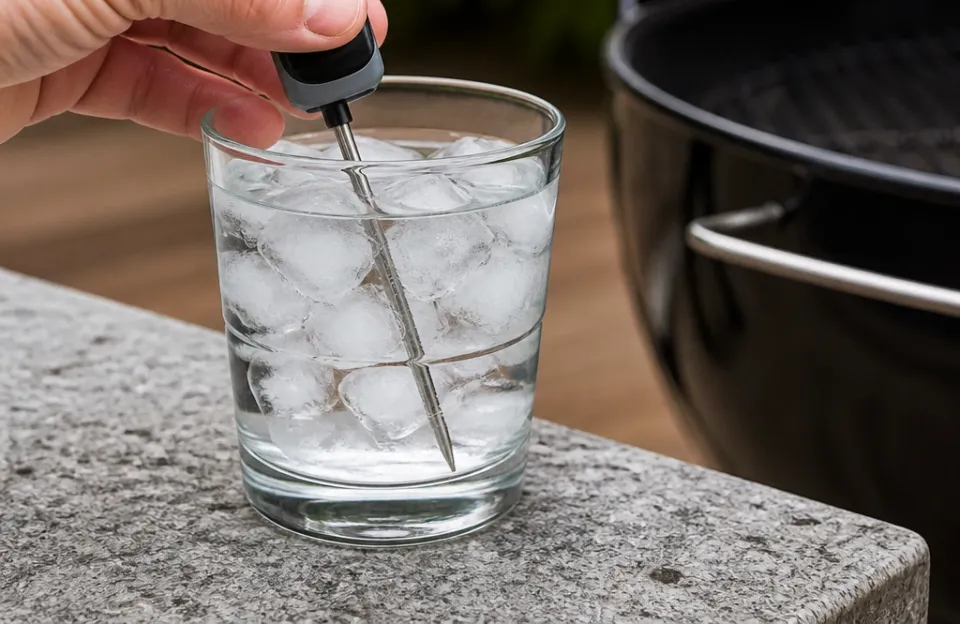
Thermometers drift over time. Drops, extreme heat, and battery changes can shift the calibration by a few degrees. On a grill, a five-degree error is the difference between medium-rare and medium.
Checking calibration takes sixty seconds and prevents ruined dinners.
The ice bath method is the most accessible test for home cooks. Fill a glass with crushed ice and add cold water until the glass is full. Stir it, then wait a minute for the temperature to equalize.
Submerge the probe tip into the ice water without letting it touch the sides or bottom of the glass. It should read 32°F. If it reads 34°F or 30°F, adjust it using the calibration nut on analog dials or the reset button on digital models.
Boiling water works too, though altitude affects the boiling point. At sea level, water boils at 212°F. For every 500 feet of elevation gain, the boiling point drops by roughly one degree.
If you live in Denver, your boiling water sits around 202°F. The ice bath avoids this math entirely, making it the easier option for most people.
Calibrate your thermometer at the start of the grilling season and again after any significant drop or bump. If you invest in a higher-end dual-probe setup, checking both sensors against each other in an ice bath confirms they track together.
Mistakes That Lead to Undercooked or Dry Meat
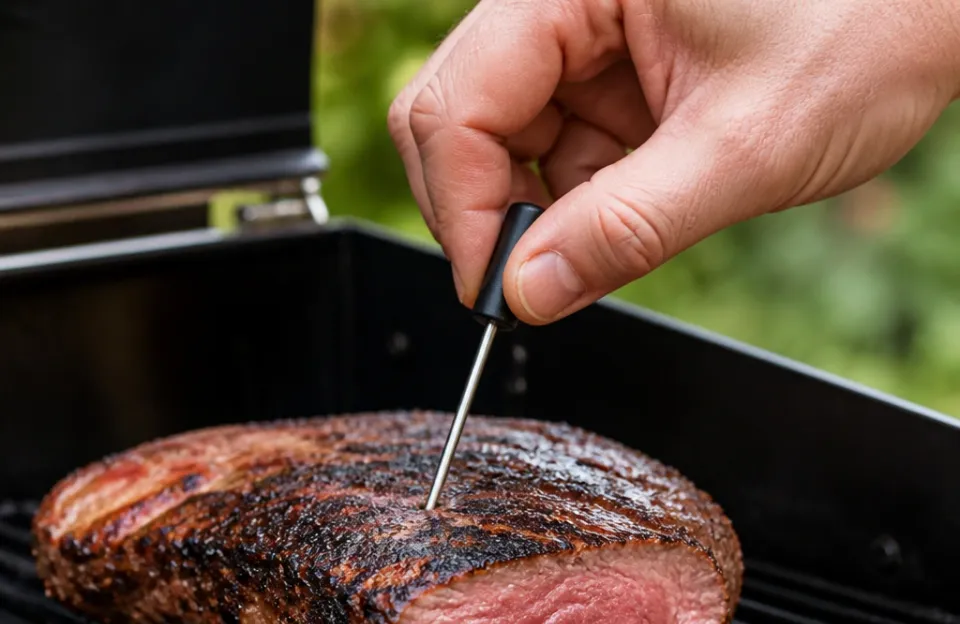
Leaving the probe in the meat while it rests over direct heat causes problems. Metal conducts heat. A probe left sitting in a steak over hot coals will continue driving heat into the center of the meat, pushing it past your target temperature.
Pull the probe out immediately after taking your reading.
Resting meat is mandatory, but resting it on a scorching grill grate isn't. Move the food to a cutting board or a warm plate away from the fire. During the rest period, carryover cooking raises the internal temperature by 5°F to 10°F for thick cuts.
If you pull a pork loin off the grill exactly at 145°F, it will overshoot to 155°F while resting. To account for this, pull large roasts off the grill about five degrees before your target. Thin cuts like burgers and steaks experience less carryover, so you can pull them closer to the final number.
Another common issue is trusting the dial on the grill lid. Built-in dome thermometers measure the air temperature at the top of the lid, not the heat at the grate level where your food actually sits. The grate can be 50°F hotter or cooler than the dome reading, especially on charcoal grills.
Always rely on your handheld probe for the meat itself. If you want to know your actual grate temperature, use an infrared thermometer aimed directly at the grates.
Finally, never wash a digital thermometer body under running water. The electronics aren't fully waterproof unless explicitly stated. Wipe the probe clean with a damp cloth or sanitizing wipe between uses.
Dipping the probe into a glass of soapy water and wiping it dry works well during a busy cookout when you're switching between raw chicken and cooked burgers.
Frequently Asked Questions
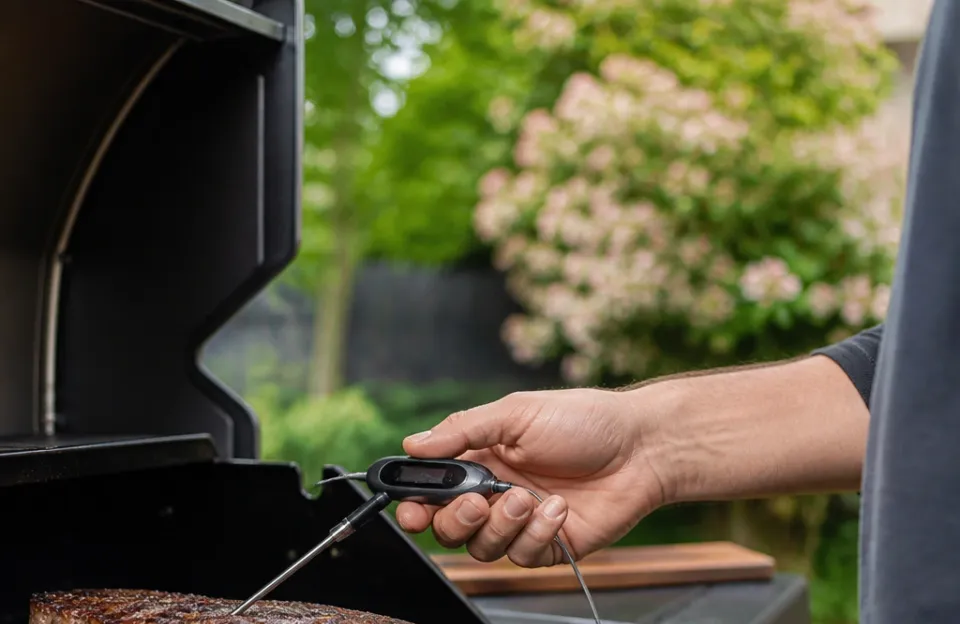
Can I leave my instant-read thermometer inside the grill while cooking?
No. Instant-read thermometers are designed for brief exposure to heat. Leaving one inside a closed grill exposes the plastic housing, display screen, and internal wiring to sustained high temperatures that will melt or destroy the unit.
Only leave-in probes with specifically rated heat-resistant cables or wireless transmitters designed for grills should remain inside during cooking.
Does poking the meat with a thermometer drain all the juices?
This is a persistent myth. Meat loses moisture primarily due to muscle fibers contracting from heat, not from small puncture wounds. A thermometer probe creates a hole roughly the width of a needle.
The amount of juice lost through that tiny channel is negligible compared to the moisture squeezed out by overcooking. Checking the temperature frequently keeps you from overcooking, which actually preserves more juice overall.
Why does my thermometer give me a different reading every time I poke the same steak?
You're likely hitting different parts of the meat. The center is the coolest spot. As you move the probe even half an inch toward the surface, the temperature rises.
Bone, pockets of fat, and variations in thickness all create micro-climates inside a single steak. Aim for the geometric center consistently. If you're getting wildly different numbers, recalibrate the thermometer using an ice bath to rule out sensor drift.
Do I need to check the temperature of hot dogs or pre-cooked sausages?
Pre-cooked sausages and hot dogs are already safe to eat from a bacterial standpoint, as they were fully cooked during manufacturing. However, heating them to an internal temperature of 165°F is recommended by food safety agencies if they have been stored in a refrigerator for an extended period, to eliminate any potential Listeria contamination. For fresh, raw sausages like bratwurst, you must treat them like ground meat and cook them to 160°F.
How close to the bone should I place the probe?
Keep the probe tip at least half an inch away from any bone. Bone density causes it to absorb and transfer heat faster than surrounding muscle. Touching the bone with the sensing area of the probe gives you a falsely elevated reading.
Angle the probe so the tip rests in the thickest pocket of pure meat.
Is a wireless thermometer worth the trouble for weekend grilling?
For quick weeknight meals like burgers and chicken breasts, a basic instant-read thermometer is faster and simpler. Wireless systems shine during long cooks. If you smoke ribs for six hours or roast a whole turkey, a wireless setup allows you to monitor the internal temperature from your phone without hovering over the grill.
The tradeoff is managing connectivity. Heavy steel grill lids and brick walls can interfere with Bluetooth signals, so Wi-Fi-enabled models tend to be more reliable around the yard.
Getting Consistent Results Every Time You Fire Up
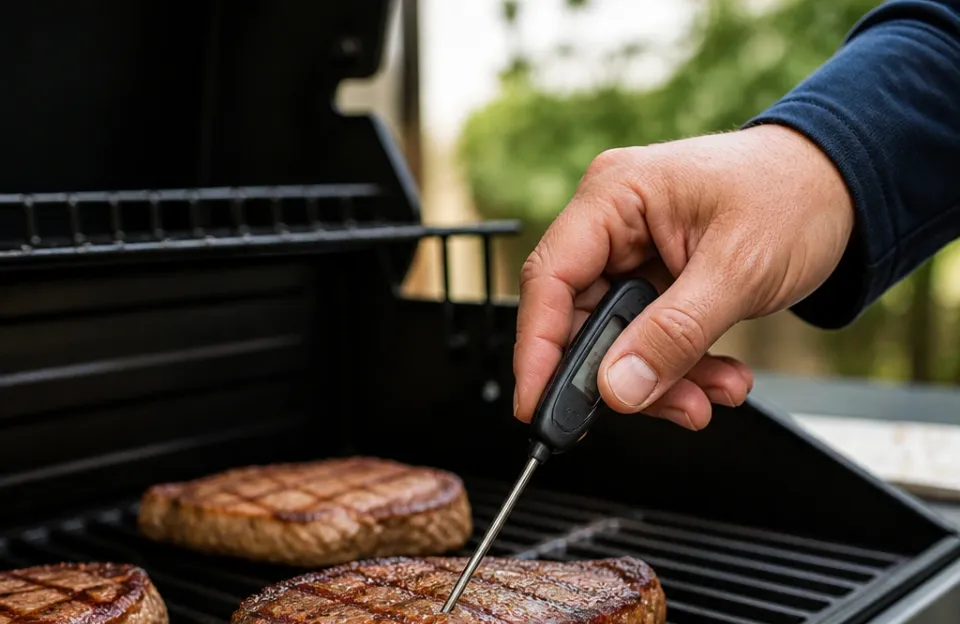
Grilling relies heavily on instinct, but instinct fails when you're dealing with varying thicknesses, unpredictable weather, and different types of protein. A thermometer removes the variables you can't control and gives you hard data. Place the probe correctly, account for carryover heat, and respect the safe minimums for poultry and ground meat.
Taking care of the tool itself matters just as much as knowing where to stick it. Calibrate it at the start of summer. Wipe the probe down between checking raw and cooked items.
Store it somewhere it won't get knocked around in a drawer. If you build these habits, you won't have to wonder whether the chicken is done. You'll know exactly when to pull it off the heat.