You’ve just pulled a roast out of the oven, but the screen on your digital display is frozen, or the needle on your dial hasn’t moved an inch. Maybe you just changed the batteries and now the numbers are flashing like an old alarm clock. When your kitchen tools act up right in the middle of meal prep, it can throw off your entire timing.
Quick Answer: To reset a digital Taylor meat thermometer, remove the batteries for 30 seconds and press the “Reset” button (usually found inside the battery compartment) with a paperclip. For manual dial models, you must “reset” the calibration by holding the hex nut under the dial with a wrench and rotating the face while the probe is in a 32°F ice bath.
Why a Reset Is Necessary for Accuracy
Most people think of a reset as a way to clear a frozen screen, but it is actually about ensuring safety. If your thermometer is off by just five degrees, you could end up serving undercooked poultry or overcooked, dry steak. Digital models often need a “power cycle” to clear internal errors, while analog models need a physical adjustment to realign the needle.
Taylor thermometers use thermistor technology in their digital lines. These sensors are sensitive to steam, heat, and battery voltage drops. When the internal logic gets confused, the device might show an “LLL” or “HHH” error code.
Resetting the hardware forces the processor to start its temperature calculation from scratch.
On the other hand, manual dial thermometers rely on a bimetallic coil. This coil can expand or contract too far if dropped or exposed to extreme heat. In this case, “resetting” means recalibrating the physical hardware to match a known constant, like the freezing point of water.
Signs Your Digital Taylor Needs a Reset
If you see the screen stuck on a single number regardless of the temperature, it’s time to reset. Other signs include a completely blank screen despite new batteries or erratic jumping between temperatures (e.g., 70°F to 200°F in one second). Sometimes the “Hold” function gets stuck, locking the display; a reset is the fastest way to override this.
Signs Your Analog Taylor Needs a Reset
For manual thermometers, the clearest sign is the “Room Temp Test.” If your kitchen is roughly 70°F but the dial reads 50°F or 90°F while sitting on the counter, the coil is out of alignment. You should also check the needle for “stickiness.” If you tap the glass and the needle jumps significantly, the internal mechanism needs a reset through calibration.
How to Reset a Digital Taylor Meat Thermometer
Resetting a digital model is usually a software fix. Most Taylor models, like the Classic or the Instant Read Digital, have a tiny hidden button designed specifically for this purpose.
- Check the Battery Compartment: Open the plastic cover on the back or bottom of the unit. On many Taylor models, the reset button is a tiny pinhole located right next to the battery terminal.
- Perform a Hard Power Cycle: Remove the batteries entirely. Wait at least 30 to 60 seconds. This allows any residual electricity in the capacitors to drain, fully clearing the memory.
- Use a Paperclip: While the batteries are back in, insert a straightened paperclip into the “Reset” hole. Press and hold it for three to five seconds. You should see the full LCD screen light up briefly.
- Toggle the Units: Sometimes the thermometer isn’t broken but is simply stuck in Celsius. Press the °F/°C button once to see if the reading returns to a familiar range.
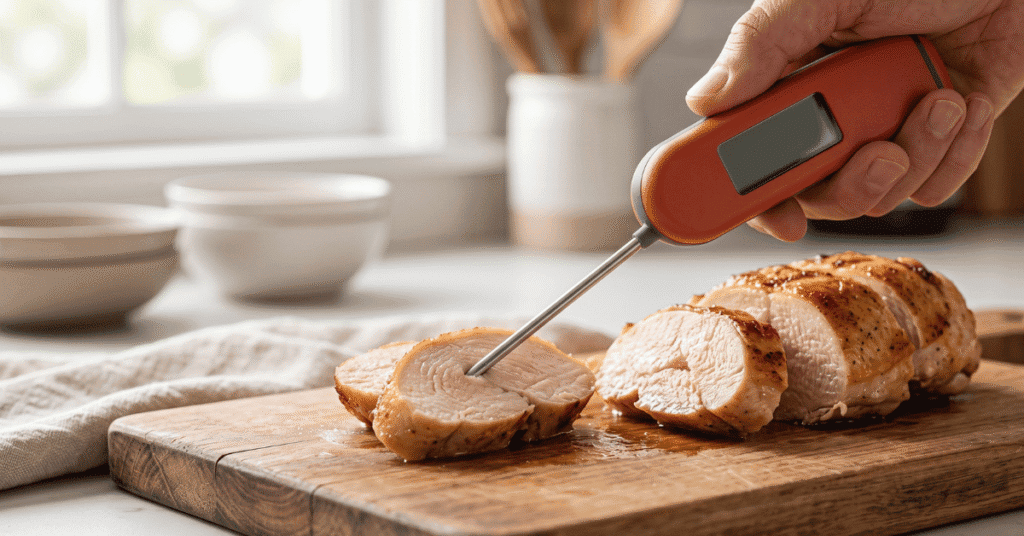
- Test in Boiling Water: Once reset, dip the tip into boiling water. At sea level, it should read 212°F. According to NIST standards, this is a reliable way to verify your digital sensor is back to factory specs.
Resetting and Calibrating a Dial Taylor Thermometer
Manual thermometers don’t have buttons, so you have to reset the physical position of the needle. This is a manual process that requires a tall glass and some ice.
Step 1: Create an Ice Bath
Fill a large glass with crushed ice and add just enough cold water to fill the gaps. Do not use a few cubes in a lot of water; you need a thick slush. Let it sit for two or three minutes so the temperature stabilizes at exactly 32°F (0°C).
Step 2: Position the Probe
Insert the thermometer stem at least two inches into the slush. Make sure the tip does not touch the bottom or sides of the glass, as the glass temperature might be different from the water. Wait for the needle to stop moving, which usually takes about 30 seconds.
Step 3: Adjust the Hex Nut
Look at the underside of the thermometer head. You will see a small metal nut where the stem meets the dial. While the probe is still in the ice water, use a small wrench or the built-in adjustment tool (often found on the plastic sheath) to grip that nut.
Turn the dial head until the needle points exactly to the 32°F mark.
Special Cases: Foldable and Infrared Models
Taylor also makes foldable “Thermocouple” style thermometers and infrared “no-touch” versions. These require slightly different handling.
For foldable models, the “on/off” switch is often tied to the hinge. If it won’t reset, food debris might be stuck in the hinge, preventing the sensor from engaging. Clean the joint with a damp cloth and try the battery-pull method.
If the unit has a “Hold” button, try holding it down for 10 seconds while opening the probe to force a reboot.
Infrared thermometers often fail because the lens is dirty. Before trying a hard reset, wipe the sensor lens with a cotton swab dipped in rubbing alcohol. If it still gives “Err” messages, remove the 9V or AAA batteries and hold the trigger down for 15 seconds without batteries to drain the unit before restarting.
Common Mistakes When Resetting
Many users make simple errors that make the thermometer seem broken when it actually just needs a better reset environment.
- Using Old Batteries: A digital Taylor may “reset” but immediately glitch again if the battery voltage is at 1.2V instead of 1.5V. Always use fresh alkaline batteries during a reset.
- Touching the Bottom of the Pan: When testing your reset, don’t let the probe touch the metal pan. Metal conducts heat differently than water, giving you a false reading that makes you think the reset failed.
- Ignoring Altitude: If you are in a high-altitude city like Denver, water boils at roughly 202°F instead of 212°F. Don’t try to “reset” your thermometer to 212°F in these areas; you’ll actually be making it inaccurate.
- Submerging the Head: Never dunk the digital display or the dial face under water during the ice bath test. Only the stem is waterproof. Moisture inside the head will ruin the calibration permanently.
Frequently Asked Questions
Why does my Taylor thermometer stay on “LLL”?
The “LLL” code usually means the temperature is below the range of the device (typically under 32°F) or there is a loose connection. Try a reset by pulling the batteries. If it stays on “LLL” at room temperature, the internal wire in the probe may be pinched or broken.
Can I reset a Taylor thermometer that went through the dishwasher?
Usually, no. Dishwashers use high heat and high-pressure water that can seep into the seals of the head. You can try leaving it in a bowl of dry rice for 48 hours and then performing a battery reset, but the moisture often corrodes the circuit board.
Is there a reset for the Taylor leave-in meat thermometer?
Yes. These units have a base and a probe on a wire. Unplug the probe from the base, remove the base batteries, wait a minute, and plug the probe back in before putting the batteries back.
This forces the base to re-identify the probe’s resistance level.
How often should I reset the calibration?
You should check the calibration of your Taylor meat thermometer every six months, or anytime you drop it on a hard floor. Heavy impacts are the leading cause of the bimetallic coil or digital sensor falling out of alignment.
Worth Remembering
A quick reset can save you from buying a new tool, but it isn’t a cure-all. If you’ve performed the battery pull and the hardware calibration but the numbers are still jumping or the needle won’t move, the sensor has likely reached the end of its life. Taylor thermometers are built to be sturdy, but heat damage to the internal wiring is permanent.
Always start with the ice bath test; it is the most reliable way to know if your reset actually worked. Over time, keeping the probe clean and the batteries fresh will reduce the number of times you need to start the reset process.