A food scale that will not zero out usually has an unstable baseline rather than a broken display, so start by replacing the batteries or charging it fully, placing it on a hard level surface, cleaning the gap under the platform, and taring or resetting it properly. If the display still drifts or sits on a fixed offset, check calibration against a known weight and follow your model’s manual. A persistent offset after those steps points to load cell damage or an electronics fault, which normally means manufacturer support or replacement rather than a home repair.
How Digital Food Scales Measure Zero
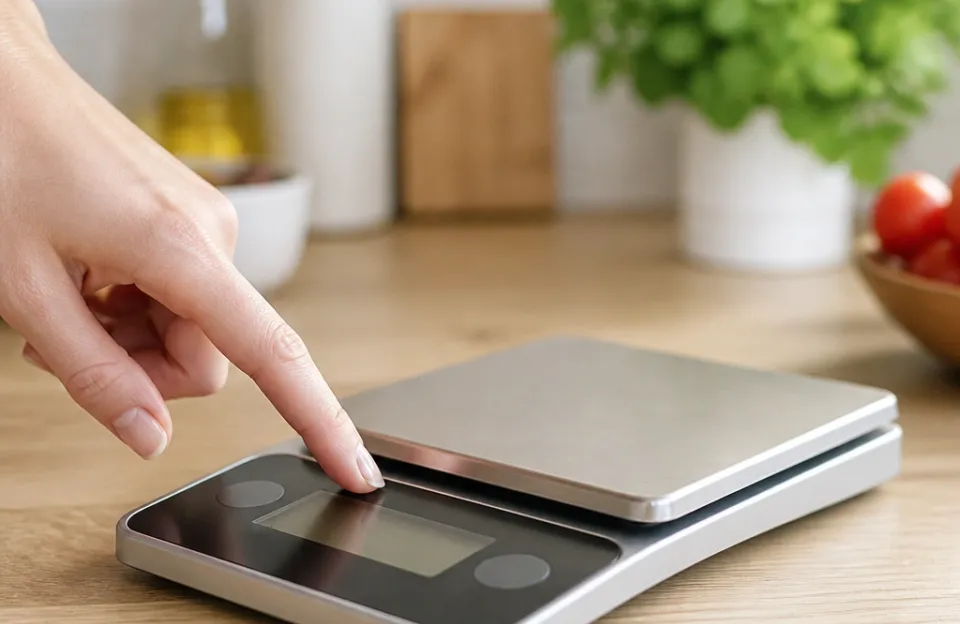
Every digital kitchen scale relies on a load cell: a small metal bar or disc hidden beneath the weighing platform whose slight bending changes electrical resistance and is converted into a displayed weight. Pressing tare or zero does not physically reset the scale; it records the current electrical state of the load cell at that moment and subtracts it from later readings. Because zero is a stored baseline, anything that disturbs the circuit or the sensor’s resting position can leave the display stuck on a positive or negative number.
That distinction matters for troubleshooting. Problems with voltage, debris, or placement affect the baseline, so they are often reversible. Problems that permanently change the shape of the load cell affect the sensor itself, and those are the ones that usually end in replacement.
The 7 Common Causes of a Food Scale That Will Not Zero
Most zeroing failures trace back to a short list of causes, and the fastest approach is to work from the least invasive to the most serious.
- Low battery or incomplete charge. Weak voltage is the most frequent reason a digital scale misbehaves, because the load cell needs a steady voltage to measure resistance accurately. Rechargeable scales with built-in lithium batteries can show zero drift when they need a full charge cycle rather than a quick top-up.
- An uneven or soft surface. Digital scales need a hard, flat surface, and a soft mat, a rocking cutting board, or a tile counter with deep grout lines can twist the chassis and create a false baseline.
- Debris under the platform. Flour, sugar crystals, or dried spills in the gap between the platform and base create friction that prevents the platform from settling to its true resting position.
- A tare or zero procedure problem. A sticky or unresponsive button, a software glitch, or a calibration issue can stop the scale from zeroing after you press tare.
- Calibration drift. Calibration typically involves a flat, stable surface, calibration mode, and a certified weight such as 100 g or 1 kg depending on capacity, and a scale that has drifted will keep showing an offset until it is recalibrated. Some high-end models can be reset to factory settings, so consult the manual for the exact procedure.
- Overload or load cell damage. Dropping the scale, pressing hard on the platform while cleaning, or leaving heavy items on it for long periods can permanently alter the resting shape of the load cell. Exceeding the maximum capacity can also damage the sensors and affect future accuracy.
- Moisture or electronics fault. Water intrusion can affect adhesives, insulation, wiring connections, and protective coatings around a strain gauge, and over time excessive humidity or direct moisture exposure may cause unstable readings or complete sensor failure.
Quick Fixes to Try First: Batteries, Surface, Tare and Debris
Start with the checks that need no tools. Fresh batteries are a standard fix for inconsistent readings and zeroing problems, and rechargeable models should get a full charge cycle rather than a partial top-up.
Next, move the scale to a hard, level counter and confirm it does not rock. Press each corner gently and check for movement. If the reading changes when you slide the scale a few centimeters, surface instability was likely part of the problem. Some common examples of each condition appear below.
| Cause | Typical Symptom | Fix Difficulty |
|---|---|---|
| Low batteries or partial charge | Flickering display, slow drift | Very easy |
| Uneven or soft surface | Reading changes when the scale moves | Easy |
| Debris under the platform | Stuck on a consistent positive number | Moderate |
| Tare or button fault | No response to tare, incorrect reset | Easy to moderate |
| Calibration drift | Small consistent offset | Moderate |
| Overload or load cell damage | Erratic jumping, permanent offset | Not user-fixable |
| Moisture or electronics fault | Unstable readings, dead segments | Not user-fixable |
For a tare button that does not respond, press and hold it for a few seconds rather than tapping it, then power cycle the scale before retrying the tare. A basic reset involves turning the scale off, disconnecting power if it is rechargeable, and holding a reset button if one is present for about 10 seconds. While you are handling the unit, inspect the platform for any plastic film or protective covering left from manufacturing, since these can interfere with accurate readings.
Finally, clean the gap between the platform and the base. A dry brush or compressed air around a stuck button is a reasonable first step, but use only mild cleaning and follow the manufacturer’s guidance for your model’s surfaces, since not every cleaner is safe on every finish. The gap is where flour and dried spills collect, and removing that friction often restores true zero without any further adjustment.
Fixing Calibration Drift and Checking Accuracy with a Known Weight
If the simple checks do not restore zero, the next step is calibration. The general process is to place the scale on a flat, stable surface, turn it on, enter calibration mode (often with a specific button or combination), and use a certified calibration weight, usually 100 g or 1 kg depending on capacity. Button sequences vary widely between brands and models, so follow your own manual rather than guessing at a combination.
How to reset and calibrate a digital food scale walks through the general steps if you have misplaced your manual. For background on what the tare function actually records, see what tare means on a food scale.
A word of caution on improvised test weights. Household items such as coins or packaged food are sometimes suggested as check weights, but a single secondary source’s figure for a coin is not a reliable calibration standard. Use a proper calibration weight where possible, and treat any household object only as a rough consistency check, not a calibration reference.
Water is another common suggestion, but it needs care. Water density changes with temperature, so a volume-based check is only approximate unless you correct for the actual temperature of the water you use. Treat a water test as a sanity check rather than a precision calibration.
Calibration Drift vs Load Cell Damage: How to Tell the Difference
The key question is whether the offset is intermittent or persistent.
- Intermittent drift that appears after a move, a temperature change, or a low battery usually points to the baseline being disturbed rather than the sensor being damaged.
- A persistent offset that survives fresh batteries, a level surface, cleaning, and a successful calibration points toward a faulty load cell or internal sensor.
- Erratic jumping combined with a refusal to hold any stable number is more consistent with sensor damage than with simple drift.
A scale that still reads inaccurately after calibration may have a faulty load cell or internal sensor and may need replacement. That is the practical dividing line: if calibration holds and the scale returns to zero, you fixed it. If the offset returns within a short time, the hardware is the likely cause.
When to Reset, Contact Support or Replace the Scale
Work through this order before spending money:
- Fresh batteries or a full charge.
- Hard, level surface.
- Clean the platform gap and check for protective film.
- Reset, then tare again.
- Calibrate with a certified weight per your manual.
- If the offset persists, contact the manufacturer’s support for your exact model.
Stop and seek support or replace the scale when the offset survives all six steps, when the display shows error codes you cannot clear, or when the unit has visible moisture damage. Check your scale’s rated maximum before weighing heavy containers, since overloading can damage the sensors. Avoid opening sealed units or attempting improvised internal repairs; moisture damage to strain gauges can cause unstable readings or complete sensor failure, and a sealed housing is not designed for user access.
Error codes can also point you in the right direction. For a guide to what LO and ERR mean on common models, see food scale error codes explained.
Prevention: Habits That Keep the Zero Function Reliable
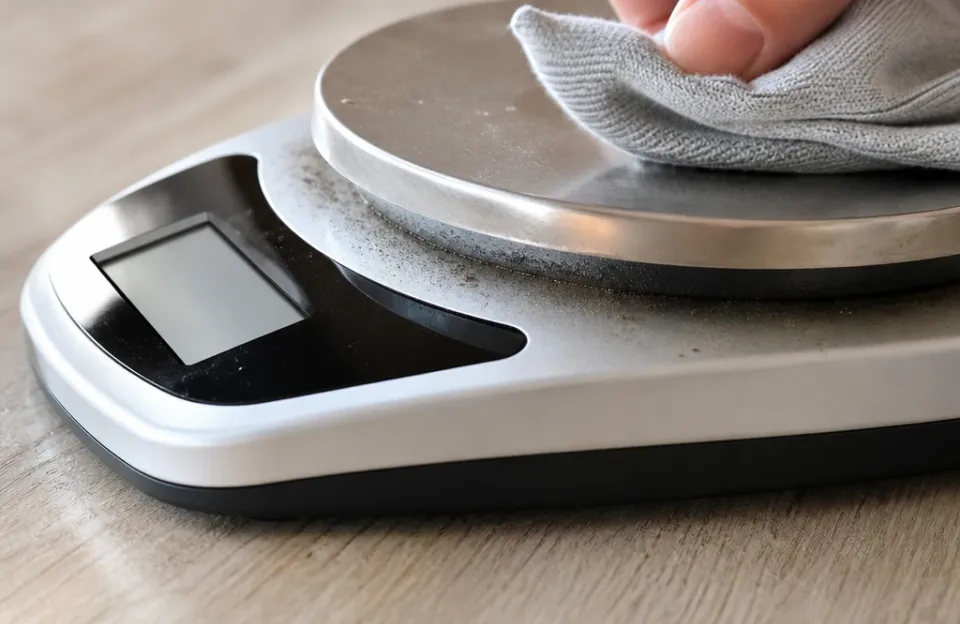
Most repeat failures come from handling rather than from the electronics. Store the scale flat and away from heavy objects, since leaving weight on the platform for long periods can permanently alter the resting shape of the load cell. Clean the platform gap regularly so flour and dried spills do not build up into friction. Keep the scale on a hard, level surface during use rather than on silicone mats or wobbly boards. Finally, respect the rated capacity, because overload is one of the few failures you cannot undo.
If you want a fuller routine, how to clean and store a food scale properly covers the maintenance side in more detail.
The Short Version
A scale that will not zero out is usually telling you its baseline is unstable. Fresh batteries, a hard level surface, a clean platform gap, and a proper tare or reset fix most cases. If a certified-weight calibration still leaves a persistent offset, the load cell or sensor is the likely culprit, and manufacturer support or replacement is the sensible next step rather than a home repair. Handle the scale gently, keep it within its rated capacity, and store it without weight on the platform to avoid repeating the problem.