Updating a tired kitchen without gutting it entirely is one of the smartest investments a homeowner can make in 2026. When you start researching your options, you will quickly encounter two terms that are frequently confused: resurfacing and refacing. While they sound similar, they describe fundamentally different scopes of work, carry vastly different price tags, and deliver distinct levels of durability. Understanding the exact differences between kitchen cabinet resurfacing vs. refacing is the only way to avoid costly mistakes before you buy materials or hire a contractor.
In practice, choosing the wrong method usually happens because homeowners misdiagnose the condition of their existing cabinets. A fresh coat of paint cannot fix warped particleboard, and spending thousands on new doors is wasteful if your solid oak frames just need a modern stain. This guide breaks down exactly what each process entails, how much they cost, which materials respond best to each treatment, and how to decide which path fits your home. You can also read our guide on kitchen cabinet drawers for pots and pans.
What Exactly Is Kitchen Cabinet Refacing?
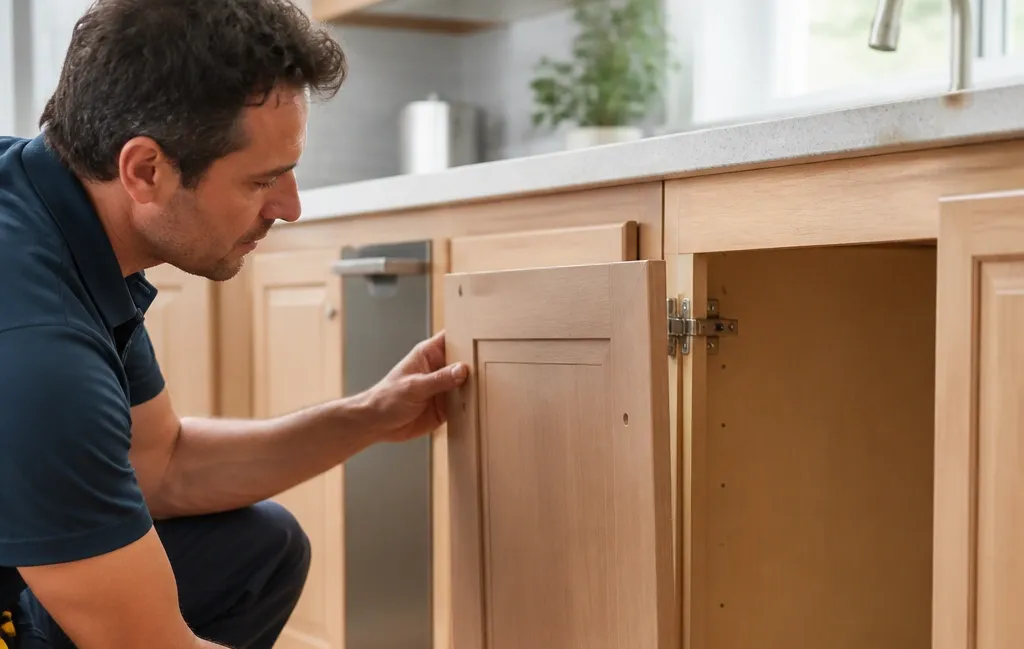
Kitchen cabinet refacing is a structural cosmetic upgrade. You keep your existing cabinet boxes—the internal shelving, the sides, the top, and the bottom—but you completely replace every visible exterior component. The old doors and drawer fronts are removed and discarded. In their place, brand-new doors and drawer fronts are installed.
To ensure the new doors match the old boxes, the exposed face frames (the wooden borders around the cabinet openings) and any visible side panels are wrapped in a matching veneer. This veneer is typically real wood or rigid thermofoil (RTF) applied with heavy-duty contact cement or pressure-sensitive adhesive. Finally, all hinges, handles, and knobs are replaced with new hardware. You can also read our guide on how to stain kitchen cabinets without sanding.
Because the internal boxes remain untouched, plumbing lines, electrical wiring, and countertops stay exactly where they are. This eliminates the cascading demolition costs associated with a full tear-out. If you want to explore how this aligns with updating your existing storage setup, mapping out your current door styles is the first step.
Refacing is ideal when your cabinet boxes are made of high-quality plywood or solid wood and are structurally flawless, but you despise the current door profile—for example, wanting to swap ornate raised-panel oak doors for sleek, flat-panel slab doors.
What Exactly Is Kitchen Cabinet Resurfacing?
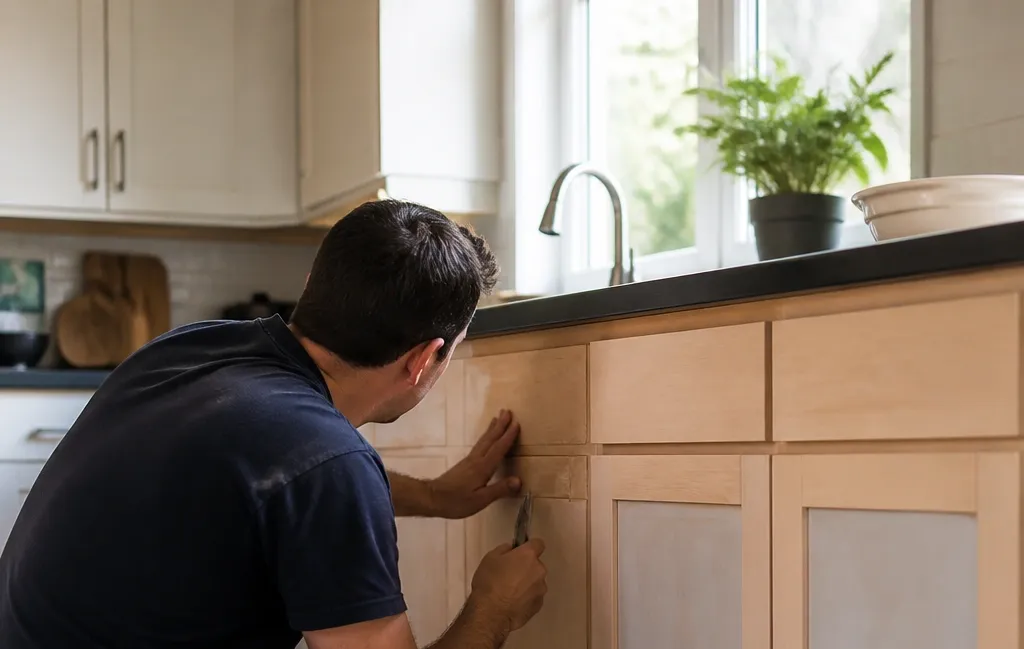
Kitchen cabinet resurfacing—often used interchangeably with refinishing or repainting—involves altering the finish of your existing doors, drawer fronts, and frames without replacing any physical components. You are working with the exact same wood, laminate, or metal that is currently hanging on your walls.
The process requires meticulous preparation. Doors and drawers are removed, stripped of hardware, thoroughly degreased, sanded to create a mechanical bond, primed, and then finished with paint, stain, or a specialized coating. In some cases, resurfacing also refers to applying a thin architectural film or laminate directly over existing flat surfaces, though painting remains the most common interpretation.
Resurfacing does not change the shape or profile of your doors. A raised-panel door will remain a raised-panel door; an arched top will stay arched. It strictly changes the color, sheen, or texture. This makes it the go-to choice when you love the craftsmanship of your current cabinetry but need to update a dated color like 1990s honey oak or builder-grade white.
Side-by-Side Comparison: Refacing vs. Resurfacing
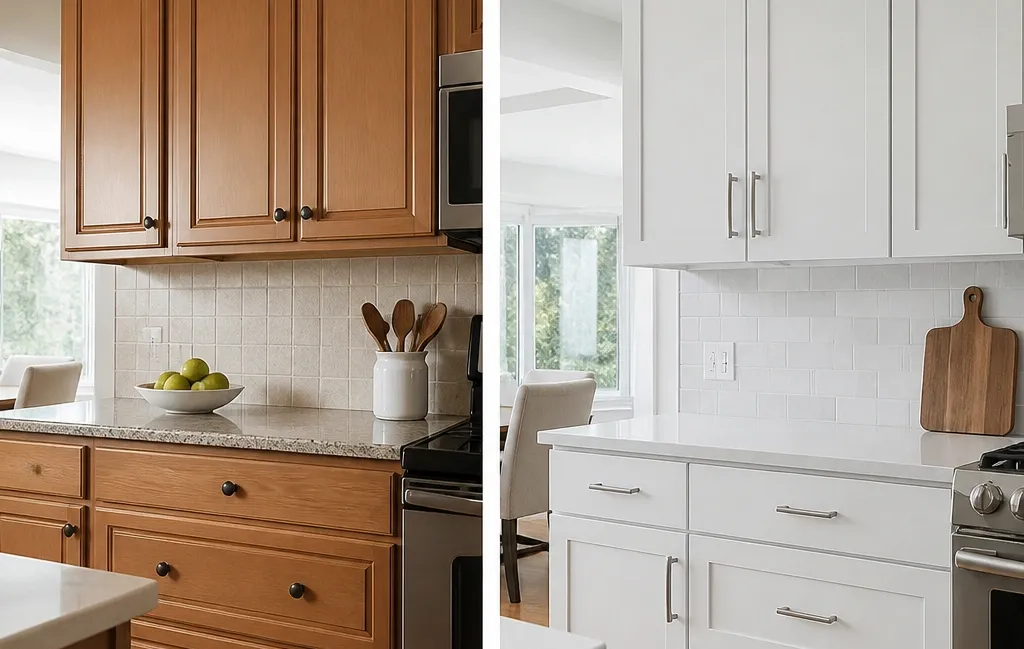
When evaluating these two approaches, looking at them head-to-head clarifies which fits your specific situation.
| Feature | Cabinet Refacing | Cabinet Resurfacing |
|---|---|---|
| Scope of Work | Replace doors/drawers; apply veneer to frames | Sand, prime, and paint/stain existing surfaces |
| Changes Door Profile? | Yes, entirely new door styles | No, keeps existing shapes |
| Material Cost | High (new doors, veneers, hardware) | Low (primer, paint, sandpaper) |
| Labor Intensity | Precision carpentry and measuring | Tedious prep, sanding, and painting |
| Durability | High (factory-applied finishes) | Moderate (dependent on DIY skill or pro equipment) |
| Timeline | 3 to 5 days for professionals | 4 to 7 days including drying time |
| Best For | Changing style/profile; damaged doors | Updating color on structurally sound doors |
The True Cost Difference in 2026
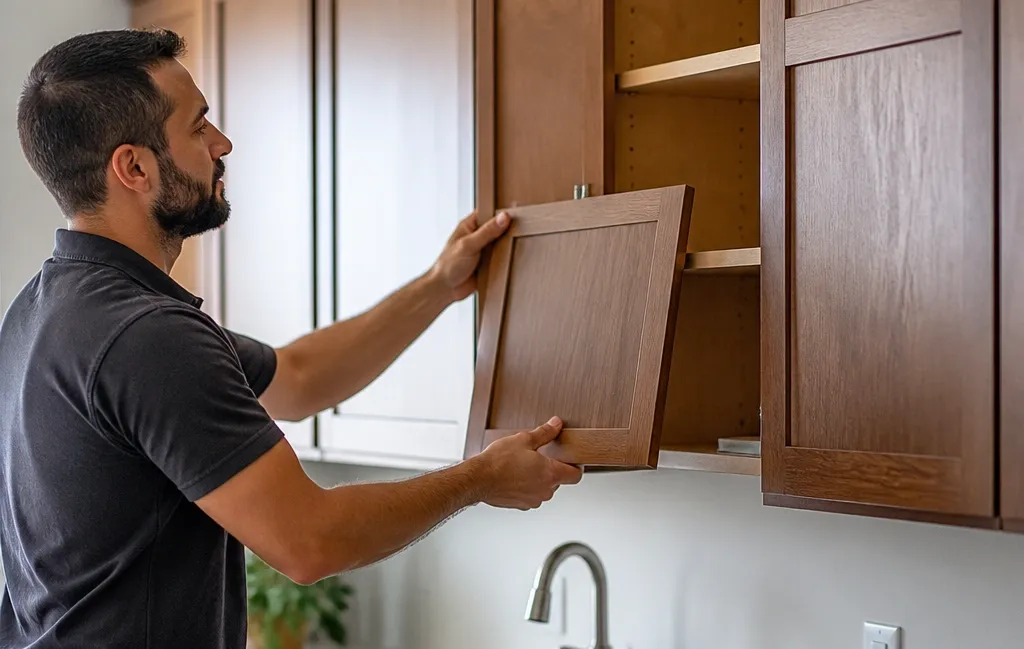
Budget is usually the deciding factor. Refacing is significantly more expensive than resurfacing because you are purchasing manufactured goods—custom-sized doors, drawer fronts, and sheets of veneer—rather than just gallons of paint.
For an average-sized kitchen, professional refacing typically costs about half to two-thirds the price of installing entirely brand-new custom cabinetry. You are paying for materials, precision manufacturing, and skilled installation labor. If you attempt to reface as a DIY project, material costs drop, but the margin for error increases dramatically. Ordering doors even an eighth of an inch off can ruin the alignment of your entire run.
Resurfacing is heavily skewed toward labor rather than materials. High-quality cabinet-grade enamel, bonding primer, and wood filler are relatively inexpensive. If you tackle it yourself, resurfacing is highly budget-friendly. However, hiring a professional painter to spray your cabinets will increase the cost substantially, as you are paying for their expertise in surface preparation and access to professional spray equipment. Before starting, verify your overall renovation budget to ensure your chosen method leaves room for other updates.
Durability and Longevity: Which Finish Lasts?
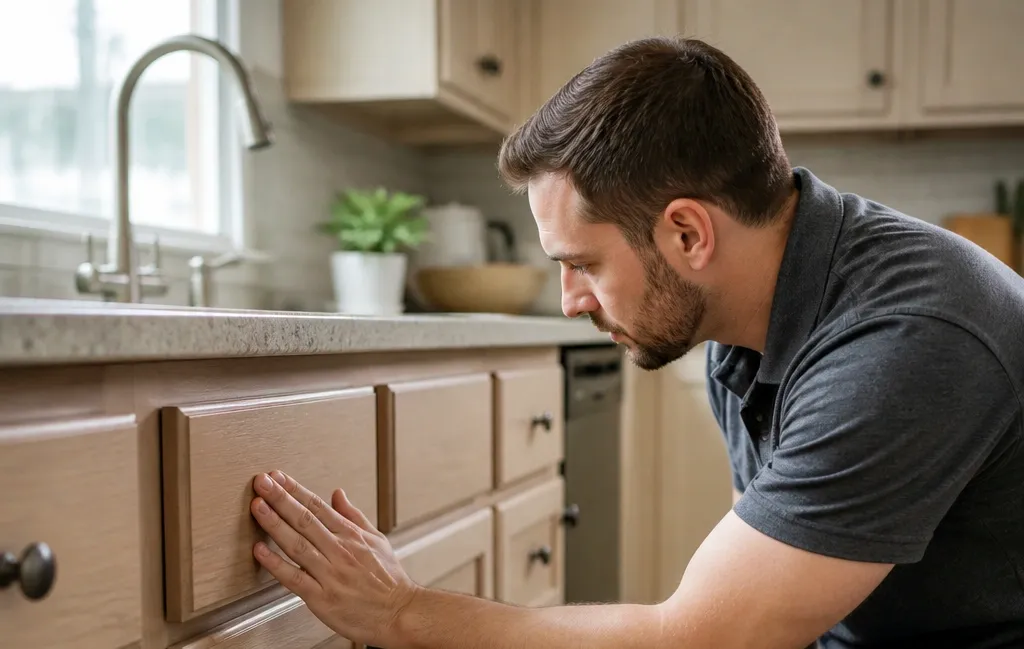
A common mistake homeowners make is assuming a hand-painted cabinet will wear identically to a factory-finished one. It will not.
When you purchase new doors during a refacing project, those doors are almost always finished in a controlled factory environment. They are sprayed with catalyzed conversion varnishes or industrial lacquers that are baked or UV-cured. These finishes cure incredibly hard, resisting moisture, heat, and daily abrasion far better than consumer-grade paints. Expect professionally refaced cabinets to last 15 to 20 years with normal use.
Resurfacing longevity depends entirely on preparation and product selection. If you skip the degreasing step or use standard wall paint instead of a dedicated cabinet enamel (like urethane-modified alkyds or two-part epoxies), the finish will chip near handles and peel around sinks within months. Even with perfect execution, a site-applied finish is generally softer than a factory cure. A professional resurfacing job using high-end coatings should reliably last 8 to 12 years.
Proper surface prep is non-negotiable. The National Wood Flooring Association emphasizes that removing all contaminants and creating a proper surface profile through sanding is the foundation of any lasting wood finish—a principle that applies directly to cabinet doors.
Material Compatibility: Not All Cabinets Can Be Saved
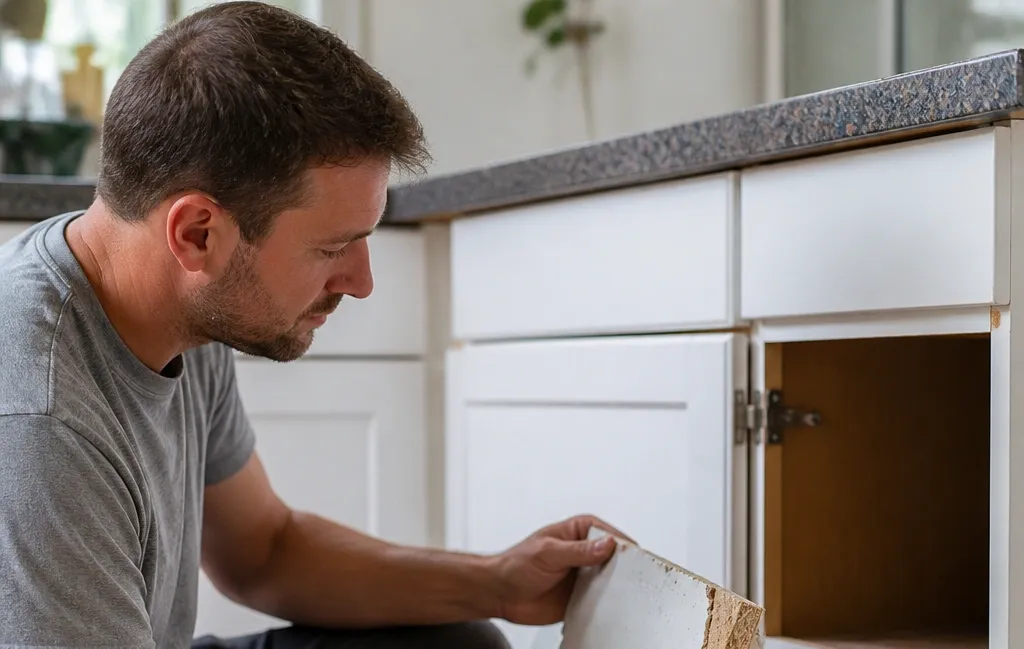
Your current cabinet material dictates what is physically possible. This is where many projects fail before they begin.
- Solid Hardwood: Excellent candidates for both methods. Hardwood takes stain beautifully for resurfacing and provides a rock-solid base for new hinges during refacing.
- High-Quality Plywood Boxes: Ideal for refacing. The boxes hold screws tightly, meaning new heavy doors won't sag over time.
- MDF (Medium-Density Fiberboard): MDF doors can be painted (resurfaced) successfully if sealed properly, but they are prone to swelling if water penetrates the edges. Refacing MDF doors means throwing them away and buying new ones anyway.
- Particleboard: If your cabinet boxes are made of crumbling particleboard, neither method is a long-term solution. Particleboard loses its ability to hold screws once the internal structure degrades. New hinges will pull right out.
- Thermofoil and Laminate: Resurfacing these slick, non-porous plastics is notoriously difficult. Paint struggles to adhere without aggressive sanding and specialized bonding primers. Refacing is often the better route here, as you can remove the foil doors and replace them with painted wood.
If you plan to change your flooring simultaneously, consider how your updated cabinet color will interact with your hardwood floor tones to maintain a cohesive visual flow.
Does Your Kitchen Layout Need to Change?

Both resurfacing and refacing share one critical limitation: they do not alter your kitchen's footprint. The cabinet boxes stay exactly where they are bolted to the wall.
If your frustration stems from poor workflow, lack of pantry space, or awkward corner cabinets, changing the color or the door style will not solve your problem. Both methods assume you are happy with the location and size of your current storage.
Furthermore, if you are upgrading appliance sizes—such as moving from a 30-inch range to a 36-inch commercial model—the surrounding cabinet boxes will need to be physically modified or replaced. Refacing offers slight flexibility here, as you can order custom-width doors to accommodate minor adjustments, but the underlying box constraints remain. Always verify the vertical clearances before ordering new doors to ensure appliances fit underneath.
Applying matching veneer to the face frames ensures the old boxes blend seamlessly with new doors.
Step-by-Step: The Refacing Process
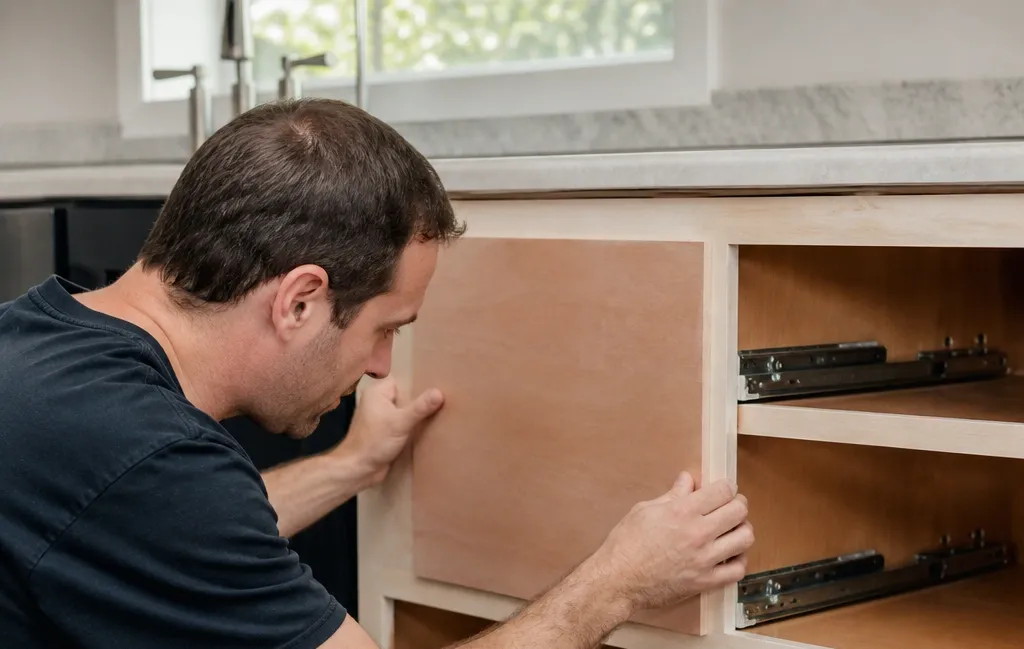
Understanding the workflow helps set realistic expectations if you hire a contractor or attempt it yourself.
- Assessment and Measurement: Every door and drawer front is measured precisely. Hinge locations are mapped.
- Removal: Old doors, drawer fronts, and all hardware are detached. The boxes are cleaned and lightly sanded.
- Veneering the Frames: Self-adhesive wood or RTF veneer is carefully trimmed and pressed onto the exposed face frames and side panels. Corners must be mitered or overlapped cleanly so seams are invisible.
- Installing New Components: The newly manufactured doors and drawer fronts are hung using new concealed European-style hinges.
- Hardware and Adjustment: Knobs and pulls are drilled and installed. Hinges are micro-adjusted so every gap between doors is perfectly uniform.
Step-by-Step: The Resurfacing Process
Resurfacing is less about carpentry and more about chemistry and patience.
- Degreasing: Cabinets are scrubbed with a heavy-duty degreaser (like trisodium phosphate or a dedicated TSP substitute) to remove years of cooking oils. Paint will fisheye and peel if applied over grease.
- Removal and Labeling: Doors and drawers are removed. Each piece and its corresponding hinge location must be numbered so they go back to the exact same opening.
- Repair and Sanding: Dings are filled with wood filler. Surfaces are sanded to scuff the existing finish, providing "tooth" for the primer.
- Priming: A high-adhesion bonding primer is applied. Oil-based or shellac-based primers are often required to block tannin bleed-through from woods like oak or mahogany.
- Topcoats: Two to three thin coats of cabinet-grade enamel are sprayed or rolled and tipped off. Light sanding between coats ensures a glass-smooth finish.
- Curing and Reassembly: Paint may feel dry in hours, but full curing takes weeks. Hardware is reinstalled gently to avoid denting the soft finish.
While focusing on your cabinetry, don't neglect the rest of your kitchen ecosystem. Keeping your cooking spaces hygienic—such as knowing how to maintain countertop appliances after a dusty renovation—ensures your whole kitchen feels brand new.
Environmental Impact and Sustainability
In 2026, sustainability is a major factor in home renovations. Both methods are inherently greener than a full cabinet replacement because they keep bulky cabinet boxes out of landfills.
However, resurfacing has a slight environmental edge. You are not manufacturing new doors, shipping them across the country, or discarding old wood. The primary environmental concern with resurfacing is VOC (volatile organic compound) emissions from primers and paints. Always opt for low-VOC or zero-VOC waterborne alkyd enamels to protect your indoor air quality. Proper ventilation during application and curing is mandatory.
Refacing generates waste in the form of the old doors and drawer fronts. If your old doors are solid wood, consider donating them to architectural salvage yards or Habitat for Humanity ReStores rather than sending them to the dump.
Common Mistakes to Avoid
Drawing from practical experience, several pitfalls consistently derail these projects:
- Skipping the Degreaser: Sanding over kitchen grease simply pushes the oil deeper into the wood grain. The paint will fail.
- Reusing Old Hinges: Installing beautiful new doors or freshly painted panels on worn-out, sagging hinges ruins the final look. Always upgrade to modern soft-close hinges.
- Ignoring Veneer Thickness: When refacing, adding a 1/16-inch veneer to the face frame slightly alters the dimensions. If you don't account for this when hanging doors, they will bind against each other.
- Rushing the Dry Time: Closing cabinet doors before the paint has fully cured causes them to stick together, tearing the finish off when opened. Use bumper pads and leave doors slightly ajar during the curing period.
- Mixing Methods: Attempting to reface upper cabinets while resurfacing lower cabinets rarely results in a uniform sheen or color match. Stick to one methodology throughout the room.
If your aesthetic leans toward moody, contrasting palettes, pairing dark finishes with complementary deep-toned flooring creates a striking, modern effect.
When Should You Choose Refacing?
Opt for cabinet refacing when:
- You hate your current door style (e.g., you want to transition from traditional arches to modern shaker profiles).
- Your existing doors are severely warped, cracked, or damaged beyond repair.
- Your cabinet boxes are high-quality plywood or solid wood, but the exterior is outdated laminate or peeling thermofoil.
- You require the extreme durability of a factory-baked finish.
- You are preparing a home for sale and need a guaranteed high-end, uniform appearance to maximize resale value.
When Should You Choose Resurfacing?
Opt for cabinet resurfacing when:
- You are working with a strict budget and have more time than money.
- You already love the profile and craftsmanship of your current doors.
- Your cabinets are solid hardwood that will accept stain or paint beautifully.
- You want to experiment with trending colors (deep greens, navy blues, warm taupes) without committing to the cost of new wood.
- You are a capable DIYer willing to invest the labor required for flawless surface preparation.
Frequently Asked Questions
Is resurfacing cheaper than refacing cabinets?
Yes, resurfacing is significantly less expensive. Because you are only purchasing finishing supplies—primer, paint, sandpaper, and degreaser—rather than custom-manufactured doors and veneers, the material costs are a fraction of a refacing project. If done as a DIY project, the savings are even more dramatic since you are investing sweat equity instead of paying for professional installation.
Can I reface my kitchen cabinets myself?
Technically yes, but it requires intermediate carpentry skills. You must accurately measure for custom doors, flawlessly apply adhesive veneer to frames without trapping air bubbles, and adjust European hinges so gaps are perfectly uniform. A single miscalculation in door sizing can stall the entire project. Most homeowners achieve better results hiring a specialist for refacing, while saving DIY efforts for resurfacing.
Will painting my cabinets decrease my home's value?
A poorly executed paint job featuring visible brush strokes, drips, or peeling edges will absolutely deter buyers. However, a professionally sprayed or meticulously prepped and painted finish using high-quality cabinet enamel adds perceived value by making the kitchen look updated and well-maintained. The key is never cutting corners on surface preparation.
How long does a resurfaced cabinet finish actually last?
A resurfaced finish typically lasts 8 to 12 years, provided you used a dedicated cabinet enamel and completed thorough degreasing and sanding beforehand. High-traffic areas around handles and edges near sinks will naturally show wear faster. Using high-quality primers and allowing adequate curing time before heavy use extends the lifespan considerably.
Can I combine refacing and resurfacing in one kitchen?
While physically possible, it is rarely recommended. Factory-finished refaced doors and site-painted resurfaced frames will likely exhibit subtle differences in sheen, texture, and color depth. Achieving a seamless, uniform look across the entire kitchen requires sticking to one consistent method from start to finish.
The Final Verdict
Deciding between kitchen cabinet resurfacing vs. refacing ultimately comes down to three factors: the structural integrity of your current boxes, your desired aesthetic outcome, and your budget.
If your goal is merely a color change and your existing doors are solid, well-built wood, resurfacing delivers incredible value and allows for extensive customization. If your doors are damaged, you despise the current style, or you demand the resilience of a factory finish, refacing is the superior investment that bridges the gap between a simple paint job and a total demolition.
Before purchasing a single sheet of sandpaper or ordering new doors, open your cabinets and inspect the joints, shelves, and hinge mounts. Ensure the bones of your kitchen are worth saving. Making the right diagnostic call today guarantees your updated kitchen will function beautifully and withstand daily life for the next decade.




