When your espresso machine stops producing coffee, the cause is often a water-supply or blockage problem rather than a dead machine. Common culprits include a water tank that is not seated properly, a clogged filter basket, a grind that is too fine, mineral scale buildup, or a pump that has lost its prime. Work from the simplest external checks inward. Stop before opening the casing: unplugging the machine is not sufficient qualification for internal repair, and some causes, such as a failed pump or an electrical fault, require a technician or the manufacturer’s service documentation.
Why Your Espresso Machine Is Not Making Coffee
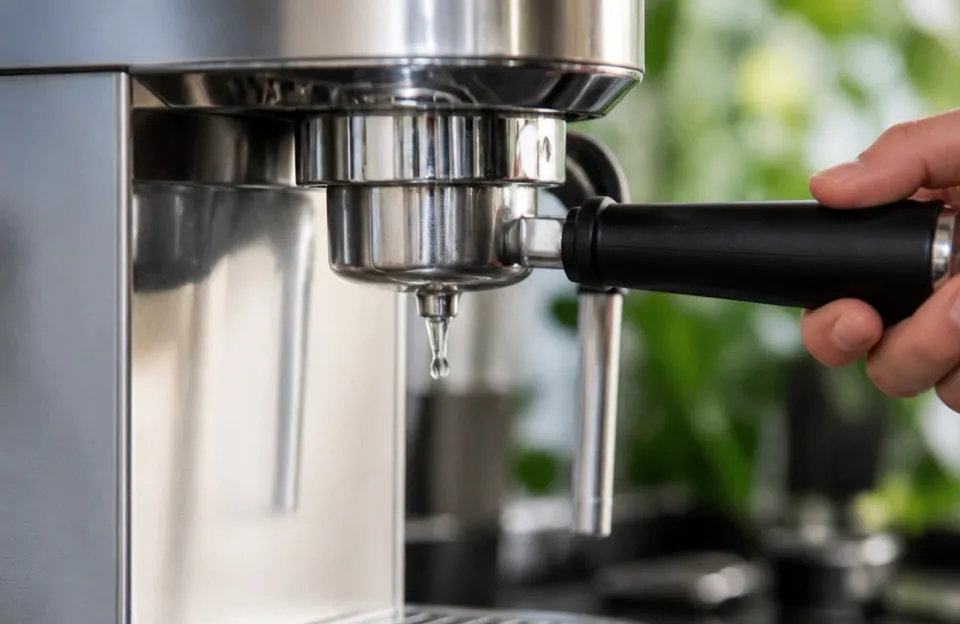
An espresso machine that stops producing coffee usually has an interruption somewhere along the water path, from the reservoir to the group head.
An espresso machine not making coffee often means water cannot travel from the reservoir to your cup. The interruption may sit somewhere along that path: the tank valve, the filter basket, the group head, the boiler, or the pump itself.
Start with the checks that require no tools and no disassembly. If those fail, move to cleaning and descaling, then to pump priming, and finally to electrical diagnosis. The order matters because it moves from free and safe to consequential and potentially warranty-voiding.
1. Check the Water Supply First
The simplest cause is also the most common: the water tank is not seated correctly. On many machines, the tank has a valve at its base that opens only when the tank is pressed fully into position, so a slightly lifted or misaligned tank can prevent water flow. Check your manual for the specific tank and valve design on your model.
Remove the tank, check that the valve moves freely, and reseat it firmly until it seats. Verify the water level is above the minimum line. If your machine has a removable water filter, check the manual for the correct installation and replacement interval.
2. Clear a Clogged Filter Basket
A filter basket with blocked holes restricts flow and can make it look like the machine has failed. Hold the basket up to a strong light and check that you can see through every hole. If some are blocked, clear them carefully with a needle or pin, working gently to avoid enlarging the holes.
For a deeper clean, mix espresso machine cleaner with hot water according to the manufacturer’s instructions, then soak the basket for about 20 to 30 minutes before scrubbing and rinsing. Rinse thoroughly so no detergent residue reaches your next shot.
3. Fix Grind Size and Tamping Pressure
Grind size and tamp pressure are user-controlled variables that can restrict flow. If the grind is too fine, water may struggle to push through the puck, and the pump may sound like it is working while little or nothing comes out. If the tamp is too heavy or uneven, a similar symptom can appear.
Try a coarser grind setting and a lighter, level tamp. If flow returns immediately, the issue was in your preparation, not the machine. If nothing changes, move on to scale and pump checks. Grind and tamp problems affect flow speed, so they are unlikely to be the cause of total silence.
4. Remove Mineral Scale Buildup
Scale from hard water can narrow the internal water path and eventually restrict it. How often you need to descale depends on your water hardness, daily use and, above all, your machine’s manual. Third-party guidance suggests a household on very hard unfiltered tap water might need to descale every 3 to 4 weeks, while the same machine on soft filtered water could go 6 months or longer. General guidance puts most home machines at roughly every 1 to 3 months, closer to monthly on hard water and closer to every 3 months on soft or filtered water. Treat these as rough starting points and follow your manufacturer’s schedule where one is given.
Use only manufacturer-approved descalers, such as the brand’s own solution or a third-party option the manual names, and follow the manufacturer’s exact cycle instructions. Procedures vary by model, so the manual and the descaler label control the concentration, soak time, flow path and rinse volume. Do not substitute a general sequence for your model’s instructions.
Avoid vinegar unless your manufacturer specifically approves it: some brands require their own descaler to keep warranties valid, and vinegar can leave odors that are hard to rinse out. Using more descaler than the label recommends is not advised.
5. Release an Air Lock in the Pump
A vibratory pump can lose its prime when the machine is stored for long periods, when the pump runs with no water in the reservoir, or when an air bubble forms in the flow path. You may hear the pump running loudly, but no water reaches the group head.
First, try turning the pump on and off several times with a few seconds between attempts, and never run a dry pump longer than a few seconds at a time. If that fails and the machine has a pressure gauge, check whether it reaches 9 to 10 bar while running: if it does, the pump is working and the clog is elsewhere.
If the gauge does not rise, check your manual for the manufacturer’s re-priming procedure before doing anything else. Some machines require a specific priming mode, and the steps differ between models. If the manual does not cover re-priming, or if it calls for removing panels, the pump or electrical connections, stop and contact the manufacturer or a qualified technician rather than attempting the repair yourself. If your machine is under warranty, check whether any procedure is covered before you attempt it.
6. Clean the Group Head and Shower Screen
Coffee oils and grounds accumulate on the group head and shower screen, restricting flow over time. Wipe the screen after each session, and remove it periodically for a deeper clean if your model allows.
Before you attempt any backflush, confirm that your machine supports it. Backflushing only works on machines that can release group pressure: an E61 group head (mechanical) or a machine with a three-way solenoid valve. Many single-boiler and entry-level machines cannot be backflushed at all. If the maker’s manual does not mention backflushing, assume it cannot be done.
If your manual confirms backflushing is supported, follow the manufacturer’s procedure exactly. A water-only backflush uses a blank (blind) basket in the portafilter so water has nowhere to go forward and is pushed back through the shower screen and out the discharge valve. Detergent backflushing frequency and method are model-specific; check the manual before using any cleaning powder.
Never use descaler to backflush: descaler is an acid made for mineral scale in the boiler and water path, and running it back through the group can attack the group seal and brew-path parts. Use a dedicated espresso machine detergent instead.
On a Breville Barista Express, a flashing CLEAN/DESCALE light means cleaning is due, while a solid light means descaling is due.
7. Check the Solenoid Valve
On machines that use a three-way solenoid valve, the valve routes water to the group during brewing and releases pressure to the discharge path when the shot ends. If it sticks open or closed, water may flow continuously, leak, or fail to reach the group head. On machines that can be backflushed, regular backflushing helps prevent the discharge valve from gumming up, which can cause dripping or sticking.
Solenoid valve diagnosis and replacement are model-specific, and the symptoms above can also point to a pump, blockage or control fault. Consult your machine’s service documentation or contact the manufacturer before attempting to test or replace the valve, because incorrect handling can damage the valve or the control board.
Electrical and Pump Failures
If the pump makes only a quiet hum instead of its usual vibration sound, it may have failed and need replacement. Pump replacement and capacitor or control board work require opening the machine casing, which carries shock risk and can void your warranty. If your machine is still under warranty, contact the manufacturer before opening anything.
Unplugging the machine is not sufficient qualification for internal repair. If you are not a qualified technician, stop and contact the manufacturer or a qualified technician. If you are qualified and proceed, follow your machine’s official service documentation for the correct discharge time and component-specific guidance, because some machines retain residual electrical charge in capacitors. Do not rely on a fixed waiting time.
Quick Troubleshooting Checklist
- Reseat the water tank and confirm the water level is above minimum.
- Hold the filter basket to the light and clear any blocked holes.
- Try a coarser grind and a lighter, level tamp.
- Descale with a manufacturer-approved solution if scale is likely.
- Turn the pump on and off several times with a few seconds between attempts to clear an air lock.
- Clean the group head and shower screen, and backflush only if your machine supports it.
- Check the gauge: 9 to 10 bar means the pump works and the clog is elsewhere.
- If the pump hums quietly or fails entirely, stop and consider professional repair or replacement.
- If the manual does not cover the repair, or if it involves opening the casing or handling electrical parts, contact the manufacturer or a qualified technician.
This order moves from free, external checks to consequential ones. It is a practical sequence, not a measured likelihood of each cause. Scale in the boiler, a stuck solenoid, or a failed pump may need a model-specific cleaning routine or a technician, and the manual or manufacturer is the controlling source for those steps.




