Coating chicken wings in baking powder before air frying is a practical way to push the skin toward crispness without deep frying. The powder is alkaline, and a light dusting is often described as helping the surface dry and brown faster under high heat. Start with about one teaspoon of aluminum-free baking powder per pound of raw wings, pat the skin very dry first, and always confirm the meat reaches a safe internal temperature.
This guide covers why the technique is used, how much powder to add, how baking powder differs from baking soda, and the prep steps that matter most. It also explains how to arrange the basket, set a workable temperature schedule, check doneness safely, and fix batches that turn out chalky, bitter, or rubbery.
Why Baking Powder Creates Crunch in an Air Fryer
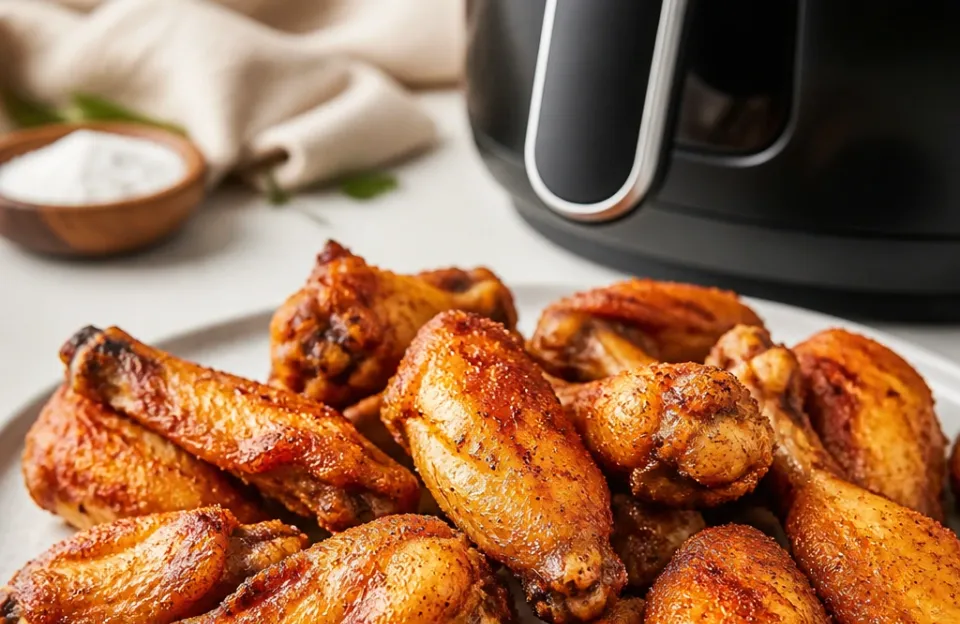
Raw chicken skin holds a lot of water. In a hot environment, that surface moisture has to evaporate before browning can really take hold. An air fryer helps because it moves hot air rapidly around the food, which speeds evaporation compared with still air.
Baking powder is alkaline, and it is often described as raising the pH of the skin’s surface, which may encourage faster browning and a crisper texture. The exact size of that effect is not well quantified in the sources available here, so treat the chemistry as a helpful explanation rather than a precise formula. What matters practically is that a thin, even coating plus dry skin plus strong airflow gives the surface a better chance to crisp.
The air fryer suits this approach because it forces heated air against exposed surfaces. If wings are crowded or wet, that airflow is blocked and the skin steams instead of crisping.
Aluminum-Free Powder Prevents Metallic Taste
Many cooks recommend aluminum-free baking powder for this method as a precaution. Standard baking powder can contain sodium aluminum sulfate as part of its acid blend, and some cooks report a metallic or bitter note when it is used on chicken skin at high heat. That reported threshold is not firmly established in the sources here, so the aluminum-free choice is best treated as a sensible default rather than a proven necessity.
Aluminum-free versions use different acid salts, such as monocalcium phosphate or sodium acid pyrophosphate. Check the ingredient label before you start, and if you see aluminum listed, consider a different canister for this technique.
Baking Soda Is Too Harsh for Chicken Skin
Baking soda is pure sodium bicarbonate, and it is a different ingredient from baking powder. Coating wings in straight baking soda is widely described as harsher, and it can leave skin tasting soapy or metallic. Baking powder dilutes the sodium bicarbonate with starch and acid, which gives a more controlled reaction.
Stick with baking powder unless you are prepared to measure very small amounts with precision. For most home cooks, baking soda is not a safe swap in this method.
How Much Baking Powder per Pound of Wings
The ratio matters as much as the ingredient. Too little powder does little; too much can leave a gritty film on the cooked skin.
Aim for roughly one teaspoon of aluminum-free baking powder per pound of raw chicken wings as a starting point. Some sources suggest reducing the amount for air fryer adaptations, so treat the ratio as adjustable rather than fixed. If you have two pounds of split wings, start with about two teaspoons.
| Wing Weight | Baking Powder Amount | Salt Suggestion |
|---|---|---|
| 1 pound | 1 teaspoon | 1/2 teaspoon |
| 2 pounds | 2 teaspoons | 1 teaspoon |
| 3 pounds | 1 tablespoon | 1.5 teaspoons |
| 4 pounds | 4 teaspoons | 2 teaspoons |
Mix the baking powder with your salt and any dry spices before applying it to the meat. Distributing the powder evenly helps prevent clumps, and a concentrated pocket of powder can create a bitter spot on the finished wing. Toss everything in a large bowl using your hands or tongs until every piece has a light, even dusting.
Getting the Wings Dry Before Coating
Baking powder needs to work on a relatively dry surface. If the skin is soaking wet from the packaging, the powder turns into a paste, which can block airflow and steam the chicken underneath.
Take the wings out of their package and spread them on a layer of paper towels. Pat the tops dry with more paper towels and press firmly. You want to remove as much surface liquid as possible. Some cooks leave the patted wings uncovered on a wire rack in the refrigerator for several hours or overnight, which dries the skin further.
If you skip the refrigerator rest, the wings can still crisp, provided you pat them thoroughly. Just don’t apply the powder to dripping wet meat. The coating should look dusty and matte, never slick or wet.
Arranging the Basket for Maximum Airflow
An air fryer relies on space. If you stack wings on top of each other, hot air cannot reach the bottom pieces, and the trapped moisture between stacked wings creates steam. Overcrowding the basket can prevent enough air circulation to cook the food properly. When air frying a large amount of food, it may be best to cook in batches rather than filling the basket at once.
Place the coated wings in a single layer in the basket and leave a small gap between each piece. Depending on the size of your appliance, you might only fit six to eight wing segments at a time. Cooking in batches usually gives better results than cramming everything in at once.
If your air fryer came with a crisper plate or a raised rack, use it. Elevating the wings lets air circulate underneath as well as over the top, which helps prevent soggy bottoms while the tops brown.
Temperature Stages for Crispy Results
Starting at maximum heat immediately can burn the coating before the fat under the skin renders out. Rendered fat helps fry the skin from the inside while the hot air crisps it from the outside.
A two-stage approach is a common starting point. Begin at 360°F for the first 15 minutes to melt the subcutaneous fat slowly. After 15 minutes, open the basket and flip the wings. Then increase the temperature to 400°F for the remaining 10 to 15 minutes. The higher heat finishes the browning and helps the skin puff into crisp bubbles.
Foods generally require 5 to 25 minutes of cooking at 350°F to 400°F in an air fryer, and manufacturer instructions should be followed when available. Because air fryer wattage varies between brands, cooking times vary with appliance size and power. Treat any schedule as a starting point and rely on a thermometer rather than the clock alone.
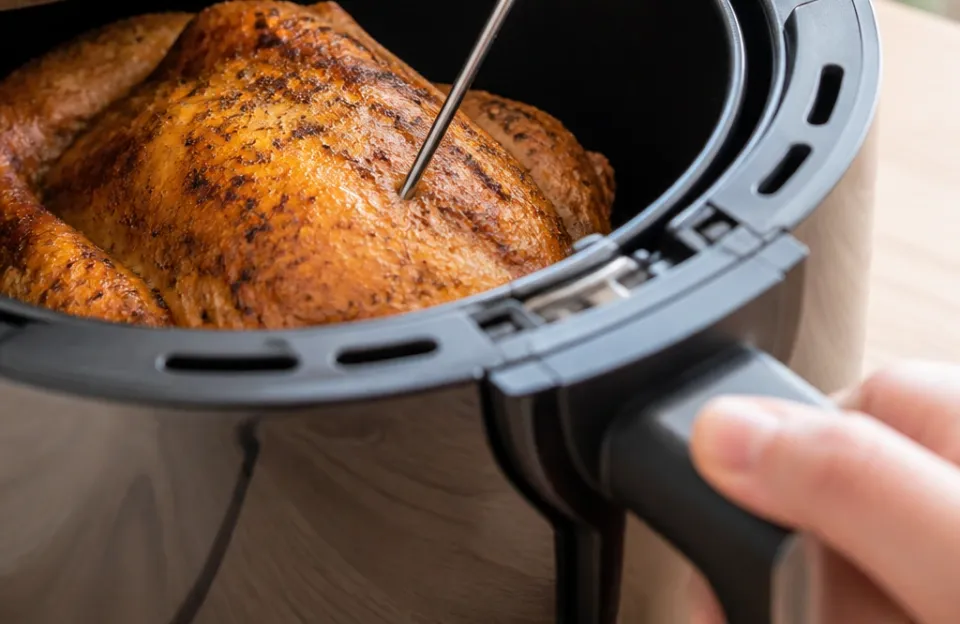
Poultry must reach 165°F internally. Insert the probe into the thickest meat section, avoiding the bone. Using a food thermometer is the only reliable way to confirm that food has reached a safe minimum internal temperature. Visible color and firmness are not reliable indicators that poultry is safely cooked.
If you want to check several wings quickly, an optional instant-read thermometer makes the job easier; it is not required, and any thermometer that reads accurately will do. When testing, probe the thickest part of the drumette or flat and stay away from the bone.
Applying Sauces After the Cook
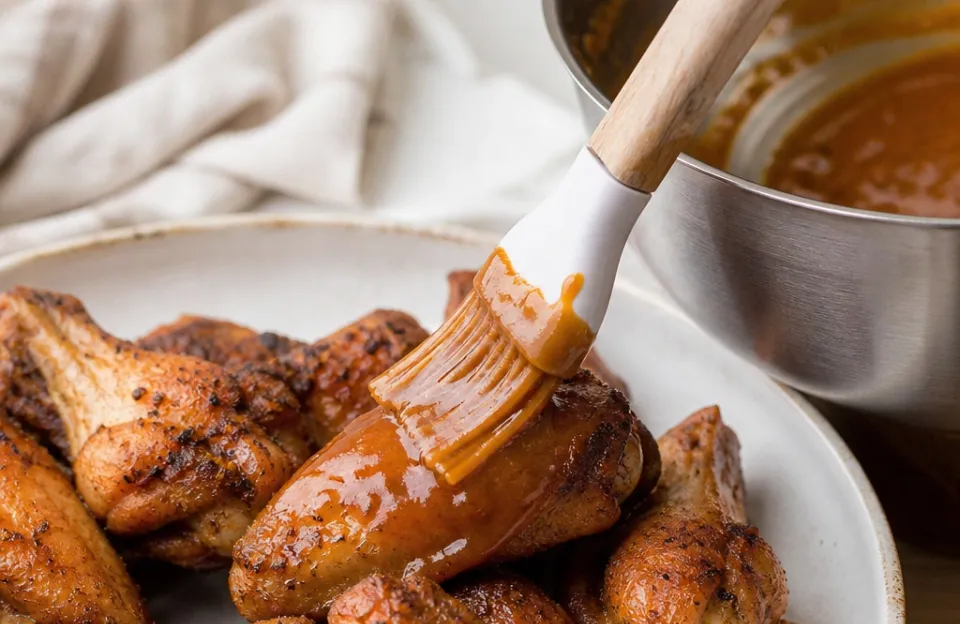
Sauce introduces sugar and liquid. Sugar can burn quickly at 400°F, and liquid softens the crust you just built. For that reason, sauce is best added after cooking when you use the baking powder method.
Cook the wings with only the baking powder, salt, and dry spices. Once they reach 165°F internally and the skin feels crisp when tapped, transfer them to a large mixing bowl. Pour your warmed sauce over the hot wings and toss gently. The residual heat helps the sauce cling to the blistered surface without soaking through immediately.
Serve them right away. How long the crunch lasts after saucing depends on the sauce and the batch, so taste as you go rather than relying on a fixed window.
Troubleshooting Chalky, Bitter, or Rubbery Skin
Sometimes a batch comes out wrong despite following the steps. The skin might look white and dusty, or it might taste sharp and unpleasant. These are common causes and fixes.
Using baking soda instead of baking powder. Pure sodium bicarbonate is stronger and harsher than baking powder. Double-check your canister and make sure the words “baking powder” are printed clearly on the label.
Adding too much powder. More is not better. Exceeding roughly one teaspoon per pound can overwhelm the surface, and the excess powder cannot dissolve during the cook, so it sits there as a dry, bitter crust. Measure with actual spoons rather than shaking it blindly from the container.
Failing to pat the wings dry. If the skin is wet, the powder forms a thick paste. Paste does not crisp; it cakes. Take the extra minute to press the moisture out with paper towels before seasoning.
Skipping the flip. The side resting against the basket grates receives less direct airflow. If you do not flip the wings halfway through the cook, the bottom stays damp and pale while the top browns. Flipping helps even exposure.
Not rendering the fat first. Jumping straight to 400°F can sear the outside while trapping liquid fat beneath the skin, which can make the skin rubbery instead of brittle. The initial lower-temperature phase helps melt that barrier.
Crowding the basket. Overcrowding prevents air circulation and traps steam. Cook in smaller batches when needed.
Does This Method Work for Drumsticks or Thighs
The baking powder technique applies to any piece of chicken with intact skin. Drumsticks, bone-in thighs, and whole leg quarters are all candidates for the same approach.
However, larger cuts require adjusted timing. A thick thigh takes longer for heat to penetrate to the bone than a small wing flat. Keep the same one-teaspoon-per-pound ratio as a starting point, and keep the two-stage temperature approach. Extend the lower-heat phase by five to ten minutes so the thicker fat cap can render fully before you turn up the dial.
Boneless, skinless chicken breasts are not a good fit for this trick. The reaction depends on skin proteins and subcutaneous fat to create the textural change, so reserve the method for skin-on poultry.
One caution: FSIS advises against cooking raw, stuffed breaded chicken breast products in an air fryer. That guidance applies to those specific products, not to plain wings.
Food Safety Basics for Raw Poultry
Raw poultry needs careful handling to avoid cross-contamination. Wash your hands with soap and water for 20 seconds before and after preparing food. Keep raw poultry away from ready-to-eat foods, and do not place cooked food on a plate that previously held raw poultry.
Refrigerate leftover cooked food within 2 hours to avoid the temperature danger zone between 40°F and 140°F. For poultry, the safe minimum internal temperature is 165°F (73.9°C), and this applies to wings as well as other poultry parts. A food thermometer is the only reliable way to confirm doneness, and color or firmness are not reliable substitutes.
When you probe a wing, insert the thermometer into the thickest area and avoid the bone. Bone conducts heat differently and can give misleading readings.
Frequently Asked Questions
Can I Use Cornstarch Instead of Baking Powder?
Cornstarch absorbs moisture and adds some crunch, but it does not change the pH of the skin. You get a harder crust, closer to fried chicken batter, rather than the delicate, bubbly blistering associated with baking powder. Some cooks combine a small amount of cornstarch with baking powder for a hybrid texture, but cornstarch alone lacks the alkaline browning effect.
Do I Need to Spray the Wings with Oil First?
No. Chicken skin contains plenty of natural fat, and the baking powder helps draw that fat to the surface where hot air renders it. Adding extra oil can increase smoking in a compact air fryer, especially at 400°F. Let the bird provide its own cooking fat.
Will Baking Powder Make the Wings Taste Salty?
Baking powder contains sodium, but it does not taste distinctly salty in these small quantities. Bitterness people associate with this method tends to come from using too much powder or from an aluminum-containing product. If you stick to about one teaspoon per pound of an aluminum-free product, the flavor should stay neutral enough to let your dry rub shine.
Can I Prep the Wings the Night Before?
Yes, and doing so can improve the final texture. Coat the dried wings in the baking powder mixture, place them on a wire rack set over a baking sheet, and leave them uncovered in the refrigerator overnight. The cold air dries the skin further while the powder continues to work on surface proteins. Cook them straight from the refrigerator the next day.
Why Did My Smoke Alarm Go Off During Cooking?
Air fryers run very hot in a compact space. If drippings fall onto the heating element or if you added unnecessary oil, it can smoke heavily. Make sure your basket is clean before starting, and check that the baking powder didn’t clump and fall through the basket grate.
Is It Safe to Eat the Baking Powder Coating?
Baking powder is a standard leavening agent used in cakes, biscuits, and breads. At about one teaspoon per pound of meat spread across multiple pieces, the amount consumed per serving is small and considered food-safe.
Before You Fire Up the Basket
Getting crunchy skin from a countertop appliance comes down to controlling moisture and giving the surface room to brown. Pat the meat dry, measure about one teaspoon of aluminum-free powder per pound, arrange the pieces in a single layer, and respect the two-stage temperature curve.
Skip the heavy sauces until the wings are fully cooked and verified at 165°F. Use a thermometer, stay away from the bone when probing, and handle raw poultry carefully to avoid cross-contamination. Follow those parameters and the skin has a much better chance of blistering the way you want, without a drop of deep fryer oil.