You should wash removable parts like the carafe and filter basket after every single use. Run a descaling cycle with vinegar or a commercial solution every three to six months to remove mineral buildup. If you brew daily or live in an area with hard water, increase deep cleaning frequency to once every one to two months.
This schedule keeps your coffee tasting fresh and prevents mold or bacteria from growing in damp internal components. Most people clean the visible parts but ignore the internal tubing and heating elements until the machine breaks or the coffee tastes bitter. Sticking to this simple rhythm extends the life of your brewer and ensures every cup is safe to drink.
The Daily Routine for Fresh Coffee
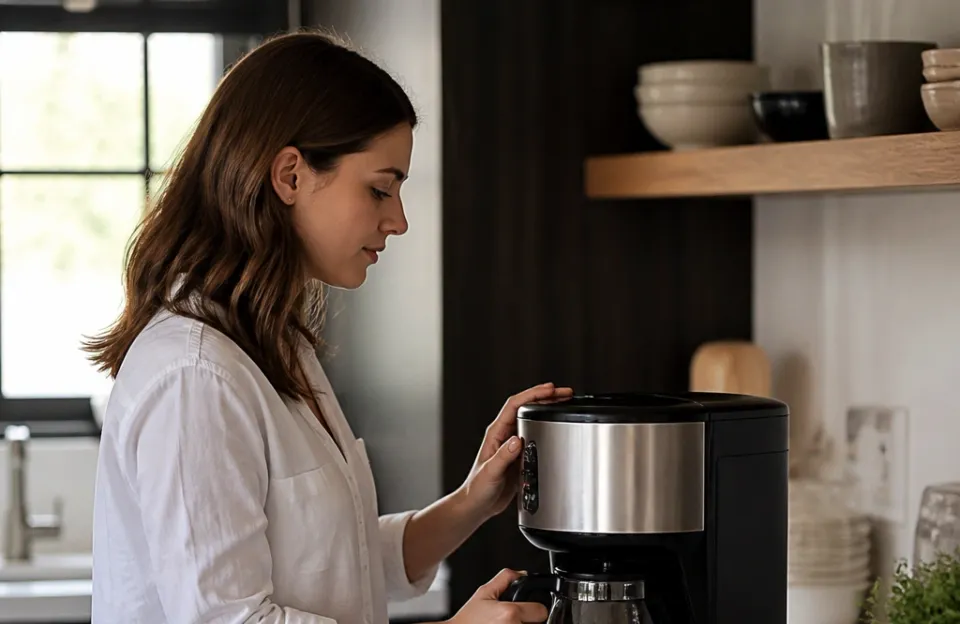
Daily maintenance takes less than two minutes and prevents the majority of flavor issues. Coffee oils are organic compounds that oxidize quickly. They coat glass, plastic, and metal surfaces within hours of brewing.
If left unwashed, these oils turn rancid and impart a sour, stale taste to future batches. No amount of fresh beans can mask residue from yesterday’s brew.
After your morning cup, disassemble all removable components. Wash the carafe, lid, filter basket, and reusable mesh filter with warm soapy water. Rinse thoroughly to avoid soap residue.
Let these parts air dry completely before reassembling. Moisture trapped inside a closed machine creates an ideal environment for microbial growth. Leaving the lid open or leaving parts out to dry is better than sealing a damp machine.
Wipe the exterior and warming plate with a damp cloth. Splashes and spills on the warming plate bake onto the surface when heated. This creates burnt odors that transfer to the carafe during the next brew.
A quick wipe while the plate is cool prevents this accumulation.
Do not leave wet grounds in the filter basket. Even if you plan to brew again soon, discard spent grounds immediately. Wet coffee grounds begin molding within twenty-four hours at room temperature.
Spores spread into the basket and shower head even if you cannot see visible growth yet.
If you use a reusable metal or nylon filter, inspect it closely during daily washing. Fine grounds clog mesh over time. Soak the filter in hot soapy water for ten minutes once a week to dissolve trapped oils.
Hold it up to light to verify water flows through freely. A clogged filter causes overflow and uneven extraction.
Deep Cleaning and Descaling Schedules
Descaling removes mineral deposits that accumulate inside the heating element and water lines. Tap water contains dissolved calcium and magnesium. When heated, these minerals precipitate out as solid scale.
Scale acts as an insulator on heating elements, forcing the machine to work harder and run hotter. It also narrows water pathways, reducing flow rate and brew temperature consistency.
The standard recommendation is descaling every three to six months. This assumes average water hardness and moderate use. Your actual schedule depends entirely on your local water chemistry and brewing volume.
Hard water areas may require monthly descaling. Soft water or filtered water users might stretch to six months or longer.
Watch for physical signs that scale is building up. Longer brew times indicate restricted water flow. Excessive steam or noise during brewing suggests the heating element is struggling.
Visible white crust around the spout or in the reservoir is a clear warning. Coffee that tastes flat or lacks acidity often means minerals are interfering with extraction. Do not wait for the machine to stop working entirely.
By then, damage may be irreversible.
Use either white distilled vinegar or a commercial descaling solution. Vinegar is effective and inexpensive. Mix equal parts vinegar and water.
Run the brew cycle halfway, pause for thirty minutes to let the acid dissolve scale, then complete the cycle. Follow with two to three cycles of fresh water to rinse. Commercial solutions are odorless and formulated specifically for coffee makers.
They cost more but eliminate the risk of lingering vinegar taste. Check your manufacturer’s guidelines before choosing. Some brands void warranties if vinegar is used, though this is increasingly rare.
Never use bleach or harsh chemical cleaners inside the water system. These substances degrade rubber seals and plastic components. They also pose serious health risks if not rinsed perfectly.
Stick to food-safe acids designed for beverage equipment.
For machines with built-in grinders, clean the grinder burrs monthly. Oils and fine particles compact in the grinding chamber. Use a soft brush or specialized grinder cleaning tablets.
Never submerge electric grinder components in water unless the manual explicitly permits it. Refer to our guide on espresso machine types if you own a semi-automatic or super-automatic model, as their internal cleaning requirements differ significantly from drip brewers.
Adjusting Frequency Based on Usage and Water Type
Your cleaning calendar should reflect how you actually use the machine. A household brewing twelve cups daily faces different demands than someone making a single weekend pour-over. Volume drives contamination speed and mineral accumulation rate.
High-volume households need stricter schedules. Brew four or more pots per week? Descale every two months minimum.
Wash removable parts immediately after each use without exception. Consider running a water-only flush cycle weekly to clear residual oils from internal tubing. Commercial offices or shared spaces should treat cleaning as a daily operational task, not a periodic chore.
Low-volume users have more flexibility. Brewing two to three times weekly allows extending descaling intervals to four or six months. Daily washing of removable parts remains non-negotiable regardless of frequency.
Mold does not care whether you brewed today or last Tuesday. Damp residue breeds contamination equally.
Water hardness is the other critical variable. Test your water with an inexpensive strip test available at hardware stores. Results are measured in grains per gallon (gpg) or parts per million (ppm).
Below 3 gpg is soft. Three to 7 gpg is moderate. Above 7 gpg is hard.
Soft water users can safely extend descaling intervals. Hard water users must shorten them. If you use a whole-house softener or reverse osmosis system, your machine experiences minimal scaling.
Descaling once or twice yearly may suffice.
Filtered water changes the equation. Pitcher filters and faucet mounts reduce some minerals but rarely eliminate them entirely. They improve taste and reduce chlorine but do not prevent scale formation.
Continue monitoring for physical signs even when using filtered water. Only distillation or true reverse osmosis removes enough minerals to dramatically alter descaling needs.
Seasonal adjustments matter too. Summer humidity accelerates mold growth in stored machines. If you take a vacation or pause brewing for weeks, perform a full clean and descale before storage.
Leave the reservoir empty and lid open. Upon returning, run a fresh water cycle before brewing coffee. Winter heating dries indoor air, slowing microbial growth but concentrating minerals if you refill less frequently.
Stay observant rather than rigidly calendar-bound.
Signs Your Machine Needs Immediate Attention
Scheduled cleaning prevents most problems, but machines sometimes signal distress between maintenance windows. Recognizing these warnings early avoids permanent damage and bad-tasting coffee.
Visible mold or slime is an emergency. Black, green, or pink film in the reservoir, on the shower head, or inside the carafe means active biological growth. Stop using the machine immediately.
Perform a full disassembly and sanitize all accessible parts. Run multiple descaling and rinse cycles. If mold persists in unreachable internal tubing, replacement may be safer than continued cleaning attempts.
The CDC notes that mold exposure can trigger allergic reactions and respiratory irritation, making prompt action a health priority rather than just a maintenance issue.
Unusual tastes or odors demand investigation. Metallic flavors suggest corrosion or excessive mineral contact. Bitter, ashy notes point to burnt oil residue.
Sour or vinegary tastes (when you have not recently descaled) indicate bacterial activity. Plastic or chemical smells may signal degrading components or manufacturing residues in new machines. None of these are normal.
Each has a specific cause requiring targeted cleaning or part replacement.
Performance degradation often traces to neglect. Slow brewing usually means clogged lines or scaled heating elements. Inconsistent temperatures result from scale insulation on thermostats.
Leaks develop when mineral deposits prevent valves from sealing properly. Strange noises during operation suggest pump strain from blockages. Address these promptly.
Delayed response turns cleanable problems into terminal failures.
Error lights or indicator messages on modern machines are direct communication. Many brewers now include clean or descale reminder lights based on brew count or elapsed time. Do not ignore or reset these without performing the indicated maintenance.
The sensor triggering the alert measures actual conditions inside your specific unit. Trust its assessment over generic calendar advice.
Coffee quality itself is a diagnostic tool. If your usual beans suddenly taste wrong despite unchanged grind size and ratio, suspect the machine. Brew a test batch with bottled distilled water.
Improvement confirms mineral or residue issues. No change points to bean freshness or grinder problems instead. This simple isolation test saves wasted troubleshooting time.
Common Cleaning Mistakes That Damage Equipment
Well-intentioned cleaning can harm your coffee maker if done incorrectly. Avoiding these errors protects your investment and maintains warranty coverage.
Using abrasive scrubbers on plastic or coated surfaces creates micro-scratches. These scratches harbor bacteria and oils permanently. They also dull finishes and weaken structural integrity over time.
Soft sponges, microfiber cloths, and nylon brushes are sufficient for all coffee maker surfaces. Steel wool and scouring pads belong in the trash, not near your brewer.
Submerging electrical bases or control panels is catastrophic. Water ingress corrodes circuits and creates shock hazards. Only removable parts rated dishwasher-safe should enter water.
Wipe fixed components with damp cloths only. Unplug the machine before any cleaning involving liquid. This seems obvious, yet repair shops regularly receive water-damaged units from owners who assumed "waterproof" meant "submersible."
Overusing cleaning agents causes residue buildup. More vinegar does not mean cleaner. Excess acid attacks rubber gaskets and silicone seals.
Concentrated detergents leave films that affect taste. Always follow dilution ratios precisely. When in doubt, use less rather than more.
Multiple mild cycles outperform one aggressive treatment.
Neglecting the water reservoir cap and seal invites contamination. These small parts collect condensation and splash-back. Mold colonizes the underside where airflow is limited.
Remove and wash caps during every deep clean. Inspect silicone seals for cracks or discoloration. Replace worn seals proactively.
They cost dollars; ignoring them costs machines.
Assuming self-cleaning cycles replace manual cleaning is dangerous. Automated programs handle internal descaling only. They do not wash carafes, baskets, or exterior surfaces.
They cannot remove physical debris or biofilm from accessible areas. Treat self-clean functions as supplements to, not replacements for, hands-on maintenance.
Storing a damp machine guarantees problems. Closing the lid over a wet reservoir traps moisture. Residual water in lines stagnates.
Always run a dry cycle or leave components separated until fully dry before long-term storage. Five minutes of drying prevents weeks of remediation later.
Frequently Asked Questions About Coffee Maker Maintenance
Can I put my coffee maker parts in the dishwasher?
Most glass carafes and plastic filter baskets are top-rack dishwasher safe. Check your specific model’s manual first. High heat on bottom racks warps plastic components.
Hand washing remains gentler and extends part lifespan. Never place electrical components or sealed assemblies in dishwashers.
Does using filtered water eliminate the need for descaling?
No. Standard carbon filters reduce chlorine and improve taste but retain enough minerals to cause scaling over time. Only reverse osmosis or distillation removes sufficient minerals to significantly extend descaling intervals.
Monitor your machine for physical signs regardless of filtration method. Filtered water slows accumulation but does not stop it.
Is vinegar safe for all coffee makers?
Most manufacturers approve diluted white vinegar for descaling. A few premium brands specify proprietary solutions only. Check your warranty terms and user manual before proceeding.
Vinegar is generally safe for glass, stainless steel, and food-grade plastics. Avoid using it in machines with aluminum boilers unless explicitly approved. Commercial descalers offer a universal alternative when uncertainty exists.
How do I clean a coffee maker that has been sitting unused for months?
Perform a complete deep clean before brewing. Disassemble and wash all removable parts. Inspect for visible mold or dried residue.
Run a full descaling cycle followed by three fresh water rinse cycles. Smell and taste test the final rinse water. Any off-flavors or odors mean repeat the process.
Discard the first two batches of actual coffee as a precaution.
Why does my coffee still taste bad after cleaning?
Residual cleaning agent is the most common cause. Run additional fresh water cycles until no trace remains. Alternatively, the problem may lie outside the machine.
Stale beans, incorrect grind size, or dirty grinders all produce poor flavor independently. Isolate variables by testing with known-fresh beans and proper technique after confirming the machine is truly clean.
Regular attention to your coffee maker pays dividends in both cup quality and equipment longevity. Establishing habits around daily washing and periodic descaling prevents the vast majority of issues home brewers face. Listen to your machine’s signals and adjust schedules to match your actual water and usage patterns rather than following arbitrary timelines.
Clean equipment makes better coffee. That is simply true.
As an Amazon Associate, we earn from qualifying purchases.



10 thoughts on “How Often Should You Clean Your Coffee Maker? Expert Tips”