Resetting and calibrating a digital food scale takes about five minutes. You need the right calibration weight, a flat surface, and your scale's manual. Most kitchen scales use a simple button sequence to enter calibration mode, followed by placing a known weight on the platform until the display confirms accuracy.
Knowing how to reset and calibrate a digital food scale fixes drifting numbers, incorrect readings after a battery change, or errors caused by moving the scale to a new counter. This guide walks through the exact steps for resetting the device, running a calibration cycle, testing the result, and handling common problems that pop up along the way.
Why Kitchen Scales Lose Their Accuracy Over Time
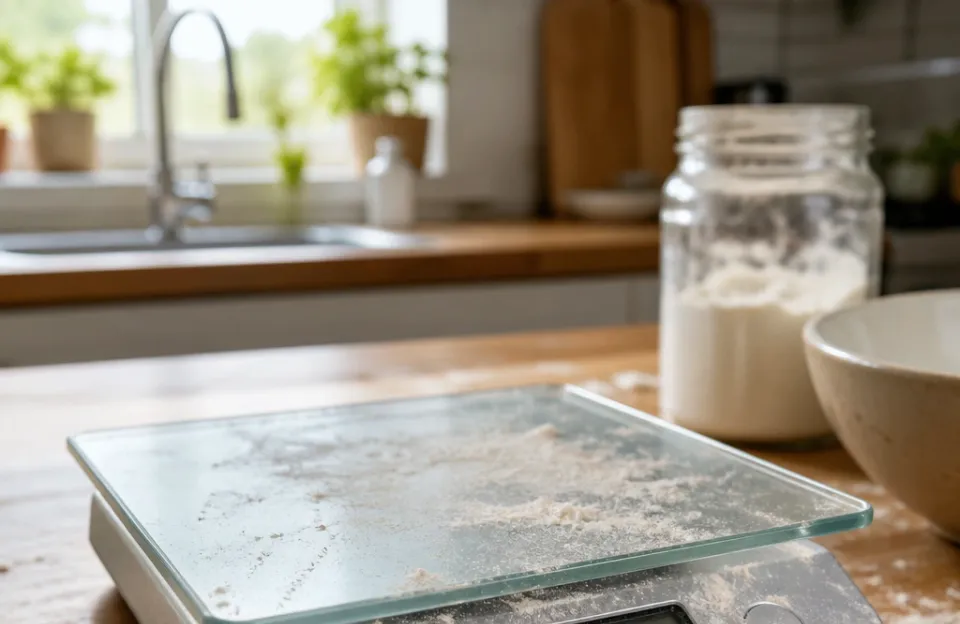
Digital food scales rely on a load cell. This small metal component bends slightly when you place an item on the platform. A strain gauge measures that bend and converts it into a digital number.
Over time, normal wear changes how the load cell responds. Dropping the scale, overloading it, or even shipping it across the country can shift its baseline.
Temperature swings cause similar drift. Moving a scale from a cold pantry to a warm kitchen counter changes the electrical resistance inside the sensor. The scale might read 102 grams for what is exactly 100 grams of flour.
That two-gram difference matters in baking. Precision tasks like measuring espresso doses or dividing curing salts require exact numbers.
Batteries also play a role. As voltage drops, the analog-to-digital converter inside the scale gets less stable. You might notice flickering digits or readings that jump around before settling.
Swapping in fresh batteries often fixes this, but the scale still needs a reset afterward to clear any stored errors.
Signs Your Scale Needs Recalibration
A few clear symptoms tell you it is time to run a calibration cycle. The most obvious is inconsistent readings. Weigh the same apple three times.
If you get 150g, then 147g, then 153g, the sensor has drifted. Another sign is a failure to return to zero. When the platform is empty, the screen should read 0.0.
If it shows 2g or -1g without anything on top, the internal offset is wrong.
You should also recalibrate after changing the power source. Replacing standard AA batteries with rechargeable ones changes the voltage output slightly. Standard alkaline cells provide 1.5 volts each.
Rechargeable NiMH cells provide 1.2 volts. Many scales compensate for this automatically, but cheaper models do not. Running a quick calibration after swapping batteries removes any doubt.
Tools Needed Before Resetting a Digital Food Scale
Gather these items before starting. Having everything ready prevents the scale from timing out while you search for a weight.
- The correct calibration weight: Check your manual for the required mass. Common values are 100g, 500g, 1000g, or 5kg depending on the scale's capacity.
- Fresh batteries or a fully charged power adapter: Low power causes calibration failures.
- A hard, level surface: Granite, laminate, or solid wood works well. Avoid silicone mats, cutting boards with rubber feet, or uneven tile grout lines.
- The user manual: Button sequences vary wildly between brands. You need the specific combination for your model.
If you lost the manual, most manufacturers host PDF versions on their websites. Look up your exact model number. Do not guess the calibration weight.
Using a 500g weight on a scale programmed to expect 1000g will corrupt the calibration data. For reference on measurement standards, organizations like the National Institute of Standards and Technology maintain strict guidelines on how weights and measures must perform, which is why using a certified calibration mass matters.
If you do not own a certified calibration weight, you have a few options. You can buy one online for a few dollars. Some people use coins as a temporary substitute.
In the US, a brand-new nickel weighs exactly 5.000 grams. Twenty nickels equal 100 grams. This works for a rough check, though minted coins wear down over time and lose fractions of a gram.
For serious baking, buy a proper steel calibration weight.
| Calibration Weight | Common Scale Capacity | Best Used For |
|---|---|---|
| 100g | Up to 500g | Jewelry, coffee dosing, spices |
| 500g | Up to 3kg | Baking, portion control |
| 1000g (1kg) | Up to 5kg | General cooking, meal prep |
| 5000g (5kg) | Up to 10kg+ | Bulk ingredients, large batches |
How to Perform a Factory Reset on Your Scale
A factory reset clears custom settings and returns the scale to its default state. It does not always fix calibration issues, but it clears software glitches that prevent the calibration mode from activating.
Locate the reset mechanism. On many pocket scales and compact food scales, there is a tiny pinhole on the back or bottom. Insert a straightened paperclip gently until you feel a click.
Hold it for three seconds, then release. The screen will flash or go blank, then restart.
Larger countertop scales rarely have a pinhole. They usually require a button combination. A very common method involves holding the "Tare" and "Power" buttons simultaneously for five to ten seconds.
Another approach is removing the batteries, pressing and holding the power button for thirty seconds to drain residual charge from the capacitors, and then reinstalling the batteries. Always defer to your specific manual.
After the reset, turn the scale on. Place it on your flat surface. Let it sit empty for about ten seconds so the load cell can settle.
Press the Tare or Zero button. The display should read exactly 0.0 in whatever unit you selected. If it holds steady at zero, you are ready to calibrate.
If the numbers keep drifting, replace the batteries again or check for debris under the weighing platform. Speaking of keeping your gear clean, wiping down your counters and appliances regularly helps; if you need advice on maintaining other kitchen tools, routine cleaning prevents buildup that can interfere with sensitive electronics.
Calibrating the Load Cell With the Correct Weight
This is the core process. Every digital food scale uses a variation of these steps, but the exact button presses depend on your brand.
- Turn the scale on and place it on a hard, flat surface. Wait for the display to stabilize at zero.
- Enter calibration mode. This usually means holding down a specific button (often labeled "CAL", "Mode", or "Unit") for three to five seconds. The screen will typically display "CAL" or start flashing a number.
- Read the requested weight. The display will show the exact mass it expects. It might say "1000" or "500". Do not proceed until you have that exact weight ready.
- Place the calibration weight gently in the dead center of the platform. Do not drop it. Do not slide it. Set it down softly.
- Wait for confirmation. The scale will process the input. After a few seconds, the display will either show "PASS", "END", or simply return to the normal weighing screen showing the exact weight you placed on it.
- Remove the weight. The screen should immediately return to 0.0. If it reads 0.1 or -0.1, press the Tare button once.
That is it. The scale has now mapped the electrical signal from the load cell to the physical mass of your calibration weight. All future measurements will be based on this new reference point.
Handling Scales Without a Dedicated CAL Button
Budget scales sometimes hide the calibration function. A frequent hidden sequence involves turning the scale off, then holding the "Unit" button while pressing "Power". Keep holding "Unit" until the screen lights up with a different prompt.
Another method requires tapping the "Tare" button rapidly three times immediately after powering on. Because manufacturers change these codes frequently, searching your exact model number plus "hidden calibration mode" usually yields the correct sequence.
Some older models or very basic scales cannot be calibrated by the user at all. They are calibrated once at the factory. If one of these drifts significantly, the load cell is likely damaged.
You would need to replace the scale rather than fix it. Accurate measurements matter everywhere in the kitchen, whether you are checking safe pork temperatures with a reliable probe or weighing out flour for bread dough.
Verifying the New Calibration Across Different Weights
Do not trust the scale just because it passed the calibration step. Test it.
Leave the calibration weight on the platform after the process finishes. It should display the exact mass. Remove it.
The scale should return to zero. Now test with a different object. Grab a sealed bag of sugar or a box of butter with the net weight printed on the packaging.
A standard stick of butter in the US weighs 4 ounces, or roughly 113 grams. Place it on the scale.
Check the reading against the printed weight. Allow for a margin of error equal to one division of your scale. If your scale reads in 1-gram increments, being off by 1 gram is acceptable.
Being off by 5 grams means the calibration failed or the load cell is damaged.
Test at both ends of the scale's range. If you calibrated with a 1000g weight, test with something light, like a single sheet of paper (about 4.5g), and something heavy, near the maximum capacity. A healthy load cell tracks linearly across its entire range.
If the scale is accurate at 1000g but reads 50g as 55g, the sensor has a linearity problem. Calibration fixes the offset, but it cannot fix a physically warped load cell.
Testing across ranges applies to all your precision instruments. Just as you would verify a fast-reading thermometer against ice water to confirm its accuracy, you must spot-check your scale with known masses.
What Happens When Calibration Fails
Sometimes the scale rejects the weight. The screen might flash "ERR", "OUT2", or simply shut off. Several things cause this.
The most common reason is using the wrong calibration weight. If the scale expects 500g and you place 1000g on it, the math fails. Double-check the manual.
Another frequent cause is an unstable surface. If the counter vibrates from a nearby refrigerator compressor, or if the scale sits on a soft silicone mat, the load cell cannot get a steady reading during the programming phase. Move the scale to a rigid table away from appliances.
Low battery voltage is the third major culprit. The scale might have enough power to turn on the LCD, but not enough to drive the calibration logic. Put in brand-new alkaline batteries.
Do not use partially drained ones pulled from a remote control.
If you have the right weight, a hard surface, fresh batteries, and the scale still throws an error, the load cell is likely broken. This happens if someone stood on the scale, dropped a cast iron pan on it, or pressed down hard while chopping vegetables directly on the platform. Once the metal element inside the load cell bends past its elastic limit, it cannot spring back.
The scale is permanently inaccurate. At that point, replacing it is the only option. Investing in durable kitchen equipment generally pays off by preventing premature sensor fatigue.
Differences Between Gram, Ounce, and Milliliter Modes
Scales measure mass, not volume. When you switch your scale to milliliters (ml), it assumes you are weighing pure water. One gram of water equals one milliliter.
This conversion falls apart instantly with any other ingredient.
One hundred grams of flour takes up significantly more space than 100 milliliters of water. If you weigh flour in "ml" mode, the number on the screen will be wrong for your recipe. Always weigh dry ingredients in grams or ounces.
Only use the ml setting if you are actually weighing water or a liquid with the exact same density as water.
Switching units does not require recalibration. The scale calculates grams first, then applies a mathematical multiplier to display ounces or pounds. However, switching units does occasionally cause rounding errors on the display.
If you toggle rapidly between grams and ounces, you might see the last digit bounce. Let the scale settle in your preferred unit before taking a reading. For tasks requiring high precision, such as tracking instant temperature readings alongside precise ingredient weights, sticking strictly to grams avoids unnecessary conversion math.
Maintaining Accuracy Between Calibrations
You do not need to calibrate your food scale every day. For home cooking, doing it once every few months is plenty. For professional baking or coffee roasting, once a month makes sense.
Between those sessions, follow a few habits to keep the load cell happy.
Never exceed the maximum capacity. If your scale tops out at 5000g, do not try to weigh a 6000g roast on it. Pushing the platform down past its limit permanently deforms the strain gauge.
Store the scale flat. Do not stack heavy pots on top of it in a cabinet. Constant pressure on the platform fatigues the sensor over time.
Keep liquids away from the seams. While some scales have stainless steel platforms, the electronics underneath are rarely waterproof. Spilled milk or oil seeping into the housing can short the circuit board or corrode the contacts.
Wipe the platform with a damp cloth, never submerge the unit. And remove the batteries if you plan to store the scale for more than a month. Leaking alkaline batteries ruin more kitchen electronics than almost anything else.
Frequently asked questions
Can I use household items instead of a real calibration weight?
You can use coins for a rough estimate, but it is risky. A new US nickel weighs exactly 5 grams, so twenty nickels equal 100 grams. However, circulated coins lose mass through wear.
A handful of old nickels might only weigh 98 grams. For a scale used to divide medication or cure meat, that two-gram error is unacceptable. Buy a certified steel calibration weight.
They cost very little and guarantee accuracy.
Does changing from grams to ounces mess up the calibration?
No. The scale always measures the raw electrical signal from the load cell in its base unit, which is almost always grams. When you press the unit button, the processor divides or multiplies that base number.
Changing units is just a display trick. You only need to calibrate once, regardless of which unit you normally cook with.
Why does my scale show a negative number when it is empty?
A negative reading means the scale thinks the empty platform is lighter than its stored zero point. This happens if you picked the scale up by the platform, pulling it upward, or if you tared the scale with something on it, removed the item, and then turned it off. Run a full reset and recalibration.
That will rewrite the zero point and eliminate the negative offset.
How often should I reset my digital food scale?
Only when something goes wrong. You do not need to reset a scale as part of routine maintenance. Reset it if the screen freezes, if it displays error codes, or if it refuses to enter calibration mode.
Frequent resets are unnecessary and just waste time. Regular calibration is what keeps the numbers accurate.
Will a magnet damage the scale's sensors?
Standard digital food scales use resistive strain gauges, which are unaffected by household magnets. Placing a fridge magnet near the scale will not change the reading. However, extremely strong neodymium magnets could theoretically interfere with the analog-to-digital converter chip on the circuit board.
Keep powerful rare-earth magnets away from the housing just to be safe.
Is there a difference between resetting and calibrating?
Yes. Resetting reboots the software and clears temporary memory. It fixes frozen screens and glitchy behavior.
Calibrating adjusts the hardware relationship between the physical load cell and the digital display. Resetting does not fix an inaccurate scale. Calibrating does.
You often need to reset a glitchy scale before it will allow you to run the calibration sequence.
Keeping Your Measurements Honest
Learning how to reset and calibrate a digital food scale takes a few minutes and saves ruined recipes. A scale that drifts by even a few grams compounds errors across multiple ingredients. Bread dough becomes too wet.
Curing salts become dangerous. Coffee tastes sour or bitter.
Keep your calibration weight in the same drawer as the scale so you never have to hunt for it. Stick to hard, flat surfaces every time you weigh something. Swap the batteries the moment the display starts dimming or flickering.
Treat the load cell gently, and the scale will stay accurate for years without needing constant adjustments.