A meat thermometer measures the internal temperature of food by transferring heat from the meat into a sensing element inside the probe. That sensing element changes its physical or electrical properties in response to heat, and the device translates that change into a temperature reading on a dial or digital screen.
Understanding how does a meat thermometer work helps you place the probe correctly and trust the numbers it gives you. Different types use different mechanisms to sense heat, but they all share the same goal: telling you when your food has reached a safe and ideal internal temperature. This article covers the mechanics behind analog dials, digital sensors, infrared tools, and wireless probes, along with practical tips for getting accurate readings every time.
The physics behind measuring meat temperature
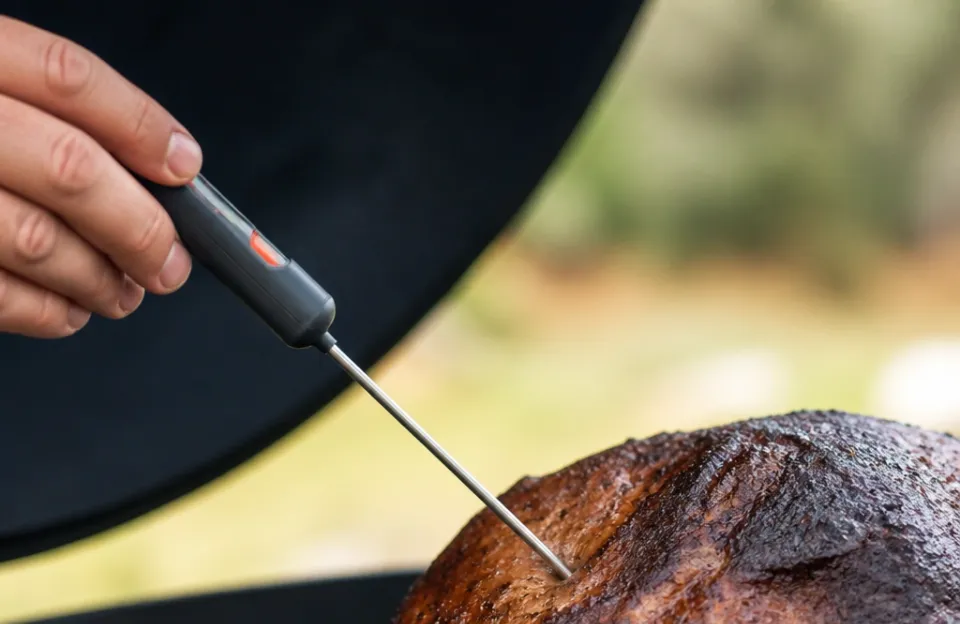
Every meat thermometer relies on thermodynamics. Heat moves from a hotter object to a cooler one until both reach the same temperature. When you push a metal probe into a hot roast, thermal energy travels up the metal shaft toward the sensor.
The sensor reacts to that energy, and the thermometer displays the result.
The speed and accuracy of this process depend on the material of the probe and the type of sensor used. Metals like stainless steel conduct heat well, which is why almost every probe uses a metal exterior. The sensor sits near the tip because the center of the meat takes the longest to cook and represents the lowest internal temperature.
If the sensor sits too high on the probe, it reads the hotter outer layers instead of the true center. That is why placement matters just as much as the technology inside the tool. You can read more about proper probe placement to get consistent results across different cuts.
How analog dial thermometers detect heat
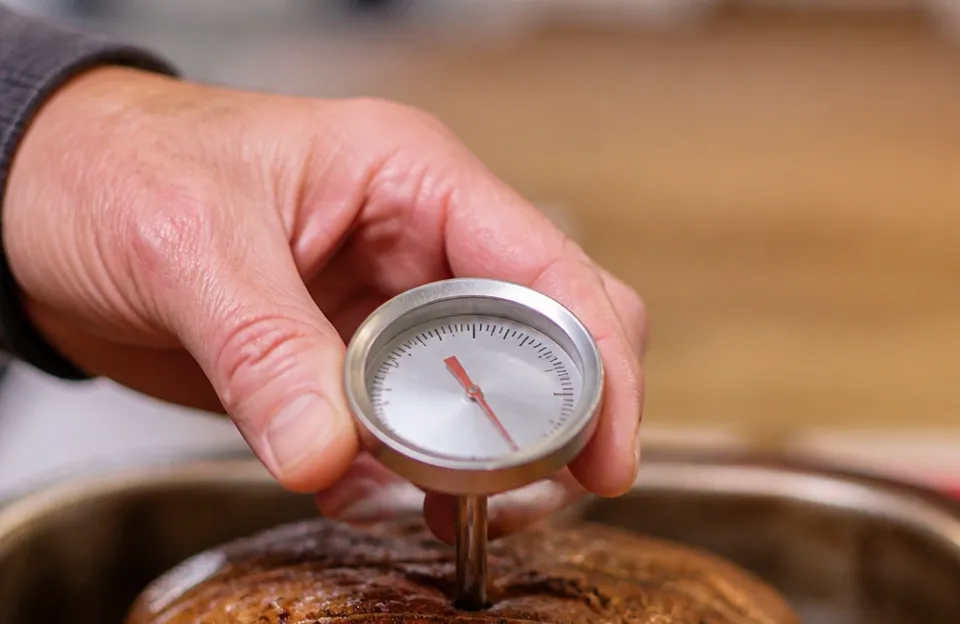
Analog dial thermometers use a mechanical component called a bimetallic strip. This strip consists of two different metals bonded together. Each metal expands at a different rate when heated.
As the temperature rises, the unequal expansion causes the strip to bend or coil.
That coiling motion turns a small gear connected to the needle on the dial face. The dial is calibrated so the needle points to the correct temperature based on how far the strip has coiled. When the meat cools down, the metals contract, the strip uncoils, and the needle drops back.
These models are completely mechanical. They need no batteries and have no electronic parts. Because the metal strip needs time to absorb enough heat to physically bend, dial thermometers take longer to register a final temperature.
A reading usually stabilizes after 15 to 20 seconds.
The bimetallic coil mechanism
In most dial models built for kitchen use, the bimetallic strip is wound into a tight helical coil rather than left flat. Coiling the strip amplifies the movement. A tiny amount of thermal expansion creates a larger rotational force, which moves the needle clearly across the printed numbers.
The sensing area on a dial thermometer is typically the bottom two to three inches of the stem. This means the entire lower section must be submerged in the thickest part of the meat to average out the temperature accurately. If you push it only halfway into a thin pork chop, the coil will read a mix of the meat's heat and the surrounding air.
Dial thermometers are common in commercial kitchens and ovens. They tolerate high ambient heat better than cheap electronics. However, the mechanical nature makes them slightly less precise than modern digital sensors.
They can drift over time if dropped or exposed to extreme temperature swings repeatedly. For heavy roasting tasks, pairing a dial model with a dedicated oven gauge keeps your cooking environment predictable.
How digital meat thermometers read temperature
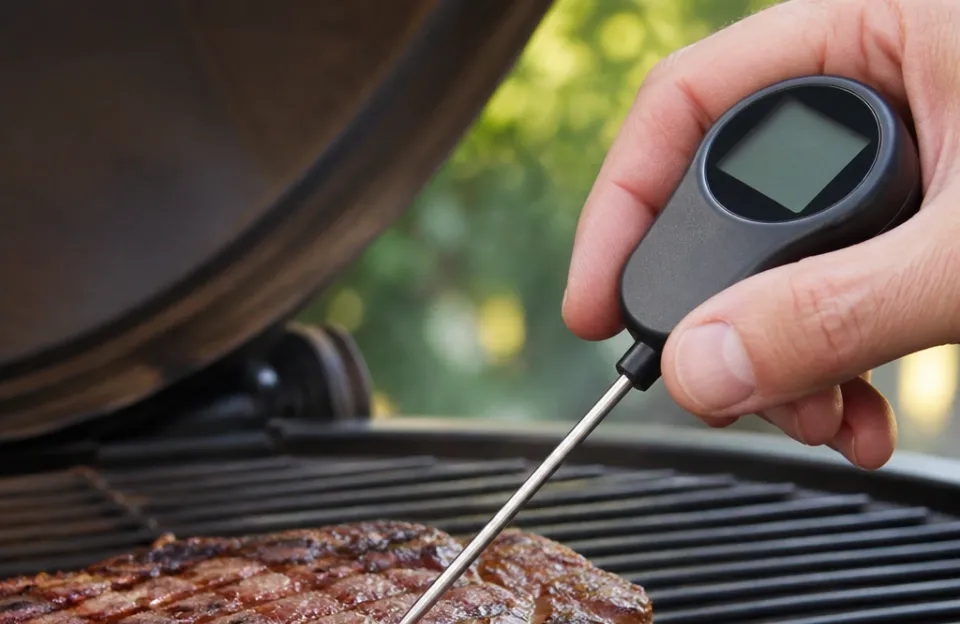
Digital models skip moving parts entirely. Instead, they use electronic sensors to measure temperature. The most common sensor type in a standard digital probe is a thermistor.
A thermistor is a resistor whose electrical resistance changes predictably with temperature. In a Negative Temperature Coefficient (NTC) thermistor, the resistance drops as the heat rises. The thermometer's microchip sends a tiny, constant electrical current through the thermistor.
It then measures how much resistance the thermistor applies to that current.
Using a pre-programmed mathematical formula, the chip converts that exact resistance value into a temperature reading and displays it on an LCD screen. Because electricity flows instantly, digital thermometers react much faster than bimetallic coils. Most basic digital models stabilize within three to five seconds.
Thermistors vs. thermocouples
While thermistors are common in budget-friendly tools, higher-end instant-read models often use a thermocouple. A thermocouple works on a different principle called the Seebeck effect. It joins two dissimilar metal wires at the very tip of the probe.
When that junction heats up, it generates a tiny voltage. The size of that voltage corresponds directly to the temperature.
Thermocouples react faster than thermistors. They can deliver a stable reading in one to three seconds. The sensing point is also much smaller, located right at the extreme tip of the probe rather than spread over an inch or two.
This allows you to check thin cuts of meat, like chicken breasts or fish fillets, without the sensor averaging in the cooler surface temperatures.
Choosing between the two depends on what you cook. A fast thermocouple model is ideal for quick checks on the grill. Picking a rapid-response digital tool minimizes the time the oven door stays open.
For slow roasts where you leave the probe inserted, a thermistor-based model handles sustained heat perfectly well.
| Sensor Type | Mechanism | Response Time | Sensing Area | Best Application |
|---|---|---|---|---|
| Bimetallic Coil | Mechanical expansion | 15–20 seconds | Bottom 2–3 inches | Slow roasts, oven monitoring |
| Thermistor | Electrical resistance change | 3–5 seconds | Bottom 0.5–1 inch | General baking, medium cuts |
| Thermocouple | Voltage generation (Seebeck) | 1–3 seconds | Extreme tip only | Thin cuts, grilling, rapid checks |
Wireless and smart thermometer technology
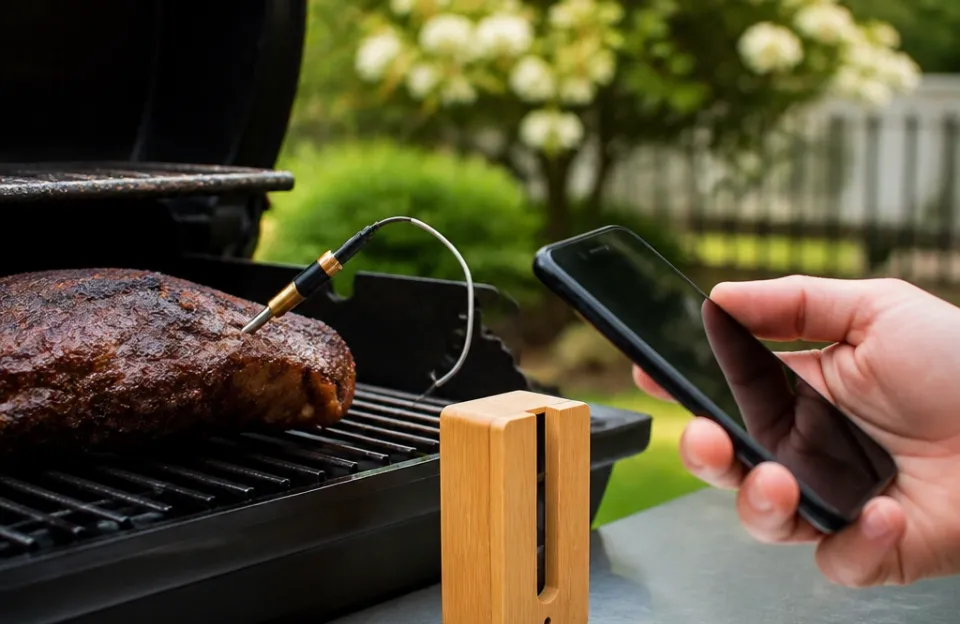
Wireless meat thermometers use the same thermistor or thermocouple sensors inside the probe, but they change how the data reaches you. Instead of a screen attached to the probe handle, the sensor transmits the temperature data via radio frequency (RF), Bluetooth, or Wi-Fi to a separate receiver or smartphone app.
This setup allows you to close the oven lid or walk away from the grill while the food cooks. The base station or phone alerts you when the meat hits your target temperature. Some advanced systems include ambient temperature sensors alongside the internal meat sensor.
This dual-probe design tells you both how hot the meat is and how hot the cooking chamber remains.
Signal transmission requires power, so wireless probes contain small batteries or rely on induction charging from their base stations. The electronics inside must be shielded from the intense heat of a grill or smoker. High-quality wireless models use ceramic or specialized heat-resistant materials around the transmitter housing to protect the circuitry.
When dealing with wireless setups, signal interference from thick grill walls or distance can occasionally cause dropouts. Understanding how to fix connection issues saves frustration during long smoking sessions. Many cooks now prefer syncing their probes to Wi-Fi enabled receivers so they can monitor temperatures from anywhere in the house.
Why infrared thermometers cannot read internal doneness
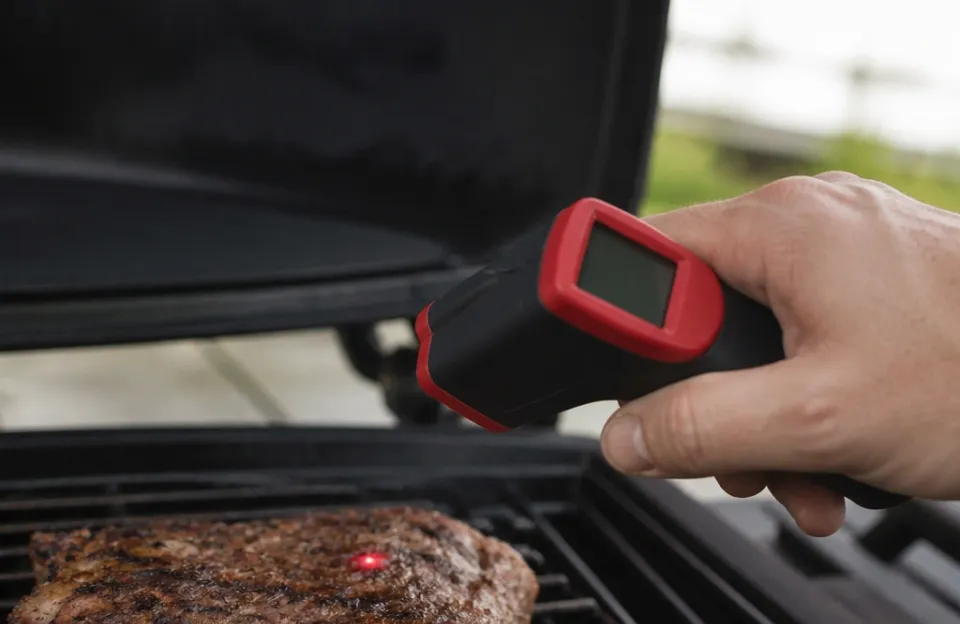
Infrared (IR) thermometers look similar to probe thermometers, but they measure heat in a completely different way. An IR thermometer uses a lens to focus infrared light radiating off an object onto a detector called a thermopile. The thermopile converts that radiant energy into an electrical signal, which the device translates into a surface temperature reading.
Because IR thermometers only capture radiation emitted from the exterior, they cannot see inside the meat. Pointing an IR gun at a steak tells you how hot the crust is, but it reveals nothing about whether the center is rare or well done. Internal doneness requires a physical probe inserted into the flesh.
IR tools still have a place in the kitchen. They excel at checking the temperature of a skillet before searing, verifying oil heat for deep frying, or scanning a pizza stone. But for food safety and internal doneness, you must use a penetration probe.
If you frequently fry foods, keeping a dedicated stainless steel candy and frying gauge clipped to the pot is safer than pointing an IR laser at splashing oil.
Using a meat thermometer correctly for safe food
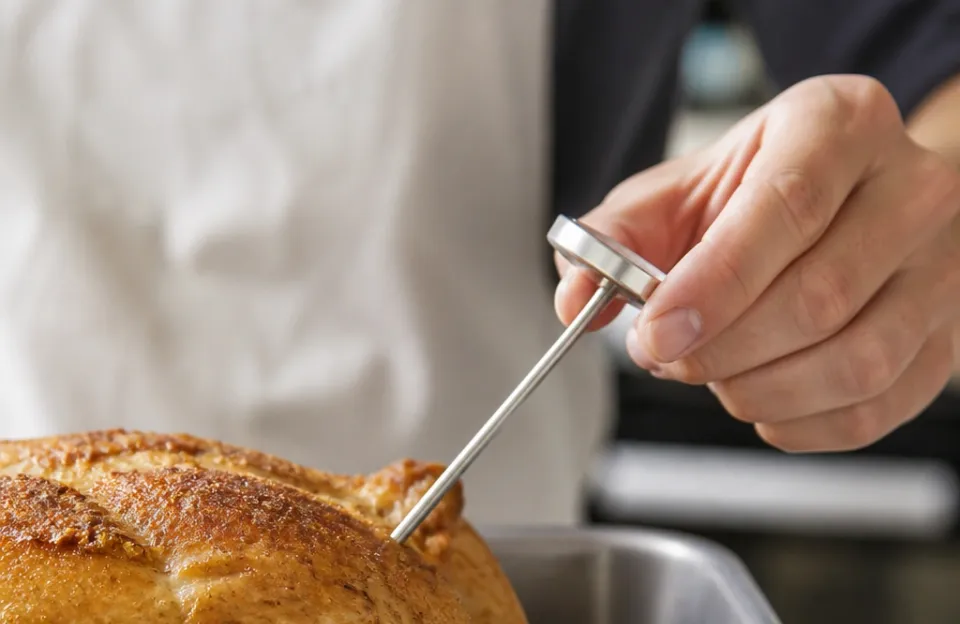
Knowing how does a meat thermometer work only matters if you use it properly. The sensor needs to reach the thermal center of the meat. That is the point furthest from any surface, where the temperature remains the lowest during cooking.
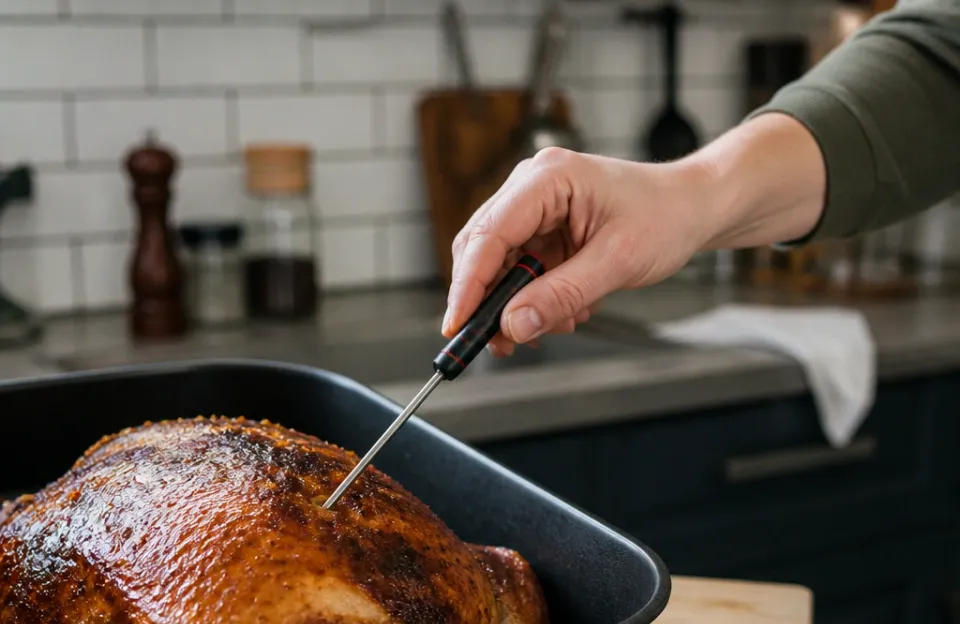
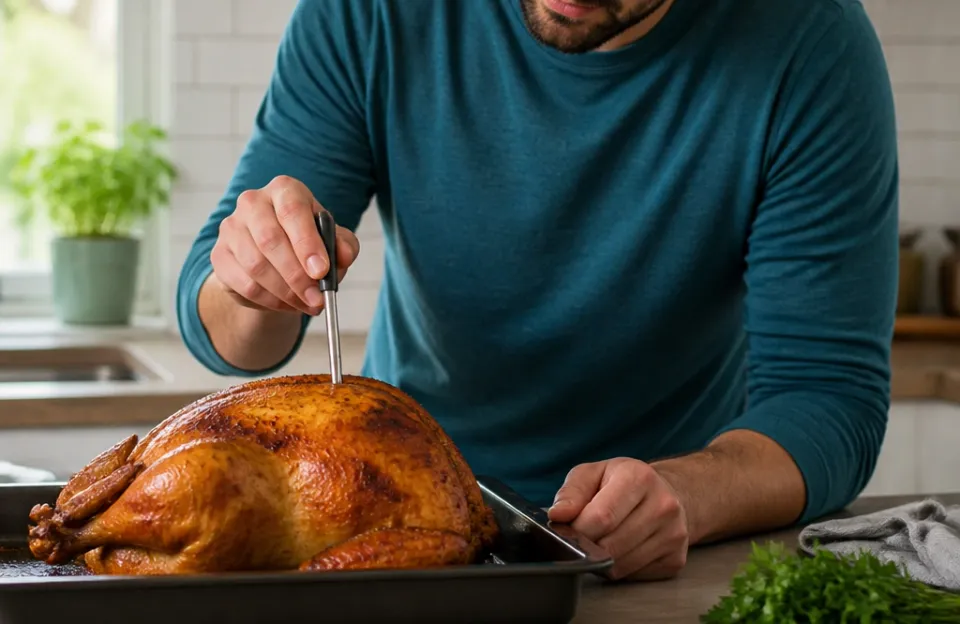
For a whole chicken or turkey, insert the probe into the thickest part of the thigh. Avoid touching the bone. Bone conducts heat differently than muscle tissue.
If the probe tip rests against a bone, the reading will be artificially high, and you might pull the bird out before the surrounding meat is fully cooked.
For steaks, chops, or burgers, insert the probe through the side rather than the top. Pushing it in from the top often drives the sensor past the center. Entering from the side lets you slide the sensing area exactly into the middle of the cut.
Always wait for the numbers to stop climbing. Even fast thermocouples need a second or two to equalize with the meat's temperature. Pulling the probe out too early gives you a false low reading, leading to overcooked food as you keep returning it to the heat.
The USDA sets minimum safe internal temperatures to prevent foodborne illness. Ground meats require 160°F, while poultry must reach 165°F. Whole cuts of beef, pork, and lamb are safe at 145°F followed by a three-minute rest period.
You can review these standards directly on the USDA Food Safety and Inspection Service website.
Calibration and accuracy drift over time
Sensors degrade. Analog bimetallic strips stretch slightly after repeated heating and cooling cycles. Digital thermistors can drift due to moisture intrusion or electrical aging.
Even thermocouples lose precision if the metal junction oxidizes.
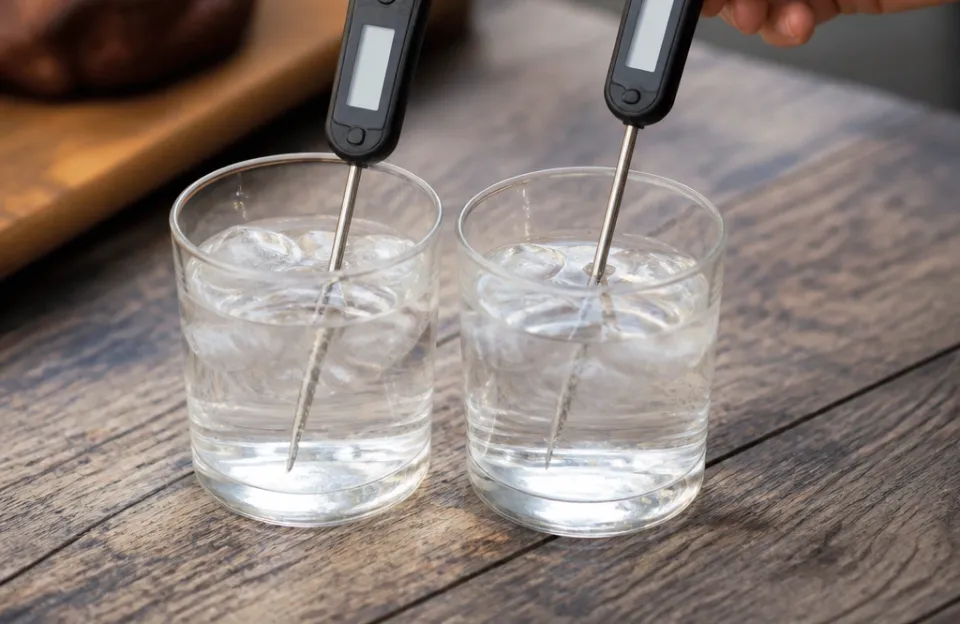
You should verify your thermometer's accuracy periodically. The ice water test is the standard method. Fill a glass with crushed ice and add cold water.
Stir it, then insert the probe tip into the slush without touching the sides or bottom of the glass. The thermometer should read 32°F (0°C).
If an analog dial reads high or low, most models have a calibration nut under the dial face. You use a wrench to turn the nut while holding the stem in the ice bath until the needle points to 32°F.
Digital models vary. Some have a reset button or a calibration mode in the settings menu. Others are factory-sealed and cannot be adjusted.
If a non-adjustable digital thermometer fails the ice bath test by more than two degrees, it needs replacing. Relying on durable, long-lasting builds reduces how often you need to perform this check.
Limitations of probe thermometers
Probe thermometers struggle in certain situations. Extremely thin foods, like bacon slices or crepes, do not have enough mass to envelop the sensing area. The probe ends up reading the pan temperature mixed with the air temperature.
Liquid-heavy environments present another challenge. While many probes are water-resistant, submerging the electronic handle or the battery compartment ruins the device. Only specific waterproof models can survive being washed under running water.
High-sugar or high-acid marinades can also corrode cheaper probe metals over time. Stainless steel resists corrosion well, but prolonged exposure to acidic brines wears down the seals protecting the internal sensor. Wipe the probe clean immediately after use to extend its lifespan.
Common mistakes when checking meat temperature
People make the same errors repeatedly when using these tools. Avoiding them improves your cooking immediately.
- Touching bone or fat pockets. Bones heat up faster and retain heat longer than muscle. Fat insulates. Hitting either gives a skewed number that does not represent the lean meat's actual doneness.
- Reading the temperature too soon. Impatience leads to pulling the probe out before the sensor finishes equalizing. Wait until the display stops changing, even if it takes ten seconds.
- Checking only one spot. Large roasts cook unevenly. The side closer to the heat source finishes first. Check multiple areas, especially the thickest sections, to confirm uniform doneness.
- Ignoring carryover cooking. Meat continues to rise in temperature after leaving the heat source. A large roast can climb 5 to 10 degrees while resting. Account for this by removing the meat slightly below your target temperature.
- Using the wrong tool for the task. Trying to check a thin fish fillet with a thick-shanked analog dial thermometer pushes the meat apart and misses the center. Match the probe thickness to the food size.
Frequently asked questions
Can I leave a meat thermometer in the oven while cooking?
Only if the manufacturer explicitly states the thermometer is oven-safe. Analog dial thermometers and specific wired probes designed for roasting can stay in the meat throughout the cooking process. Standard instant-read digital thermometers cannot.
Their plastic housings and internal batteries will melt or explode if left inside a hot oven. Always check the maximum temperature rating before leaving any device in a closed cooker.
Do meat thermometers work on liquids and soups?
Yes. The sensors measure heat regardless of the substance. Probes work perfectly for checking broth, candy syrups, or deep fryer oil.
The main concern is depth. Ensure the sensing area is fully submerged without the liquid level reaching the electronic handle or the dial face. Dedicated candy thermometers usually have longer stems and clips specifically designed for deep pots.
Why does my thermometer give different readings in the same piece of meat?
Meat does not cook uniformly. The exterior absorbs direct heat, while the interior warms slowly through conduction. Moving the probe half an inch can shift the reading by several degrees.
This is normal. To determine if the food is done, always seek out the absolute thickest part of the cut and aim for the geometric center.
Are cheap digital thermometers accurate enough for food safety?
Most inexpensive digital thermistors are accurate to within plus or minus two degrees Fahrenheit. That margin is acceptable for general cooking. However, for strict food safety applications involving poultry or ground meats where the difference between 160°F and 165°F matters, a higher-precision thermocouple or a freshly calibrated model provides better confidence.
Test any new budget thermometer in an ice bath before trusting it with expensive cuts.
Does the thickness of the probe affect the reading?
Thicker probes displace more meat and take slightly longer to reach thermal equilibrium because there is more metal mass to heat up. They also struggle to fit into thin cuts without piercing completely through. Thinner probes react faster and suit delicate proteins like fish.
The tradeoff is durability. Very thin probes bend easily if they hit a bone or are stored carelessly in a drawer.
Getting reliable readings every time
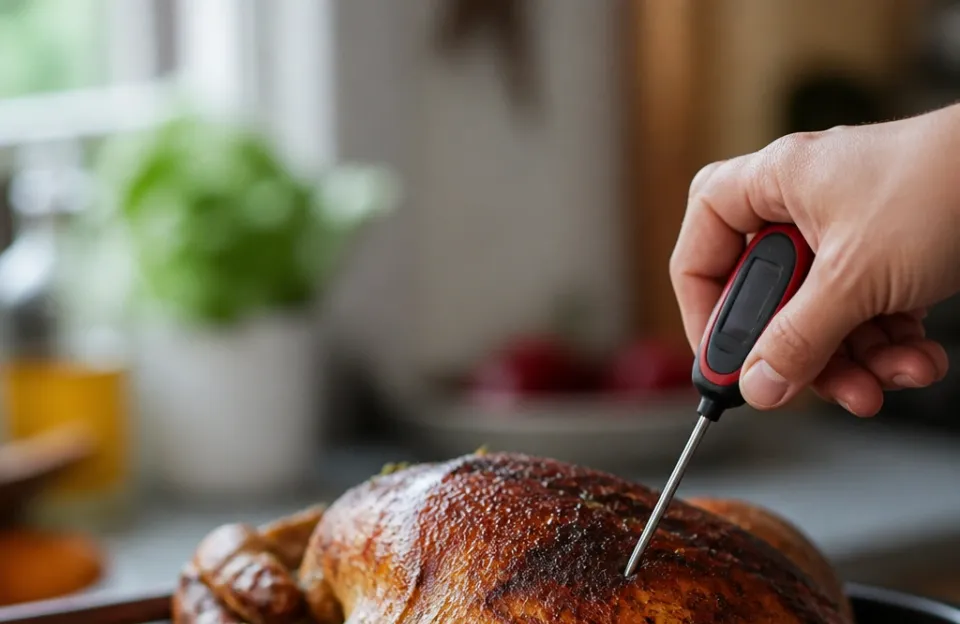
The technology inside a meat thermometer is straightforward. Whether it uses bending metals, shifting electrical resistance, or generated voltage, the goal remains identical. It transfers the hidden heat from the center of your food into a visible number you can trust.
Picking the right sensor type for your cooking style prevents frustration. Fast thermocouples save time at the grill. Sturdy analog dials survive long smokes.
Wireless setups let you step away from the heat. Regardless of the mechanism, proper placement in the thickest part of the meat and routine calibration in ice water are what actually guarantee safe, perfectly cooked food.