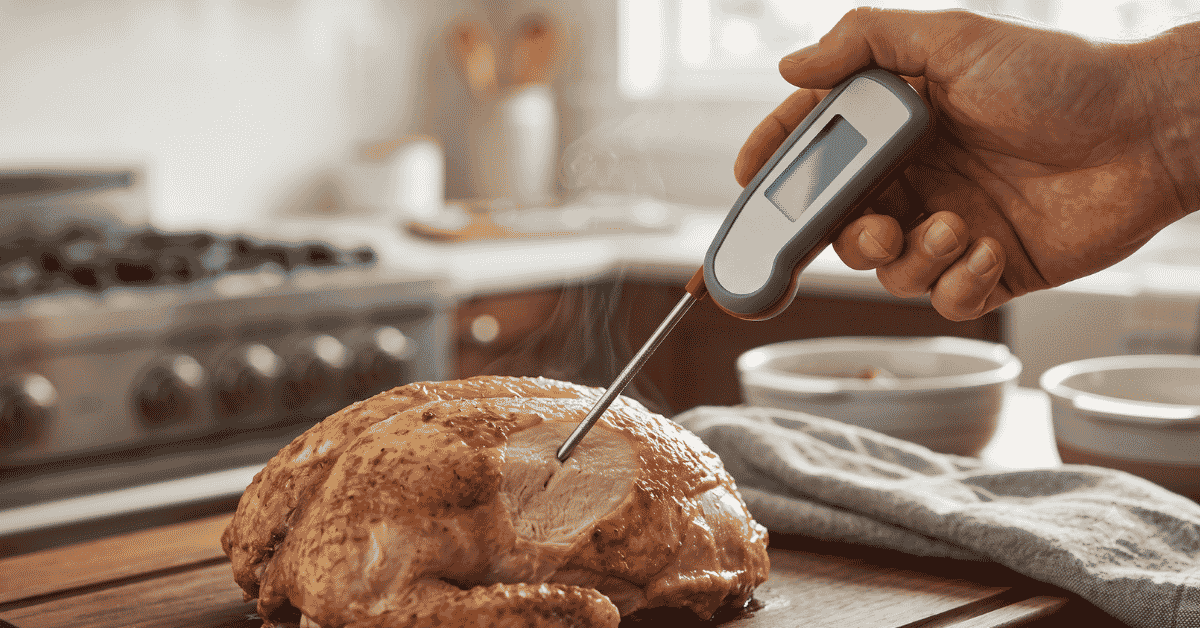
You’re standing over a sizzling grill with a thick ribeye, or maybe you’re checking a roast in a hot oven. You poke the probe into the center of the meat and wait. Five seconds pass.
Then ten. The numbers on the screen are climbing, but they’re moving at a snail’s pace. While you wait for that final reading, the heat from the oven escapes, or the bottom of your steak starts to char.
It’s a common frustration that leaves many home cooks wondering if their gear is broken.
Quick Answer: Most meat thermometers take a long time to stabilize because of the sensor technology inside the probe or the thickness of the metal casing. Older bimetallic coil thermometers can take up to 30 seconds to reach an accurate reading, while entry-level digital models often take 5 to 10 seconds. Only professional-grade thermistors or thermocouple thermometers are designed to stabilize in 3 seconds or less.
The Physics of Heat Transfer in Probes
To fix the speed issue, you have to look at how these tools actually feel heat. A thermometer doesn’t “know” the temperature of your food instantly. Instead, the sensor inside the probe must reach “thermal equilibrium” with the meat.
This means the tip of the thermometer has to get exactly as hot as the juices it’s touching before it can give you a true number.
The speed of this process depends heavily on the materials used. Metal is a great conductor, but it still has mass. A thick, heavy probe takes more energy to heat up than a thin, needle-like one.
If the metal housing is bulky, it acts like a heat sink, drawing energy away from the sensor and slowing down the stabilization time.
Another factor is the air gap. In cheaper digital thermometers, the sensor might not be in direct contact with the very tip of the metal shell. If there is even a tiny bit of air or poor-quality thermal paste inside that probe, the heat has to jump that gap.
This creates a lag that adds seconds to every reading you take.
Sensor Technology and Response Times
The type of sensor hidden inside your probe is the biggest factor in how fast those numbers stop climbing. Most kitchen thermometers fall into three categories: bimetallic, thermistor, and thermocouple.
Bimetallic thermometers are the old-school analog dials. They use two different strips of metal welded together. As they heat up, the metals expand at different rates, causing the coil to unwind and move the needle.
Because this is a physical, mechanical movement involving a lot of metal, it is incredibly slow. It is not uncommon for these to take 20 to 30 seconds to settle.
Digital thermistors are what you find in most “instant-read” models under $30. These use a ceramic semiconductor to measure resistance changes as temperature rises. While they are a massive step up from analog dials, the sensors are often buried deep inside a thicker probe.
They usually stabilize in about 5 to 10 seconds.
The Advantage of Thermocouples
If you see a pro chef get a reading in two seconds, they are using a thermocouple. These work by joining two different wires at the very tip of the probe. This creates a tiny voltage change that a microchip translates into a temperature.
Because the wires are microscopic, the “junction” where the measurement happens is tiny. There is almost no mass to heat up, which is why they stabilize almost instantly. If your thermometer is taking ten seconds, it’s almost certainly a thermistor or a bimetallic model, not a thermocouple.
How the Environment Affects Speed
The meat itself plays a role in how fast your thermometer reacts. Heat moves through different substances at different rates. If you are probing a very lean piece of meat, like a turkey breast, the moisture content helps transfer heat to the probe quickly.
However, if you hit a pocket of cold fat or a bone, the reading might stall or fluctuate. Fat is an insulator. It doesn’t conduct heat as well as muscle or water.
If the tip of your probe is buried in a glob of cold fat, the thermometer will appear to hang at a lower temperature for a long time before it finally picks up the surrounding heat.
The ambient air temperature also matters. If you are cooking outside in the winter, the “stem” of the thermometer, the part sticking out of the meat, is being cooled by the freezing air. This is called “stem conduction.” The cold metal of the handle pulls heat away from the tip, fighting against the heat of the meat.
This tug-of-war makes it take much longer for the sensor at the tip to reach a stable, accurate number.
Practical Ways to Get Faster Readings
You don’t always have to buy a new tool to speed things up. There are a few techniques that help a standard thermometer stabilize a bit faster.
-
Find the “Heat Pocket”: Instead of just poking the meat and waiting, slowly push the probe through the thickest part. You’ll see the numbers jump. Once the numbers start to drop again, you’ve passed the center. Pull it back slightly to find the lowest temperature point. This movement actually helps the sensor adjust faster than letting it sit still.
-
Pre-warm the Probe: If you’re checking a roast in a 400°F oven, don’t start with a probe that’s been sitting in a cold kitchen drawer. Holding the probe in your hand for a moment to take it from 65°F to 90°F gives it a head start.
-
Clean the Tip: Carbon buildup or dried juices from a previous cook can act as insulation. A clean, shiny probe tip transfers heat much more efficiently than one covered in grime.
-
Angle of Entry: Insert the probe at an angle to get more of the sensor into the “thermal center.” This prevents the cool air outside the meat from affecting the sensor through the metal stem.
Edge Cases: When Slow is Actually Broken
Sometimes a long stabilization time isn’t just about physics; it’s a sign of a failing device. If your thermometer takes more than 30 seconds to reach a stable number in boiling water, something is wrong.
One common issue is moisture inside the probe. If you submerge a digital probe in a sink to wash it, water can seep into the crimp where the wire meets the metal. This moisture messes with the electrical resistance.
If your readings are not just slow, but “drifting” (constantly moving up and down without stopping), you likely have water damage.
Low batteries can also cause slow processing. In digital models, the microchip needs a consistent voltage to calculate the temperature. As batteries die, the refresh rate of the screen might slow down, or the sensor might take longer to “fire.” If the display looks dim, try a fresh battery before assuming the sensor is the problem.
Common Myths About Stabilization
Many people believe that “instant-read” means the second the metal touches the food, the final number appears. This is a marketing term, not a scientific one. Even the fastest thermometers on the market, like those made by Thermoworks, still require about 2 to 3 seconds.
Another misconception is that the sensor is all along the stem. On most kitchen thermometers, the actual sensor is only in the last half-inch of the tip. If you don’t submerge that specific part deep enough into the meat, the thermometer will try to average the temperature of the meat and the hot air in the oven.
This causes the reading to crawl upward indefinitely without ever truly stabilizing.
Quick-Reference: Speed by Thermometer Type
Thermometer Type Average Stabilization Time Best Use Case
Bimetallic Coil 20–30 Seconds Deep frying, large roasts
Digital Thermistor 5–10 Seconds General home cooking
Thermocouple 1–3 Seconds Grilling, professional kitchens
Leave-in Probe N/A (Continuous) Long smoking, slow roasting
Frequently Asked Questions
Why does my thermometer keep climbing even after I pull the meat out?
This is usually “carry-over cooking.” The outer layers of the meat are hotter than the center. Even after you remove the heat source, the heat continues to migrate toward the middle. Your thermometer is simply tracking the actual rise in internal temperature that happens on the cutting board.
Can I calibrate my thermometer to make it faster?
Calibration helps with accuracy, but it rarely changes speed. If your thermometer is slow, it is usually due to the physical build of the probe or the type of sensor. However, checking it in an ice bath (32°F / 0°C) is a good way to see if the delay is caused by a calibration drift.
Does the thickness of the probe matter?
Yes. A thinner probe has less “thermal mass.” It requires less energy from the meat to heat up the metal, which leads to a faster stabilization time. Professional “needle” probes are often preferred for thin items like burgers or fish for this exact reason.
Is a slow thermometer dangerous for food safety?
Not necessarily, as long as it is accurate. According to USDA guidelines, the goal is to reach a specific internal temperature (like 165°F for poultry). A slow thermometer just means your oven door stays open longer, which can lower your overall cooking temperature, but it won’t give you a “false” safe reading if you wait for it to stabilize.
Worth Remembering
A slow thermometer is usually a limitation of its technology, not a defect. If you have a bimetallic dial or a cheap digital model, a 10-second wait is perfectly normal. You can’t force the physics of heat transfer to move faster than the materials allow.
If the wait is ruining your cooking process, causing your grill to lose heat or your hands to burn, it might be time to move from a thermistor to a thermocouple. Look for “reduced tip” probes, which are thinned out at the end to allow for faster heat penetration. Understanding that the last half-inch of the probe is where the magic happens will help you take faster, more reliable readings every time you cook.




