Getting your cabinet hardware installed right is more about smart placement than strict rules. It’s the difference between hardware that looks awkwardly tacked on and hardware that feels like a natural extension of your cabinets. Proper placement ensures they’re easy to use and contribute to the overall aesthetic of your kitchen or bathroom.
Our research shows that while there isn’t a single governing body that dictates cabinet pull installation, industry standards and best practices often align with ergonomic usability and visual balance. For example, manufacturer specifications for two-hole pulls typically provide a range for screw spacing, usually between 3 to 12 inches, which impacts how you measure placement.
Quick Answer
The main rules for installing cabinet pulls involve centering them on cabinet doors and drawers. For doors, aim for the vertical and horizontal center. For drawers, place pulls 2 to 3 inches down from the top edge and center them horizontally.
Ensure consistent spacing if using multiple pulls. Always measure twice and drill once, using a template for accuracy.
Why Placement Rules for Cabinet Pulls Matter
It might seem like a small detail, but where you place your cabinet pulls significantly impacts the look and feel of your kitchen or bathroom. When hardware is centered correctly and spaced evenly, cabinets and drawers look balanced and intentional. This attention to detail elevates a space from looking “DIY” to looking professionally finished.
Poor placement, however, can make your hardware feel out of place, leading to frustration with both the installation and the final look. Think about how often you reach for a cabinet handle, it needs to feel natural and intuitive. This is where following established placement guidelines becomes crucial for a functional and attractive result.
Finding the Sweet Spot: Cabinet Door Placement Guide
For standard cabinet doors, the goal is usually to find the visual and functional center. This placement makes the pull easy to grab and keeps the hardware from looking too high or too low.
Vertical Centering: The Golden Rule
To find the vertical center of a cabinet door, you’ll want to measure the total height of the door from top to bottom. Then, divide that measurement by two. That number represents the halfway point vertically.
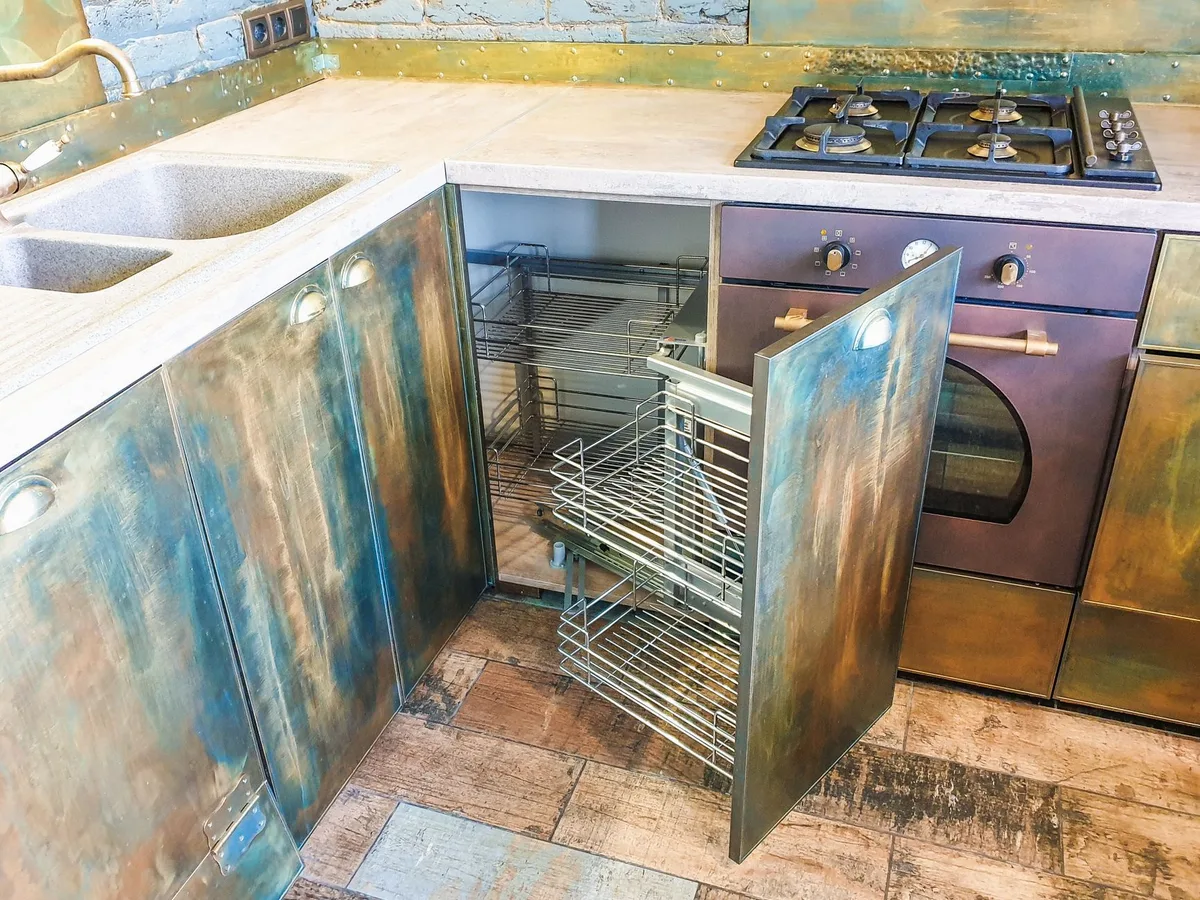
Image source: Openverse / dankeck
For instance, on a 30-inch tall door, the vertical center is at 15 inches. You’ll then align the center of your pull with this 15-inch mark. This consistent approach ensures a clean and symmetrical look across all your doors.
Horizontal Alignment: Getting it Just Right
Once you’ve identified the vertical center, you’ll want to center the pull horizontally as well. This typically means finding the middle of the door from left to right. For a standard door width, this is often straightforward.
- Standard Doors: Measure the width of the door and divide by two. Mark this point on your vertical center line.
- Wider Doors: If you’re installing a pull that takes up a significant portion of the door’s width, or if you’re using a template, you’ll want to ensure the pull’s mounting holes are equidistant from the door’s side edges.
Drawer Pull Placement: A Different Approach
Drawer fronts are designed for a slightly different kind of interaction than doors. You’re typically pulling outwards and slightly downwards, which means the optimal placement can vary.
The Ergonomic Advantage: Lower Placement
Manufacturer guidance and aggregate user feedback suggest that placing drawer pulls 2 to 3 inches down from the top edge of the drawer front generally offers the best ergonomic feel. This slight offset provides a more comfortable grip and leverage when opening drawers, especially larger or heavier ones. You’ll align this placement point with the horizontal center of the drawer front.
Measuring Your Drawer
To determine the exact spot, measure the height of the drawer front. Mark a point that is 2 to 3 inches from the top edge. Then, find the horizontal midpoint of the drawer front and mark your spot.
This intersection is where the center of your pull, or the center between your two screw holes if it’s a longer pull, should ideally be located.
Spacing: The Key to Symmetry with Multiple Pulls
When you have multiple cabinets or drawers in a row, consistent spacing between hardware pieces is what creates a professional, cohesive look. Overlooking this can make a kitchen feel disjointed.
Single Pull on Wide Units
For wider drawers or cabinets that only accommodate one pull, the principles of vertical and horizontal centering apply as described earlier. The key is to ensure that the single pull is positioned aesthetically in the middle of its section.
Dual Pulls on Drawers and Cabinets
If you have a very wide drawer or a large cabinet that calls for two pulls, symmetry is paramount. The goal is to make the empty space between the edge of the cabinet and the first pull, the space between the two pulls, and the space between the second pull and the opposite edge all equal.
- Measure Total Width: Start with the total width of the drawer or cabinet front.
- Mark Center: Find the absolute center of the unit.
- Determine Pull Spacing: Decide on the desired distance between the two pulls. This can vary, but 6 to 12 inches is common.
- Calculate Edge Margins: Subtract the space between the pulls from the total width. Divide the remaining space by two. This gives you the distance from the cabinet edge to the outside edge of each pull.
Matching Pulls to Cabinets: Size and Style Considerations
Choosing the right size and style of pull is as important as its placement. An mismatched pull can throw off the entire design, no matter how perfectly it’s installed.
Size Matters
The scale of your hardware should generally relate to the scale of your cabinets.
- Small cabinets: Often look best with smaller, more delicate pulls.
- Large cabinets or wide drawers: Can accommodate longer pulls. A pull that is too short can look lost and undersized. Manufacturer specifications often suggest appropriate pull lengths based on cabinet width (e.g., a 4-inch pull for a 12-inch cabinet width).
Style Sync
Consider the overall aesthetic of your kitchen or bathroom.
- Modern kitchens: Often feature sleek, minimalist bar pulls.
- Farmhouse or traditional styles: Might suit cup pulls or ornate designs.
The finish of the pull (like brushed nickel, matte black, or brass) should also complement your other fixtures and appliances for a cohesive look.
Your Toolkit for Installing Cabinet Pulls
Having the right tools makes the job of installing cabinet pulls much smoother and more accurate. You’ll want a good tape measure for precise measurements and a pencil for light marking. A drill with appropriate drill bits is essential for creating holes for the screws.
A screwdriver, typically Phillips head or flathead depending on your hardware, will be needed for attachment. Seriously consider using a template or jig; these guides are invaluable for ensuring perfect alignment and consistent spacing, taking the guesswork out of the process. Painter’s tape can also be helpful for protecting surfaces or to minimize splintering when drilling.
Step-by-Step: Installing Your Cabinet Pulls
The installation process involves a few key steps, each requiring careful attention to detail. Following these steps systematically will help ensure a professional and clean finish on your cabinets.
Marking and Measuring Accurately
Begin by measuring where you want the pull to be placed. Use your tape measure to find the center point or mark your desired distances from the edges, as discussed in the placement guides. Lightly mark these spots with your pencil.
If using a template, secure it firmly in place and mark your drill points through its guides. Double-check all measurements before proceeding; accuracy here is vital.
Drilling Clean Holes
Select a drill bit that matches the diameter of the screws that come with your cabinet pulls. If your pulls have two screws, you’ll need to mark and drill two holes. For doors or drawers with a thin veneer, applying painter’s tape over the marked drilling area can help prevent the drill bit from catching and causing chip-out or splintering.
Drill straight and steady through the cabinet face from the front, ensuring the holes are clean and perpendicular.
Attaching the Pulls
Insert the screws from the inside of the cabinet door or drawer front. Align your cabinet pull on the outside, making sure it sits flush against the surface. Start threading the screws into the pull by hand to ensure they catch properly without cross-threading.
Once the pull is correctly positioned and the screws are partially threaded, use your screwdriver to tighten them securely. Avoid overtightening, which can strip the screw holes, but ensure the pull is snug and doesn’t wobble.
Common Mistakes When Installing Cabinet Pulls (And How to Avoid Them)
Even with careful planning, a few common pitfalls can derail a smooth installation. Being aware of these mistakes can help you sidestep them entirely and achieve a much better outcome.
- Uneven Centering: Failing to accurately measure and mark the center point for doors or the proper offset for drawers leads to hardware that looks visually jarring and off-balance. Always measure twice, mark lightly, and confirm placement before drilling.
- Mismatched Spacing: When installing multiple pulls, inconsistent spacing between units makes the entire installation look amateurish. Use your tape measure religiously to ensure equal distances.
- Drilling Crooked Holes: This can result in pulls that sit at an odd angle or don’t align correctly with the cabinet face. Drilling straight, using a template, and employing painter’s tape can help prevent this.
What If Your Cabinets Are Different? (Inset vs. Overlay)
The type of cabinet construction can slightly alter the installation approach. Overlay cabinets, where doors and drawers sit on top of the cabinet frame, are the most common and follow the placement rules already discussed. For inset cabinets, where doors and drawers sit within the cabinet frame, you’ll generally follow the same centering rules but within the inset area itself.
This means you’ll place the pull centered within the visible frame of the inset door or drawer. This often looks more subtle. If you’re unsure about the difference, overlay cabinets have a slight lip or edge overlapping the frame, while inset cabinets have a flush fit.
Always consider the specific construction of your cabinets to ensure the best placement and aesthetic result.