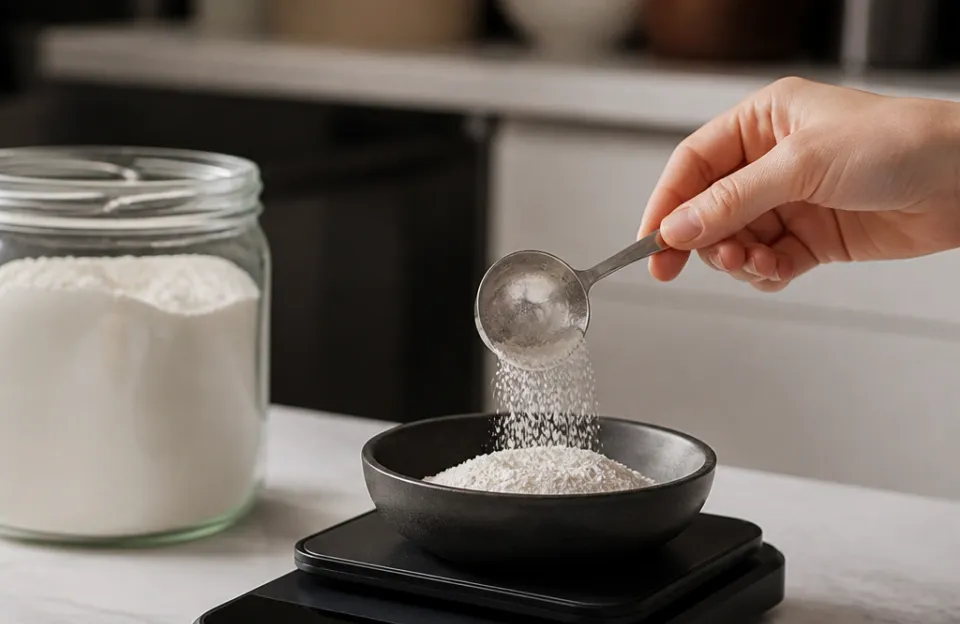
Using a food scale for meal prep means placing your container on the scale, pressing the tare button to zero it out, and adding ingredients until you hit your target weight. That simple loop replaces measuring cups, cuts down on dirty dishes, and gives you exact portion sizes every time. Whether you track macros or just want consistent lunches for the week, learning how to use a food scale for meal prep removes the guesswork from batch cooking.
This guide walks through setting up your station, weighing wet and dry items, splitting bulk batches into equal servings, and avoiding the small errors that throw off your numbers. You'll also find notes on when volume measuring still makes sense and what to do if your readings drift mid-session.
Setting Up Your Food Scale Before You Start Cooking
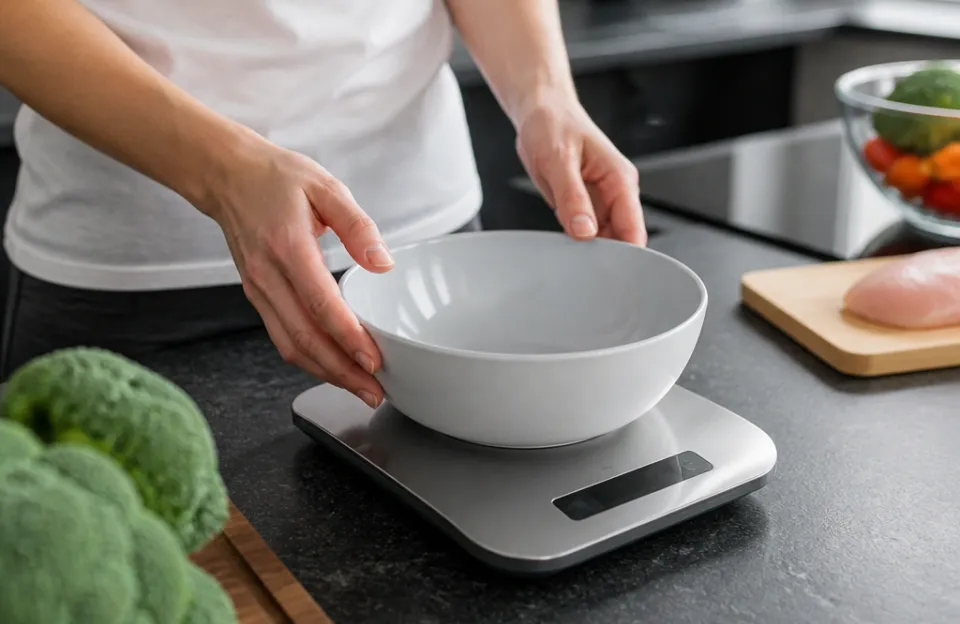
A digital kitchen scale needs a flat, hard surface to read accurately. Placing it on a folded towel, a silicone mat with raised edges, or near the rim of a counter can cause the load cell underneath to register uneven pressure. Set it directly on your countertop.
Turn it on and let the display settle at zero before you put anything on the platform.
Most scales sold for home kitchens measure in grams and ounces. Grams are the better choice for meal prep because they avoid fractions. Trying to divide 14.3 ounces by three containers leaves you doing math while handling raw chicken.
Dividing 405 grams by three is a clean 135 grams per container. Switch your unit to grams using the mode button before you start.
Check the maximum capacity printed on the bottom of the device or in the manual. A standard model usually tops out around 5,000 grams (about 11 pounds). If you plan to weigh a large mixing bowl filled with several pounds of cooked rice plus vegetables, you might exceed that limit.
When the display flashes an error code or shows "ERR," you've overloaded it. Remove some weight immediately to protect the sensor.
If you regularly cook proteins like chicken breasts or thick steaks, getting precise weights matters for food safety too. Pairing accurate portions with reliable temperature checks using a fast-reading probe keeps your prepped meals safe to eat later in the week.
The Tare Button Is the Whole System
The tare function resets the displayed weight to zero while leaving whatever is already on the platform in place. This single button is why learning how to use a food scale for meal prep changes your workflow. It lets you weigh multiple ingredients in one bowl without doing any subtraction in your head.
Here is the basic sequence. Place your empty meal prep container on the scale. Press tare.
The screen reads zero. Pour in your brown rice until it hits 200 grams. Press tare again.
The screen returns to zero. Add your black beans until the display reads 150 grams. Press tare.
Add your salsa until you reach 60 grams. You now have three ingredients weighed perfectly in one container, and you only dirtied one spoon.
You can repeat this process as many times as the scale's total capacity allows. The only limit is the physical space inside your container and the maximum weight rating of the scale itself. If you add an ingredient and overshoot your target, simply scoop some out with a spoon.
The number will drop in real time.
One edge case to watch: some cheaper scales accumulate tiny rounding errors if you press tare more than five or six times in a row. If you're building a complex recipe with ten layers in one bowl, weigh the first few, transfer them to a larger storage bin, and start fresh on the scale platform to keep your numbers tight.
Weighing Proteins Raw Versus Cooked
Protein changes weight significantly during cooking. Water evaporates, fat renders out, and the final product shrinks. A 200-gram raw chicken breast might weigh 150 grams after baking.
If you log your food in a tracking app, entering "200g chicken breast" when you actually ate the cooked version throws off your protein and calorie counts.
For meal prep, the most efficient method is weighing your proteins raw, recording those numbers, and then dividing the cooked batch based on the raw ratios. Let's say you buy a family pack of ground turkey weighing 1,350 grams. You want five equal portions for the week.
Divide 1,350 by 5. Each raw portion needs to be 270 grams. Form five patties or crumble the meat into five separate piles on parchment paper, adjusting each until the scale reads 270 grams.
Cook them all together. Even though they shrink differently depending on where they sat in the pan, the actual nutritional content remains evenly divided because you split them by raw mass.
If you prefer to weigh after cooking, you must account for moisture loss. Cook your entire batch of protein, weigh the total cooked amount, and divide that new number by your desired servings. Keep in mind that the USDA tracks nutrition data for both raw and cooked states, so always match the entry in your database to the state of the food on your scale.
You can review official serving size standards from the FDA to understand how packaged labels calculate these figures compared to raw weights.
When working with thicker roasts or whole birds, verifying the internal temp alongside your weight checks prevents undercooking. I often rely on a dual-sensor setup to monitor two different cuts simultaneously while my scale handles the portioning.
Splitting Bulk Carbohydrates Into Equal Servings
Rice, quinoa, oats, and pasta are usually cooked in large batches. Unlike raw meat, grains absorb water unpredictably. One cup of dry jasmine rice might yield slightly more or less cooked weight depending on humidity, pot lid fit, and simmer intensity.
Volume measurements fail here completely. Weight solves it.
Cook your entire batch of carbohydrates. Transfer it all to a large bowl placed on your tared scale. Note the total weight.
Let's say your cooked quinoa weighs 1,200 grams. You need four lunch containers. Divide 1,200 by 4 to get 300 grams per serving.
Place your first empty meal prep container on the scale and press tare. Spoon in quinoa until the display reads 300 grams. Move that container aside.
Place the second empty container on the scale, press tare, and repeat. Do this until all four containers hold exactly 300 grams.
This method applies to roasted sweet potatoes, boiled pasta, or mixed grain salads. The shape or density of the food doesn't matter. The scale only cares about gravity pulling down on its sensor.
If you're prepping dense root vegetables, keeping your workspace tidy helps avoid knocking the scale. Spills happen, especially when juggling heavy bowls, so knowing how to quickly wipe down your equipment, much like clearing baked-on grease from heating elements, keeps everything functioning properly between sessions.
Handling Liquids and Sauces Without Making a Mess
Liquids weigh the same as solids on a digital scale, but they behave differently when you pour them. Broths, dressings, oils, and sauces slosh. If you pour too fast, the momentum causes the reading to bounce, making it hard to stop exactly at your target number.
Pour slowly as you approach the goal. Stop pouring when you are about 5 grams away, and then add the liquid drop by drop or in very small splashes. For viscous liquids like honey, peanut butter, or thick marinades, the delay is even longer.
The scale takes a second to register the full weight of a thick dollop landing in the bowl. Wait for the number to stabilize before adding more.
Oils are extremely calorie-dense. A tablespoon of olive oil is roughly 14 grams and contains about 120 calories. Guessing oil amounts during meal prep is one of the fastest ways to accidentally add hundreds of extra calories to your weekly batches.
Weighing oil directly into your dressing jars or over your vegetable trays guarantees consistency.
| Ingredient Type | Recommended Unit | Common Prep Mistake | Scale Advantage |
|---|---|---|---|
| Raw Meat / Poultry | Grams | Unequal shrinking during cooking | Exact macro division before heat |
| Cooked Grains | Grams | Fluffiness alters cup volume | Ignores air pockets entirely |
| Oils / Fats | Grams | Heavy pours skew calories | Catches dense caloric loads |
| Leafy Greens | Grams | Cups compress unpredictably | Measures true mass regardless of packing |
| Liquids / Broths | Grams | Sloshing bounces the reading | Precise sodium and hydration control |
Building a Complete Meal Prep Container by Weight
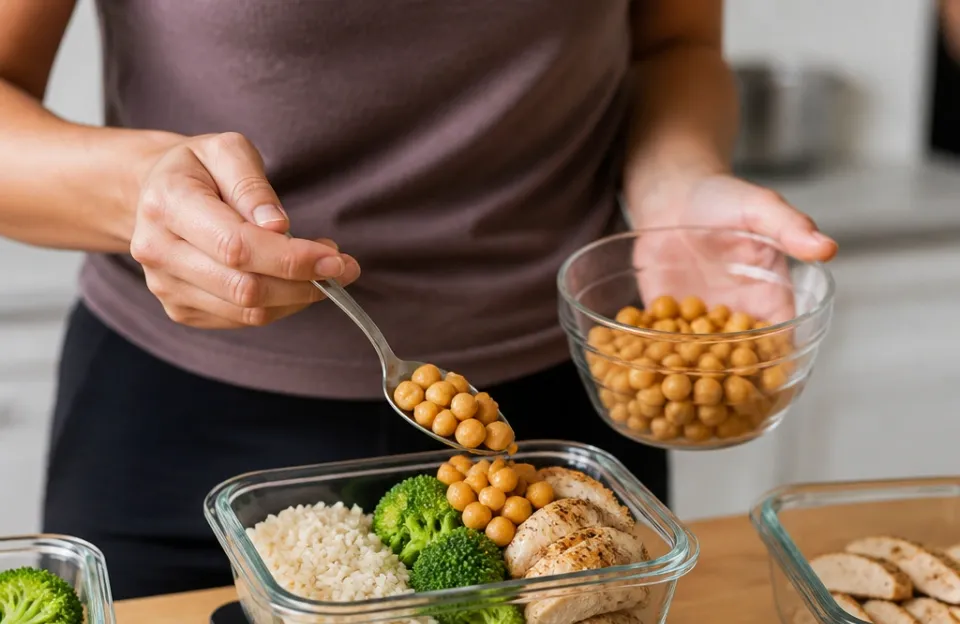
Putting the previous steps together creates a repeatable assembly line. Line up your empty containers. Have your cooked proteins, carbohydrates, vegetables, and sauces ready in their respective bulk bowls.
Start with the heaviest item, usually the protein or the grain. Place the first container on the scale, tare it, and add your target weight of chicken. Tare again.
Add your target weight of rice. Tare again. Add your vegetables.
Tare one last time. Pour your sauce.
Working heaviest to lightest prevents a scenario where you add a delicate ingredient first, realize you need to adjust something heavier underneath it, and end up crushing the lighter food. It also keeps the center of gravity low in the container, which matters if you stack them in the fridge or carry them in a bag.
If you follow a specific macronutrient ratio, write your target weights on a sticky note and attach it to the cabinet above your prep station. For example: 150g protein, 200g carbs, 100g veg, 20g sauce. You won't need to look up your spreadsheet every time you switch containers.
Once the rhythm sets in, you can fill ten containers in the time it used to take you to eyeball five.
Tracking macros closely often goes hand-in-hand with monitoring doneness, especially for poultry. Having a reliable Bluetooth thermometer nearby means you can verify temperatures without moving your containers off the scale.
Why Measuring Cups Still Exist Alongside Your Scale
Scales handle almost everything better, but volume tools aren't obsolete. They still win in specific scenarios during meal prep.
Baking requires chemical precision, and professional bakers exclusively use weight. However, if you are just portioning out overnight oats or scooping protein powder into a shaker bottle for a quick post-workout meal, grabbing a scoop is faster than turning on the scale, finding a bowl, and taring it out. Speed matters when you're rushing.
Leafy greens present another quirk. Spinach and arugula are incredibly light. To get 100 grams of raw spinach, you need a massive pile.
If your scale only measures in 1-gram increments, the sheer volume of air trapped between leaves can make the reading flutter. A salad spinner or a rough visual estimate works fine for greens unless you are strictly tracking fiber down to the gram.
Spices are the third exception. Most affordable kitchen scales max out their sensitivity at 1 gram. If a recipe calls for 0.5 grams of saffron or cayenne pepper, the scale might not register it at all, or it might jump from 0 to 1 unpredictably.
Use measuring spoons for spices under 2 grams. For larger spice blends rubbed onto meats, the scale handles those easily.
Troubleshooting Drifting Numbers and Sensor Errors
Digital scales rely on a strain gauge load cell. This is a small metal bar that bends slightly under weight, changing its electrical resistance. Several common kitchen conditions interfere with this mechanism.
Moisture is the biggest enemy. If you spill broth under the weighing platform, it can seep into the electronics. Wipe spills immediately.
Never submerge the base of the scale in the sink. Clean the platform with a damp cloth while the unit is turned off.
Battery voltage drops cause drifting numbers. If your scale reads 198 grams, then slowly ticks up to 201 grams without you adding anything, the batteries are dying. Replace them.
Rechargeable models should be topped off before a major Sunday prep session, not halfway through dividing three pounds of ground beef.
Uneven surfaces were mentioned earlier, but it bears repeating because it's the most frequent cause of inconsistent readings. Pushing the scale against a backsplash or letting a corner hang off the counter edge alters the physics of the load cell. Give it clearance on all sides.
Finally, check your scale's accuracy occasionally. Grab a sealed, unopened bag of sugar or flour with a printed net weight on the package. Place it on the scale.
If the bag says 1,000 grams and your scale reads 1,000 grams, your sensor is calibrated. If it reads 980 or 1,020 consistently, consult the manual for the calibration procedure, which usually involves holding the power button and placing a known reference weight on the platform.
If you notice your scale acting up right after washing heavy pots, ensure your drying area is organized. Keeping appliances separated from wet dish racks prevents accidental water damage to sensitive electronics.
Frequently Asked Questions
Do I need to turn off the scale between weighing different containers?
No. Leave it on. Turning it off forces the sensor to recalibrate its zero point every time you boot it up, which wastes seconds and drains the battery faster.
Just remove the full container, place the next empty one on the platform, and hit tare. The scale is designed to stay active throughout a continuous workflow.
Can I weigh frozen meat directly for meal prep?
Yes. Frozen meat weighs the same as thawed meat because freezing doesn't change the mass, only the state of the water inside it. However, frost buildup or ice crystals clinging to the outside of the packaging can add a few extra grams.
Pat the meat dry or brush off excess ice before placing it on the scale for the most accurate reading.
What happens if I go slightly over my target weight while pouring?
Scoop the excess out. Don't try to tilt the container to dump a little back into the bulk bowl, as that usually results in spilling too much. Use a spoon to lift out small amounts until the display drops back to your target number.
With practice, your wrist learns exactly how much force is needed to pour the last few grams.
Are cheap food scales accurate enough for tracking macros?
Most digital scales priced under twenty dollars offer 1-gram resolution, which is perfectly adequate for meal prep. You don't need laboratory-grade 0.01-gram precision to divide chicken and rice. The main difference between budget and premium models is build quality, platform size, and maximum weight capacity, not baseline accuracy for food-sized portions.
Should I weigh my food before or after adding seasonings?
Weigh the core ingredients first. Dry spices weigh almost nothing and rarely impact your macro totals enough to matter. Wet marinades, however, contain calories from oil, sugar, or soy sauce.
If you use a heavy marinade, tare the scale after your protein is added, pour the marinade, and record that weight separately so you can log it accurately in your tracking app.
Getting Consistent Results Every Week
Learning how to use a food scale for meal prep shifts your focus from estimating to executing. The first week feels mechanical. You'll stare at the display, second-guess your tare presses, and probably spill rice on the counter.
By the third week, your hands move automatically. Container on, tare, protein, tare, carbs, tare, veggies, lid on, next.
Keep the scale wiped down, swap the batteries the moment the digits start lagging, and always work on a hard, flat surface. Those three habits prevent nearly every issue people run into. Once the physical routine locks in, the numbers in your tracking app will finally match the food on your plate.