Using a food scale for coffee takes about two minutes to learn and changes every cup you brew. You place your empty cup or brewer on the scale, press the tare button to zero it out, and add coffee grounds or water until you hit your target weight. That is the whole process.
The reason this matters comes down to consistency. Volume measurements like tablespoons change depending on how fine your grind is and how densely you packed the scoop. Weight stays exactly the same every single time.
If you want to know how to use a food scale for coffee properly, you just need to understand ratios, taring, and when to weigh your water versus your beans. This guide covers all of that, plus the specific adjustments needed for different brewing methods.
Why Grams Matter More Than Scoops for Coffee
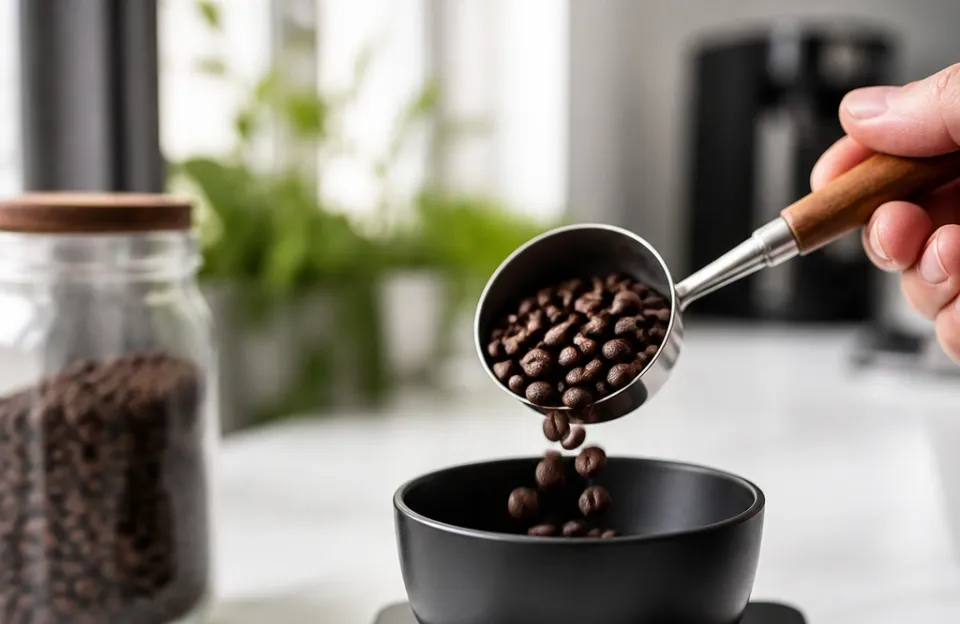
Coffee extraction depends on a strict ratio between dry grounds and liquid water. When you measure by volume, a tablespoon of finely ground espresso weighs significantly more than a tablespoon of coarsely ground French press coffee. The finer particles pack together tightly, leaving less air space.
A coarse grind leaves large gaps. So two level tablespoons can yield completely different amounts of actual coffee mass.
A digital food scale eliminates this variable entirely. Fifteen grams of coffee is fifteen grams, whether it is ground like powdered sugar or cracked like sea salt. Specialty coffee standards generally recommend starting with a 1:15 to 1:17 ratio of coffee to water by weight.
That means one gram of coffee for every fifteen to seventeen grams of water. Without a scale, guessing where you fall in that range is nearly impossible.
Most kitchen scales read in one-gram increments, which is perfectly fine for standard drip or immersion brewing. For espresso, baristas often prefer scales that read to a tenth of a gram because the total dose is much smaller and the margin for error shrinks. Either way, weighing your ingredients gives you a repeatable baseline.
If a cup tastes too bitter or too weak, you can adjust the exact gram amount next time instead of guessing how much extra to toss into the filter.
Setting Up Your Coffee Scale Before the First Pour
Before you start grinding, clear off your counter and set the scale on a hard, flat surface. Soft mats or uneven tables cause the load cell inside the scale to read inaccurately. Turn the scale on and let it settle at zero.
Place whatever vessel you plan to brew into directly on the platform. This could be a paper filter sitting in a pour-over cone, an empty French press carafe, or the portafilter basket from an espresso machine.
Once the vessel is resting on the platform, the display will show its weight. Press the tare button. The screen should drop back to zero.
You have now told the scale to ignore the weight of the container so it only measures what you add next. Add your whole coffee beans or pre-ground coffee slowly until the display hits your target number. If you overshoot by a gram, pick a few beans out.
Precision here pays off in the final cup.
If you are following a specific recipe, write down the numbers you used. Tracking your doses helps you figure out what works best for a particular bag of beans. Different roasts extract differently, so a dark roast might taste better at a 1:16 ratio while a light roast shines at 1:15.
You can find more about dialing in your daily routine alongside maintaining precise temperatures during preparation.
Weighing Coffee Beans for Different Brewing Methods
Every brewing method has a typical starting dose, though personal preference always dictates the final number. Knowing these baselines helps you set up your scale quickly without doing math every morning.
For a standard eight-ounce cup of drip coffee, a common starting point is 15 grams of coffee to 250 grams of water. That lands right around a 1:16.6 ratio. If you are filling a full ten-cup carafe, multiply those numbers accordingly.
One hundred grams of coffee to roughly 1,600 grams of water will fill a standard pot.
Pour-over methods like the V60 or Kalita Wave usually work well with 15 to 20 grams of coffee per 250 to 320 grams of water. The slightly tighter control over pouring speed makes these methods forgiving if you tweak the dose by a gram or two.
French press recipes tend to use a bit more coffee relative to water because the immersion method extracts differently. Thirty grams of coffee to 500 grams of water is a reliable starting point. That is a 1:16.6 ratio, but some people prefer 1:14 for a heavier body.
Espresso operates on a completely different scale. A standard double shot uses 18 to 20 grams of finely ground coffee. Because the total weight is so small, even half a gram changes the flow rate through the puck.
This is where a scale with 0.1g resolution becomes very helpful.
| Brewing Method | Typical Coffee Dose | Typical Water Weight | Starting Ratio |
|---|---|---|---|
| Drip Coffee (single cup) | 15g | 250g | 1:16.6 |
| Pour-Over (V60/Kalita) | 15g to 20g | 250g to 320g | 1:15 to 1:17 |
| French Press | 30g | 500g | 1:16.6 |
| Espresso (double shot) | 18g to 20g | 36g to 40g output | 1:2 (coffee to yield) |
Taring Between Water and Grounds During a Brew
Taring is the most important mechanical step when learning how to use a food scale for coffee. You will likely need to do it multiple times during a single brew session. The first tare happens after you place your empty dripper or carafe on the scale, right before adding grounds.
Once your coffee is weighed out and ground, you place the brewer back on the scale and tare it again so it reads zero with the dry coffee sitting inside.
Now you are ready to add water. Because water has a density of one gram per milliliter, you can treat grams and milliliters as identical for coffee brewing. Two hundred fifty grams of water is 250 milliliters.
Pour slowly and watch the numbers climb on the display. Stop when you hit your target water weight.
Some people prefer to weigh their water in a separate kettle before pouring. You put the kettle on the scale, tare it, and pour water from the tap until you reach the desired weight. Then you heat it.
Both methods work. Weighing directly into the brewer saves you from washing an extra container. Just make sure your scale is rated for the total combined weight of the brewer, the coffee, and the water.
Most kitchen scales max out at 5 kilograms, which is plenty for home brewing.
If you ever notice the numbers drifting while you pour, pause and let the scale settle. Cheap load cells sometimes bounce if you pour aggressively. A steady hand keeps the reading accurate.
Understanding how your tools react under pressure is similar to checking equipment accuracy across different kitchen tasks.
Using a Food Scale for Coffee With Pour-Over Brewers
Pour-over brewing is where a scale proves its worth most visibly. Recipes for devices like the Hario V60 rely on timed water additions, and you cannot execute those pours accurately by eye.
Start by placing your dripper and paper filter on the scale. Tare it. Add your measured coffee, say 20 grams.
Tare again. Heat your water to your preferred temperature, usually between 195°F and 205°F. If you want to verify your kettle's thermostat, using a reliable digital probe is a quick way to confirm the water is actually hitting the right heat before you pour.
Begin your bloom phase by pouring 40 to 60 grams of water over the dry grounds. Watch the scale as you pour. Stop exactly at your target bloom weight.
The bloom allows carbon dioxide to escape from freshly roasted beans, preventing channeling later in the brew. Wait 30 to 45 seconds.
After the bloom, begin your main pour. Many popular recipes call for pouring in concentric circles until the scale reads 150 grams, pausing, then continuing to 250 grams, and finally topping off at 320 grams. By keeping your eyes on the scale display rather than the water level in the cone, you guarantee the exact ratio every time.
The scale removes the guesswork from the visual cues, which can be deceiving depending on how much the coffee bed swells.
Adjusting the Recipe When the Cup Tastes Wrong
Weighing your inputs gives you a diagnostic tool when a brew tastes off. If your pour-over tastes sour, thin, or overly acidic, the coffee is likely under-extracted. You have a few options to fix it, and the scale helps you isolate the variable.
First, try grinding finer while keeping the coffee and water weights exactly the same. If you were using 20 grams of coffee and 320 grams of water, stick to those numbers. A finer grind slows the water down, increasing contact time and pulling more flavor from the beans.
If adjusting the grind does not fix it, change the ratio. Move from a 1:16 ratio to a 1:15 ratio. Keep the water weight at 320 grams, but increase the coffee dose to 21.3 grams.
The scale lets you make this tiny adjustment precisely. Without it, you would just throw in "a little more" coffee, which could easily overshoot and make the brew muddy.
Conversely, if the coffee tastes harsh, bitter, or dry, it is over-extracted. Coarsen the grind slightly, or widen the ratio to 1:17 by dropping the coffee dose to 18.8 grams for the same 320 grams of water. Make one change at a time.
If you alter the grind size and the ratio simultaneously, you will not know which adjustment fixed the problem. Keeping detailed notes tied to specific weights prevents this confusion.
Weighing Espresso Doses and Liquid Yields
Espresso requires the tightest tolerances of any brewing method. A standard double basket holds between 18 and 20 grams of coffee. Being off by even one gram alters the resistance of the puck, changing the pressure and flow rate dramatically.
Place your empty portafilter basket on the scale and tare it. Dose your ground coffee until the display shows exactly 18.0 grams. Distribute and tamp as usual.
Lock the portafilter into the group head.
Here is where espresso differs from other methods. You also need to weigh the liquid coming out of the machine. Place your espresso cup on the scale, tare it to zero, and slide the scale onto the drip tray beneath the spouts.
Start the pump. Watch the scale as the espresso flows. A standard modern recipe targets a 1:2 ratio of dry coffee to liquid yield.
If you dosed 18 grams of dry coffee, you want to stop the shot when the scale reads 36 grams of liquid espresso.
This entire process usually takes 25 to 30 seconds. If the scale hits 36 grams in 15 seconds, your grind was too coarse and the shot will taste sour. If it takes 45 seconds to reach 36 grams, the grind was too fine and the shot will likely taste bitter.
The scale provides the objective data needed to dial in the grinder. Trying to eyeball a two-ounce liquid yield in a dark ceramic demitasse is highly unreliable.
Some dedicated espresso scales include built-in timers that start automatically when they detect the first drops of liquid. These are convenient, but a standard kitchen scale works perfectly fine as long as you keep an eye on both the weight and a separate clock. Managing fast-paced timing pairs well with reading quick-response displays in other high-heat cooking scenarios.
Common Mistakes When Weighing Coffee at Home
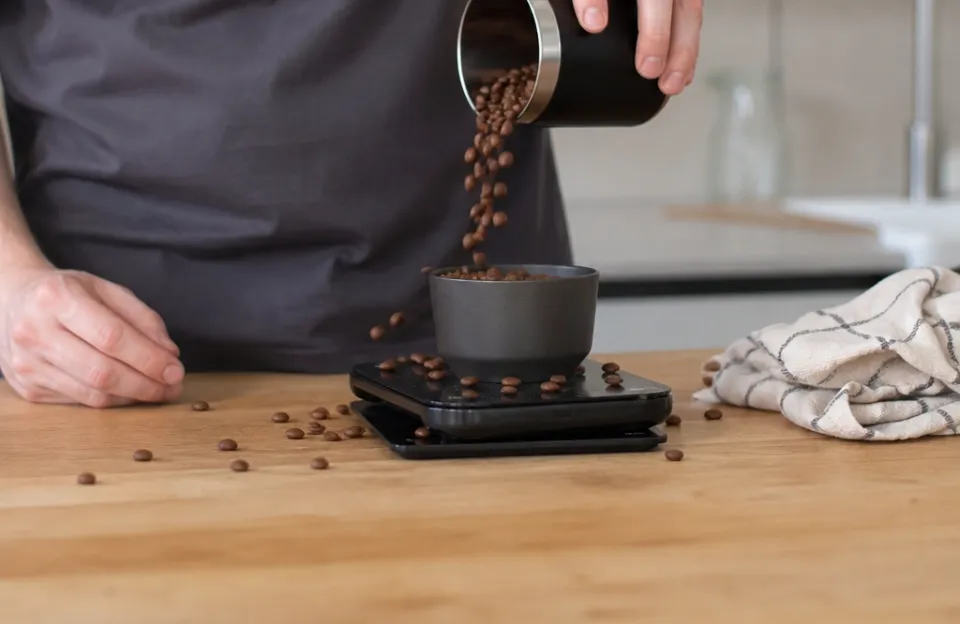
Even with a scale on the counter, bad habits can ruin your measurements. Paying attention to how you interact with the hardware prevents wasted beans.
- Forgetting to tare after adding the filter. Paper filters weigh between one and three grams. If you forget to tare the scale after inserting the filter, your coffee dose will be short by that exact amount. Always tare once the empty brewing vessel and filter are in place.
- Placing the scale on a soft surface. Silicone baking mats, thick wooden cutting boards that flex, or folded towels absorb some of the downward force. This causes the load cell to register a lower weight than what is actually present. Always use a rigid, flat countertop.
- Ignoring the maximum capacity. Kitchen scales have a limit, usually 3kg or 5kg. If you place a heavy glass French press on the scale, tare it, and then try to add a liter of water, you might exceed the maximum rating. The scale will either flash an error or, worse, give you a frozen, inaccurate number. Check the specs of your scale before brewing large batches.
- Leaving old batteries in the scale. Digital scales rely on consistent voltage to calculate weight. As batteries drain, the readings can drift or fluctuate wildly. If your scale starts jumping between numbers while sitting empty, replace the batteries before blaming your brewing technique.
- Weighing hot water on a cold scale platform. Extreme temperature differences can occasionally cause condensation under the weighing platform or temporarily affect the strain gauge. Letting your equipment sit at room temperature avoids this edge case.
Cleaning and Storing Your Coffee Scale
Coffee dust is incredibly fine and static-prone. It gets everywhere, including inside the seams of your scale. Over time, ground coffee trapped beneath the weighing platform creates friction, leading to sticky or inaccurate readings.
Wipe the platform down with a dry cloth after every brewing session. Avoid spraying water or cleaning solutions directly onto the scale. Liquid seeping into the electronics is the fastest way to break a digital scale.
If you spill water during a pour-over, turn the scale off immediately, remove the batteries, and let it dry completely before turning it back on.
Store the scale flat. Do not stack heavy items like cast iron pans or bags of flour on top of it. Constant pressure on the load cell when the scale is turned off can degrade its calibration over time.
If your scale came with a protective cover or box, use it.
To check if your scale is still accurate, weigh a known object. A standard US nickel weighs exactly 5.0 grams. Place five nickels on the platform.
The display should read 25 grams. If it reads 24 or 26, your scale needs recalibration or replacement. Verifying your gear periodically is just as important as monitoring internal heat levels when baking or roasting.
Choosing the Right Resolution for Your Brew Style
Not all food scales are built the same. The primary difference that affects coffee brewing is resolution, which refers to the smallest increment of weight the scale can display.
A standard kitchen scale with 1-gram resolution is ideal for drip coffee makers, French presses, and large pour-overs. When your total water weight is 500 grams, being off by one gram represents a 0.2% variance. That is well within the acceptable margin for a great cup.
However, if you primarily brew espresso, 1-gram resolution is too blunt. When your target liquid yield is 36 grams, a 1-gram jump means you are either stopping at 35 or 37 grams. That is nearly a 3% swing, which is highly noticeable in a concentrated espresso shot.
For espresso, look for a scale that reads in 0.1-gram increments.
Response time also matters. Some cheap scales update their display only once per second. Fast-flowing espresso or aggressive pour-over techniques require a scale that updates multiple times per second so you can stop pouring exactly when you hit your number.
A lagging display forces you to anticipate the weight and stop early, which defeats the purpose of using the scale.
According to guidelines from the Specialty Coffee Association, precision in brewing ratios is a foundational element of coffee quality. Their standards highlight why moving away from volumetric measurements toward gravimetric ones produces consistently better results in both commercial and home settings.
Frequently Asked Questions
Can I use a regular baking scale for brewing coffee?
Yes. Any digital kitchen scale that measures in grams works for drip, pour-over, and French press coffee. You only need a specialized scale if you are brewing espresso, which requires 0.1-gram precision and a fast response time to track the liquid yield accurately.
Do I really need to weigh my water, or just the coffee?
You should weigh both. The ratio between coffee and water determines extraction. If you only weigh the beans but guess the water volume, you lose the benefit of using the scale entirely.
Since one gram of water equals one milliliter, weighing the water directly into the brewer is fast and exact.
How often should I calibrate my coffee scale?
For home use, checking the calibration once a month is sufficient. Use a known weight, like coins or a calibration weight if the manufacturer provided one. If you move the scale frequently or accidentally drop it, check the calibration immediately afterward.
Is a food scale necessary for French press coffee?
It is not strictly required, but it solves the most common French press problem: inconsistent strength. Because French press uses a coarse grind, scooping by volume leads to massive variations in coffee mass. Weighing your 30 grams of coffee and 500 grams of water guarantees the same heavy body every morning.
What happens if my scale turns off during a pour-over?
Many scales have an auto-shutoff feature to save battery. If yours shuts off mid-brew, you lose your running total. Look for a scale with a disableable auto-shutoff, or one specifically marketed for coffee, which usually stays awake as long as weight is actively changing on the platform.
Does the weight of coffee change after grinding?
No. Whole beans and ground coffee weigh exactly the same. Grinding changes the surface area and volume, but mass is conserved.
Twenty grams of whole beans yields twenty grams of ground coffee. This is why weighing before or after grinding produces the same result, though weighing whole beans before grinding prevents stale grounds from sitting in the dosing chamber.
Getting Consistent Cups Every Morning
Learning how to use a food scale for coffee removes the guesswork from your morning routine. Once you commit to weighing your beans and your water, you stop relying on luck to produce a good cup. You gain the ability to replicate a perfect brew from yesterday or systematically fix a bad one today.
Start with a basic 1:16 ratio, tare your scale carefully, and adjust one variable at a time based on what you taste. The scale does the measuring; you get to focus on the drinking.



1 thought on “How to Use a Food Scale for Better Coffee Every Time”