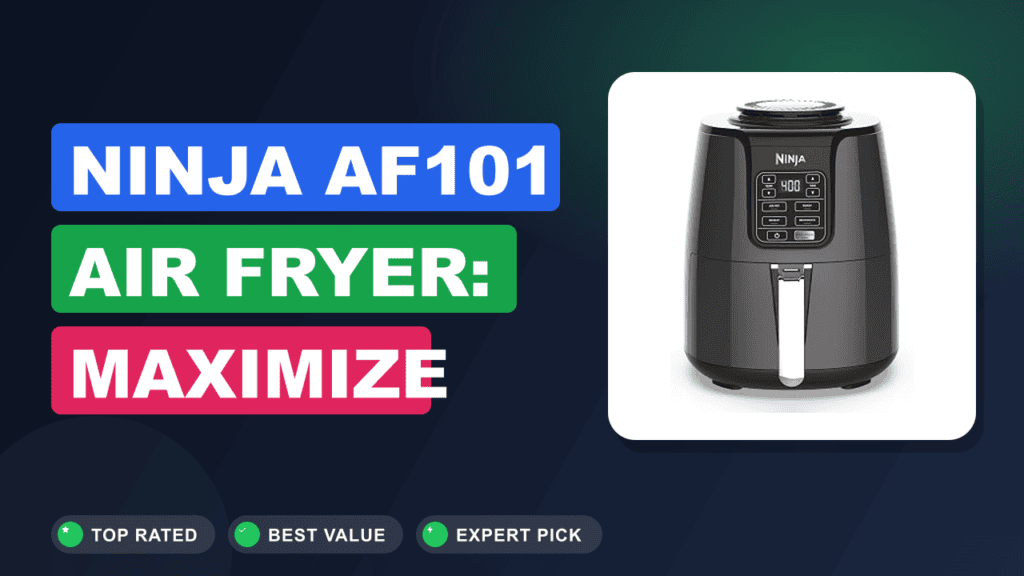
Cooking chicken chunks in an air fryer is one of the fastest and most consistent ways to get juicy, tender meat with a crispy exterior. To get it right, you generally need to cook chicken chunks at 375°F to 400°F for 8 to 12 minutes. The exact time depends on the size of the pieces and whether they are breaded, but the goal is always to reach a safe internal temperature of 165°F.
Understanding the balance between heat and time is key. Too much heat for too long, and you end up with dry, tough protein. Too little, and the outside won’t crisp up before the inside is ready.
This guide covers the specifics for getting perfect results every time, regardless of how you season or prep your chicken.
The Importance of Internal Temperature
Food safety is the most important factor when cooking poultry. The USDA recommends that all chicken, including chunks and pieces, reach an internal temperature of 165°F to ensure harmful bacteria are destroyed. Relying on color or texture alone is a mistake.
Using a digital meat thermometer is the only way to be 100% sure your chicken is done. Insert the probe into the thickest part of the largest chunk. If the thermometer reads 165°F or higher, you are ready to eat.
If you are hovering around 155°F or 160°F, keep the chunks in the air fryer for another minute or two. Even a small drop in temperature can mean the difference between a safe meal and an unnecessary risk.
How to Prepare Your Chicken for the Air Fryer
Consistency in size is the secret to even cooking. If you have some small pieces and some massive chunks, the small ones will dry out before the large ones are cooked through. Take a few extra seconds to cut your chicken into uniform pieces, ideally around one inch to one-and-a-half inches in size.
Once your chunks are cut, pat them dry with paper towels. Excess moisture on the surface of the chicken creates steam, which prevents the Maillard reaction, the chemical process that creates a golden-brown, crispy crust. Whether you are using a simple rub or a wet marinade, drying the meat first helps your seasonings stick and ensures a better texture.
Lightly coating the chunks in oil is also vital. You don't need a deep-fryer amount, but a light toss in olive or avocado oil helps conduct heat evenly across the surface. This ensures that the air circulating in the fryer crisps the meat rather than just drying it out.
Setting the Right Temperature and Time
Most air fryers perform best for chicken chunks at 380°F to 400°F. If you prefer a lighter, more tender bite, stick to the lower end. If you want a significant crunch, especially if the chicken is breaded, go for 400°F.
| Chicken Type | Recommended Temp | Estimated Time |
|---|---|---|
| Boneless, Skinless Breast | 380°F | 8–10 Minutes |
| Breaded/Coated Chunks | 400°F | 10–12 Minutes |
| Thigh Chunks | 390°F | 9–11 Minutes |
| Frozen Pre-cooked Chunks | 400°F | 6–8 Minutes |
These ranges assume you are arranging the chicken in a single layer. Overcrowding the basket is the fastest way to ruin your meal. If you stack the chunks on top of each other, the air cannot flow around them, and you will end up with steamed, rubbery chicken instead of crispy, delicious bites.
If you have a large amount of chicken, cook it in batches.
The Role of Shaking and Flipping
Air fryers work by blowing hot air down onto the food, which then bounces off the base of the basket to cook the underside. Because of this, it is necessary to move the food around during the cooking process.
Set a timer for the halfway mark of your total cook time. When it goes off, pull the basket out and give it a good shake. If you have breaded pieces that might fall apart, use a pair of tongs to turn each piece over.
This simple step ensures that all sides of the chicken receive direct exposure to the heat, preventing soggy spots and ensuring the crust develops uniformly.
Troubleshooting Common Issues
Even with the right temperature, things can occasionally go wrong. Understanding these common pitfalls helps you adjust your technique.
Chicken is burning on the outside but raw inside
This usually happens when the temperature is set too high for the size of the chunks, or the basket is packed too tight. Drop the temperature by 25 degrees and add a few minutes to the cook time. This allows the heat to penetrate the center of the chunk before the exterior gets too dark.
The chicken is dry and stringy
Dryness is almost always a result of overcooking. Because air fryers are so efficient, they can finish cooking in less time than a traditional oven. If you find your chicken is consistently tough, start checking the internal temperature two minutes earlier than the recipe suggests.
Breaded chunks are falling apart
If you are using a standard breading (flour, egg, crumbs), the air fryer fan can sometimes blow the coating off the meat. To prevent this, press the breading firmly into the chicken and let the coated pieces sit for 10 minutes before putting them in the fryer. This helps the coating "set" and adhere to the meat.
A light spray of oil on the breading right before it goes into the basket also helps lock the coating in place.
Why Air Fryer Chicken Chunks Are Different
Cooking in an air fryer is fundamentally different from a deep fryer or a conventional oven. A deep fryer surrounds the food in hot fat, which is great for flavor but heavy on calories. An oven takes a long time to preheat and struggles to move air around the food, often leading to uneven results.
The air fryer bridges the gap. By using a powerful fan to circulate hot air, it mimics the crispy texture of deep frying while using significantly less oil. Because the chamber is small, the heat concentration is much higher than in an oven, leading to shorter cook times.
The Best Way to Season
Seasoning should be added right before the chicken hits the basket. If you season too early, salt can draw moisture out of the meat, which defeats the purpose of patting it dry.
If you are using a wet marinade, let the chicken drain for a moment or pat it off slightly before adding any dry spices. If the chicken is too wet from the marinade, the spices will turn into a paste. If you want a nice, dry-rubbed crust, toss the dried chicken in oil, then toss in your spice blend, and immediately place it in the air fryer.
Managing Batches and Airflow
If you are cooking for a crowd, the temptation is to fill the basket to the brim. Resist this. Proper airflow is the engine behind air fryer cooking.
When the hot air hits the basket, it needs space to circulate around every single chunk.
If you are working with multiple batches, the air fryer will already be preheated, meaning the second batch will likely cook one or two minutes faster than the first. Keep a close eye on the thermometer during the second round.
How to Clean Your Air Fryer Basket
After cooking chicken, especially if you have used a marinade or breading, the basket will likely have some sticky residue. The best way to handle this is to let the basket cool slightly, then soak it in warm, soapy water for 15 minutes. Most modern air fryer baskets are non-stick, so avoid using steel wool or harsh scouring pads, which can ruin the coating.
A soft sponge or a microfiber cloth is usually enough to get it clean.
Frequently Asked Questions
Does the type of air fryer matter for cook times?
Yes, the wattage and size of your unit change things. A large, powerful air fryer will move air faster and may cook chicken chunks in less time than a smaller, less powerful model. Always use the provided time range as a baseline, but rely on your internal temperature thermometer to judge doneness.
Can I cook frozen chicken chunks directly in the air fryer?
You can, but you should lower the temperature to 375°F to ensure the center thaws and cooks without the outside burning. You will need to add about 3 to 5 minutes to your total cook time compared to fresh chicken. Always check that the internal temperature reaches 165°F.
Is it necessary to preheat the air fryer?
It isn't strictly necessary, but it does help with consistency. Most air fryers reach temperature in under three minutes. If you do preheat, keep in mind that your chicken will start cooking the moment it hits the basket, so you may need to shave one minute off your total timer to avoid overcooking.
What should I do if my breading is falling off?
This usually happens because the coating didn't have enough time to set or there was too much moisture on the chicken before breading. Try patting the chicken completely dry before applying your flour or egg wash. Also, make sure to use a light spray of oil over the top of the breading once it is in the basket to help it crisp up quickly.
Should I flip the chicken or shake the basket?
For small chunks, shaking the basket is sufficient. It allows the pieces to tumble over each other and exposes new surfaces to the air. If you have larger chunks or breaded pieces that you want to keep intact, use tongs to flip them individually at the halfway point.
Final Thoughts on Timing
Mastering the timing for chicken chunks is about learning your specific machine. Start with 8 to 10 minutes at 380°F, check the temperature, and adjust from there. Once you find that "sweet spot" for your particular air fryer, you will find that you rarely have to watch the clock again.
The key is prioritizing the internal temperature over the timer, and always giving the chicken enough space to breathe inside the basket. By focusing on these basics, you can ensure your chicken is always crispy, juicy, and safe to eat.