You should check meat temperature near the end of the estimated cooking time, never at the very beginning. For a roast that needs two hours in the oven, start checking around the 90-minute mark. For a chicken breast on the grill, check after about 12 to 15 minutes.
The exact timing depends on the cut, the cooking method, and the heat level.
Knowing when should you check meat temperature prevents two common problems: pulling food off the heat too early or leaving it on so long it dries out. This guide covers the specific moments to test different cuts, where to place the probe for an accurate reading, and how carryover cooking changes your target number.
Why Timing Your Temperature Check Matters
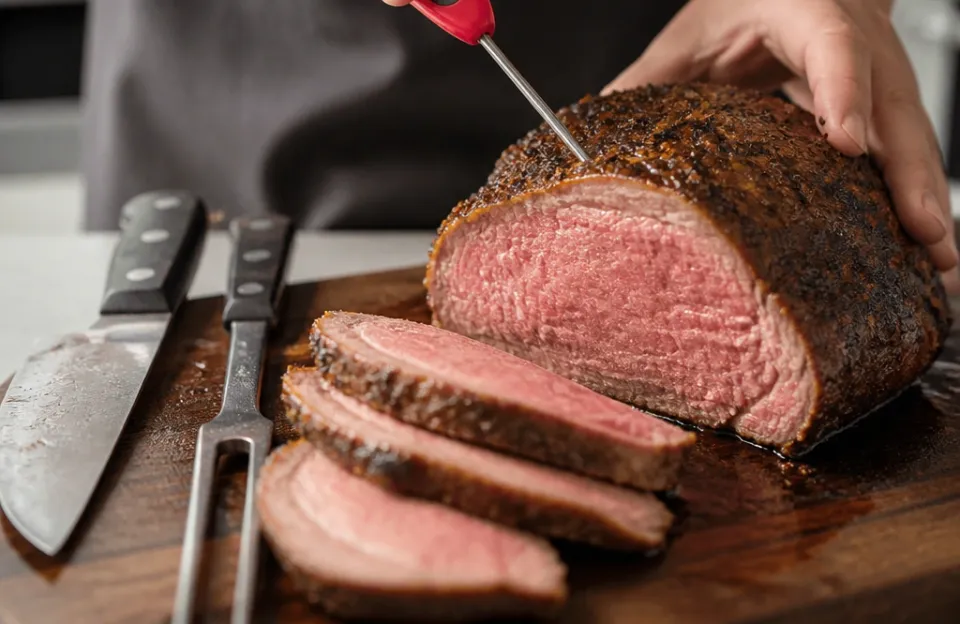
Meat continues to cook after you remove it from the heat source. This is called carryover cooking. The proteins inside the center keep absorbing thermal energy from the hotter outer layers.
If you wait until the thermometer reads the final safe temperature while the meat is still over the fire, it will overshoot that number as it rests. A thick pork chop pulled at exactly 145°F might climb to 150°F or higher on the cutting board.
Checking too early causes a different issue. Every time you open a smoker lid or oven door, heat escapes. The cooking environment drops, and the total cook time extends.
Poking a brisket every 30 minutes turns a 12-hour smoke into a 14-hour ordeal. You also risk drying out thinner cuts by repeatedly piercing them before they have formed a proper crust or bark.
The goal is to check exactly when the meat is approaching its target. That requires knowing roughly how long a specific cut takes at a given temperature, then testing only during the final stretch.
When Should You Check Meat Temperature for Different Cuts
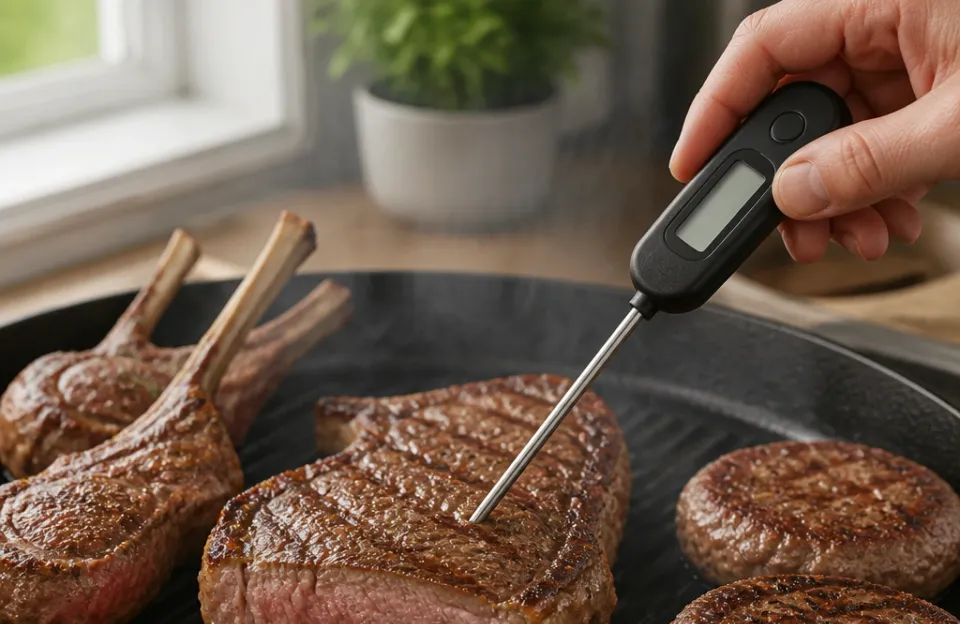
The answer to when should you check meat temperature shifts based on what you are cooking. A whole turkey behaves differently than a half-inch steak. Here is how the timing breaks down across common categories.
Thin Steaks, Chops, and Burgers
Thin cuts cook fast. A burger patty or a skirt steak might be done in under 10 minutes. For anything under one inch thick, start checking about two minutes before the recipe says it should be finished.
If you are grilling burgers over high heat, check at the six-minute mark for an eight-minute total cook time.
Because these cuts are thin, carryover cooking is minimal. The temperature won't rise much more than a degree or two once they leave the grill. You can pull them right at your target number.
Bone-In Chicken and Whole Birds
Poultry requires strict attention to safety. The USDA recommends cooking all poultry to a minimum internal temperature of 165°F, according to their official food safety guidelines. For a whole chicken roasting at 375°F, begin checking the temperature about 15 to 20 minutes before the recipe's stated finish time.
A four-pound bird usually takes around an hour and 20 minutes, so insert the probe at the one-hour mark.
Check the thickest part of the thigh first. Avoid touching the bone with the probe tip, as bone conducts heat differently and gives a false reading. If the thigh is at 160°F, pull the bird.
It will coast up to 165°F while resting under foil.
Large Roasts and Briskets
Low and slow barbecue operates on a completely different timeline. A packer brisket smoking at 225°F can take anywhere from 10 to 16 hours depending on size and moisture content. Checking constantly ruins the pit environment.
For large roasts, do not even think about testing the internal temperature until you pass the halfway point of your estimated cook time. If you expect a pork shoulder to take 12 hours, wait until hour seven to take your first reading. After that initial check, you can test every 45 to 60 minutes.
Using a dual probe setup allows you to monitor both the ambient smoker temperature and the meat simultaneously without opening the lid.
Many pitmasters experience "the stall," a period where the internal temperature plateaus around 150°F to 160°F due to evaporative cooling. During the stall, checking every 10 minutes will drive you crazy. Once the meat pushes past the stall and starts climbing again, resume checking every 30 minutes until you reach your pull temperature.
Quick Reference for Pull Times and Targets
| Cut Type | When to Start Checking | Target Pull Temp (Before Resting) |
|---|---|---|
| Thin steaks/burgers | 2 mins before expected finish | 130°F to 135°F (medium rare) |
| Pork chops (bone-in) | 5 mins before expected finish | 140°F |
| Whole chicken | 15-20 mins before expected finish | 160°F in the thigh |
| Beef roast | Halfway through estimated time | 125°F (rare) to 140°F (medium) |
| Smoked brisket | 70% through estimated time | 200°F to 205°F |
| Pulled pork shoulder | 60% through estimated time | 195°F to 203°F |
Where to Insert the Probe for an Accurate Reading
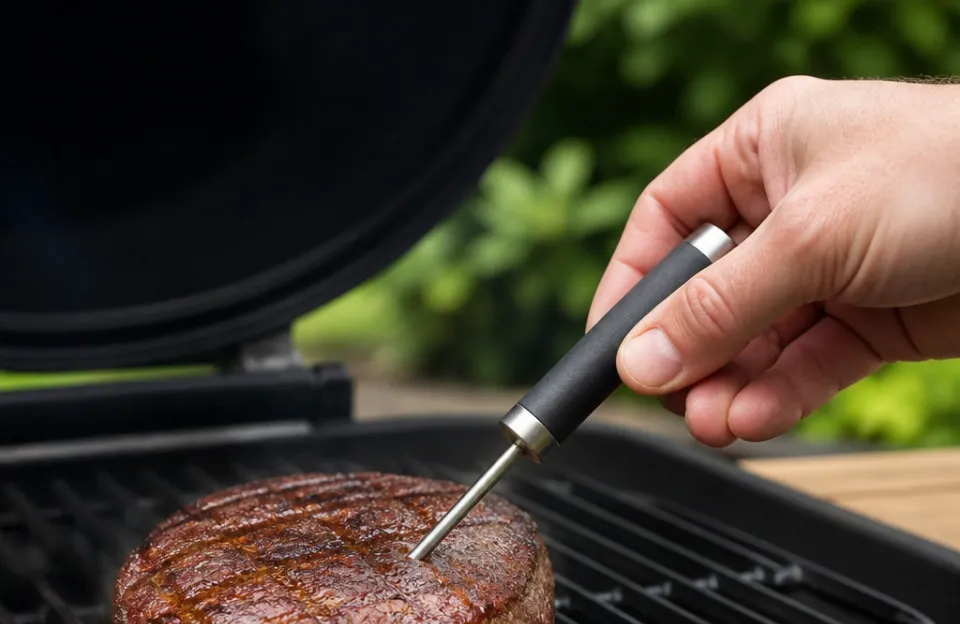
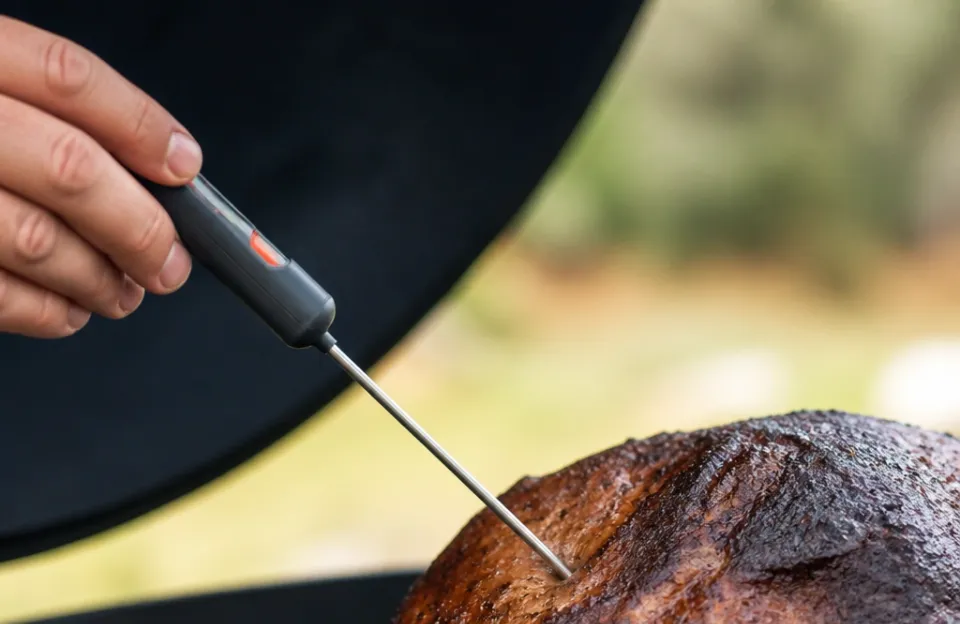
Knowing when to check means nothing if you measure the wrong spot. The probe tip needs to sit in the geometric center of the thickest part of the muscle. That area heats up last.
If the center is done, the rest of the cut is done.
For a whole chicken or turkey, push the probe into the deepest part of the inner thigh. Angle it slightly so the tip does not rest against the femur. Bone reads hotter than meat during cooking because it holds thermal mass differently.
Touching bone will tell you the meat is done before it actually is.
For a ribeye or strip steak, insert the probe horizontally through the side of the steak, aiming for the dead center. Pushing straight down through the top often results in the probe passing entirely through the meat and hitting the grill grate.
When checking ribs, slide the probe parallel to the bones into the thickest section of meat between them. Ribs are judged more by feel than strict temperature, but if you want a number, aim for 195°F to 203°F for tender results.
If you are working with irregularly shaped cuts, like a tri-tip or a boneless leg of lamb, find the absolute thickest cross-section. Measure there. Thinner sections will always be more cooked than the center, which is why some people prefer those cuts for serving guests who like varying degrees of doneness.
How Cooking Methods Change Your Testing Schedule
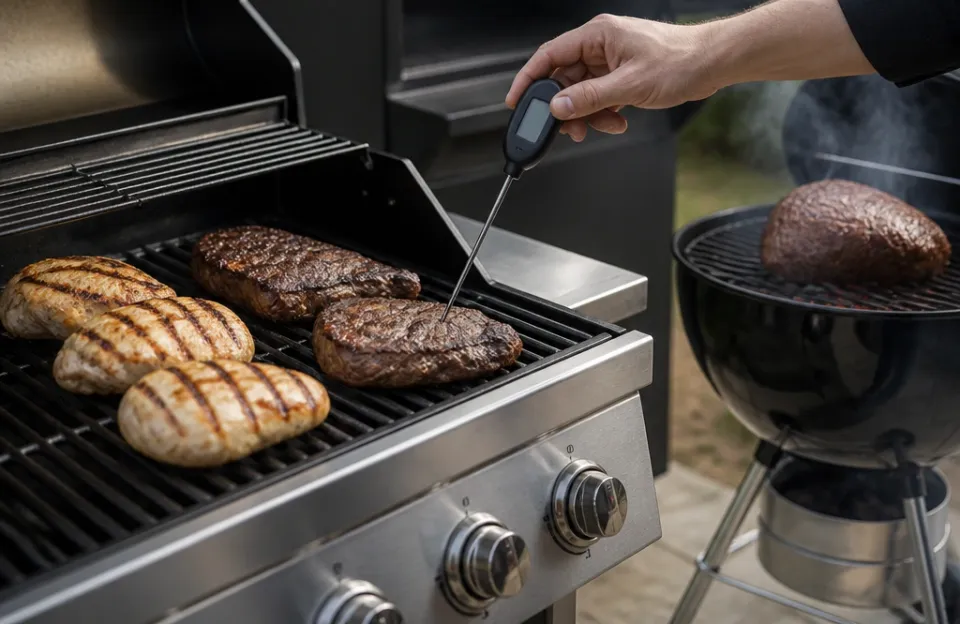
The heat source dictates how fast the exterior transfers energy to the interior. This directly impacts when you should pull out the thermometer.
Oven Roasting vs. Grilling
An oven provides steady, enveloping ambient heat. A 350°F oven cooks a three-pound beef roast predictably. You can rely heavily on time-per-pound estimates here.
If a recipe says 20 minutes per pound, a three-pound roast takes 60 minutes. Start checking at 45 minutes.
Grilling over direct flame introduces flare-ups, hot spots, and wind variables. A steak that takes eight minutes on Tuesday might take twelve minutes on Thursday if the wind picks up. On a grill, start checking earlier than you think you need to.
Rely on a fast-reading tool so you can get the number and close the lid immediately, preventing heat loss.
Smoking and Indirect Heat
Smokers run at low temperatures, usually between 225°F and 275°F. Because the delta between the air temperature and the meat temperature is small, the cooking process is slow. You rarely need to check a brisket or pork butt during the first half of the cook.
If you use a leave-in wireless model, you can set alarms on your phone and avoid opening the smoker entirely until the alarm triggers. This preserves the smoke ring and keeps the humidity stable. Opening a smoker frequently drops the temperature drastically, and it takes 15 to 20 minutes to recover.
Deep Frying and Sous Vide
Frying cooks meat incredibly fast. A batch of chicken wings in 375°F oil might be done in 8 to 10 minutes. You cannot easily stick a probe into meat submerged in boiling oil.
Instead, fry for the recommended time, pull one piece out, let it drain for 30 seconds, and check it. If it hits 165°F, the rest of the batch is ready. Some cooks use a specialized frying thermometer to monitor the oil temp, ensuring the heat stays constant so the cook times remain accurate.
Sous vide is the exception to almost every rule here. Because the water bath is set to the exact final desired temperature of the meat, you cannot overcook it in the traditional sense. You don't need to check the internal temperature of a sous vide steak at all.
You just follow the time chart for thickness.
Carryover Cooking and Adjusting Your Pull Temperature
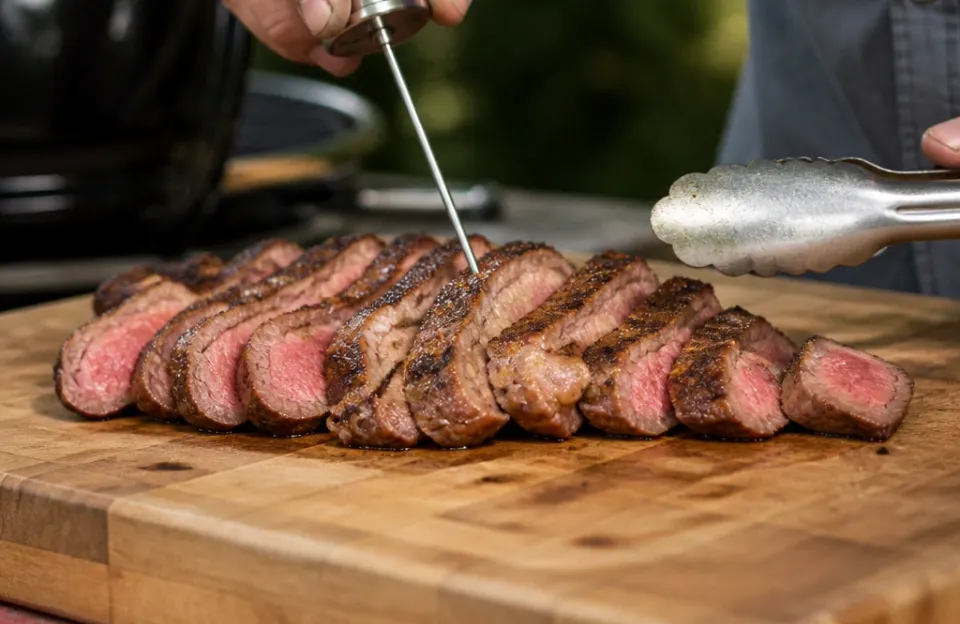
Carryover cooking happens because the outside of the meat is significantly hotter than the inside. When you remove a roast from the oven, that outer heat has nowhere to go except inward. The internal temperature continues to rise.
The amount of rise depends on the cooking temperature and the mass of the meat. A massive prime rib roasted at a low 250°F might only rise 3 to 5 degrees after leaving the oven. That same prime rib seared at 500°F could jump 10 to 15 degrees during resting.
This means you must pull the meat before it reaches your target eating temperature. If you want a medium-rare steak at 130°F, pull it off the grill at 125°F. Tent it loosely with foil and wait five minutes.
The residual heat finishes the job.
Thin cuts like fish fillets or smash burgers have very little mass. They hold less thermal energy. Their carryover rise is negligible, maybe 1 or 2 degrees.
For those, pull them exactly when they hit your target number.
Resting isn't optional. Cutting into a steak immediately releases the juices that are currently being pushed toward the center by the contracting muscle fibers. Letting it rest allows the fibers to relax and reabsorb the moisture.
A good rule of thumb is resting for half the total cooking time, or about five minutes per inch of thickness.
Mistakes That Ruin Your Temperature Readings
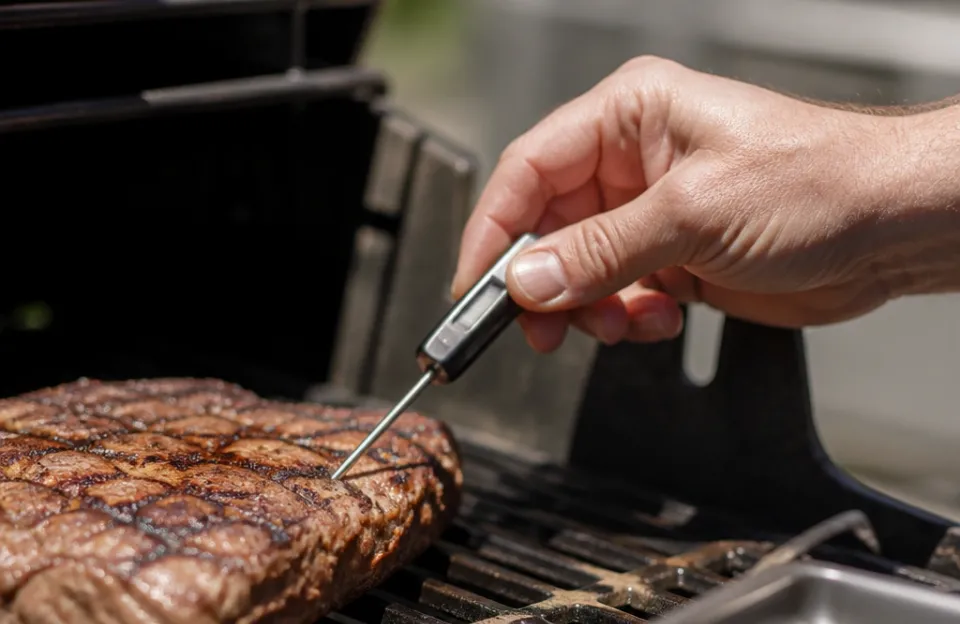
Even if you know exactly when should you check meat temperature, bad habits lead to bad data.
- Using an uncalibrated probe. Over time, thermometers drift. Test yours in a glass of ice water. It should read 32°F. If it reads 35°F, adjust the calibration nut or account for the three-degree offset every time you cook.
- Leaving the oven door open while reading. If you use a standard dial thermometer, standing there with the door wide open while you squint at the numbers drops the oven temp rapidly. Use a quick digital model, read it, and shut the door.
- Checking multiple spots and averaging them mentally. Don't guess. Find the thickest part, check it once, and trust that reading. If the thickest part is safe, the rest is safe.
- Ignoring the type of thermometer. Infrared laser guns only measure surface temperature. They are great for checking a pizza stone or a skillet, but they cannot tell you if the inside of a chicken is raw. You must use a probe that penetrates the flesh. If you're unsure about your current gear, looking into long-lasting options saves frustration later.
- Relying solely on color. The old myth that clear juices mean cooked poultry is unreliable. Chemical reactions in the meat, especially smoked meat, can leave poultry pink even when it is well past 165°F. Always trust the number over the visual cue.
Frequently Asked Questions
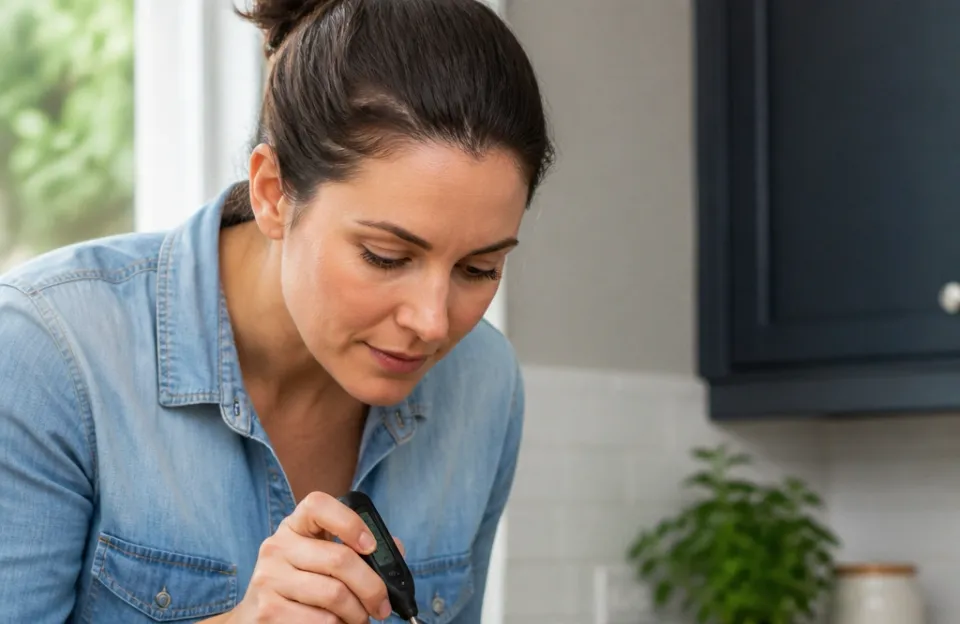
Can I leave my thermometer in the meat the entire time it cooks?
Only if the manufacturer specifically states the probe is oven-safe or grill-safe. Most instant-read digital thermometers will melt or break if left in a 400°F oven. Leave-in probes are designed with heat-resistant cables and sensor tips meant to stay buried in the roast throughout the cook.
Check the manual for maximum ambient temperature ratings.
How often should I check a brisket in the smoker?
Avoid checking during the first five to six hours. Once the internal temperature passes 150°F, check once an hour. If you notice the temperature stalling, resist the urge to check every 15 minutes.
The stall can last several hours. Opening the smoker repeatedly prolongs it. A reliable leave-in unit removes the temptation to constantly open the lid.
Does the meat temperature drop while resting?
No, it rises first, then slowly falls. Immediately after removing meat from the heat, the internal temperature climbs due to carryover cooking. Once it peaks, it begins to gradually cool down.
This is why you tent large roasts with foil; it slows the cooling process so the meat stays warm while the juices redistribute.
Is it safe to eat chicken if the thermometer reads 160°F?
The USDA sets the safe minimum for poultry at 165°F. However, food safety is a function of both temperature and time. Holding chicken at 155°F for about 50 seconds achieves the same bacterial reduction as hitting 165°F instantly.
If you pull a chicken breast at 160°F and let it rest for three to five minutes, the carryover heat holds it above the threshold long enough to pasteurize it safely.
Why does my thermometer give me different readings in the same piece of meat?
Muscle tissue is not uniform. Areas closer to the surface or near fat pockets heat faster than dense, central muscle fibers. If you push the probe into a fatty pocket, it will read higher than if you push it into the lean center.
Always aim for the deepest, thickest part of the lean muscle for the most accurate safety reading.
Do I need to check ground meat differently than whole cuts?
Yes. Whole muscle cuts like steaks only harbor bacteria on the exterior surface, which gets killed immediately by the searing heat. Ground meat mixes surface bacteria throughout the entire batch.
You must cook ground beef to 160°F and ground poultry to 165°F all the way through. Check the center of the thickest burger patty or meatball, not the edges.
Getting the Timing Right Every Time
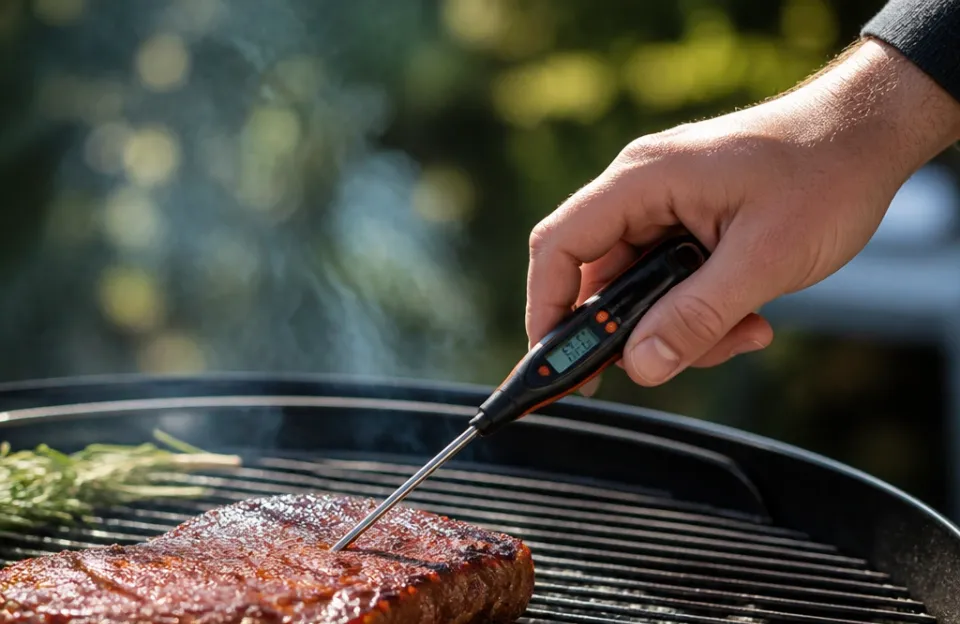
Figuring out when should you check meat temperature comes down to understanding the math behind your specific cook. Know your target final temperature, subtract a few degrees for carryover cooking, estimate the total time based on weight and heat level, and only introduce the probe during the final third of that window. Keep the lid closed as much as possible.
Trust the numbers your probe gives you over the color of the juices or the firmness of the crust. Consistent habits with your thermometer turn unpredictable grilling sessions into repeatable results.