Most chicken cuts cook in an air fryer at roughly 350°F to 400°F for about 8 to 35 minutes, depending on the cut, its thickness, and whether the bone is in. The timer alone never confirms doneness: chicken is safely cooked only when a food thermometer inserted into the thickest part reads at least 165°F.
Air fryers are essentially countertop convection ovens, and they cook food faster than larger ovens while using less energy. That speed is helpful, but it also narrows the window between juicy and dry. This guide gives starting times for common cuts, explains how to verify doneness properly, and covers the adjustments that matter most: frozen meat, breading, and a crowded basket.
Start with the Safe Temperature, Not the Timer
Every poultry cut, including breasts, legs, thighs, wings, ground poultry, giblets, and stuffing, must reach a minimum internal temperature of 165°F (73.9°C). That figure comes from the USDA Food Safety and Inspection Service and applies regardless of which appliance you use.
Cooking times vary between air fryers because of differences in size and power, but the safe internal temperature stays the same. That is why a thermometer, not a clock, is the final check.
Cook Times by Cut
The times below are calibrated for the Cosori Iconic air fryer. Wattage, chamber size, and airflow design differ between models, so treat these as starting points and confirm doneness with a thermometer.
Boneless Chicken Breast
For 8 to 10 ounce boneless breasts, set the air fryer to 390°F and cook for 15 to 22 minutes, flipping once. Thinner cutlets of about 5 ounces take 10 to 18 minutes at the same temperature, also with a flip.
Bone-in breasts weighing around 10 ounces need longer: 24 to 34 minutes at 395°F, flipped once.
Chicken Thighs
Bone-in thighs cook at 390°F for 18 to 24 minutes with a flip. Boneless thighs are much faster, at 8 to 14 minutes and 390°F, also flipped once.
Chicken Wings
Two pounds of wings cook at 400°F for 16 to 22 minutes, shaking the basket partway through. Shaking matters because it exposes new surfaces to the hot air, which helps the skin crisp evenly.
Drumsticks and Tenders
Six drumsticks take 18 to 24 minutes at 395°F with a flip. One pound of tenders cooks in just 8 to 12 minutes at 395°F, flipped once.
Whole Chicken
A 4.5 pound whole chicken cooks at 355°F for 55 to 60 minutes. Whole birds vary a lot in size and shape, so check the thickest part of the thigh and the breast with a thermometer rather than relying on the clock.
Quick-Reference Cook Time Guide
All times below are starting points for the Cosori Iconic and should be confirmed with a food thermometer.
| Chicken Cut | Temperature | Time | Flip or Shake |
|---|---|---|---|
| Boneless breast, 8–10 oz | 390°F | 15–22 min | Flip once |
| Thin-cut breast, about 5 oz | 390°F | 10–18 min | Flip once |
| Bone-in breast, about 10 oz | 395°F | 24–34 min | Flip once |
| Boneless thigh | 390°F | 8–14 min | Flip once |
| Bone-in thigh | 390°F | 18–24 min | Flip once |
| Drumsticks, 6 pieces | 395°F | 18–24 min | Flip once |
| Tenders, 1 lb | 395°F | 8–12 min | Flip once |
| Wings, 2 lbs | 400°F | 16–22 min | Shake |
| Whole chicken, 4.5 lbs | 355°F | 55–60 min | None listed |
How to Check Internal Temperature Correctly
Minimum internal temperatures should be measured with a food thermometer before you remove the food from the heat source. Always use a thermometer to confirm that meat has reached a safe minimum internal temperature hot enough to kill harmful germs.
For bone-in pieces, slide the probe into the thickest part of the meat without touching bone, since bone heats differently and can give a misleading reading. For a whole bird, check both the breast and the thickest part of the thigh.
Carryover heat can nudge the internal temperature up slightly while the chicken rests, but that rise is not a substitute for reaching 165°F in the basket. Pull the chicken once it reads 165°F, then rest it briefly so the juices redistribute before slicing.
What Changes the Cook Time
Frozen Versus Thawed
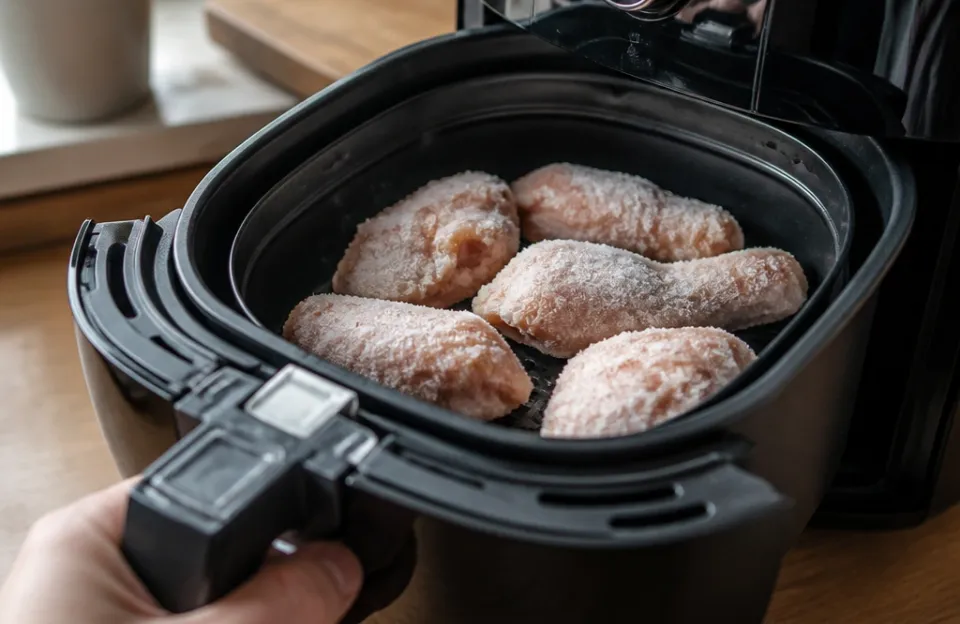
Frozen items generally need 2 to 5 additional minutes without thawing compared with fresh ones. That is a general starting point, not a guarantee for every frozen cut, so check the internal temperature early and keep probing until it reaches 165°F.
Breading and Glazes
Breading insulates the meat, so the coating browns before the center cooks through. Sweet glazes and sugar-based sauces can scorch even sooner, so add them near the end of cooking rather than at the start.
One important exception: for raw, stuffed breaded chicken breast products, the USDA advises against air fryer cooking altogether and says to follow the manufacturer’s cooking instructions.
A Crowded Basket
Overcrowding the basket can prevent enough air circulation to cook food properly, so large amounts should be cooked in batches. Cosori likewise advises a single, even layer because a full basket reduces airflow and extends cook time. If pieces are touching, expect longer cooking and less crispy results.
Handling Raw Chicken Safely
Keep raw poultry away from cooked and ready-to-eat foods, and use separate cutting boards for raw meat and for produce to prevent cross-contamination. Wash hands, knives, and surfaces that contact raw chicken before moving on to other ingredients.
Refrigerate leftover cooked chicken within 2 hours to avoid the temperature danger zone between 40°F and 140°F.
Troubleshooting Uneven Cooking and Rubbery Texture
If some pieces brown faster than others, the basket is likely too full or the airflow is blocked. Arrange chicken in a single layer with space between pieces, and rotate pieces from the edges toward the center partway through cooking.
Rubbery results usually trace back to overcooking or to a temperature that is too low for too long. Because air fryer performance varies by model, use the chart time as a first attempt, then adjust based on your own thermometer readings.
Getting Crispier Skin
Pat the chicken dry before seasoning. Surface moisture has to evaporate before browning can begin, and a dry start shortens that process.
Arrange pieces in a single layer so hot air reaches all sides, and shake or flip as the chart recommends. For bone-in pieces, a rack or trivet lifts the meat off the basket floor so air circulates underneath and the skin does not sit in rendered fat.
When to Use a Rack or Trivet
Use a rack for bone-in pieces and larger cuts, including a whole chicken, so hot air can move beneath the meat. If your air fryer did not come with one, flip more often to keep the underside from staying damp.
Worth Remembering
Start with the chart time for your cut, then confirm doneness with a thermometer reading of 165°F in the thickest part. Keep batches to a single layer, expect a few extra minutes for frozen pieces, and follow the manufacturer’s instructions for any raw, stuffed breaded chicken product. Your own thermometer reading, not the timer, decides when the chicken is done.