Air fry fresh broccoli florets at 400°F (200°C) for about 8 to 10 minutes, shaking the basket halfway, until the edges are browned and the stems are tender-crisp. Check them early, around 6 to 7 minutes, because the tips can go from browned to scorched surprisingly fast. If you prefer a softer, fork-tender result, give them 10 to 12 minutes at the same temperature.
The timing ranges here come from independent recipe charts rather than manufacturer or test-kitchen data, so treat them as starting points and let your own appliance guide the final minute or two. Broccoli has no USDA safe internal temperature to hit, which means you judge doneness by look and texture rather than a thermometer reading.
Preparing Broccoli for Even Cooking
Before you think about the timer, think about the size of your cuts. Florets and thick stems cook at different speeds: the bushy tops catch and char while the stems are still hard in the middle. Cutting every piece to a similar size helps the whole batch finish together.
Aim for florets of roughly 1 to 1½ inches. If you like the stems, peel the fibrous outer layer with a vegetable peeler, then cut the tender core into ½-inch batons; they cook in the same 8 to 10 minute window as the florets.
Pat the broccoli dry after washing. Surface water turns to steam in the basket and stops the edges browning before they get the chance. A quick pass with a paper towel or a few minutes in a colander is usually enough.
Oil and Seasoning Guidance
A light coat of oil helps broccoli brown rather than scorch at the tips; bare-dry florets burn instead. Toss the florets in about 1 to 2 teaspoons of oil so heat and seasoning stick and the edges crisp instead of drying out. If you are cooking a larger batch, roughly 1 tablespoon of oil per 300 g of broccoli is a useful ratio.
Salt, pepper and garlic can go on before cooking. Add parmesan or a squeeze of lemon after cooking, so the cheese doesn’t burn onto the basket.
Timing and Temperature Adjustments by Texture
Your appliance and your preferred texture both change the math. Use this table as a starting point, then check early and adjust:
| Texture Preference | Temperature | Time |
|---|---|---|
| Extra crispy | 400°F (200°C) | 7–9 minutes |
| Standard crisp-tender | 400°F (200°C) | 8–10 minutes |
| Softer, fork-tender | 400°F (200°C) | 10–12 minutes |
| Tender at lower heat | 375°F (190°C) | 8–10 minutes |
Floret size shifts these ranges too. Small bite-size pieces may be done in as little as 5 minutes at 400°F, while large stem-on florets may need up to about 12 minutes at the same temperature.
Oven-style air fryers hold more air and often need 2 to 5 minutes more than basket-style units for the same result. Because wattage and basket design vary between machines, the only reliable test is to open the basket and check a stem with a fork. A 3 to 5 minute preheat gives slightly crisper edges and more consistent timing, though it is optional.
Shaking, Spacing and Basket Loading
A single, uncrowded layer helps broccoli roast instead of steam; florets piled on top of each other steam instead. Shake the basket or toss the pieces halfway through cooking to keep the heat even. If you have a tray-style air fryer, long-handled tongs work well for flipping.
If the basket is too crowded, air cannot circulate between the pieces, and the broccoli effectively steams in its own moisture. Cook in batches when you have a lot to prepare.
Air Frying Frozen Broccoli
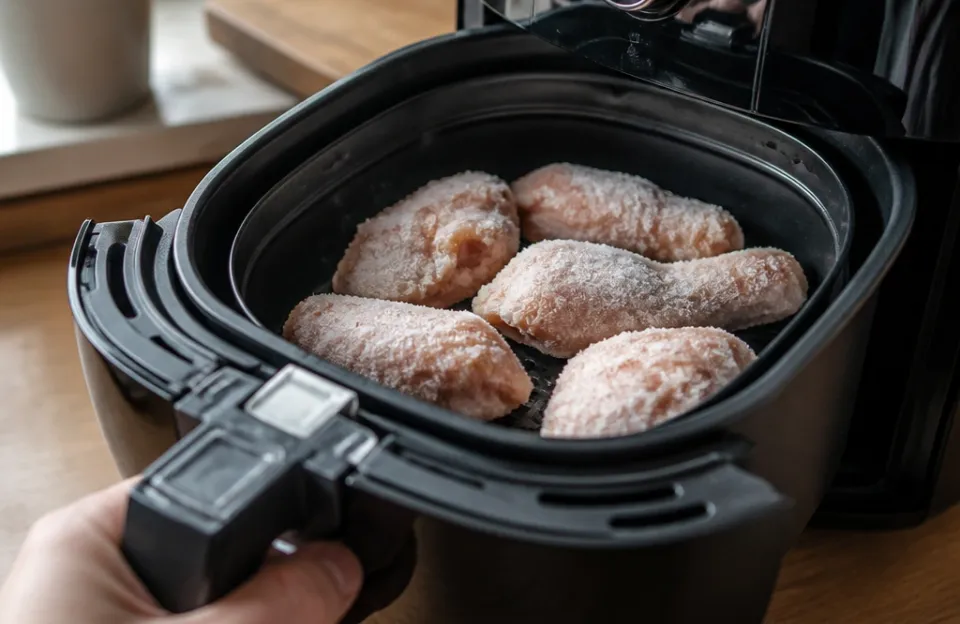
Yes, you can air fry frozen broccoli, but the technique and the texture both differ from fresh. Frozen broccoli was blanched before freezing and carries a coat of ice, so it releases water as it heats and steams itself instead of browning.
Do not thaw it first. Cook straight from the freezer at 400°F for 10 to 14 minutes, shaking the basket at about the 6-minute mark. One alternative chart suggests 12 to 15 minutes at 400°F, shaking at 7 minutes, and patting off loose ice before cooking. Either way, expect a tender result rather than a crispy one.
Troubleshooting Common Results
Burnt tips, raw stems. The florets and stems cook at different speeds, and delicate tips scorch quickly. Cut pieces to a similar size, check at 6 to 7 minutes, and pull the basket as soon as the tips are browned.
Limp, pale broccoli. Crowding is the usual cause: piled florets steam instead of roast. Spread them in a single layer and cook in batches if needed. Wet broccoli behaves the same way, so dry it thoroughly first.
Scorched tips with no browning elsewhere. A thin coat of oil helps the surface brown rather than burn. Toss again so every piece is lightly coated.
Bland flavor. Salt, pepper and garlic belong on before cooking, while parmesan or lemon go on after.
Air Fryer Versus Oven for Larger Batches
The air fryer is faster for small quantities, but the oven is the better choice for a crowd. Fitting broccoli for four or more people into an air fryer usually means running several batches, which erases the time advantage. For one or two people, the air fryer wins on speed and avoids heating the whole kitchen.
Foil, Parchment and Spray Safety
Check your air fryer manual before using foil, parchment or aerosol cooking sprays. Liners can block airflow from the bottom of the basket, so you may need to add a minute or two to the cooking time. Never place an empty sheet of foil in the basket, since air circulation can lift it into the heating element. Rules for liners and sprays vary by manufacturer, and the manual for your model is the authoritative source.
Storing Leftovers
Store cooked broccoli in the refrigerator for 3 to 4 days. Discard perishable cooked food that has been left at room temperature for more than 2 hours. Reheat leftovers in the air fryer rather than the microwave to preserve some of the texture.
Quick Consistency Checklist
- Cut florets to a similar 1 to 1½ inch size.
- Dry thoroughly before oiling.
- Toss with 1 to 2 teaspoons of oil and season before cooking.
- Arrange in a single, uncrowded layer.
- Air fry at 400°F for 8 to 10 minutes, shaking halfway.
- Start checking at 6 to 7 minutes.
- Test a stem with a fork: tender-crisp is the stop condition.
Your first batch may run slightly soft or slightly charred, and that is normal while you learn your appliance. Start at the lower end of the range, check early, and adjust by a minute at a time. Uniform pieces, a dry surface and an uncrowded basket do most of the work; the timer only finishes the job.