As a starting point, cook frozen garlic bread straight from the freezer in a single layer at about 350°F to 360°F. Check thin slices at 4 to 5 minutes and loaf halves at 8 to 10 minutes. Package directions and your air-fryer manual take precedence when they give specific times and temperatures. Exact timing varies with bread thickness, brand and appliance.
Air fryers are essentially countertop convection ovens that cook food faster than larger ovens and use less energy. That speed is helpful for garlic bread, but it also means the gap between toasted and burnt is short, so the first attempt on any new product should be treated as a test.
Timing by Bread Type and Thickness
Use the table below as a set of starting points, not fixed rules. The ranges come from published air-fryer garlic bread recommendations and reflect differences in thickness and format.
| Bread Type | Temperature | Starting Time | Check At |
|---|---|---|---|
| Thin frozen slices | 350°F to 360°F | 4 to 6 minutes | 4 minutes |
| Frozen Texas toast | 360°F to 375°F | 5 to 8 minutes | 5 minutes |
| Frozen loaf halves | 350°F | 8 to 10 minutes | 8 minutes |
| Frozen cheese-topped garlic bread | 350°F | 6 to 8 minutes | 6 minutes |
| Fresh or homemade slices | 350°F | 3 to 5 minutes | 3 minutes |
Fresh and homemade bread is not covered by a ledger source, so treat that row as a conservative estimate and rely on visual cues. For thick pieces such as Texas toast or a thick-cut baguette, start at the lower end of the temperature range and add time gradually.
What Changes the Timing
Frozen State
Frozen garlic bread is generally cooked straight from the freezer in a single layer. One source explains that thawing a slice first lets the frozen butter layer and freezer condensation melt into the crumb, so the bread begins cooking already soaked. That is a plausible texture concern rather than a safety rule, and package directions should still guide you.
Thickness and Density
Thick frozen pieces can brown on the surface before the center is hot. One source notes that at 400°F the surface of a thick piece can finish in about 4 minutes while the core is still cold. Lower temperatures and a slightly longer cook give the interior time to catch up.
Air-Fryer Size and Power
Cooking times vary between air fryers because of differences in appliance size and power. One source recommends checking frozen garlic bread two minutes early on a new box, since machines differ most on frozen food. If your appliance runs hot, stay near 350°F rather than pushing to 400°F.
Crowding and Toppings
Overcrowding the basket can prevent enough air circulation to cook food properly, so large amounts may need to be cooked in batches. Cheese toppings add another variable; one source gives a separate, shorter range for cheese versions, so check those earlier than plain bread.
Step-by-Step Method
- Check the package directions first and note any stated time, temperature or from-frozen instruction.
- Remove the bread from its packaging. Separate slices that are stuck together so air can flow between them.
- Arrange the pieces in a single layer with a little space between them.
- Set the temperature to 350°F to 360°F for frozen slices, or to the package recommendation if it is more specific.
- Set the timer to the earlier end of the range in the table and check at that point.
- If the bread needs more browning, add 1 to 2 minutes at a time and watch closely.
- Remove the bread with tongs when the surface is golden and the center feels warm. It firms slightly as it cools.
For a doneness stop condition, judge by both color and feel: a light golden surface with a warm, soft center. If the edges darken before the middle warms, drop the temperature by about 25°F and extend the time by 3 to 4 minutes. That adjustment comes from one baking source and is a useful troubleshooting rule rather than a guaranteed fix.
Preheating, Thawing and Basket Arrangement
Preheating is not required by every air-fryer model, but some manuals specify it. Follow your appliance manual when it does. If you choose not to preheat, the first batch may need an extra minute or two.
There is no need to thaw frozen garlic bread before cooking, based on the sources that address this directly. Thawing may soften the crumb before it toasts. Keep pieces flat and separated rather than stacked, because stacking leaves cold or soggy patches where air cannot reach.
Parchment, Foil and Packaging
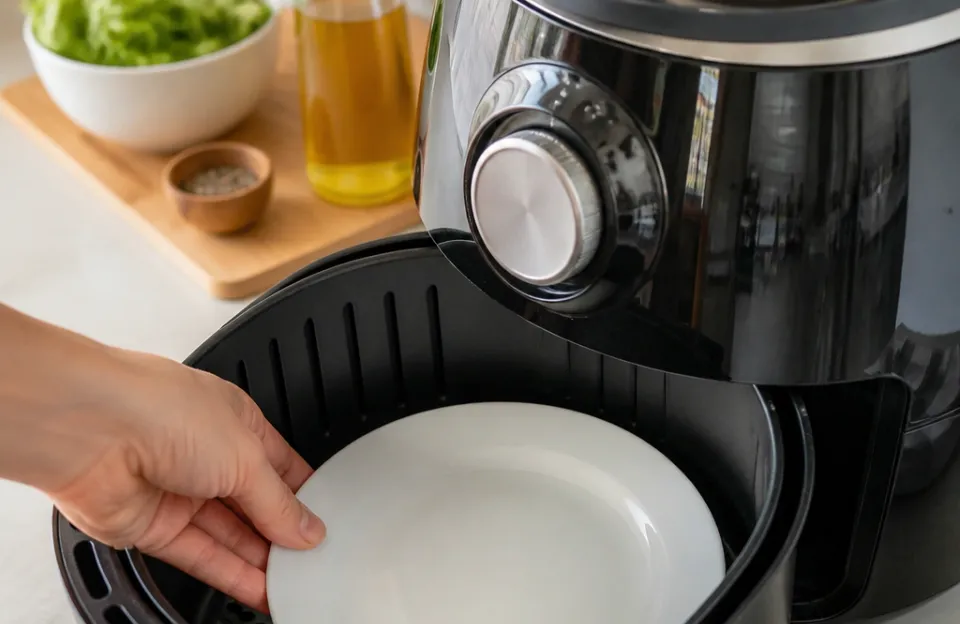
Parchment paper can help keep the basket clean, but the sheet must be held down by food. One source advises never preheating with loose parchment and placing it in after the air fryer is hot, with food already on top. A separate guide notes that fire risk comes mainly from preheating with a liner or a sheet lifting into the heating element. Both sources are secondary, so check your air-fryer manual before using any liner.
Foil deserves more caution. Wrapping bread in foil traps steam and works against crispness in an air fryer. Foil that covers the basket sides can also block airflow. If you use foil at all, keep it flat on the basket floor and never let it touch the heating element. Remove foil-wrapped loaves from their wrapping and cook the bread uncovered unless the package or manual clearly says otherwise.
Troubleshooting
Burnt edges, cold center. This usually means the temperature is too high for the thickness of the bread. Lower the heat to 350°F, extend the time, and check the middle of a thick piece before serving.
Dry interior. Air fryers move hot air efficiently, so bread left in too long loses moisture. Start checking two minutes before the suggested time, and pull the bread as soon as it turns light golden.
Soggy bottom. Stacking, foil wrapping or excess butter pooling under the bread can cause this. Cook in a single layer and avoid adding extra fat to store-bought frozen bread that is already buttered.
Uneven browning. Baskets can have hot spots. Rotate the pieces or swap shelf positions partway through if your model has racks, and keep the load light enough for air to circulate.
Mixed Batches and Appliance Adjustments
If you are cooking thin slices alongside thick frozen pieces, expect them to finish at different times. Add both to the basket, then remove the thin slices as they reach your preferred color while the thicker pieces continue. Alternatively, cook them in separate batches for more even results.
For a new appliance, run a small test batch rather than filling the basket. Note the time and temperature that worked, since appliance size and power change results between models. Package instructions, when present, should override general guidance.
Food Safety and Storage
Leftover cooked garlic bread should be refrigerated within 2 hours to stay out of the temperature danger zone between 40°F and 140°F. Reheating already-baked garlic bread in an air fryer is not covered by the available evidence, so use a short time at a moderate temperature and check frequently rather than relying on a specific figure.
Before You Go
Pick a conservative starting temperature, check the bread early, and add time in small increments. For frozen slices, begin around 350°F to 360°F and check at 4 minutes; for loaf halves, start checking at 8 minutes. Let your package directions and air-fryer manual take priority, and treat every table entry as a first attempt rather than a fixed rule.