You’ve just pulled a golden-brown roast out of the oven, but as you slice into the center, you realize it’s still dangerously pink. Or maybe you’ve left a chicken breast on the grill a minute too long, and now it has the texture of a shoe sole. These frustrating kitchen moments happen because we rely on guesswork or timers instead of actual internal temperature. Knowing how to use a Taylor meat thermometer correctly eliminates that guesswork entirely.
Taylor is one of the most recognized names in kitchen thermometry, producing everything from classic analog dials to modern digital instant-reads and wireless leave-in probes. But owning the tool is only half the battle; inserting it incorrectly or misreading the display can lead to undercooked poultry or ruined steaks. In practice, a common mistake is pulling the probe out before the sensor has fully registered the core temperature, leading to false confidence in your food's safety. You can also read our guide on how to read a dial analog meat thermometer correctly.
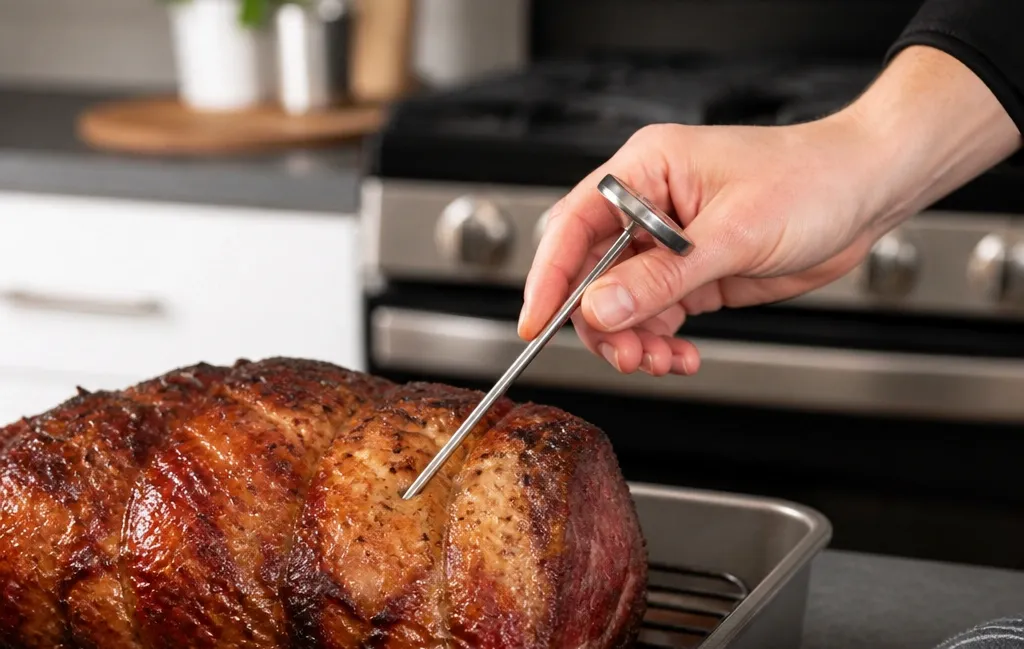
To use a Taylor meat thermometer properly, insert the probe into the thickest part of the meat, ensuring you avoid bone, fat, or gristle. For digital models, wait for the screen to lock onto a final temperature; for analog dial models, wait about 15 to 20 seconds for the needle to stop moving. Always clean the probe with hot, soapy water before and after every use to prevent cross-contamination. This guide breaks down exactly how to master every step of that process.
Why Precise Temperature Monitoring Matters
The primary reason to use a reliable thermal probe is food safety combined with culinary quality. The USDA safe cooking guidelines establish specific internal temperatures that must be reached to destroy harmful pathogens like Salmonella, E. coli, and Listeria. For example, current federal guidance mandates 165°F for all poultry and 160°F for ground meats. Without a calibrated tool, you are essentially guessing whether your dinner is safe to eat.
Beyond safety, precise temperature control is the only way to guarantee consistency. Meat undergoes physical changes at exact thermal benchmarks. At around 130°F, beef fats begin to soften and render. By 150°F, muscle fibers start to tighten aggressively, squeezing out moisture. If you want a medium-rare steak or a juicy pork chop, you need to catch the protein at the exact moment it hits your preferred doneness and remove it from the heat before those proteins become tough and dry. Relying on visual cues like color is unreliable, especially in smoked meats or cured products where myoglobin reactions alter the appearance regardless of actual heat.
Understanding the Sensing Area
Every Taylor thermometer has a specific "sensing area" on its probe, and misunderstanding this is the number one cause of inaccurate readings. On most digital instant-read models, the thermistor (the electronic sensor) is located within the bottom 1/8 to 1/4 inch of the needle tip. On analog bimetallic dial thermometers, the sensing coil usually extends an inch or two up the metal stem.
If you don’t bury the probe deep enough to fully submerge this sensing area inside the meat, the thermometer will average the temperature of the food and the ambient air inside your oven or grill. This results in a falsely high reading, tricking you into pulling the meat off the heat prematurely. Always ensure the entire sensing zone is buried in the densest part of the protein.
Response Times and Accuracy Expectations
Taylor produces a wide variety of models, and their response times differ significantly. A modern digital instant-read pen typically provides a stabilized reading in 3 to 6 seconds. Older analog bimetallic coil thermometers may take 15 to 20 seconds to reach their final position. Wireless leave-in probes update continuously but may have a slight lag depending on the transmitter frequency.
Knowing which type you own prevents you from pulling the probe out too early and getting a "false low" reading. If you are using a dial model, patience is required—do not pull it out after three seconds just because the needle is moving. Wait until it stops completely. If you suspect your device is struggling to keep up, it might be time to evaluate if upgrading to a more responsive tool would improve your workflow, much like comparing different brands when looking for the most reliable precision instrument.
Identifying Your Taylor Thermometer Model
Before you start cooking, you need to know exactly which type of Taylor thermometer you have. Using an instant-read as a leave-in probe will melt the plastic housing, while treating a leave-in probe like an instant-read defeats its purpose.
Digital Instant-Read Models
Digital instant-read thermometers are designed for quick checks near the end of the cooking process. They feature a foldable or fixed metal probe attached to a plastic body containing the digital display and battery. They are not meant to stay in the meat while it is inside a hot oven or over direct flames. To use one, open the oven door or lift the grill lid, insert the probe, wait for the numbers to stabilize, read the temperature, and remove it immediately. Most modern Taylor digital models include a "Hold" button, which locks the temperature on the screen so you can pull the thermometer away from the blinding heat of a grill and read it comfortably.
Analog Dial (Leave-In) Models
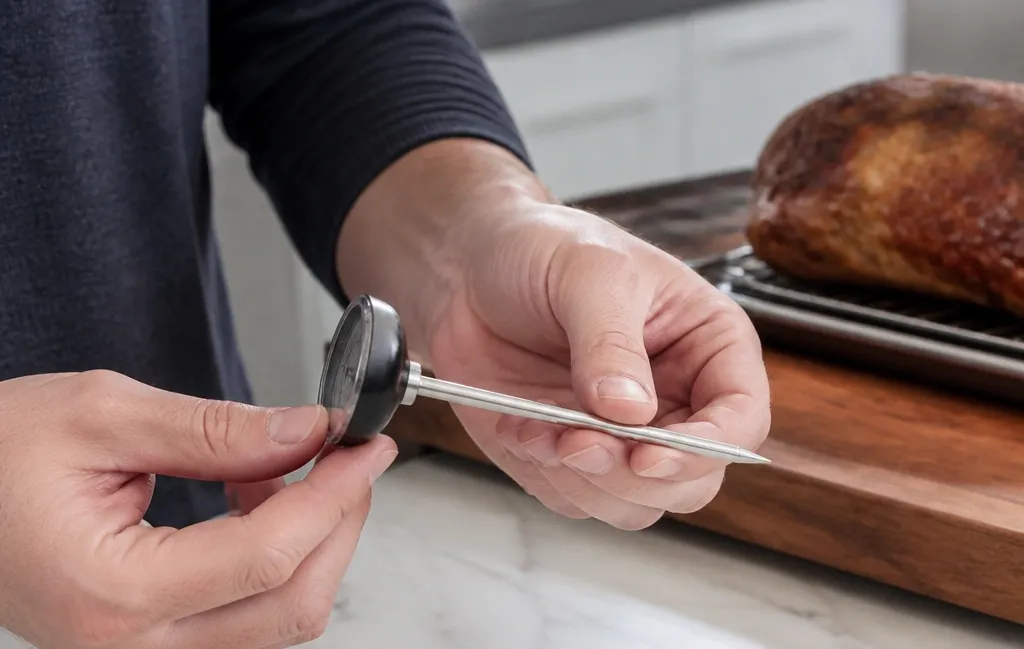
Analog Taylor thermometers feature a large glass or shatterproof dial face attached to a thick stainless steel probe. These are traditional "leave-in" devices. You insert the probe into the raw meat before it goes into the oven, leaving the dial resting on top of the roast or facing outward. The dial stays visible through the oven window, allowing you to monitor the temperature rise without opening the door and losing precious heat. Ensure the dial face is not touching the oven walls, racks, or heating elements, as extreme radiant heat can damage the internal spring mechanism or fracture the glass.
Leave-In Digital Probe Thermometers
These advanced models consist of a stainless steel probe attached to a braided, high-heat silicone wire. The wire runs out of the oven or grill and connects to a digital base unit sitting safely on your countertop. You insert the probe into the raw meat, close the oven door (the rubber gasket will compress safely around the thin wire), and set a target temperature alert on the base. This is the most efficient method for cooking large items like Thanksgiving turkeys, briskets, or Sunday roasts, as it notifies you the second your target is hit without requiring you to open the door. If you frequently cook large cuts outdoors, pairing this technique with a dedicated outdoor setup makes managing long cooks significantly easier.
How to Calibrate Your Taylor Meat Thermometer
A thermometer is only useful if it is accurate. Over time, drops, extreme heat cycles, and normal wear can cause the sensor to drift. You should calibrate your Taylor thermometer when you first buy it, after dropping it, or at least once a season. If you ever notice erratic behavior, verifying your baseline accuracy is the first troubleshooting step to rule out faulty equipment.
The Ice Water Test
This is the safest and most accessible calibration method for home cooks.
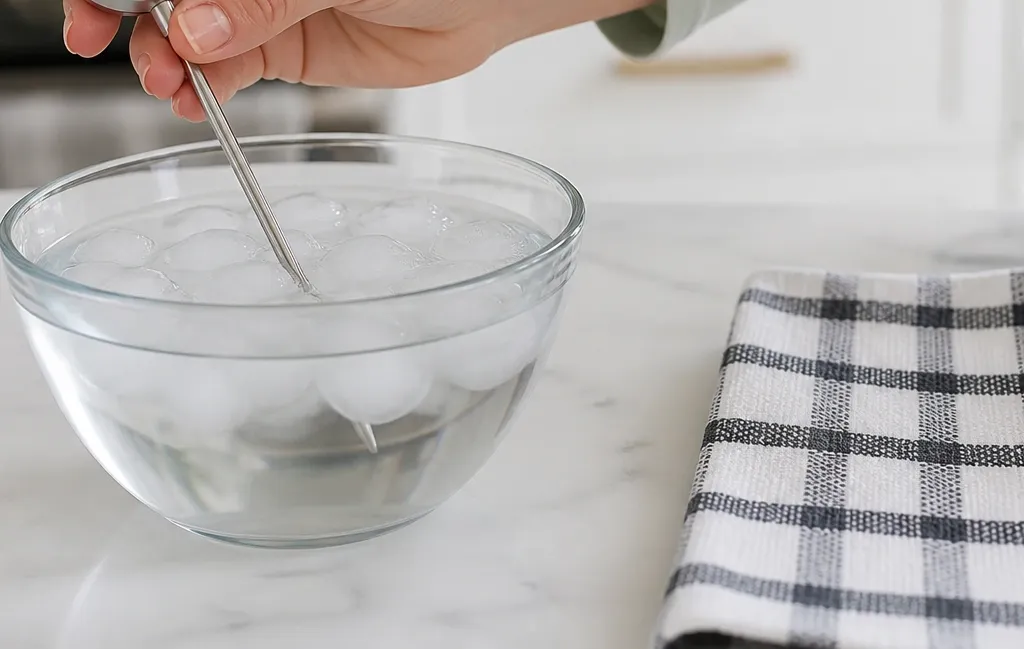
- Fill a tall glass completely with crushed ice.
- Add cold tap water until the glass is full, stirring gently to eliminate any warm pockets. Let it sit for two minutes.
- Submerge the sensing area of your Taylor probe into the ice slurry. Do not let the tip touch the bottom or sides of the glass.
- Wait for the reading to stabilize. It should read exactly 32°F (0°C).
- If it does not read 32°F, note the difference. Many Taylor analog models have a small hex nut directly under the dial face; use pliers or the included wrench to turn the dial housing until the needle points to 32°F. Digital models often have a "CAL" or reset button sequence detailed in the manual to offset the reading.
The Boiling Water Test
Water boils at 212°F (100°C) at sea level. You can submerge the probe in a rolling boil to check this benchmark. However, boiling water is dangerous to handle, and steam can damage the electronics of non-waterproof digital models. Furthermore, if you live at a high altitude, water boils at a lower temperature (e.g., roughly 202°F in Denver, Colorado). Because of these variables, the ice water test is generally preferred for routine home calibration.
Step-by-Step Guide to Taking Meat Temperatures
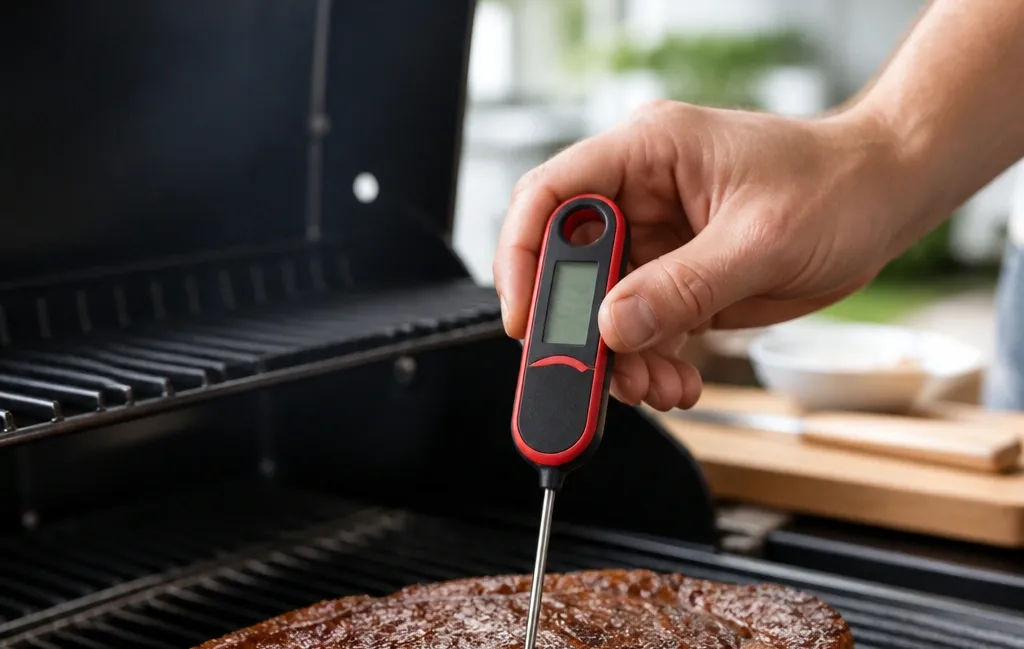
Using your Taylor thermometer correctly involves more than just sticking the metal rod into the protein. Follow these practical steps to ensure a professional result every single time.
Step 1: Identify the Thickest Part
Locate the geometric center of the thickest muscle mass. For a whole chicken, this is the deepest part of the inner thigh, angling toward the breast but avoiding the joint. For a steak, pork chop, or roast, it is the dead center of the thickest section. Heat penetrates from the outside in, so the very center is always the last place to reach a safe temperature.
Step 2: Avoid the "Falsifiers"
Do not let the tip of the thermometer touch bone, fat pockets, or gristle. Bone conducts heat much faster than muscle tissue and will give you a prematurely high reading, making you think the meat is done when the surrounding flesh is actually raw. Conversely, large pockets of fat insulate the probe and may show a lower temperature than the surrounding muscle. Aim for pure, dense meat.
Step 3: Insert the Probe Correctly
Push the probe into the meat smoothly, ensuring the entire sensing area (as discussed earlier) is fully submerged. If you are checking a thin burger patty, a piece of fish, or a chicken tender, standard vertical insertion won't work. Instead, use a side-entry technique: pinch the meat gently with tongs to stabilize it, then slide the thermometer probe horizontally through the edge of the cut until the tip rests in the dead center.
Step 4: Steady Your Hand
If you are using a handheld instant-read model, hold the thermometer steady while waiting for the numbers to lock. Shaking or wiggling the probe causes the sensor to shift rapidly between different thermal zones inside the meat, making the digital numbers jump erratically and delaying the final reading.
Step 5: Read and Account for Carryover Cooking
Once the temperature stabilizes, compare it to your target. Here is a critical concept many home cooks miss: carryover cooking. When you remove meat from a heat source, the residual heat on the exterior continues to migrate inward. Depending on the size of the cut and the cooking temperature, the internal temperature will rise another 5°F to 10°F while it rests. If your target for a pork loin is 145°F, you should pull it off the heat at 135°F to 140°F and let it rest tented in foil. If you wait until the thermometer reads 145°F inside the oven, your final resting temperature will overshoot into dry territory.
Step 6: Sanitize Immediately
Clean the probe immediately after taking a reading with hot water and dish soap, or wipe it thoroughly with an alcohol prep pad. Never submerge the digital head or battery compartment of a Taylor thermometer in water unless the specific model's manual explicitly states it is fully waterproof. Cross-contamination between raw poultry and ready-to-eat foods via a dirty probe is a serious health risk.
Internal Temperature Reference Guide
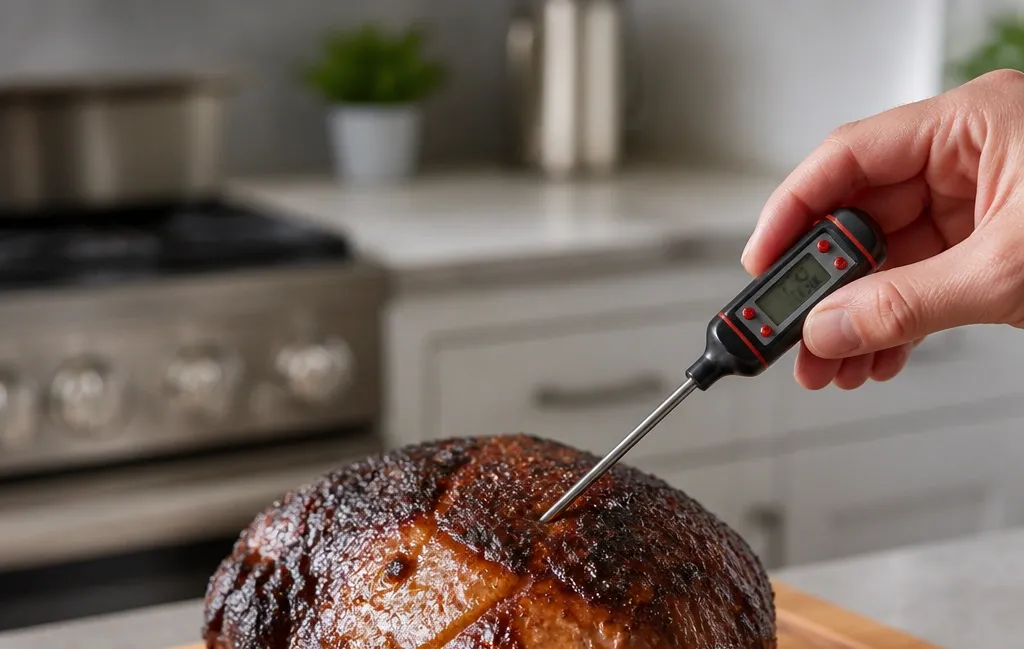
Keep this chart handy when planning your meals. The USDA safe minimums are non-negotiable for food safety, particularly for vulnerable populations. Chef recommendations reflect optimal texture and juiciness for healthy adults who accept the inherent risks of consuming under-pasteurized proteins.
| Meat Type | USDA Safe Minimum | Chef's Recommended (Optimal Texture) |
|---|---|---|
| Beef/Lamb Steak & Roasts | 145°F (+ 3 min rest) | 130°F – 135°F (Medium-Rare) |
| Ground Beef, Pork, Lamb | 160°F | 160°F |
| Poultry (Whole & Parts) | 165°F | 165°F (Breast), 175°F+ (Dark Meat) |
| Pork Chops & Roasts | 145°F (+ 3 min rest) | 140°F – 145°F |
| Fish & Shellfish | 145°F | 135°F – 140°F |
Note: While the USDA recommends 165°F for all poultry, dark meat (thighs and legs) contains more connective tissue. In practice, cooking dark meat to 175°F–180°F yields a significantly better texture without drying out. For specific poultry breakdowns, referencing a detailed bird preparation guide helps map out exact timing for different cuts.
Edge Cases and Special Considerations
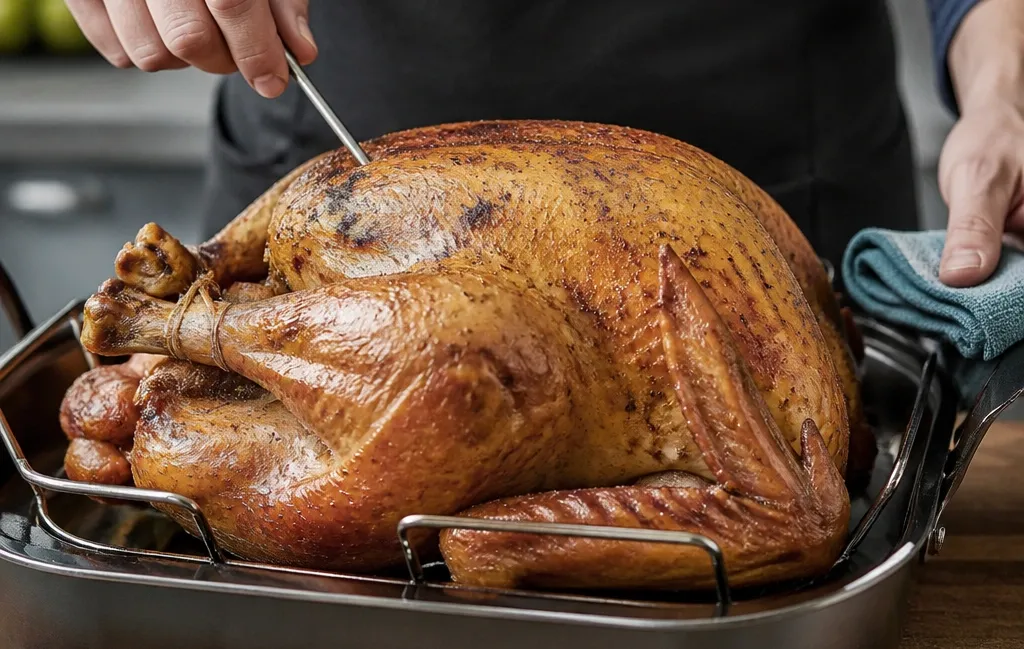
Not every piece of meat behaves the same way. Adjust your Taylor thermometer technique based on these common scenarios.
Thin Cuts of Meat
As mentioned in the step-by-step section, standard vertical insertion doesn't work for a half-inch thick tilapia fillet or a smash burger. The probe tip will pass straight through the meat and touch the hot pan surface, registering the skillet's temperature rather than the food's. Always use the horizontal side-entry technique for anything thinner than one inch.
Cooking at High Altitudes
If you live above 3,000 feet, water boils at a lower temperature. While this does not change the internal temperature required by the USDA to kill bacteria, it drastically affects how your food cooks in moisture-heavy environments like braises or stews. Liquids simmer at lower temperatures, meaning cooking times increase. Always rely strictly on the internal temperature of the protein provided by your Taylor thermometer rather than estimating based on how long a liquid has been bubbling.
Frozen or Partially Thawed Meat
Never attempt to take the temperature of meat that is still frozen or icy in the center. Forcing a metal probe into solid ice can bend the needle or damage the internal sensor wiring. More importantly, the exterior of partially thawed meat will reach "safe" temperatures long before the frozen core thaws, leading to an unevenly cooked, potentially hazardous meal. Always ensure meat is fully thawed in the refrigerator before using your thermometer to judge doneness.
Smoking and Long BBQ Sessions
When using a Taylor leave-in probe in a smoker or grill for extended periods, route the silicone wire carefully. Avoid placing the wire directly over the firebox, coals, or flare-ups. Even though these wires are heat-resistant, direct flame or localized temperatures exceeding 500°F to 700°F can melt the silicone coating or short-circuit the internal wiring. If your base unit suddenly displays "HHL", "ERR", or dashes, the probe has likely been exposed to heat beyond its rated capacity or the wire has been compromised.
Common Mistakes to Avoid
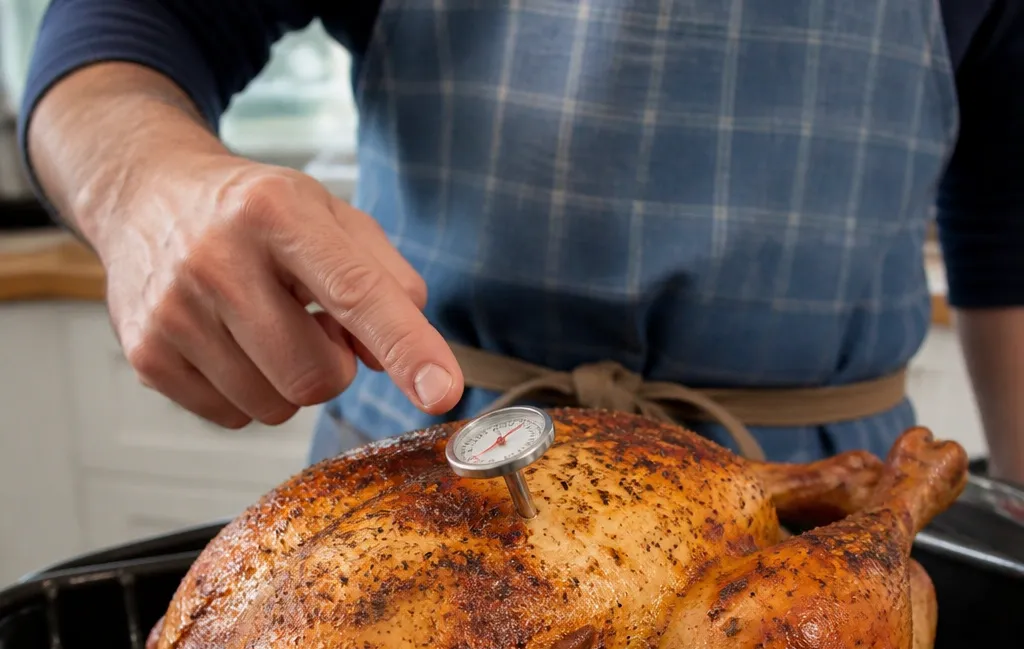
Even experienced cooks fall into bad habits. Watch out for these errors that compromise both your food and your equipment.
- Leaving an instant-read in the oven: Unless the packaging specifically says "oven-safe" or "leave-in," the plastic casing and LCD screen on a digital instant-read thermometer will melt and release toxic fumes if left inside a hot oven.
- Checking too early and too often: Every time you open the grill lid or oven door to check the temperature, you vent significant heat. This stalls the cooking process and increases total cook time. Start checking with your Taylor thermometer only when the estimated cook time is about 75% finished.
- Relying on pop-up timers: Many commercial turkeys come with a plastic pop-up timer inserted in the breast. These are notoriously inaccurate, often failing to trigger until the breast meat is severely overcooked and dry. Always verify the final temperature with your own Taylor probe, regardless of what the plastic tab does.
- Incomplete cleaning: Bacteria can harbor in the tiny crevice where the metal probe meets the plastic housing. Don't just wipe the needle; use a soapy cloth or alcohol wipe to clean the entire length of the metal stem and the junction point.
- Ignoring low power warnings: A dying battery doesn't just mean the screen goes blank; it can cause sluggish response times and inaccurate readings. If your numbers seem to be jumping wildly or taking unusually long to settle, replacing the power cell is a necessary maintenance step.
Troubleshooting Display Errors and Maintenance
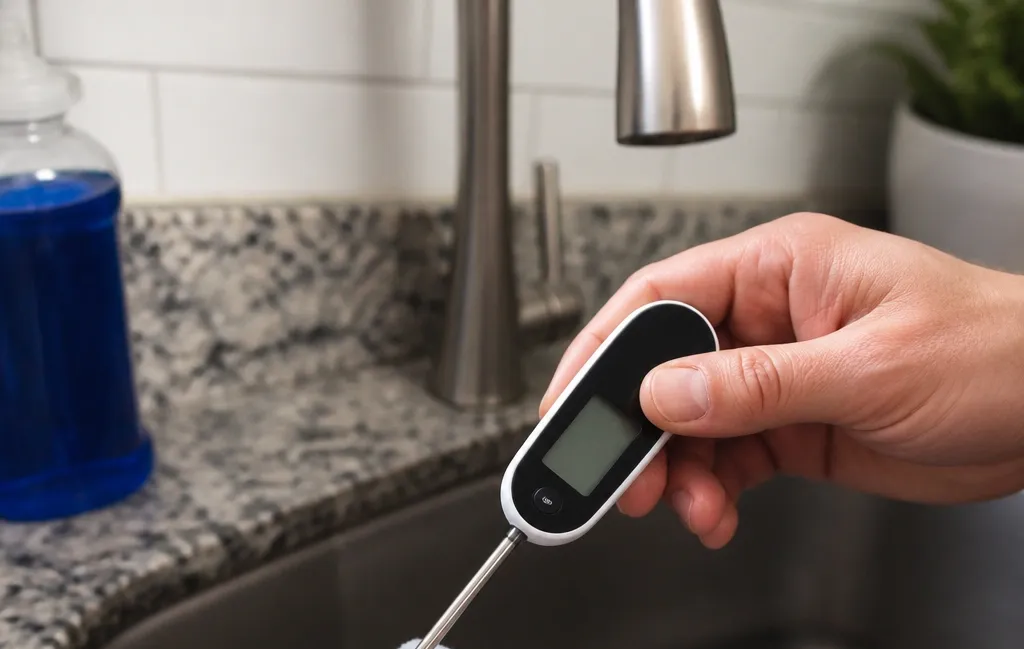
Digital Taylor thermometers occasionally display error codes that can cause panic if you don't know what they mean.
- "LLL" or "L": This indicates the temperature is below the sensor's readable range. This is normal if you turn the device on in a cold room or stick it into ice water before it stabilizes. If it appears while measuring hot food, the probe wire may be broken internally.
- "HHH" or "H": This means the temperature exceeds the device's maximum limit. You will see this if you accidentally touch the probe to a glowing grill grate or leave it in a roaring fire. Remove it from the heat immediately to prevent permanent sensor damage.
- Fluctuating Numbers: If the digits won't settle and constantly bounce by 5 or 10 degrees, you are likely moving the probe through different thermal layers of the meat, or the battery voltage is too low to drive the processor consistently. Hold the probe perfectly still for 10 seconds. If it still fluctuates, swap the battery.
For ongoing upkeep, store your thermometer in its protective sleeve or case. Leaving it loose in a kitchen drawer where heavy pots can bang against the delicate probe is the fastest way to ruin the calibration.
Frequently Asked Questions
Can I leave my Taylor thermometer in the meat while it cooks?
It depends entirely on the model. If it is an analog dial thermometer with a thick glass face or a digital probe connected to a wire running to an external base, yes. If it is a handheld digital "pen" style instant-read thermometer, absolutely not; the plastic body and electronics will melt inside a hot oven or grill.
Why is my Taylor thermometer showing a different temperature in two different spots?
Meat does not cook perfectly evenly. Areas closer to the heat source, thinner sections, or areas near bones will always be hotter than the dense center. Always use the lowest reading taken from the thickest part of the meat to determine if the entire piece is safe to eat.
How do I change the battery on my Taylor thermometer?
Most Taylor digital models feature a small circular battery compartment on the back or inside the folding handle. You can usually pry it open with a coin or a small Phillips screwdriver. They typically use CR2032, LR44, or AAA batteries depending on the model size. Check your specific manual for the exact battery type.
Is a Taylor thermometer accurate enough for professional results?
Yes. Taylor has manufactured thermometers for over a century, and their modern digital sensors meet NSF standards for commercial kitchens. As long as you perform the ice water calibration test periodically and insert the probe correctly, a Taylor thermometer provides professional-grade accuracy for home cooking.
My thermometer says LLL or HHH, is it broken?
Not necessarily. "LLL" usually means the ambient temperature is simply below the device's reading threshold, while "HHH" means it is above the maximum limit. However, if these codes appear while you are measuring food at normal cooking temperatures, it strongly suggests the internal probe wire has been severed or damaged by excessive heat, and the probe needs replacement.
Conclusion
Mastering how to use a Taylor meat thermometer transforms you from a hopeful cook relying on timers into a confident one relying on data. The key takeaway is simple: always insert the probe into the thickest part of the meat, avoid bones and fat, account for carryover cooking, and ensure your device is calibrated. By doing this, you guarantee both the safety of your family and the perfect texture of your meals.
Your next step is to perform the ice water calibration test on your Taylor thermometer right now before your next cook. Verifying that your tool reads exactly 32°F takes less than two minutes and ensures that every reading you take tonight is trustworthy. Once your thermometer is dialed in, pair it with a solid understanding of target temperatures, and you will never serve an overcooked chicken breast or an underdone pork chop again.




